Dashboard Warning Lights – Summary
Modern cars are equipped with an array of warning lights on the dashboard, each serving as a communication tool between your vehicle and you. When these warning lights illuminate, they provide crucial information about your car’s health and safety.
To ensure your safety and prevent potential vehicle damage, it’s essential to understand what these warning lights mean and how to respond appropriately. In this comprehensive guide, we will explore common car warning lights and the steps to take when they illuminate.
Note: This post may contain affiliate links. If you purchase something through one of these links, we may earn a commission, at no extra cost to you. Thank you for your support.
Regular maintenance is your friend in avoiding warning lights coming on in the first place. Download this free printable PDF maintenance checklist for your car.
Table of Contents
- The Check Engine Light
- Maintenance Required Light
- Oil Pressure Warning Light
- Battery/Charging System Warning Light
- ABS (Anti-Lock Braking System) Warning Light
- Airbag Warning Light
- Tire Pressure Monitoring System (TPMS) Light
- Conclusion
The Check Engine Light
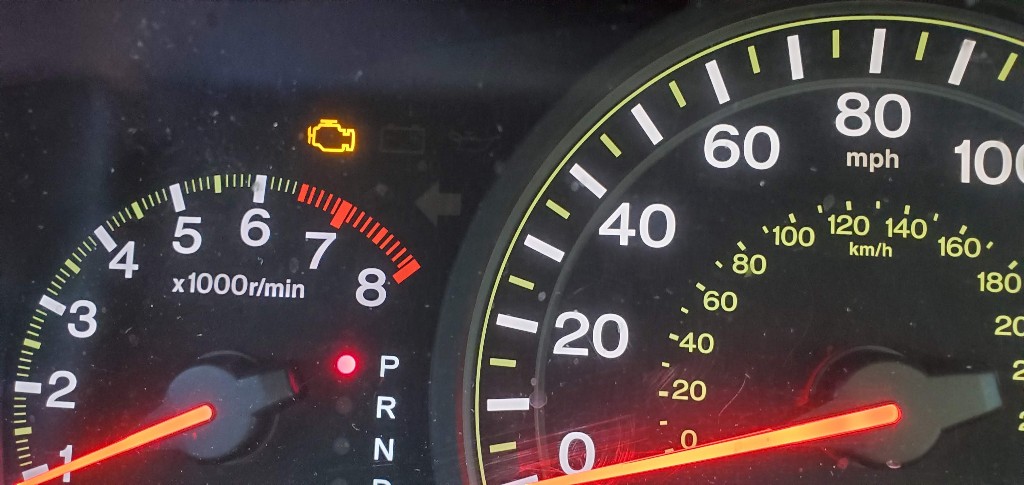
The check engine light (CEL), or sometimes referred to as the “malfunction indicator lamp” (MIL), is one of the most ubiquitous and enigmatic warning lights you’ll encounter on your car’s dashboard. It’s a small but significant sentinel, capable of indicating a wide spectrum of issues, ranging from minor hiccups to potentially severe problems. This little glowing symbol, shaped like an engine, holds the power to invoke both curiosity and anxiety. Understanding how to interpret its message can help you navigate the situation with confidence.
Immediate Action: When you see the check engine light illuminate, the first step is not to panic. It’s a signal from your car’s onboard computer that something needs attention, but the urgency can vary. Your immediate action should be to reduce speed and avoid heavy acceleration. This is a precautionary measure to ensure you don’t worsen the issue while you determine the severity of the problem.
First Steps: After safely reducing speed, it’s time to take a closer look. Start with the basics. Check for a loose or damaged gas cap. Surprisingly, a loose gas cap can cause the check engine light to come on because it can lead to evaporative emissions system problems. So, ensure your gas cap is securely tightened.
While inspecting the gas cap is a simple first step, it’s also advisable to assess whether your vehicle’s systems are functioning normally. Listen for unusual noises, notice any unusual smells, and keep an eye on your car’s performance. Has your fuel efficiency suddenly dropped? Is your engine running rough? These clues can provide additional insights into the nature of the issue.
Diagnosis: If the light remains illuminated after checking the gas cap and assessing your vehicle’s systems, it’s time to read the engine error codes. Don’t I need a professional mechanic for that? Absolutely not! Buy a cheap engine reader and read your own engine codes!
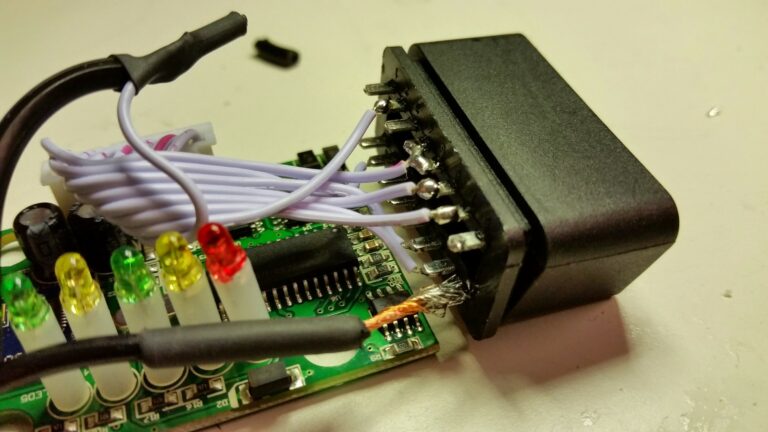
The check engine light can be triggered by a multitude of factors, from a benign sensor malfunction to more serious problems like a failing catalytic converter, a misfiring engine, or a problematic transmission. This is where a diagnostic tool, often referred to as an OBD-II (On-Board Diagnostics) scanner, comes into play. Plug it into the OBD2 port on your car and tell it to start scanning. The scanner will give you a readout of your codes. Google the codes to find out what they mean (and how much the repair is going to cost you!) Here are some common engine error codes and what they mean:
- P0133 and P0134 – Bad Oxygen Sensor
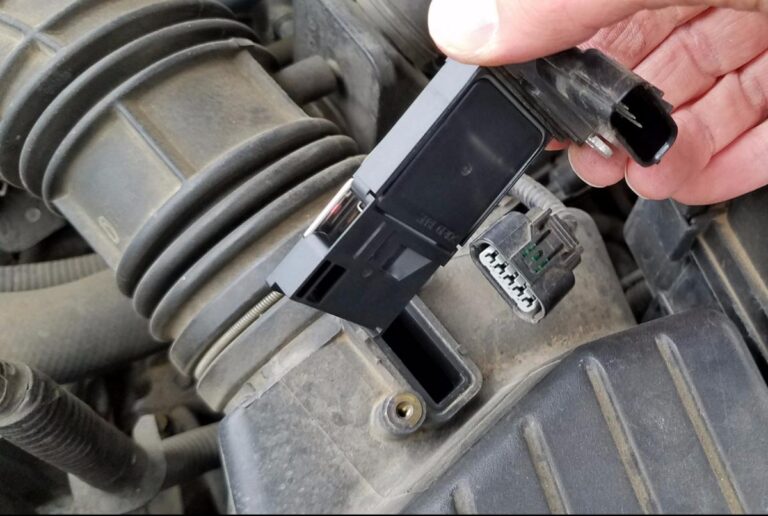
- P0171 and P0174 – Dirty Mass Airflow Sensor
- P0456 – Loose or Bad Gas Cap
If you’re not comfortable fixing the issues yourself, no problem, visiting a qualified mechanic or auto technician is crucial at this point.
It’s important to note that neglecting the check engine light can potentially lead to more significant problems and repairs down the road. The sooner you know what the problem is, address the issue, if necessary, the better chance you have of preventing further damage and maintaining your vehicle’s optimal performance.
Maintenance Required Light

The vehicle maintenance light (MAINT REQD), often referred to as the “service required” or “maintenance required” light, is a vigilant reminder from your vehicle’s internal system that it’s time for scheduled maintenance. This light signifies that your car is due for a specific type of service, such as an oil change, tire rotation, or other routine maintenance tasks. The most common reason is for oil changes. Make sure you reset the maintenance required light after you change your oil, or have your oil changed.
Immediate Action: Unlike some warning lights that indicate critical issues, the vehicle maintenance light does not require immediate action or an emergency stop. It’s a proactive indicator rather than a reactive one. However, it should not be ignored. While you can continue driving your vehicle with this light illuminated, it’s essential to schedule the recommended maintenance as soon as possible.
Why It Matters: Regular maintenance is the cornerstone of keeping your vehicle in optimal condition. It involves a series of routine tasks that are designed to prevent issues, extend the life of your vehicle, and ensure that it operates efficiently. Neglecting routine maintenance can lead to a range of problems, including reduced fuel efficiency, decreased performance, and even more significant and costly repairs down the road.
First Steps: When you see the vehicle maintenance light, consult your vehicle’s owner’s manual to determine the specific maintenance task or service interval that is due. The manual will provide details about the required service, including the type of service, the mileage or time interval, and other recommendations.
After identifying the maintenance required, it’s time to do the maintenance yourself, or schedule an appointment with a service center or mechanic. Regular maintenance can encompass a variety of activities, such as oil changes, air filter replacements, brake inspections, and more.
Oil Pressure Warning Light
The oil pressure warning light is one of the most critical indicators on your car’s dashboard! It looks kind of like a genie’s lamp with a drip coming out of it!
When it illuminates, it’s sending a direct and urgent message about the well-being of your engine. Unlike some warning lights that allow for cautious driving to the nearest service center, the oil pressure warning light demands immediate attention, and here’s why:
Immediate Action: The moment the oil pressure warning light comes on, it should set off alarm bells in your mind. This is not a signal to take lightly. Your car’s engine depends on a constant flow of oil to lubricate its many moving parts. When the oil pressure drops to a critical level, the consequences can be dire. The immediate action to take when this warning light activates is to pull over to the side of the road as soon as it’s safe to do so and turn off your engine immediately.
Why It’s Extremely Serious: Oil serves as the lifeblood of your engine, reducing friction and dissipating heat. When the oil pressure drops, it means that this vital lubrication system is compromised. Without sufficient oil pressure, your engine’s components can rub against each other, generating excessive heat and causing rapid wear and tear. In severe cases, it can lead to catastrophic engine failure. Ignoring the oil pressure warning light and continuing to drive can be a costly mistake, as it risks permanent engine damage.
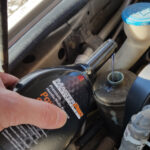
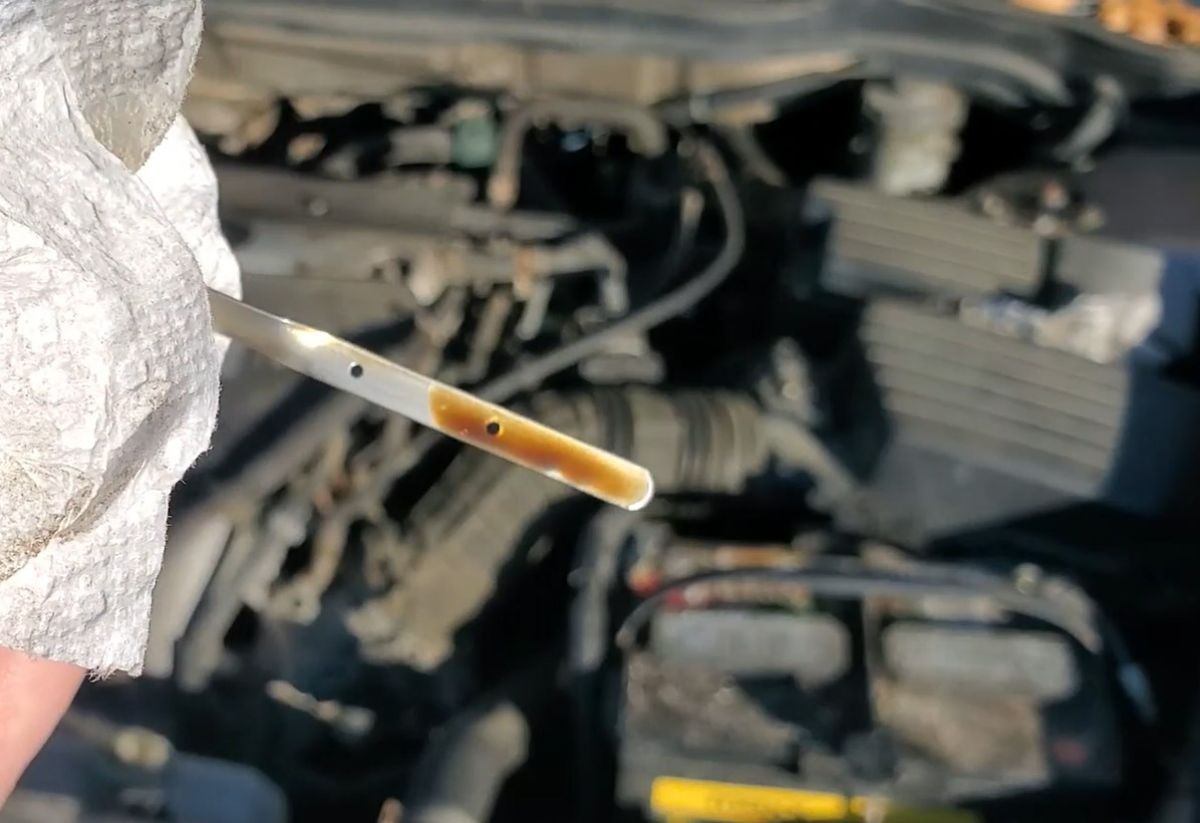
First Steps: Once you’ve safely pulled over and turned off your engine, it’s time to investigate the cause of the low oil pressure. Start by checking your oil level. To do this, locate your vehicle’s oil dipstick, which is often brightly colored for easy identification. Remove it, wipe it clean, reinsert it fully, and then withdraw it again to check the oil level. If the oil level is significantly below the recommended level on the dipstick, it’s essential to add more oil.
However, topping up the oil is not a guarantee that the problem is solved. Low oil pressure can be the result of oil leaks, a damaged oil pump, or internal engine issues. If the light remains on after adding oil, or if you find no noticeable change in the oil level, the next step is to delve into the problem further or seek immediate professional assistance. Running your engine with low oil pressure is a gamble you don’t want to take, as it can cause irreparable damage to the engine.
Battery/Charging System Warning Light
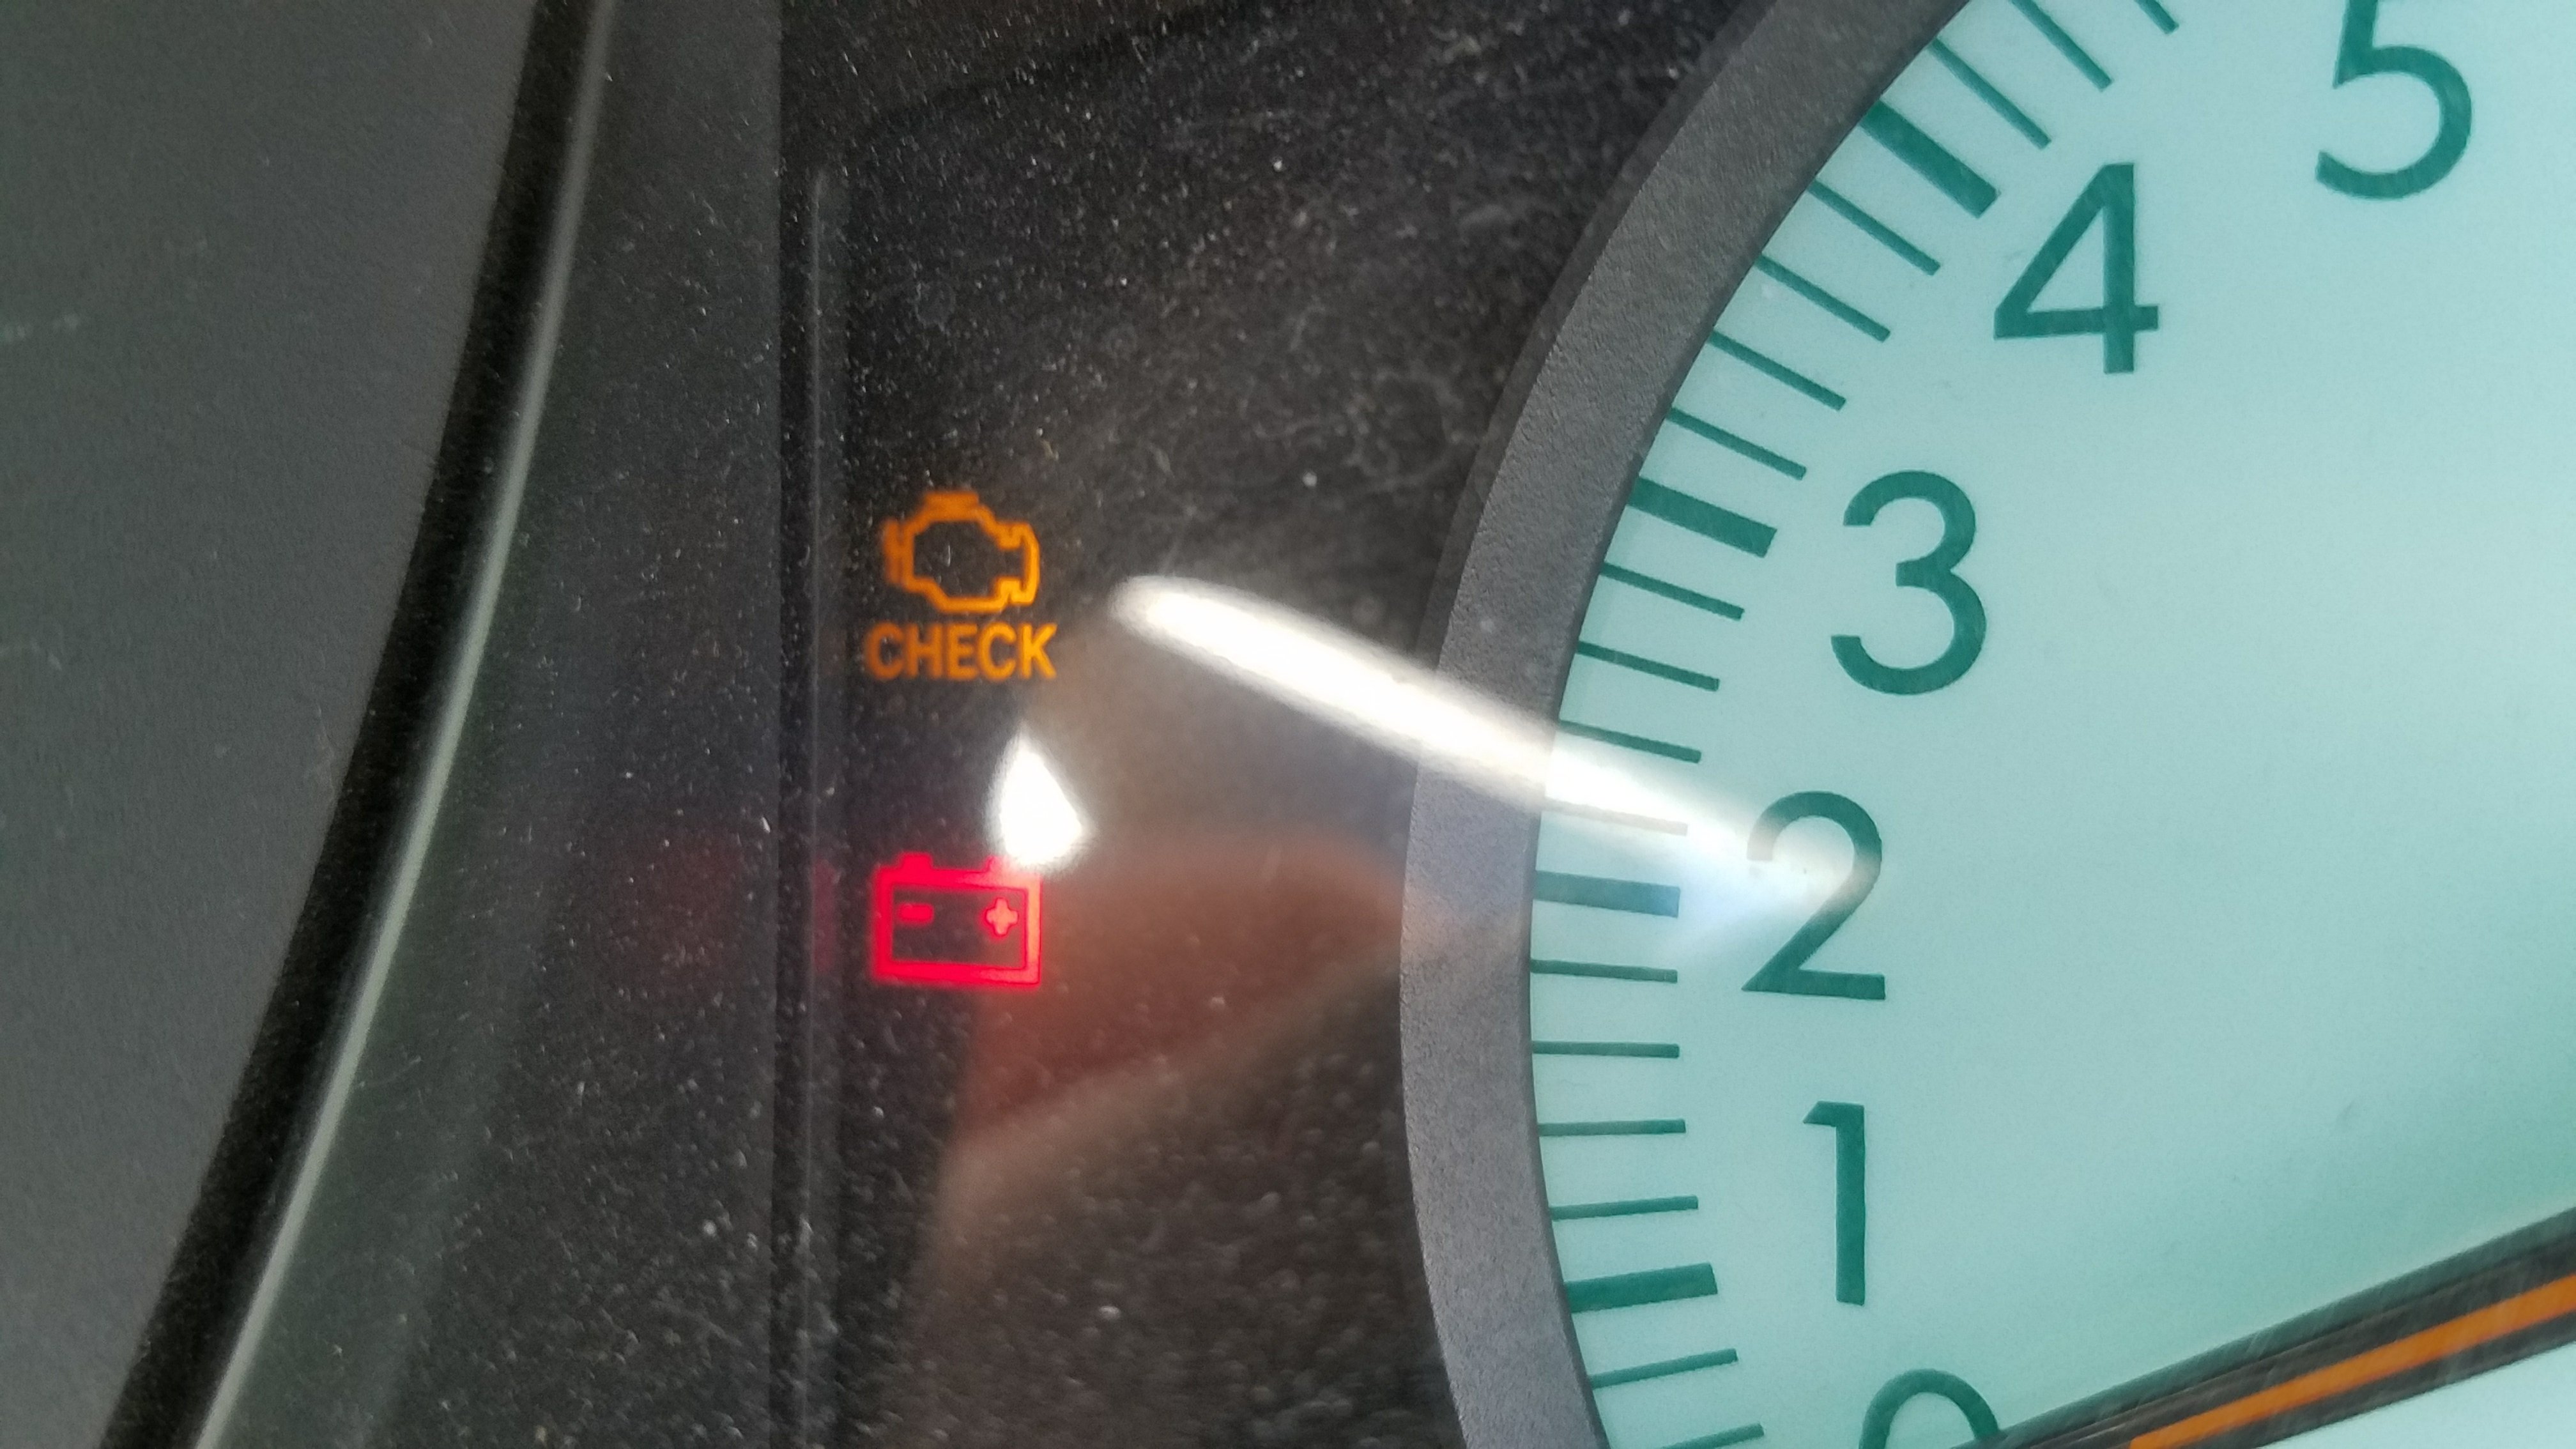
The battery or charging system warning light is a sentinel that guards the heart of your vehicle – its electrical system. When this light flickers to life on your dashboard, it’s not a warning to be taken lightly. It points to potential issues within your vehicle’s electrical system, which plays a pivotal role in powering everything from the engine’s ignition to your headlights and in-car entertainment. Understanding how to respond to this warning light can help you ensure a smooth ride and prevent unexpected breakdowns.
The main components of the electrical system include the battery, starter, and alternator. This post covers how to diagnose issues with your battery, starter, or alternator, and how to determine which one is the problem.
Immediate Action: As soon as the battery or charging system warning light comes on, your first course of action should be to steer clear of using any unnecessary electrical accessories. This means turning off the lights (if safe to do so), turning off the radio, and avoiding the use of power-hungry features like seat warmers or heated mirrors. Reducing the electrical load on your vehicle helps preserve the remaining electrical power and may buy you some time before the battery is fully depleted.
Your next step is to make a beeline for a service center. Driving with this warning light on can be risky, as it signifies an issue with the charging system that may lead to a dead battery and leave you stranded.
Why It’s Crucial: The electrical system in your car is powered by the alternator, which recharges the battery while the engine is running. The battery, in turn, supplies electricity to start the engine and keep various electrical components functioning. When the battery or charging system light activates, it indicates that the charging system is not operating optimally. This means your vehicle is running off the remaining charge in the battery, and it won’t be long before the battery is drained completely. Without a functioning electrical system, your vehicle can come to an abrupt halt, leaving you stuck and in need of a tow.
First Steps: While you’re on your way to the service center, you can perform some basic checks that may help you identify the issue. Start by inspecting the condition of the battery terminals. Corroded or loose terminals can hinder the flow of electricity, causing the warning light to activate. Clean and tighten the terminals as needed.
Run a few checks to determine if you have a bad battery in need of replacement.
Additionally, examine the condition of the alternator belt. A loose or damaged alternator belt can reduce the alternator’s efficiency in charging the battery. If you notice any issues with the belt, it should be replaced.
Professional Diagnosis: After reaching the service center, a professional technician will conduct a more thorough examination of the charging system. This includes testing the battery, alternator, and voltage regulator. The diagnostic process may also involve inspecting the wiring and connections for signs of damage or wear. By using specialized tools and knowledge, the technician can pinpoint the exact cause of the issue and provide recommendations for necessary repairs or replacements.
ABS (Anti-Lock Braking System) Warning Light

The ABS (Anti-Lock Braking System) warning light is an indicator that keeps your vehicle’s safety in check. Although not as critical as some of the other warning lights, it still plays a significant role in ensuring safe and controlled braking. When this light activates on your dashboard, it’s time to pay attention, as it points to a potential issue with the anti-lock braking system, which is designed to prevent wheel lock-up during heavy braking and improve vehicle stability.
Immediate Action: Unlike some warning lights that demand an emergency stop, the ABS light allows a bit more flexibility. Your regular brakes should still work, and you can continue driving. However, you should adapt your driving behavior. The primary thing to remember is to avoid heavy or panic braking. The ABS system may not function as expected, which means your wheels might lock up during abrupt stops. So, increase your following distance and brake gently to ensure you can safely stop your vehicle.
Why It’s Noteworthy: The ABS system is a safety feature that enhances your vehicle’s braking performance. It prevents skidding and maintains steering control during hard braking, which can be especially valuable in slippery conditions or when you need to make sudden stops. While your regular brakes will still function, you’ll lose the benefits of the ABS system when the warning light is on.
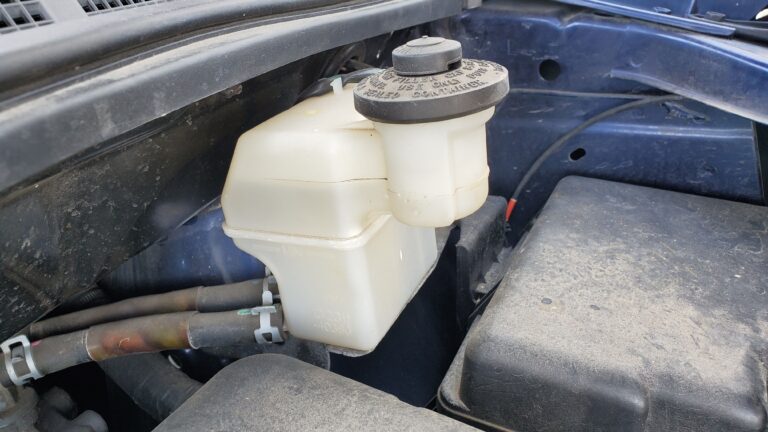
First Steps: After adjusting your driving style, it’s a good idea to inspect your brake fluid level. The ABS light can sometimes illuminate due to a low brake fluid level, which affects the performance of the braking system. To check your brake fluid, locate the reservoir under your vehicle’s hood. It’s often a translucent container marked with MIN and MAX levels. If the fluid level is below the MIN mark, you’ll need to top it up with the appropriate brake fluid.
Professional Examination: If your brake fluid level is within the recommended range, and the ABS light persists, it’s time to seek professional assistance. An illuminated ABS light can also signal a malfunction within the anti-lock braking system itself. Specialized diagnostic equipment and expertise are required to pinpoint the precise issue. A qualified mechanic will examine the system, including sensors, the hydraulic unit, and control module, to identify the root cause.
Airbag Warning Light

The airbag warning light is a sentinel of passenger safety, designed to alert you to potential issues with one of your vehicle’s most crucial safety features: the airbag system. Airbags are a pivotal component in reducing the severity of injuries during accidents, making the proper functioning of this system paramount. When the airbag warning light illuminates on your dashboard, it’s a call to action to ensure your safety in the event of a collision.
Immediate Action: The airbag warning light’s activation should serve as a reminder of the potential consequences of ignoring it. Unlike some warning lights that allow you to continue driving with caution, this one is particularly serious. It indicates a potential problem with your airbag system, which means your airbags may not deploy as intended in the event of a collision. In light of this, proceed with caution. Maintain a safe following distance, obey traffic rules, and take extra care while driving.
Why It’s Critical: The airbag system is a cornerstone of modern vehicle safety. It’s designed to protect occupants from serious injury in the event of a collision by inflating rapidly upon impact, providing a cushioning effect. When the airbag warning light is on, it signals that this critical safety system may be compromised. In a collision, this could leave you and your passengers without the crucial protection that airbags provide.
First Steps: While driving cautiously, it’s advisable to perform a preliminary check by looking for loose wiring or connections under the seats. Sometimes, loose wiring or a loose connection can trigger the warning light. Reconnecting or securing these loose components may resolve the issue. However, exercise caution when doing so and consider seeking professional assistance if you’re not familiar with automotive electrical systems.
Professional Diagnosis and Repair: If the airbag warning light remains illuminated after checking for loose wiring, it’s imperative to visit a service center for professional diagnosis and repair. Repairing or troubleshooting airbag systems is not a DIY task due to the complex and potentially dangerous nature of airbags. Attempting to do so without proper training and equipment can inadvertently deploy an airbag, which can cause injury.
A qualified technician at the service center will use specialized diagnostic equipment to read error codes from the airbag system. These codes help pinpoint the exact issue, whether it’s a faulty sensor, a problem with the airbag itself, or other components within the system. Once the issue is identified, they will provide recommendations for necessary repairs or replacements to ensure your vehicle’s airbag system is fully functional and capable of protecting you and your passengers in the event of an accident.
Tire Pressure Monitoring System (TPMS) Light

The TPMS (Tire Pressure Monitoring System) light is a guardian of your vehicle’s tire health. It’s there to alert you to issues with tire pressure, which, when neglected, can compromise both your safety and the longevity of your tires. When this warning light becomes a fixture on your dashboard, it’s not merely a suggestion; it’s a signal that demands your attention.
Immediate Action: When the TPMS light illuminates, it’s signaling that one or more of your tires have low air pressure. While it doesn’t necessitate an immediate stop, it does require action. Low tire pressure can affect your vehicle’s handling, braking, and fuel efficiency, making it important to address promptly. The immediate action to take is to check your tire pressure. You should avoid any sudden maneuvers or aggressive driving until the issue is resolved.
Why It’s Important: Tire pressure is more than just a matter of comfort. It directly influences your vehicle’s safety and performance. Underinflated tires have less contact with the road, reducing traction and potentially increasing the risk of a blowout or loss of control in extreme cases. Additionally, improper tire pressure can lead to uneven wear, shortening the lifespan of your tires and increasing long-term maintenance costs.
First Steps: After checking the TPMS light, head to a nearby gas station or use a portable air compressor to inflate any underinflated tires to the recommended pressure. The correct tire pressure can typically be found in your vehicle’s owner’s manual or on a sticker located on the driver’s side door jamb or inside the glove compartment. It’s essential to inflate all tires to the same pressure, ensuring uniform handling and safety.
Once you’ve inflated your tires to the recommended levels, it’s advisable to reset the TPMS light, then drive for a few minutes. The TPMS light is designed to monitor tire pressure continually, and the light may not extinguish immediately after inflating the tires. Driving for a short distance allows the TPMS system to reevaluate the tire pressure. If the light remains on after this short drive, it may indicate a potential sensor issue or a slow leak. In such cases, it’s recommended to consult a technician for further evaluation.
Technician Evaluation: When the TPMS light persists, even after inflating your tires and driving, it’s time to involve a technician who can provide a comprehensive diagnosis. The TPMS system relies on sensors in each tire to monitor pressure. These sensors may malfunction or require replacement over time. A technician has the tools and expertise to diagnose sensor issues, identify potential leaks, and ensure that your TPMS system operates correctly.
Conclusion
Understanding your car’s warning lights and knowing how to respond when they illuminate is crucial for your safety and the longevity of your vehicle. While some warning lights indicate minor issues, others can point to more significant problems that require immediate attention. By familiarizing yourself with these warning lights and taking the appropriate steps, you can ensure that your vehicle stays in optimal condition and avoid potentially costly repairs down the road. Remember that professional assistance is always recommended when dealing with complex issues, so don’t hesitate to seek the expertise of a qualified mechanic when needed.