How to Tap Maple Trees and Make Maple Syrup the Easy Way
We’ve Moved to HowToMakeMapleSyrup.org!
Please click the link below if you are not automatically redirected:
We’ve Moved to HowToMakeMapleSyrup.org!
Please click the link below if you are not automatically redirected:
No related posts.
The Jones Rule of 86 is a handy rule of thumb developed by Charles Howland Jones back in the 1930’s. This article describes the details of the rule as well as how to utilize it most effectively to make Maple Syrup. There is a fair amount of confusion relating to…

This picture guide walks through the easy process of using a simple refractometer to measure the sugar content of Pure Maple Syrup!
The Maillard reaction is a chemical process and one of the key factors in giving maple syrup its unique flavor, when…

This picture guide walks step-by-step through the final process to do the finishing boil for maple syrup.
Answers to a list of the most common questions related to tapping maple trees and boiling sap into delicious maple syrup!
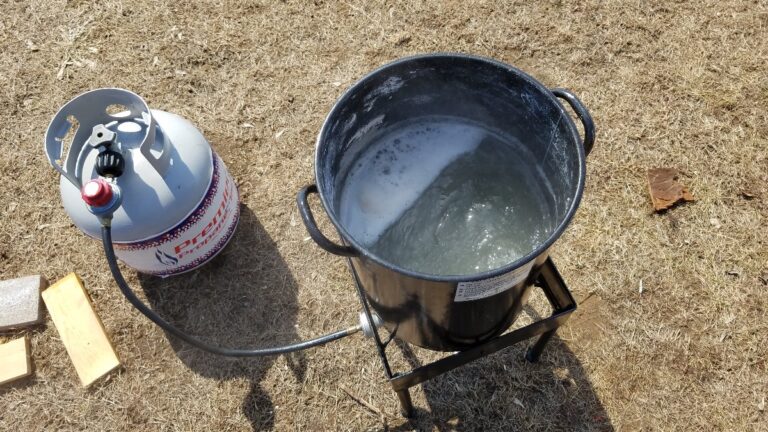
I switched from boiling maple sap over a wood fire to using a propane turkey fryer and never looked back! These are the reasons I switched!
I’d like to try sugaring but I can’t find clear information on how long sap can be kept before boiling. I’ve read that sap should be boiled down every day for the best syrup, but my schedule makes it impossible to boil more often than every weekend. I was only planning on tapping three trees to start, I can collect the sap daily, and I have a “nice shady spot” outdoors. I just don’t know if keeping sap up to 6 days will foil the sap or syrup badly enough to make the project futile. Thanks.
Great question! The sap itself can actually be kept for quite sometime before boiling, as long as it is kept cool (below about 36 deg and in the shade – for smaller quantities, a refrigerator is fine). I know some folks who wait until they’ve collected all their sap for the season before boiling! This could be 3-4 weeks!
You’ll know if the sap has gotten too warm and begins to spoil because it will begin to turn slightly “milky.” If that happens, I’d throw it out because the syrup won’t taste as good (I’ve actually tried it, didn’t get sick, the syrup just tasted a bit “off” – therefore I don’t recommend it).
That being said, I would say that keeping the sap cool for a week would be just fine. I do that frequently, for me I typically boil every 2-7 days. There is no discernable difference in the taste of the final product, as long as it is kept cool.
Hope this helps, and all the best!
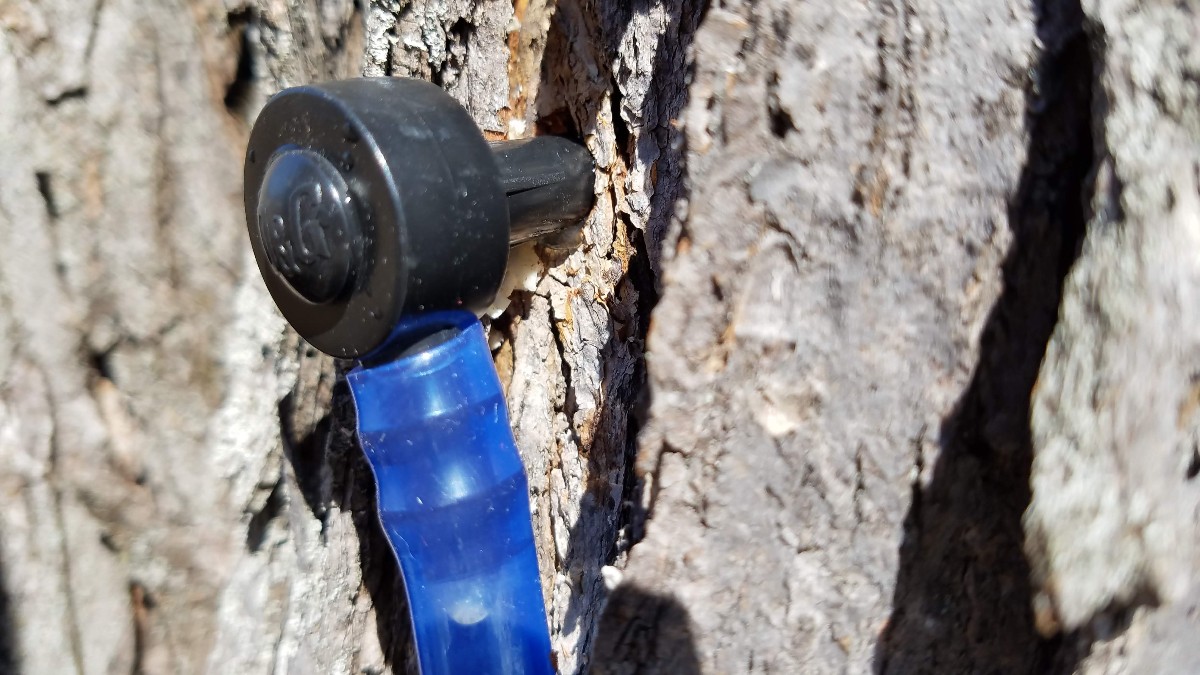
I am having trouble finding any advice anywhere, we tapped our first trees today and used the same tubing and milk jug set up that you have pictured here. Does it make a difference if the tubing is all the way to the bottom of the jug or not? I’m worried about the sap not having enough pressure to flow if the tubing is all the way in the bottom of the jug but my husband thinks there’s enough pressure that it doesn’t matter. Just want to do this right. Thanks!
Hi, I’m glad your tapping trees, I can’t wait to get started, but I need to wait a few more weeks in my area!
It really does not make a difference on the depth of the tubing in the jug. The flow of gravity will be enough to overcome the surface tension inside the tube. As long as the hole in the tree is above the top of the jug, you are all set!
Happy sugaring!
Thank you for the quick reply! Sorry I have to tell my husband he was right haha.
can u reboil maple syrup that has sugar lumps(with fresh sap) like starting over when you failed your first attempt at making syrup.
Hi Thomas,
Good question! Although you can do this, and you will get something that resembles syrup, the final product will taste a little bit funny! In general, I wouldn’t recommend it, better to start over with fresh sap, if you have it. If you want to salvage the ‘over done’ syrup, maybe maple candy is the way to go!