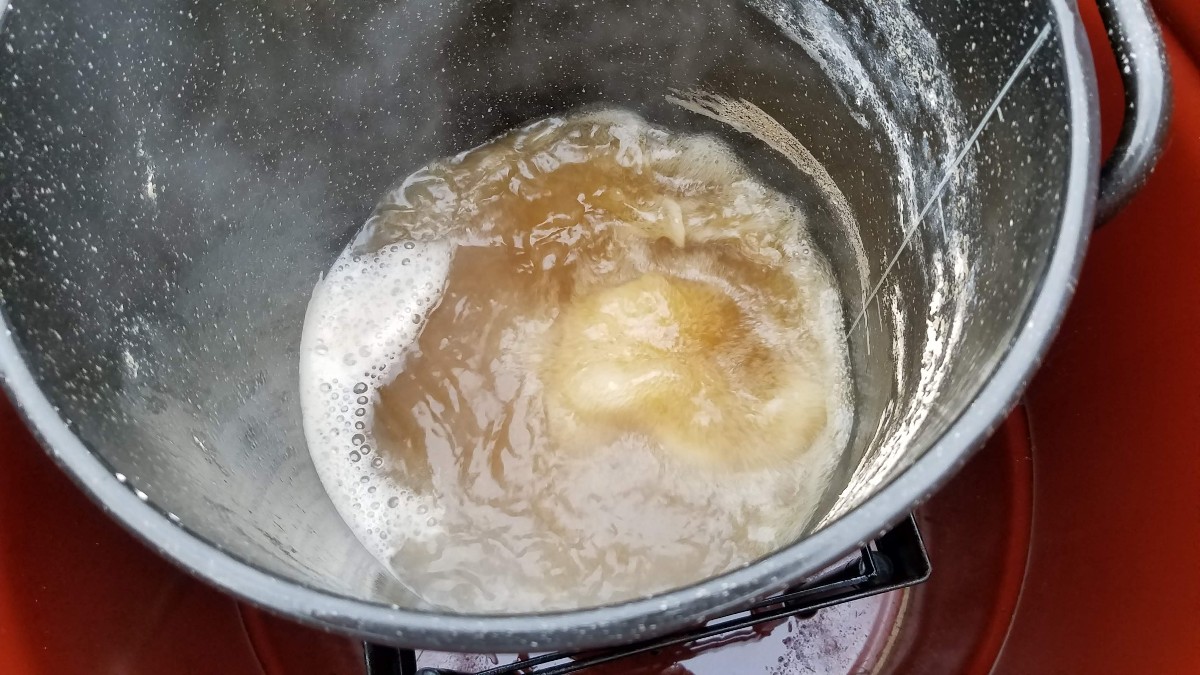
How to Boil Sap for Maple Syrup (Fun and Easy!)
We’ve Moved to HowToMakeMapleSyrup.org!
Please click the link below if you are not automatically redirected:
How to Make Maple Syrup – HowToMakeMapleSyrup.ORG
We’ve Moved to HowToMakeMapleSyrup.org!
Please click the link below if you are not automatically redirected:
How to Make Maple Syrup – HowToMakeMapleSyrup.ORG
HowToMakeMapleSyrup.ORG – Homepage
No related posts.

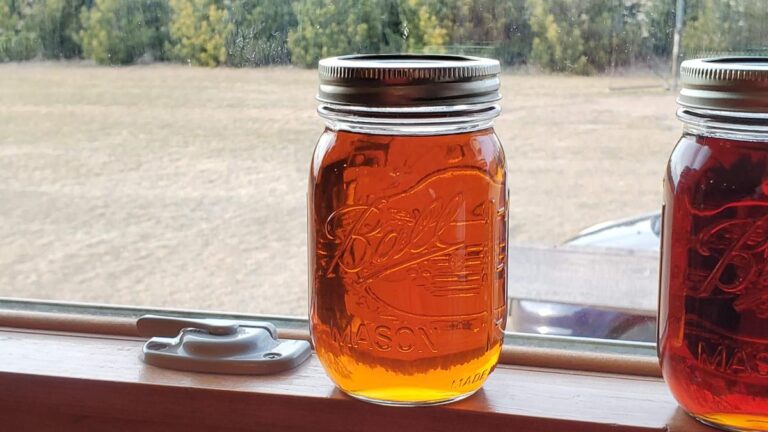
This picture guide walks through the easy process of using a simple refractometer to measure the sugar content of Pure Maple Syrup!
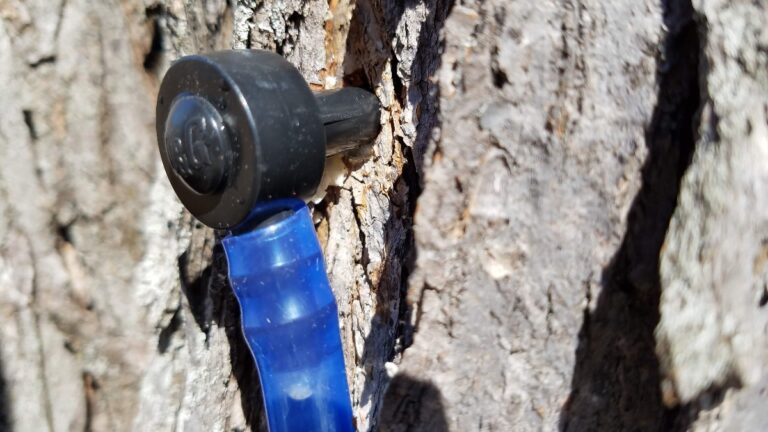
Who doesn’t love Maple Syrup? Check out this picture guide to get up and running quickly tapping your Maple trees!
The Maillard reaction is a chemical process and one of the key factors in giving maple syrup its unique flavor, when…
Answers to a list of the most common questions related to tapping maple trees and boiling sap into delicious maple syrup!

This picture guide walks step-by-step through the final process to do the finishing boil for maple syrup.
The Jones Rule of 86 is a handy rule of thumb developed by Charles Howland Jones back in the 1930’s. This article describes the details of the rule as well as how to utilize it most effectively to make Maple Syrup. There is a fair amount of confusion relating to…
Fantastic information ! I’m going to try making syrup for the first time next season. I do not have any of my own trees but have located a few in the neighborhood and asked the owners if I could use them next year. I live in Western Co. so things happen earlier here, its been in the 40s during the day for about a month already. I’ve been looking for decent used pots and burners but have come up empty so far. If you have suggestions other than Facebook or Craigslist I would really appreciate them. My set up and amount of sap to boil down will be is almost exactly what your pictures detail. So glad I found your site ! Thanks in advance.