
How to Fix a Washer that Won’t Drain
These are the step-by-step instructions (with pictures) to fix a washing machine that will not drain.
I have a Maytag Bravos washing machine. Suddenly it was in the middle of a cycle, and it would not drain; it gave error codes “SD” and then “LD”. I looked up the codes, and they mean the following.
If you know the drain pump is bad, read this picture guide on replacing the pump.
Maytag Bravos Washing Machine Error Codes
“SD” – This error code indicates that you have too much suds, and the washer cannot dissipate the amount of suds that has been generated (did you use “non-HE” detergent?)
“LD” – This error code indicates that the drain pump is stopped, clogged, or not working.
We had used the correct type of detergent, and the water (that wouldn’t drain) did not look all that sudsy, so we figured it was a clogged drain pump. These are the steps taken to figure out what the problem was. If you are having this issue, hopefully one of these items will fix it for you!
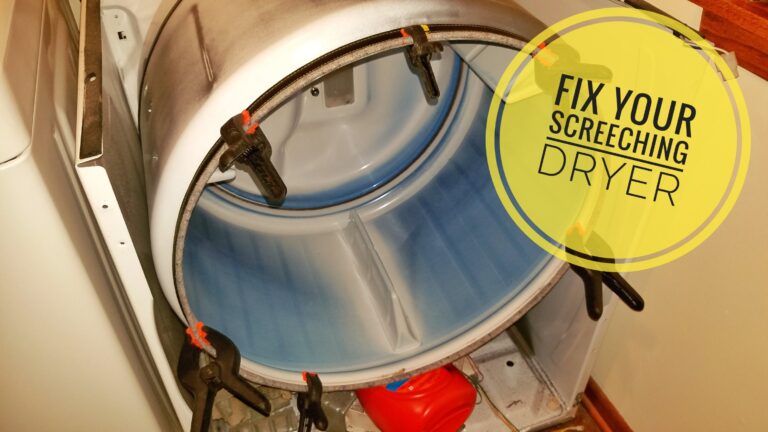
Note: If your washer is getting louder and louder and sounds like a jet engine, its bearing is going bad! Check out this article on how to replace the bearings in your washing machine!
Tools and Supplies:
- pliers
- 1/4″ socket wrench
- 1/4″ hex driver (Allen wrench)
- Maytag – Whirlpool drain pump (W10536347)
- putty knife
- small flat-blade screwdriver
Step by Step Trouble-Shooting – Washer Won’t Drain
The machine that I will be showing in this guide is a Maytag Bravos model number MVWB750WQ1.
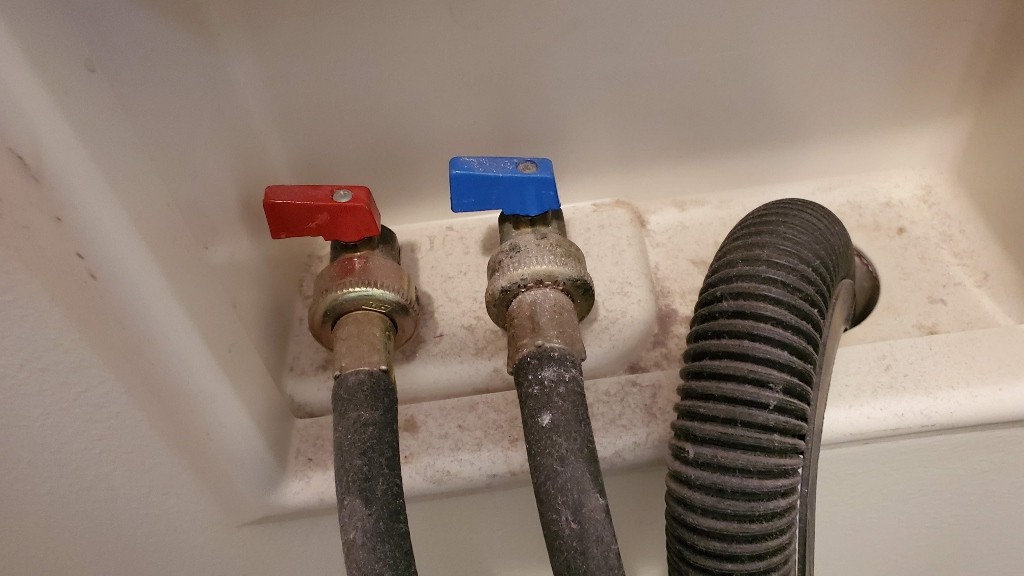
The first step is to unplug the washing machine. Then turn off the water supply. Generally the levers pointed 90 degrees to the hose means they are turned off (as shown below).
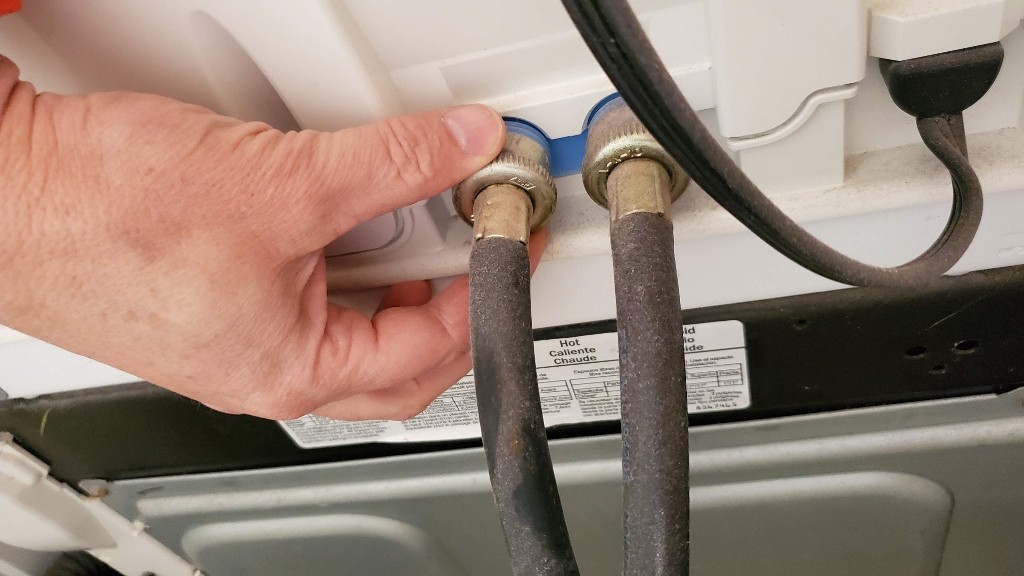
Disconnect the water supply hoses from the back of the washing machine.
A lot of the research I did into this problem talked about tipping the washing machine over to get at the pump. Unfortunately, my washer was full of water! It was very heavy, and besides, I didn’t want to get water everywhere. So I did the subsequent steps with the washer upright, until I got the water to drain out…
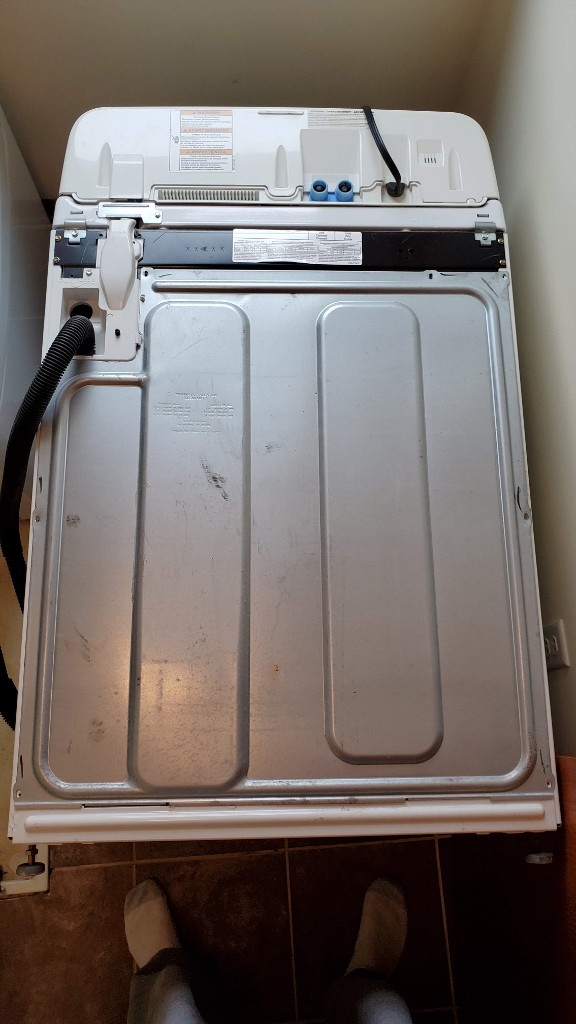
Next, we want to remove the back panel of the washing machine. Use a 1/4 inch socket to remove the screws from the back panel.
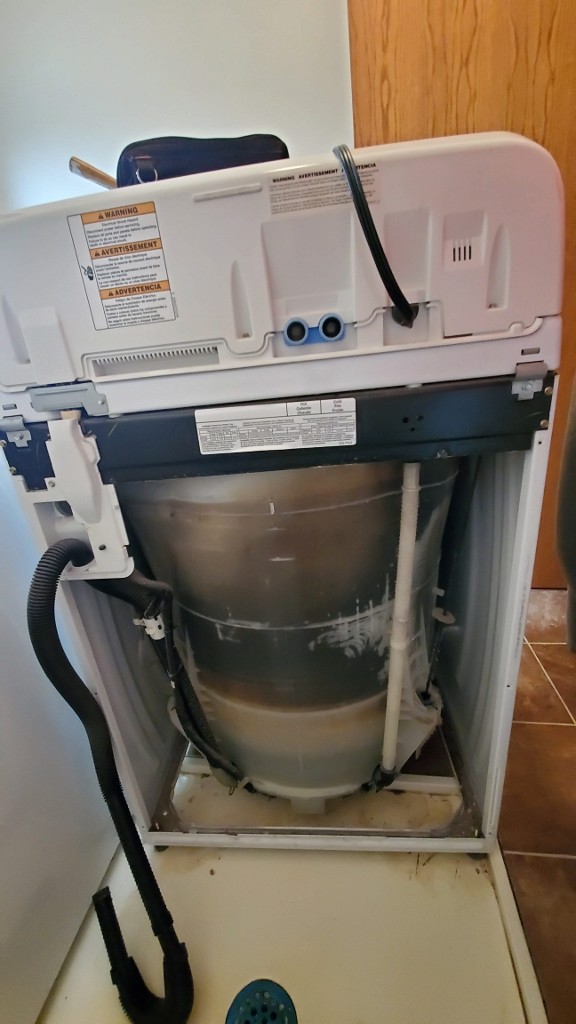
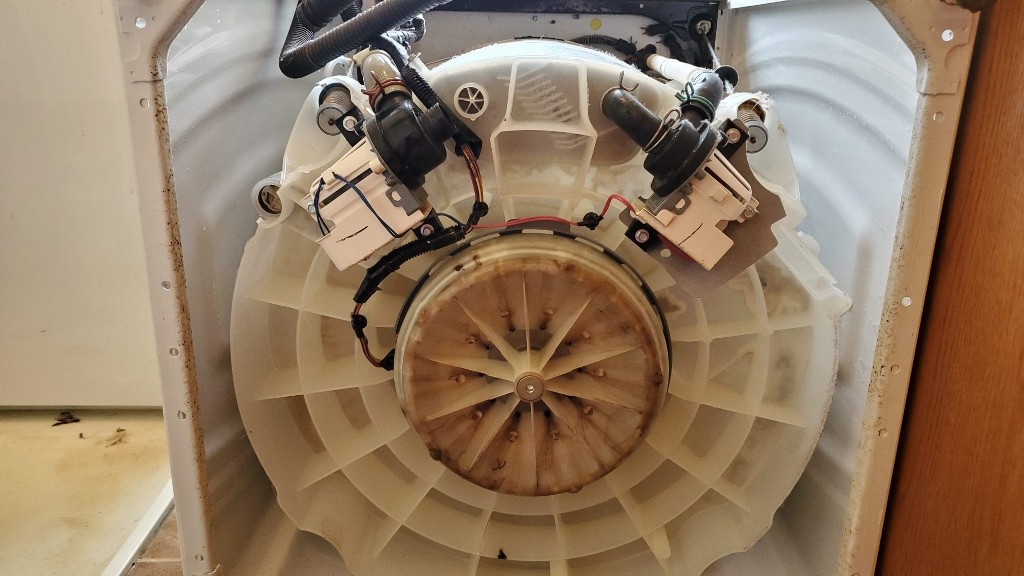
This is a view of the washing machine with the back panel removed.
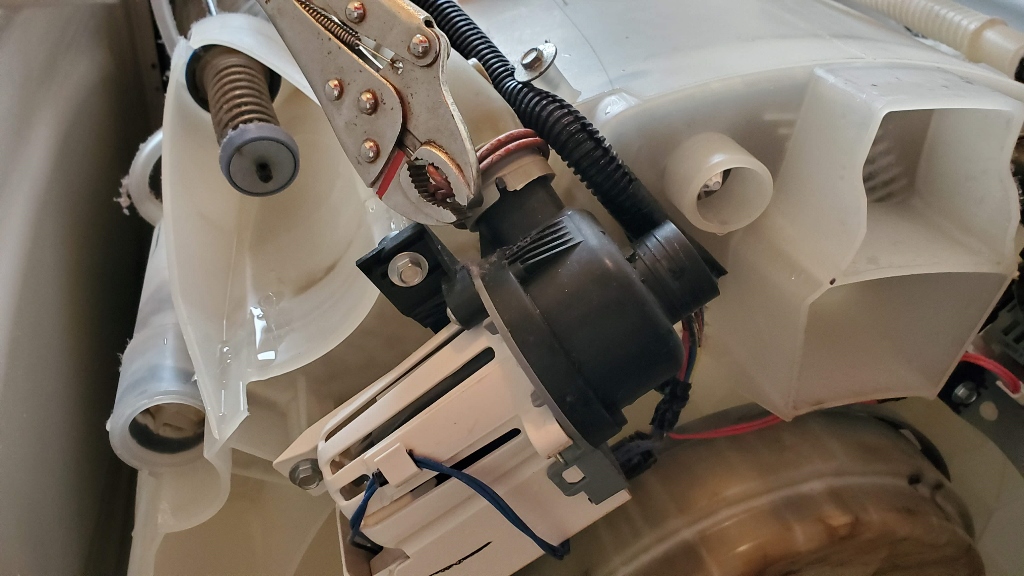
The washing machine has two pumps associated with it: a supply pump, and a drain pump. In this case, as you face the back of the unit, near the bottom, the pump on the right is the supply pump:
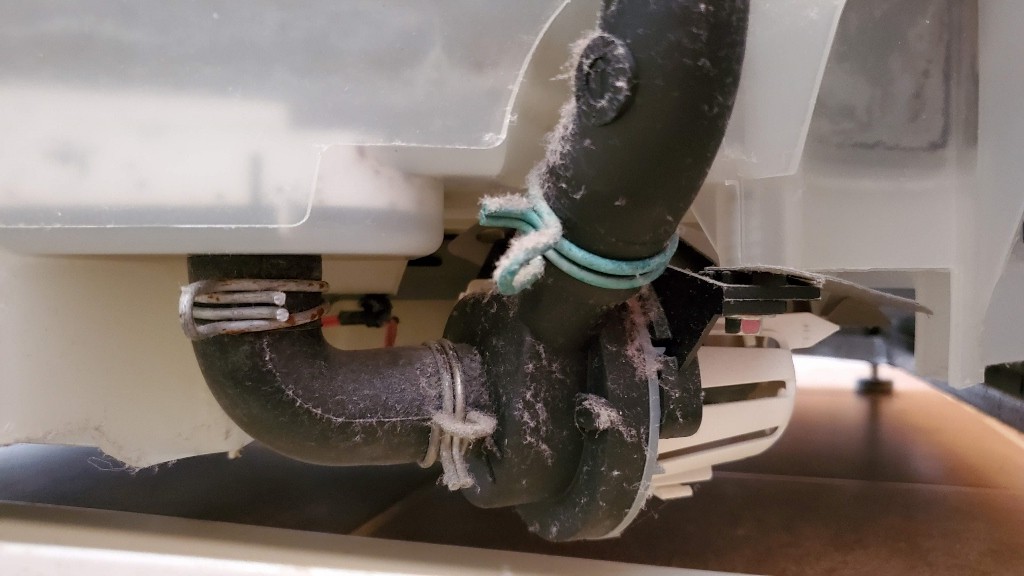
And the one on the left is the drain pump:
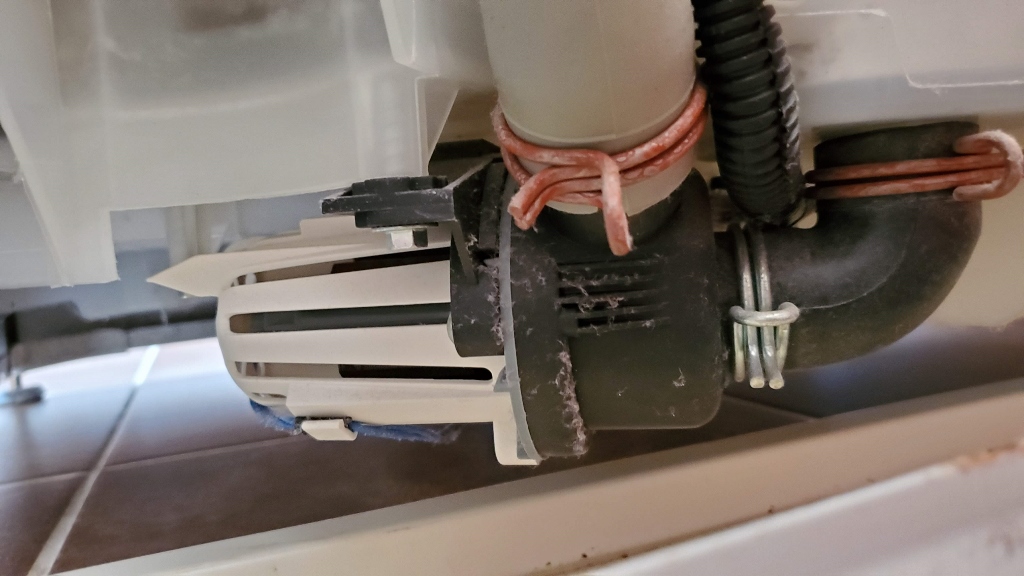
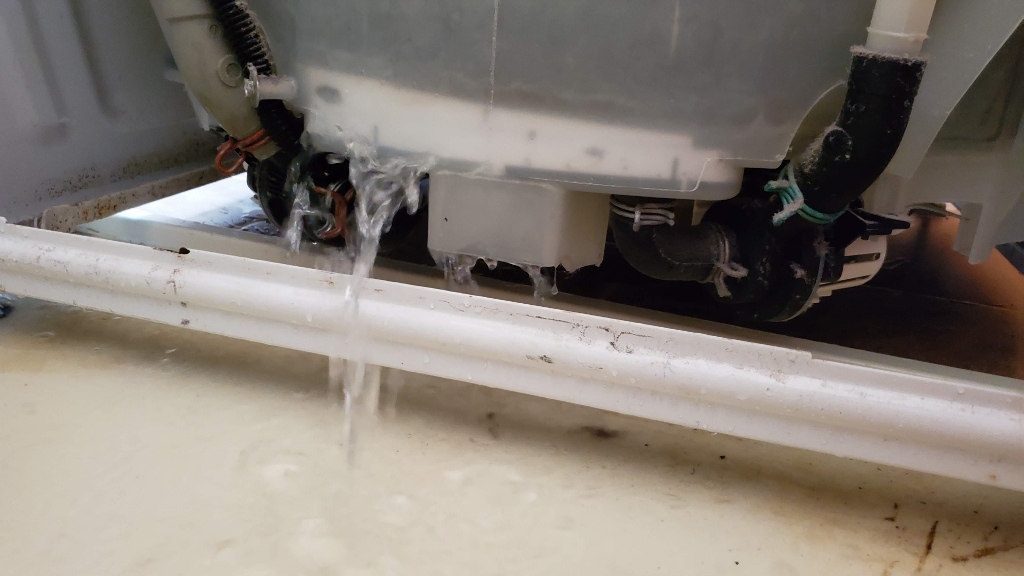
Since our problem is that the water won’t drain, we decided to disconnect the drain pump hoses first. Use a pliers to release and slide down the hose clamp.
When you remove this hose, water will drain out. Either position the washer over a drain, or have something ready to catch the water.
As soon as you pull down on the hose, the water starts gushing. Let all of the water drain out.
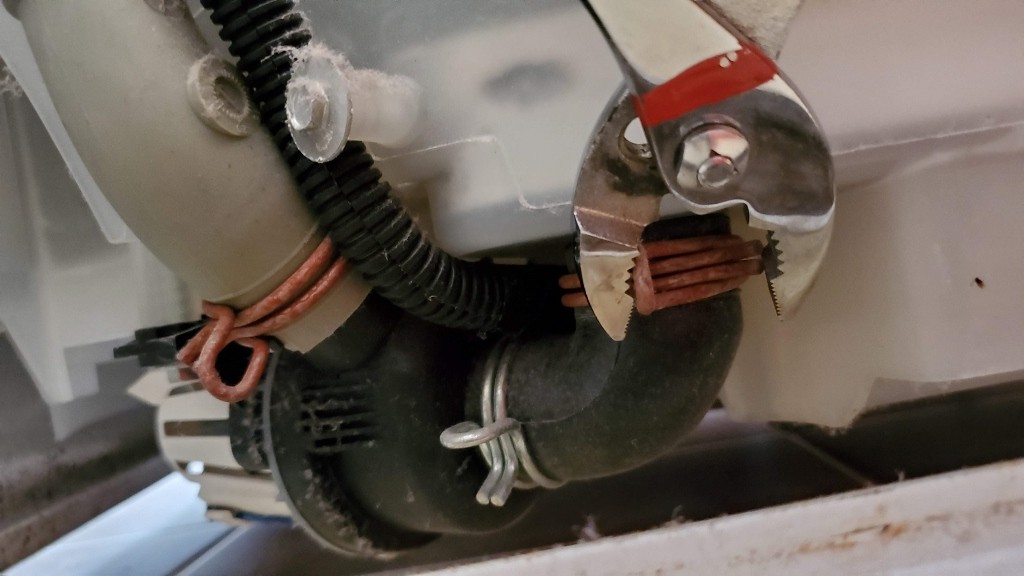
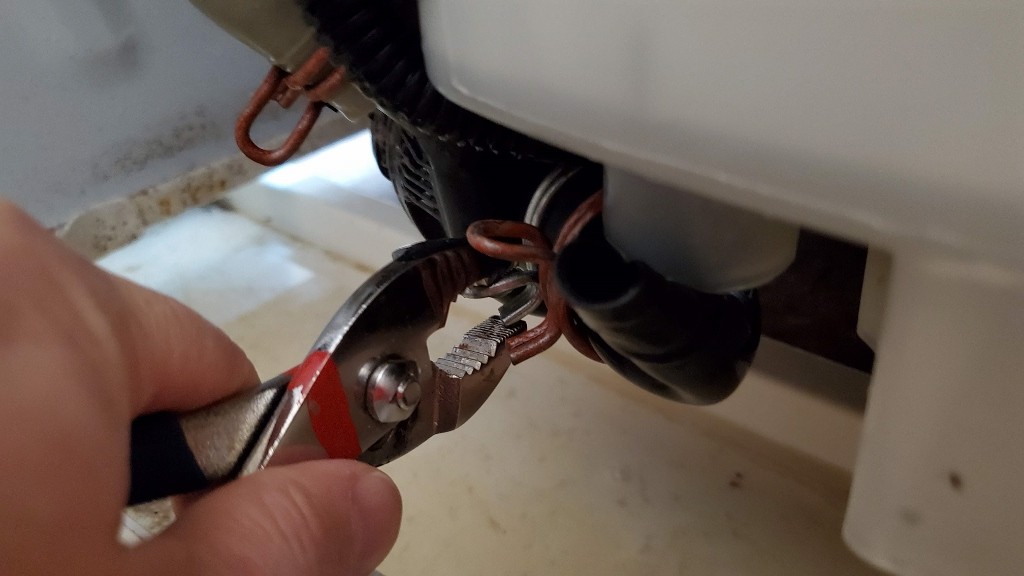
Next, disconnect the hose clamp going to the pump itself.
Use your finger to reach down into the pump and feel around for any obstructions. A common one is a coin getting into the pump, such as a dime or a penny. Spin the rotor a fiew times and see if you hear any clanking.
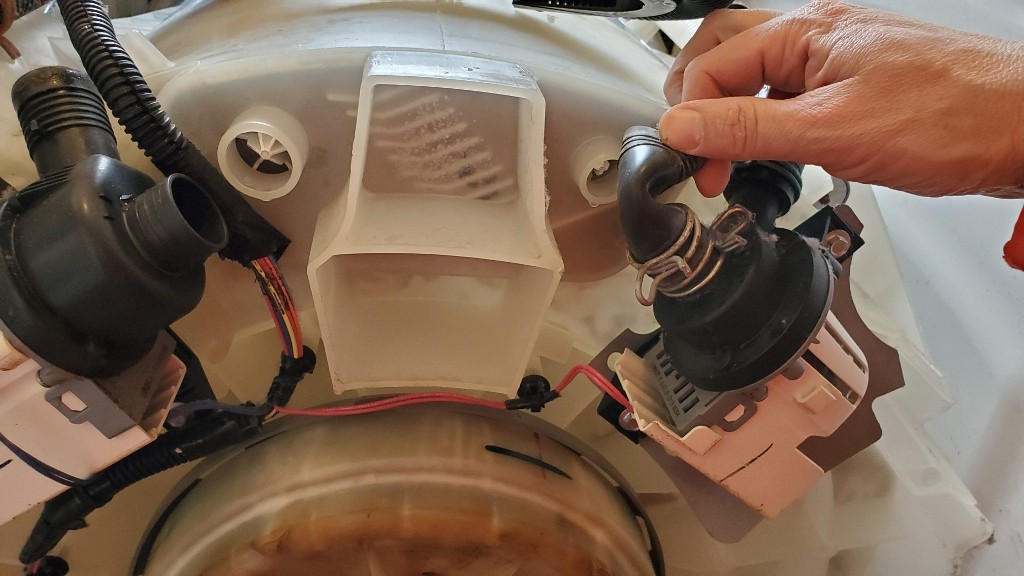
After the water was drained out of the washer, you can go ahead and tip it forward onto a towel or something. This will make the other fittings easier to get at.
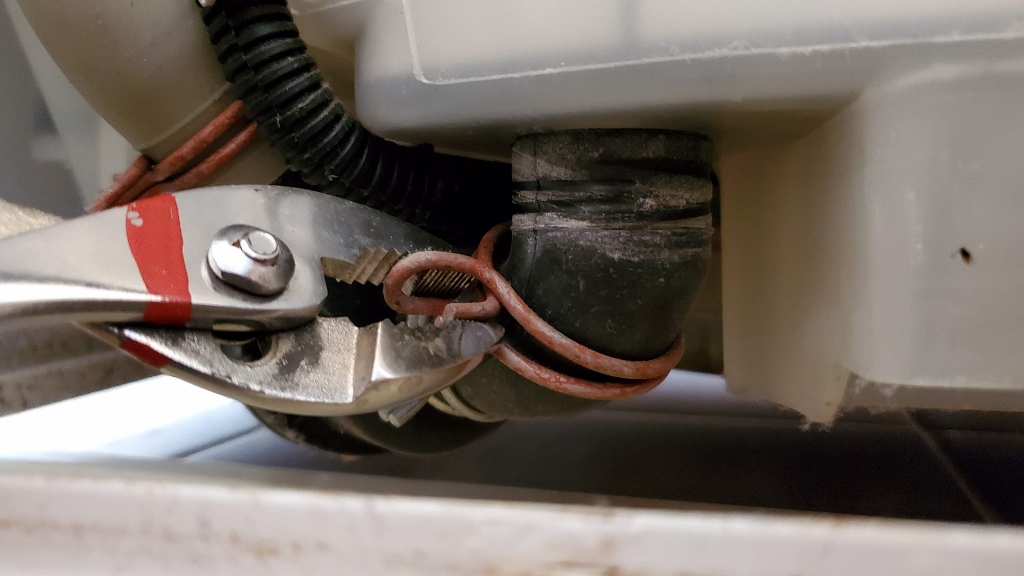
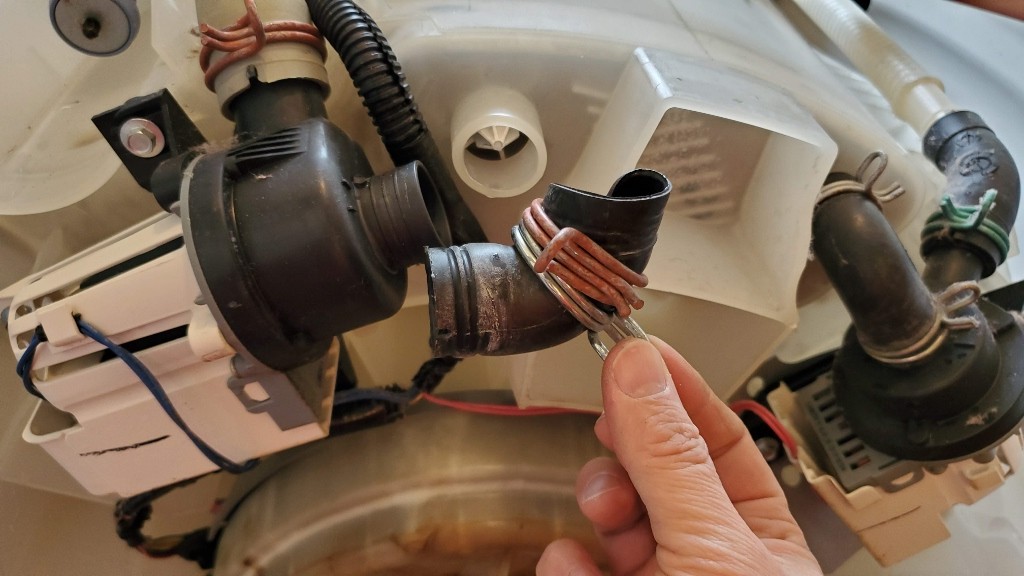
Disconnect the other hose clamp, and check that side for obstructions as well.
You may need to remove this retaining screw in order to get at it.

If you determine that the drain pump is bad, replace it. The direct replacement is the Maytag-Whirlpool (W10536347).
If everything appears clear and not clogged, move on to the supply pump. Disconnect the hose clamps and check for obstructions there as well. Check for towels or pieces of cloth that may have made their way down into either of the pumps.
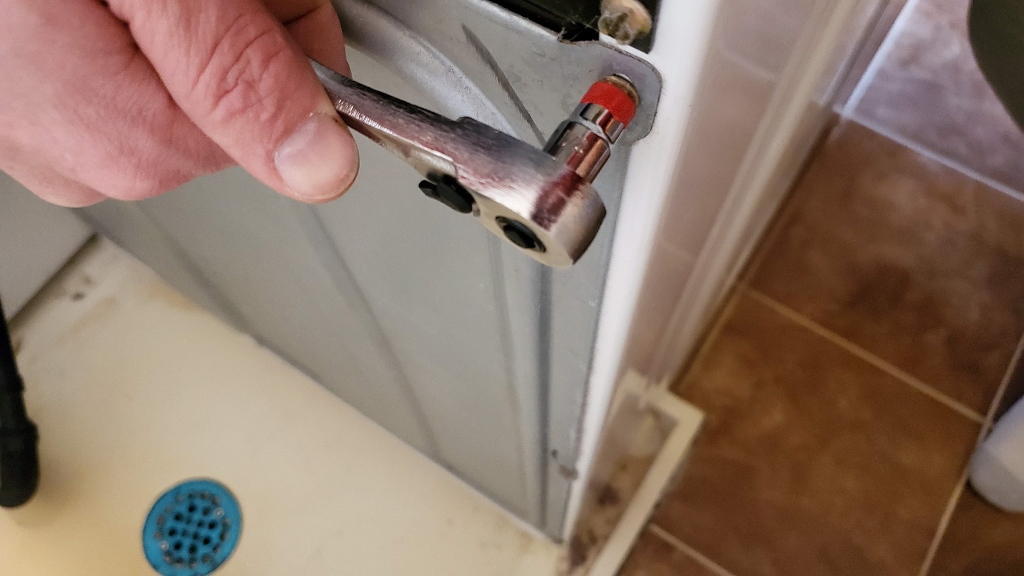
IMPORTANT: Check the bearing retention screw on the bottom of the washer. It is a 1/4″ Allen (hex) screw. Make sure that it is tight!

If none of these things is the issue, There may be an obstruction inside the tub. Go ahead and put the back panel back on.
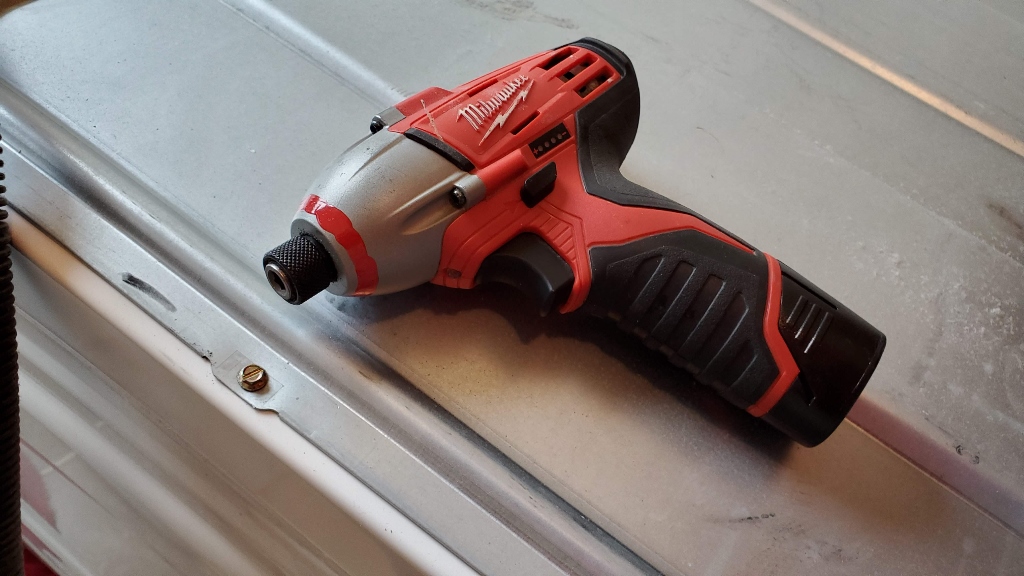
Incidentally, my cordless screwdriver (without a bit) happened to fit the screws perfectly.
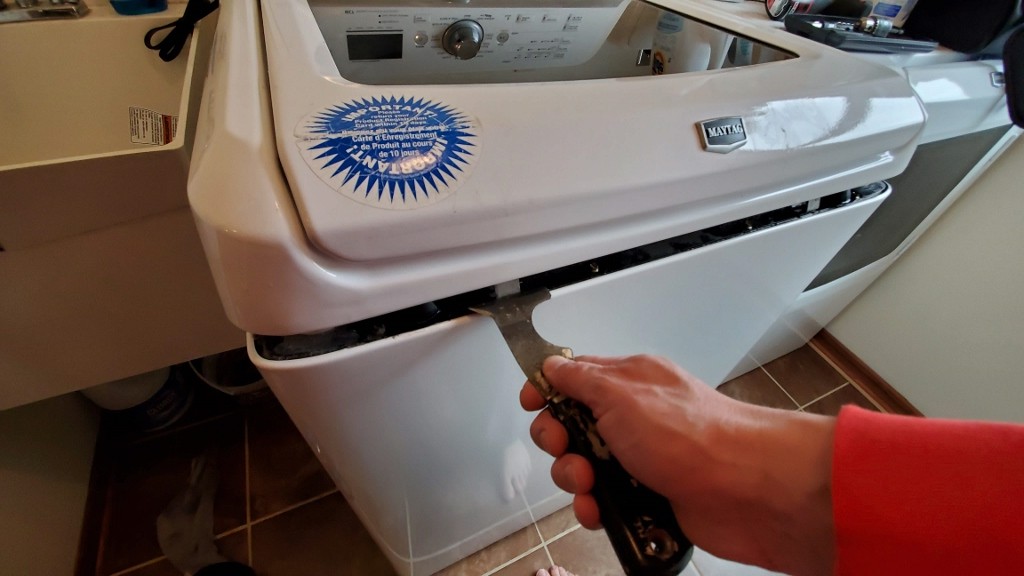
Go ahead and tip the washer back up. Tape the lid closed so that it does not come crashing down on you in subsequent steps.

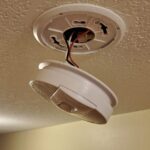
Use a putty knife to press in on the 2 tabs in the seam of the washer lid. These are located about 8 inches from either side. Press in on the metal tabs to release the catch. Then tip the lid up.
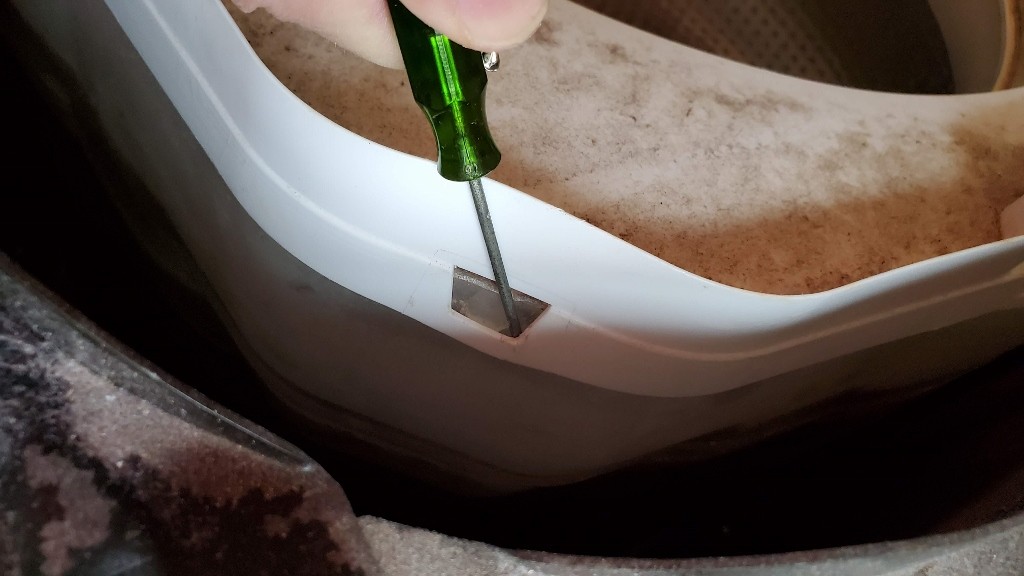
Remove the plastic cover from the tub. Use a small flat screwdriver to pry up the tabs.
Use a pliers or vise grip to loosen the hose clamp and remove the hose.
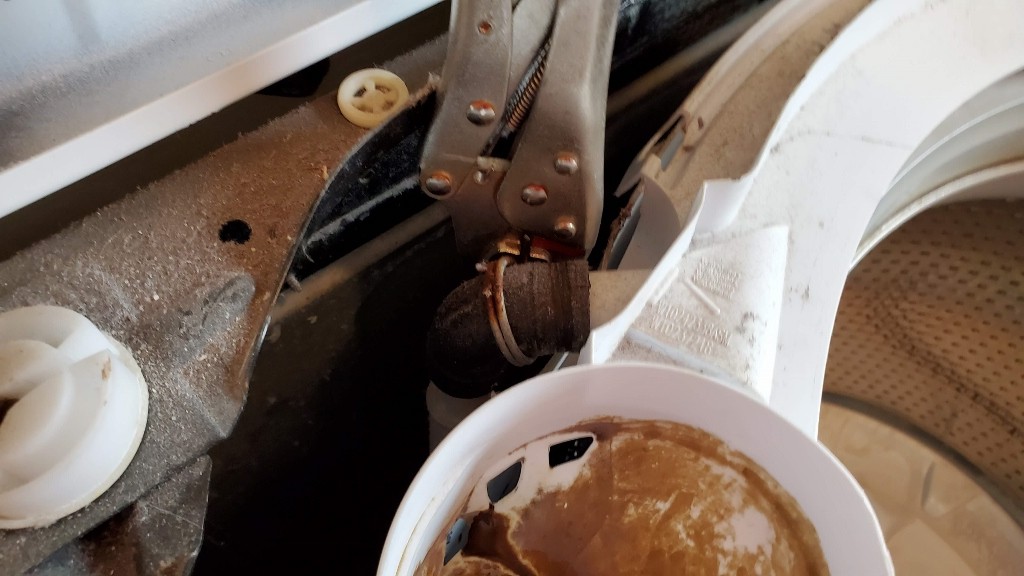
Remove the plastic cover.
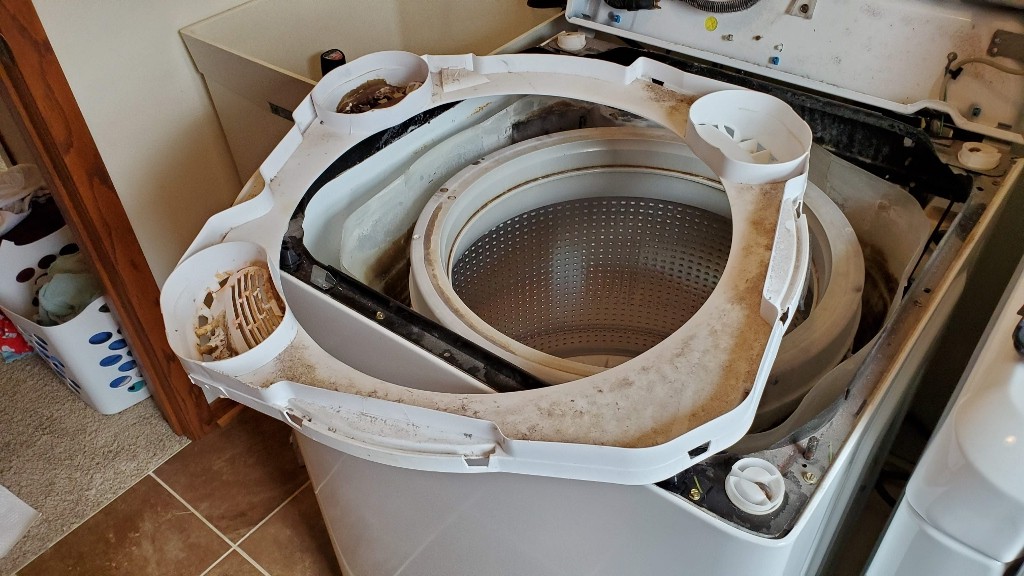
Use a flashlight to check for any clothing item or obstruction that may have gotten between the drum and the tub.
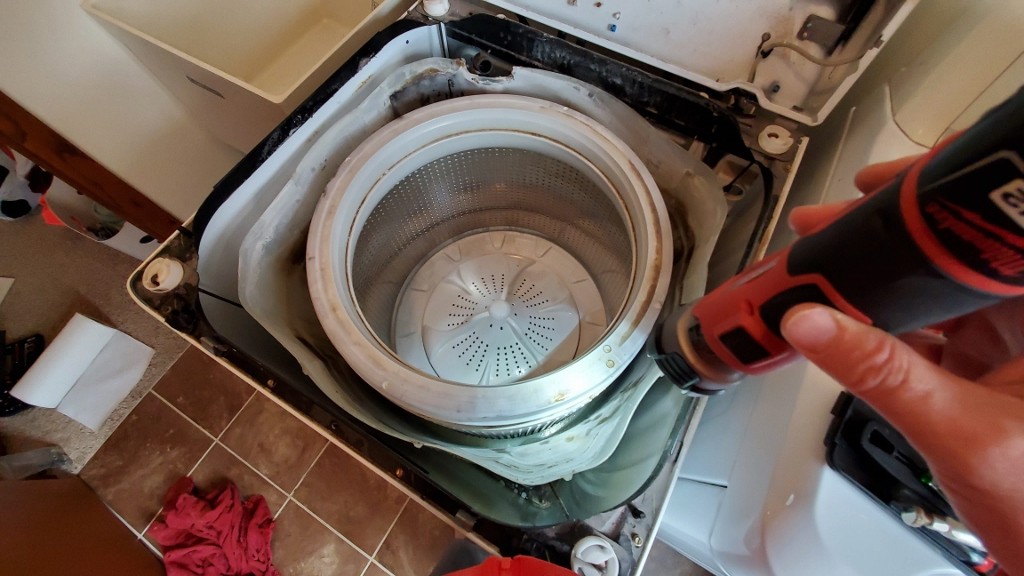
If you determine there is a blockage underneath the drum that you cannot get to, remove the drum. Follow these instructions to remove the drum and check for obstructions in the trap.
I hope this helped you! If so, tell us about it in the comments below!
Tools and Supplies:
- pliers
- 1/4″ socket wrench
- 1/4″ hex driver (Allen wrench)
- Maytag – Whirlpool drain pump (W10536347)


2 Comments