How to Change Wiper Blades on a Honda Accord
The following picture guide goes step-by-step on replacing the windshield wiper blades on a Honda Accord.
Check this link for instructions on adding windshield washer fluid.
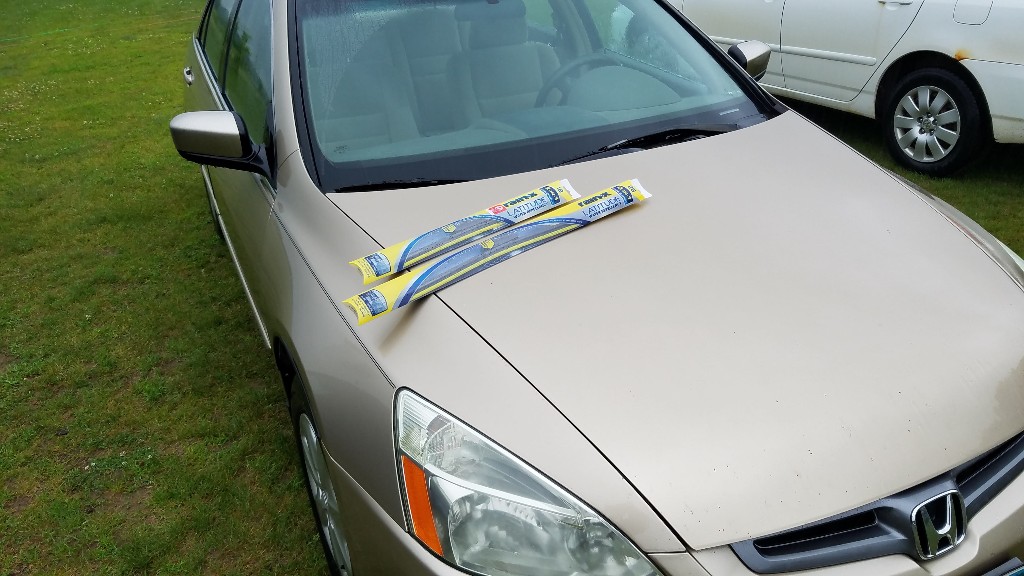
This guide covers Honda Accords. The vehicle shown here is a 2004 Accord.
In this guide, we are going to cover these steps:
- Selecting the Correct Windshield Wiper Blades
- Removing the Old Wiper Blades
- Install the New Wiper Blades
- Verify the New Blade Installation
Okay, let’s get started!
Selecting the Correct Windshield Wiper Blades
If you are replacing blades on a 2002-2007 Accord, then you need a 26″ (driver’s side) and 18″ (passenger’s side), and the following part numbers will work for you:
Another method is to measure the blades. The connections are fairly standardized these days, so just get the lengths correct, and you have a very good chance of selecting the correct ones. Keep in mind that often the two blades (driver’s and passenger’s side) are different lengths, so if you take this approach, be sure to measure both.
Remove the Old Wiper Blades
Removing the old wiper blades is pretty straightforward. Pull the wiper arm up and away from the windshield.

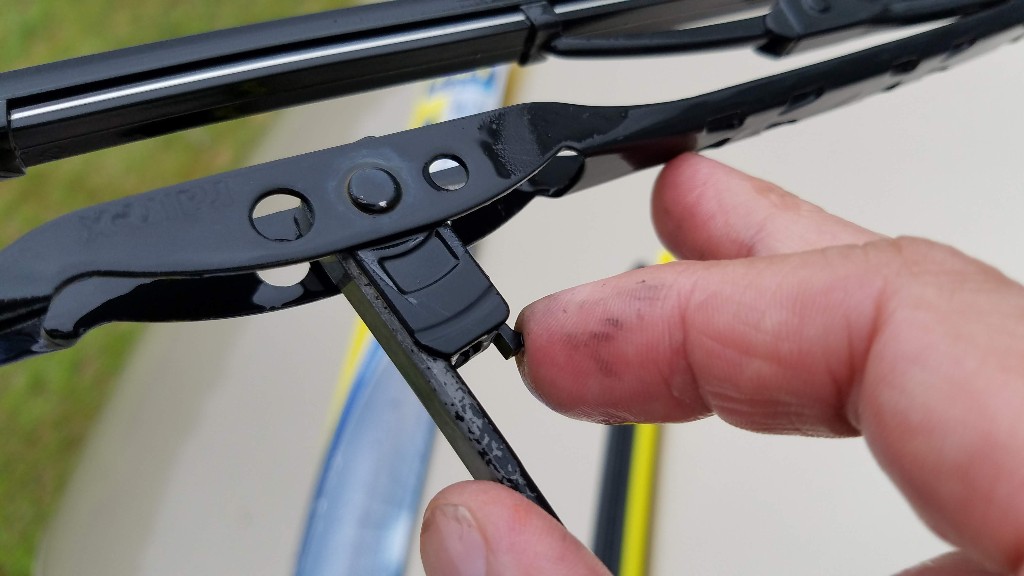
The hardest part is finding the tab that you need to press in order to release the old blade. The way it works is, you press the tab, then slide the blade downward until it is free of the wiper arm.

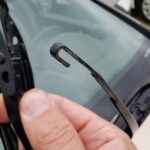
This now leaves the wiper arm j-hook exposed. Be careful not to press this arm toward the windshield at this point. Since it is spring-loaded, it has the potential to impact the windshield and leave a nick or a crack! If you are worried about it, put a towel on the windshield as an added layer of protection.
Install the New Wiper Blades
We’ll now go over how to install the new blades onto the wiper arms. There are several different types of wiper arms. Here, we will discuss the J-hook mounts.
J-Hook Style Wiper Arms
Remove the new wiper from the box.

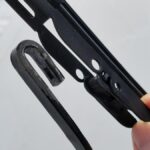
Locate the locking clip on the top of the connector. Pry the clip upward.

With the locking clip open, inspect the hole where you will insert the j-hook wiper arm.

Line up the wiper arm with the new blade.

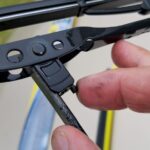
Press the j-hook wiper arm into the hole in the wiper blade.

Push the wiper forward until you feel a ‘click.’

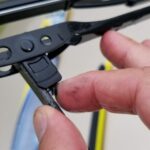
Once the wiper is fully seated on the j-hook, press the locking clip back into place until it clicks.

This is the connector once the blade has been fully installed.

We’re almost done. Carefully slide the protective yellow cover off of the wiper blade.

These wipers are designed to contour to your windshield. They may look floppy, but that is normal.

Carefully push the wiper arm back toward the windshield until the wiper is contacting the glass.

Repeat the same steps for the passenger’s side wiper (18″).
Verify the New Blade Installation
That’s it! After you have the new blades installed on both wiper arms, go ahead and try them out. Make sure there is nothing stuck under them, and if necessary, wipe a rag along the edge to clean them off.
I hope this was helpful!
Here is a link to the wipers I used in this guide, that will work for you too:
Thanks for reading! For instructions on adding windshield washer fluid to your Honda Accord, check this link for instructions on adding windshield washer fluid.
For additional helpful service guides on your Honda Accord, check out these helpful articles: