How to Apply Caulking to Outdoor Window Trim
This is a quick picture guide on how to apply caulking to outdoor window trim.
What you will need:
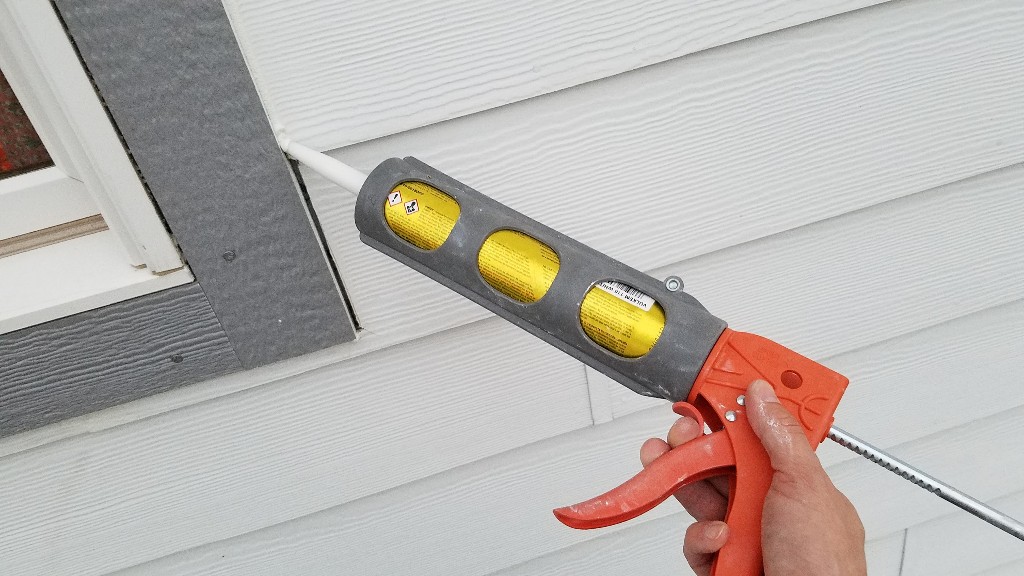
- caulking gun
- polyurethane waterproof caulk
- wet rag
Window Caulking Step-by-Step
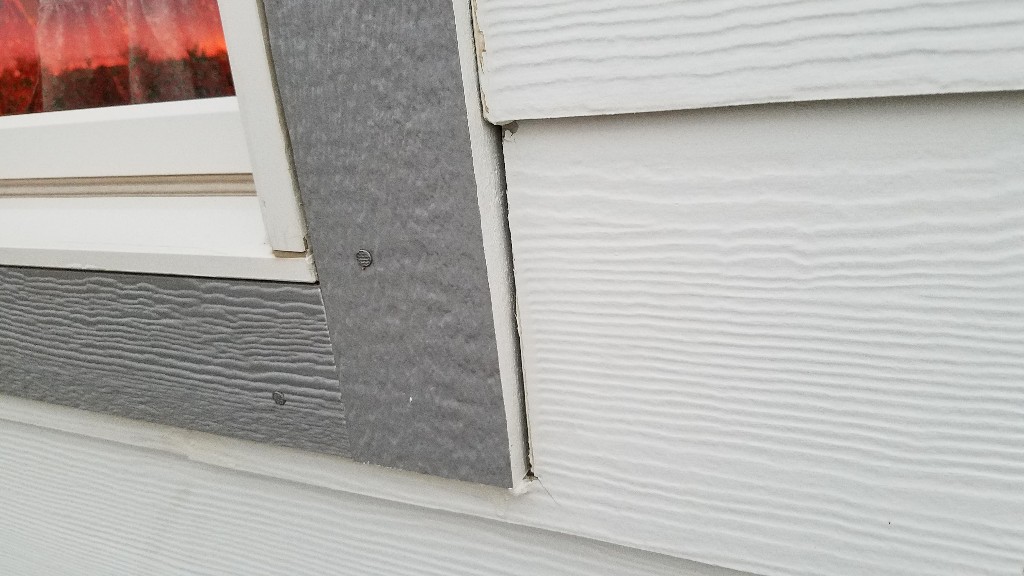
The first step is to remove any old caulking that may be there. Use an utility knife to cut away any old caulk. Make sure the surfaces are dry and ready to receive fresh caulk.
Cut off the tip of the caulk tube. Cut the tip off straight, not at an angle. Then, use a wire to puncture the caulk tube. Insert the caulk tube into your caulking gun.
I highly recommend you use polyurethane caulking for outdoor use. It costs more, works better and lasts significantly longer. Personally, I used the Tremco Polyurethane on my house.
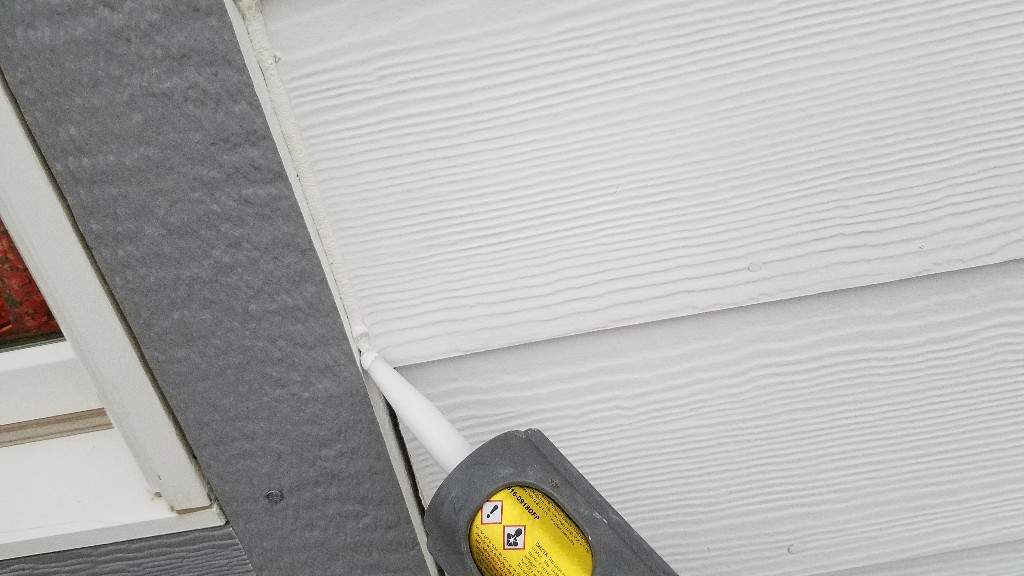
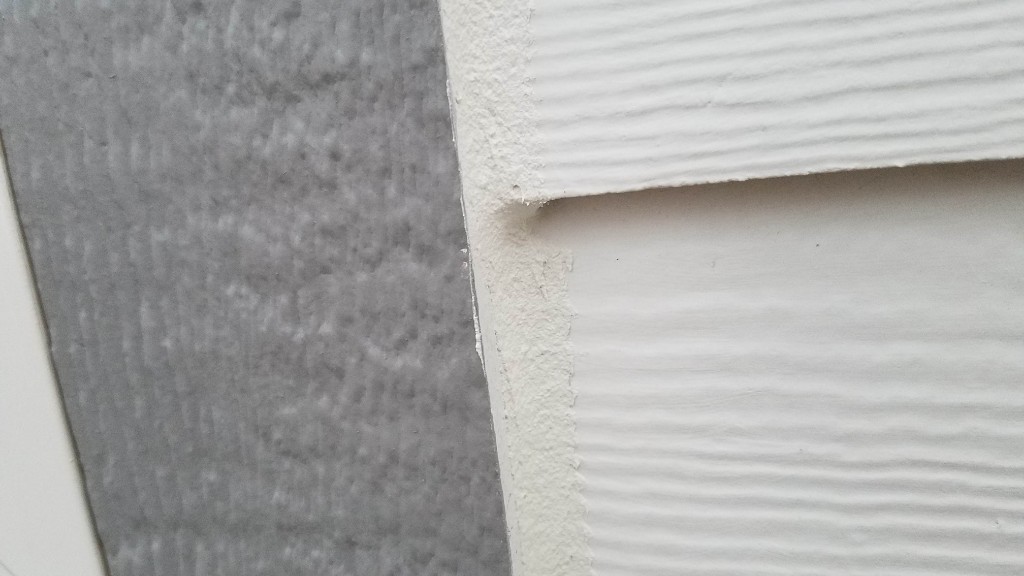
Start at the top of the window and apply a smooth bead of caulk from top to bottom. This requires some practice. The key is to balance the movement of the tip across the gap, with the amount of pressure applied to the trigger, to acheive a smooth, even amount along the gap.

Once the caulk has been applied, get your finger wet.

Slowly, smoothly, and evenly, run your finger over the bead of caulk. The goal is to create a countoured bound of caulk to seal the gap. If there is too much caulking, you will need to wipe off the excess fairly frequently. Re-wet the finger each time it is re-applied to the caulk.

Continue smoothing down the length of the trim.
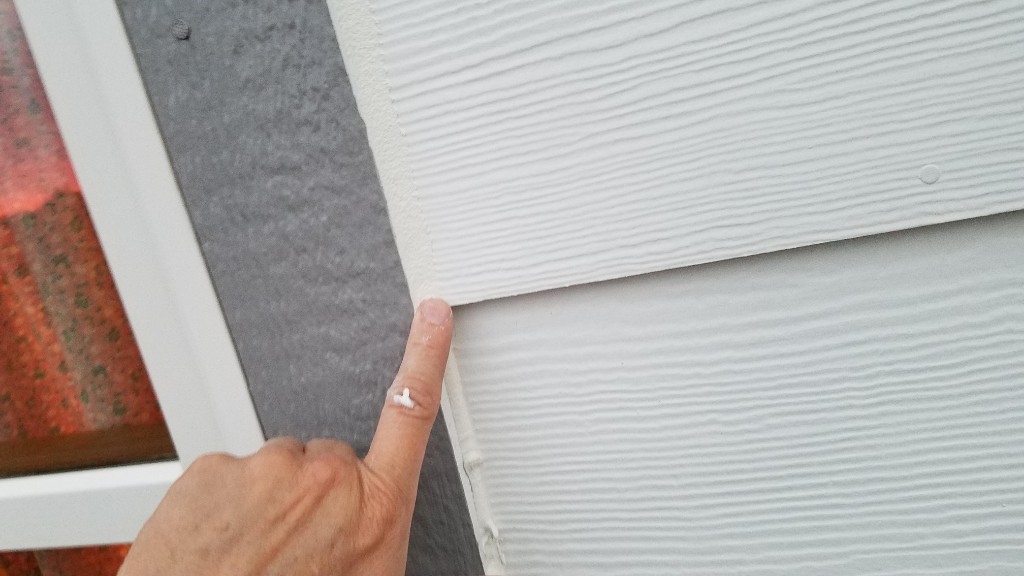
Once you have gone from top to bottom, re-visit the places where the caulking goes over the siding ridges. Make sure it is smooth and does not provide places for water to pool or to be directed into the gap.
That’s it for this quick one, I hope it was helpful. Click here for links to more home maintenance articles.


The outdoor windows take the most damage, so more often than not, you’ll find yourself caulking these particular sets of windows. Therefore, it’s also rather important to consider where to locate your house because damage control should indeed be a priority.