How to Repair a Cracked or Chipped Windshield
I was driving on the freeway the other day and suddenly I heard a loud noise and noticed a star pattern on the windshield! Oh man, a cracked windshield! I bought a kit and performed the repair. Follow along with this step-by-step picture guide.
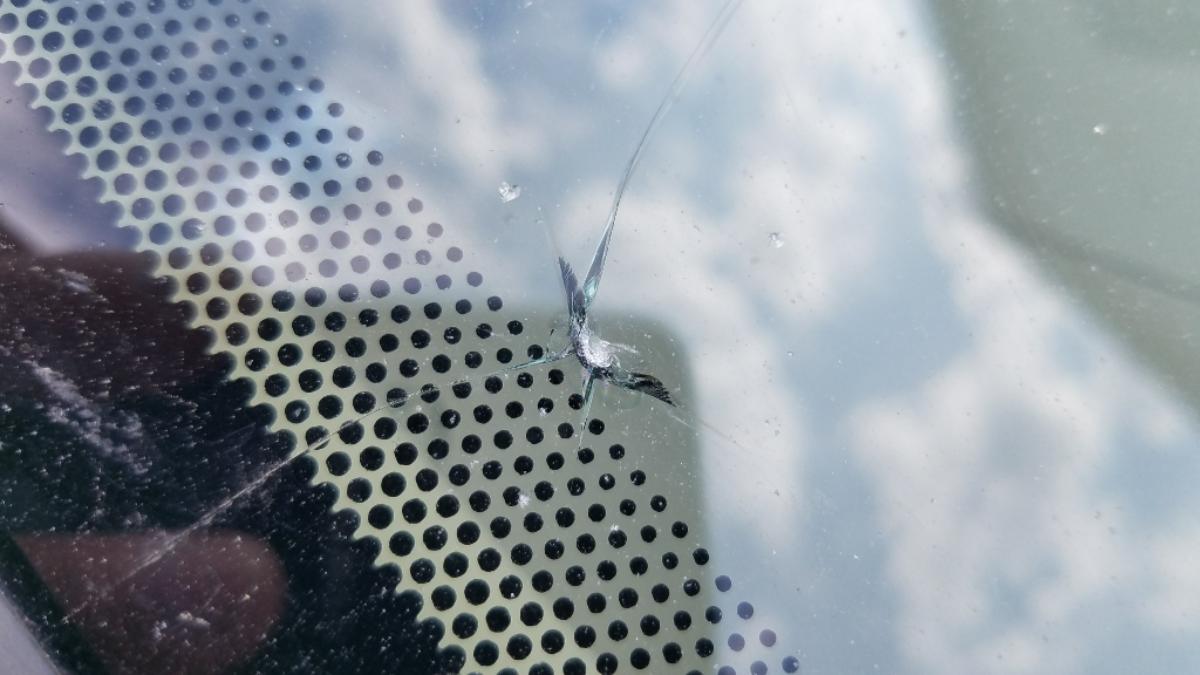
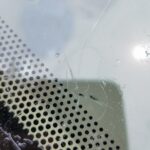
Here is a picture of the ding I had to deal with.
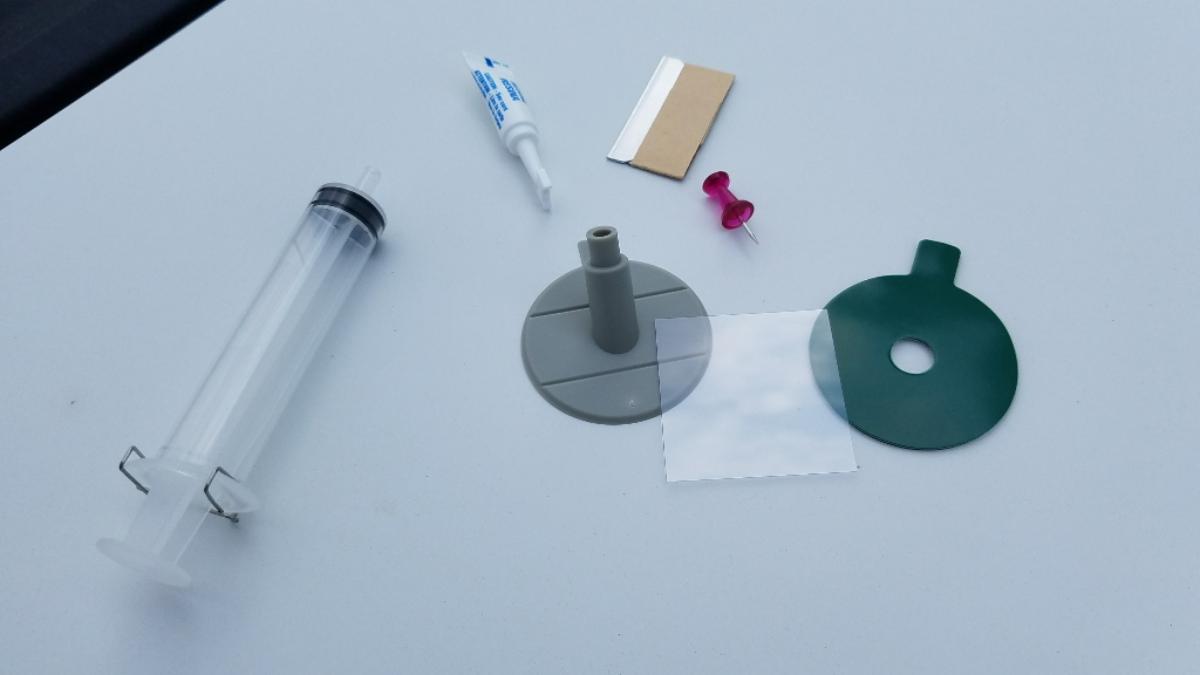
Materials Needed:
I went with one like option #1, but looking at it later, I probably should have gone with option #2.
These are the steps I followed to stop the spread of the crack and minimize the appearance.
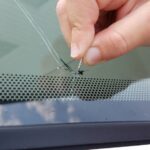
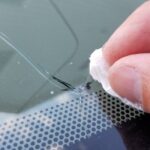
The first step is to use a pin to scrape out any loose pieces of glass. This has the added advantage of roughening the surface to better adhere to the adhesive. Then wipe the area clean with a rag or paper towel.
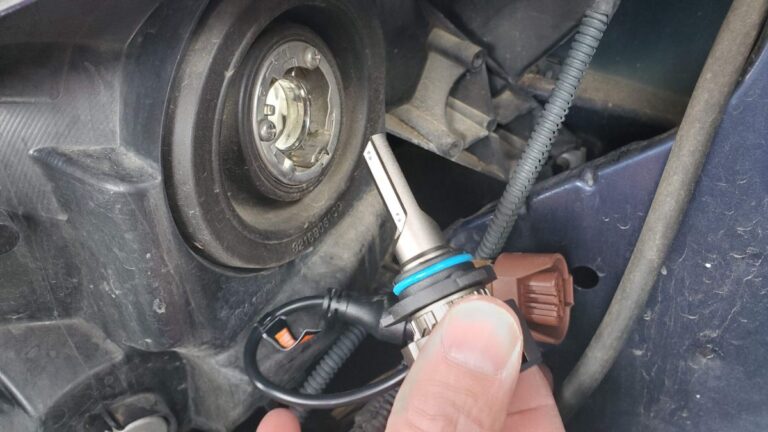
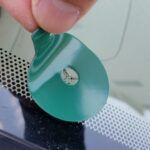
Next, unpack your kit and inspect the various components. We will use the circular rubber padding first.
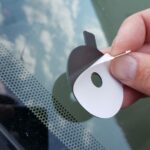
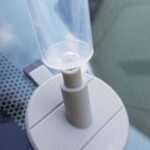
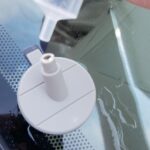
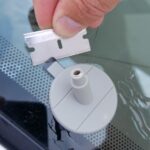
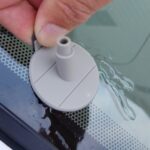
Remove the backing from the rubber pad, then stick it to the windshield with the center hole centered on the ding. Then press it down to get a good seal.
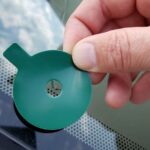

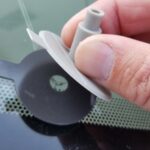
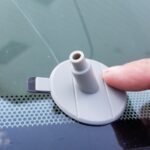
Now peal the upper layer off of the rubber pad (green in this case). Then apply the plastic applicator to the padding, and press it down for a good seal.

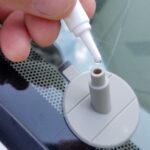
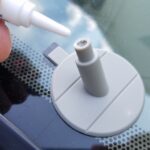
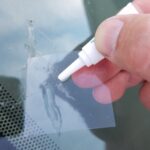
Now open the glue tube and squeeze some adhesive into the top of the applicator. Check the packaging for the recommended amount, as it depends on the sort of repair you are making.
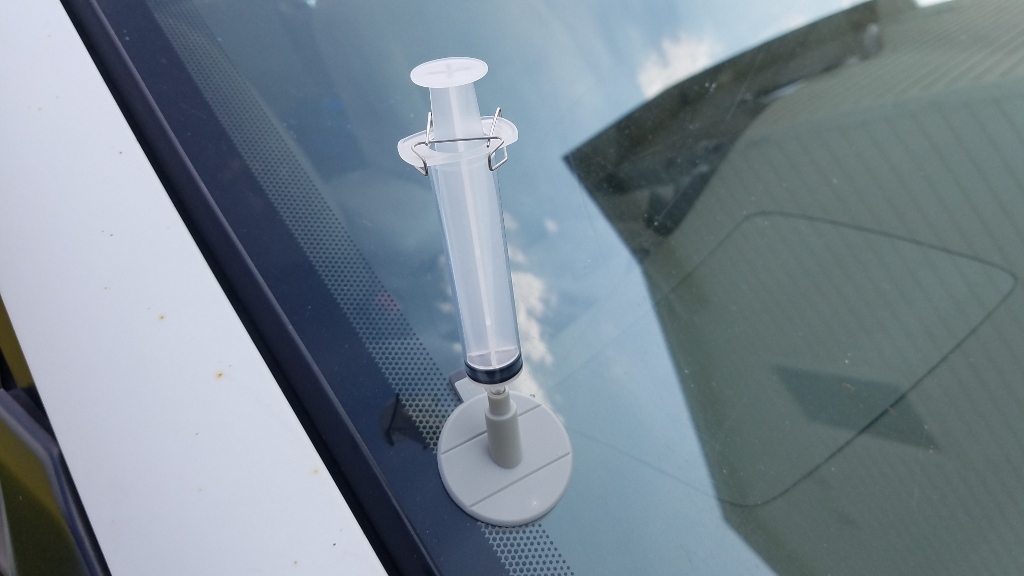
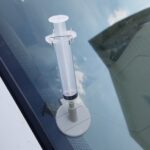
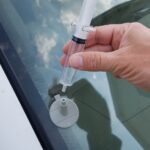
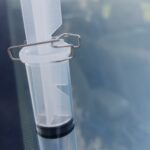
Next, insert the syringe into the applicator. Make sure it has a nice tight fit. Then pull up on the plunger, until the bottom notch in the plunger engages with the wire clip. This applies suction to the crack to suck out any air. Allow it to sit like this for 15 minutes or so to allow time for all the air to be removed. You may see bubbles coming out of the glue in the syringe, this is exactly what you want to happen.
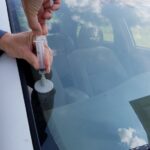

After it has had 15 minutes to suck out the bubbles, remove the syringe. Then put it back in and push the plunger down this time, until the top notch is engaged in the wire clip. This is forcing the glue down into the crack. Let it sit like this for about 15 minutes.
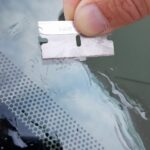
After the glue has been forced in for about 15 minutes, remove the syringe, the applicator, and the rubber padding. Then use a razor blade to scrape the area flat.
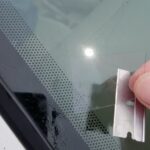
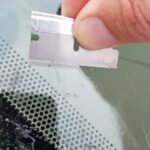
Next, put some of the extra adhesive onto the piece of plastic, and lay that over the repair. Press it down evenly with the razor blade. Now park the vehicle in the sun for 30 minutes. If it is a cloudy day, don’t worry too much, you want the cloud-penetrating UV light for the glue.

After 30 minutes, the plastic can be removed. Then scrape the repair with the razor blade to make it smooth.
And that’s about it! In my experience, I have had varying success with these repairs in terms of getting the nick to completely disappear. It seems like the smaller the damage, the easier it is, thus, the sooner you can catch it before it spreads, the better.
Here are the links to the kits, once again:
Windshield Repair Kit Option #1
Windshield Repair Kit Option #2
Thanks for reading, I hope this was helpful!