Easy Way to Lubricate a Ninja Blender
Is your blender blade getting more and more difficult to turn? The blade should spin freely when you turn it.
When you give it a spin, it should turn 2-3 revolutions on its own before it comes to a stop; if it stops immediately, it needs to be lubricated! Greatly extend the life of your blender by lubricating it the easy way!
When you purchase something through one of our affiliate links we may earn a commission, at no extra cost to you.
Ninja Blender Blade Stiff?
The hard part about lubricating a blender is knowing what type of oil to use, and where exactly to put it! Let’s go through that now.
Note: After we go through the lubrication process, I’ll go through the steps to remove and clean the rubber gasket as well…
Replacement Parts:
- Blender Blade Replacement – Ninja Blender
- Blender Blade Replacement – Ninja Blender
- Applies to: BL660 1100w, Ninja BL771 30, Ninja BL770 1500w, BL780CO BL663 BL663CO BL665Q BL740 BL773 BL780
- Replacement Cups – Ninja Blender
- Applies to: BL450 BL454 Auto-iQ BL480 BL481 BL482 BL687
- Replacement Rubber Gaskets – Ninja Blender
- Applies to: CT680 BL456-30 BL480 BL681A BL682 BL640
How to Lubricate a Blender
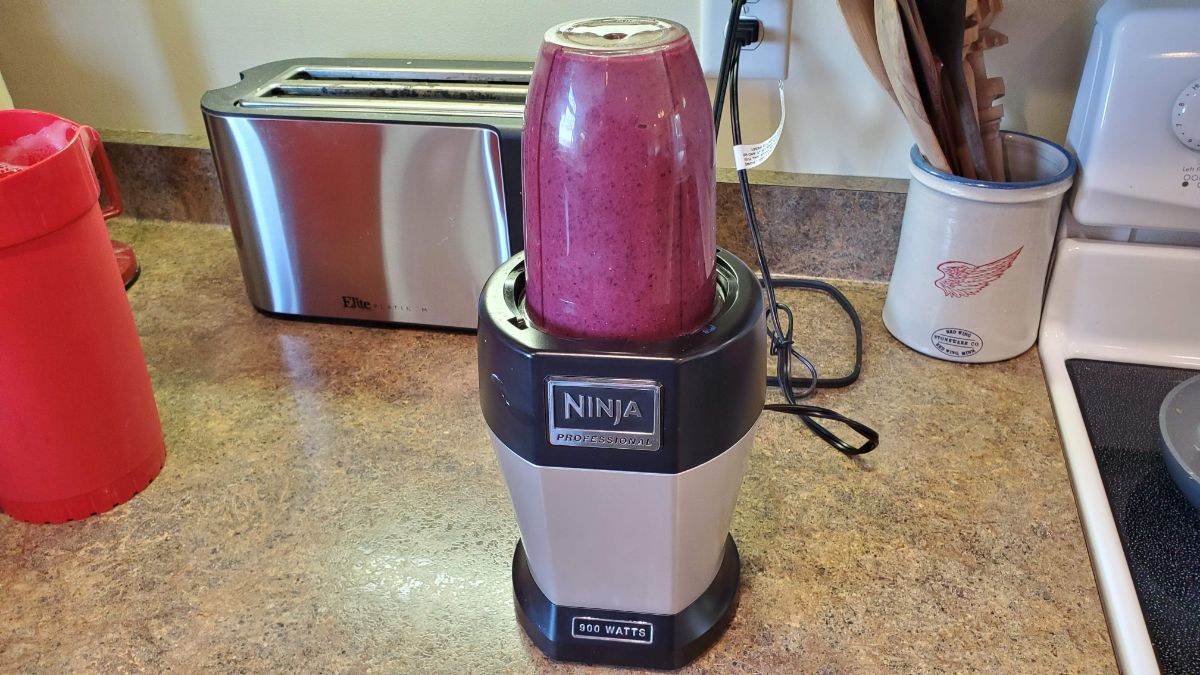
In this quick guide, I am using a Ninja 900w blender (which I don’t think is made anymore) but the principle is the same for just about any blender you are using.
This is really a great blender; the updated version is the 1000w Ninja which is what I would get if I were buying one now…
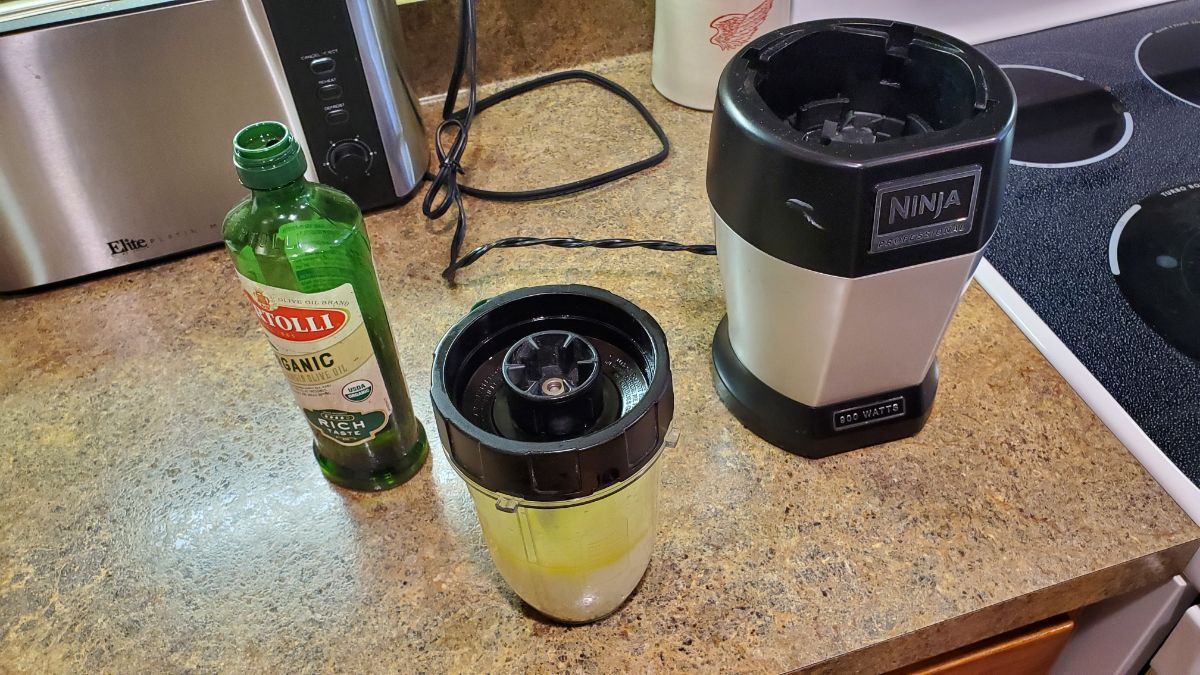
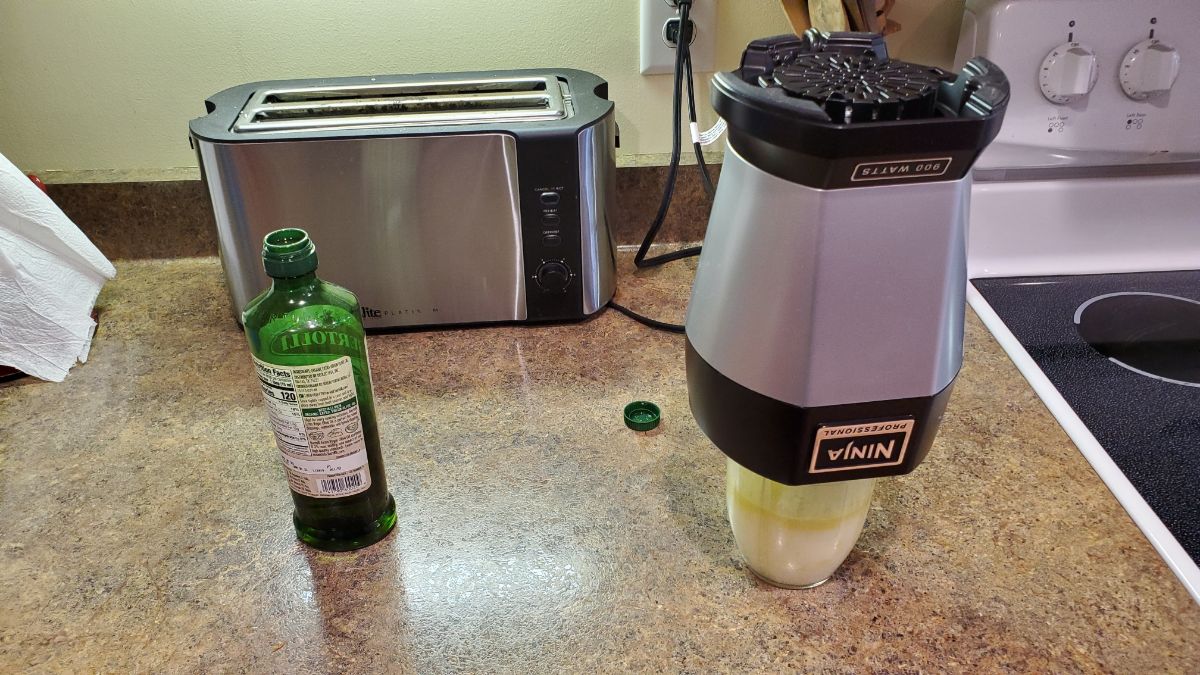
Get some olive oil, any type should be fine, the key is that it is food-grade olive oil. After all, this will be touching parts in this blender that may come into contact with your food, so you want to make sure that it is safe to consume in the event that it does make it into your smoothies!
Fill the cup with warm water and 2-3 tablespoons of olive oil. This will be the mixture that you blend. The mixture should go up to the max-fill line.
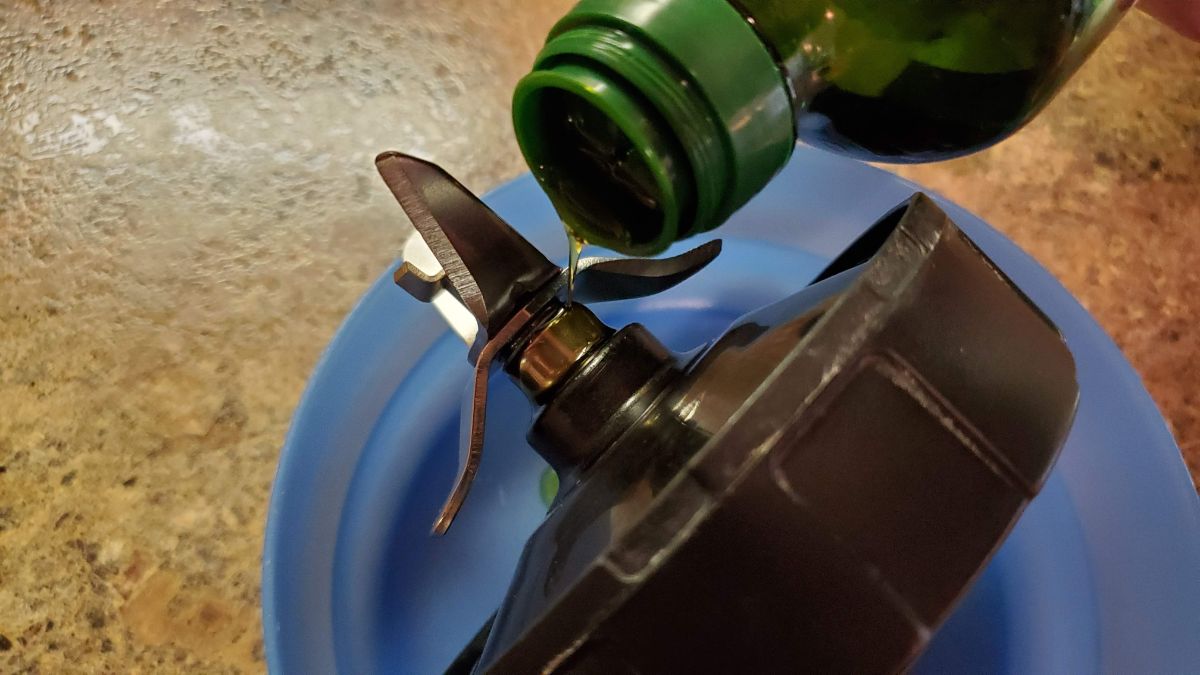
In addition, pour some of the oil directly onto the spindle shaft of the blender blades. Turn the blades by hand a little bit to work the oil in. Use a bowl or something to catch any excess oil that may drip off.
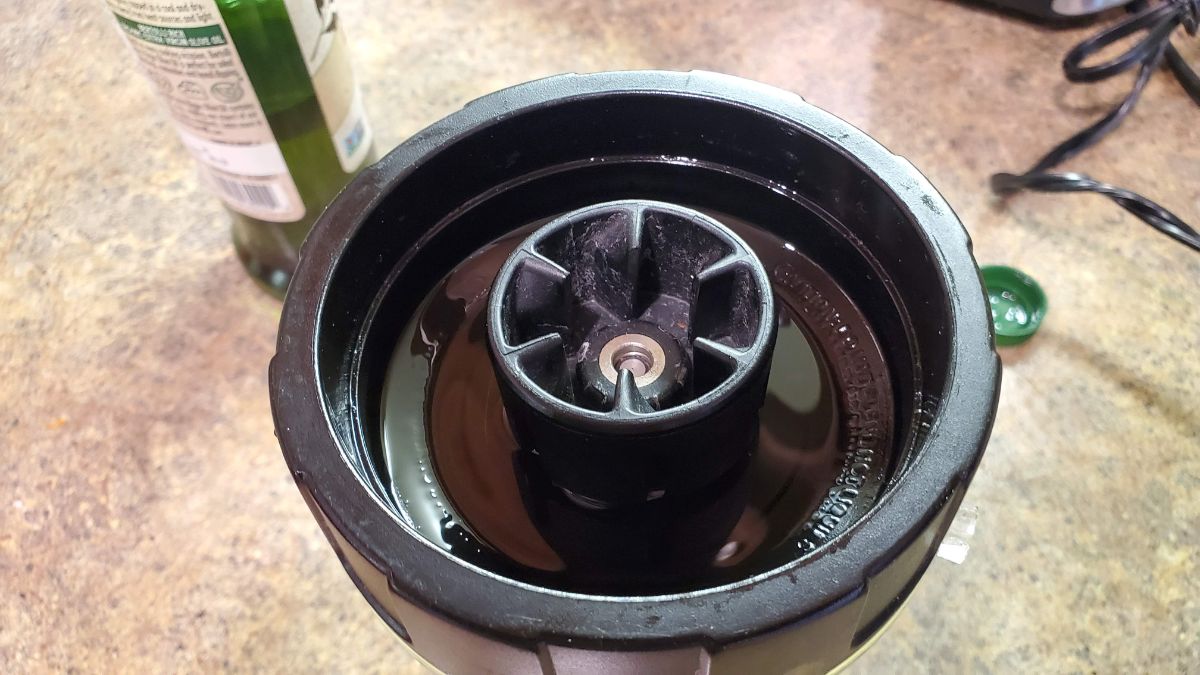
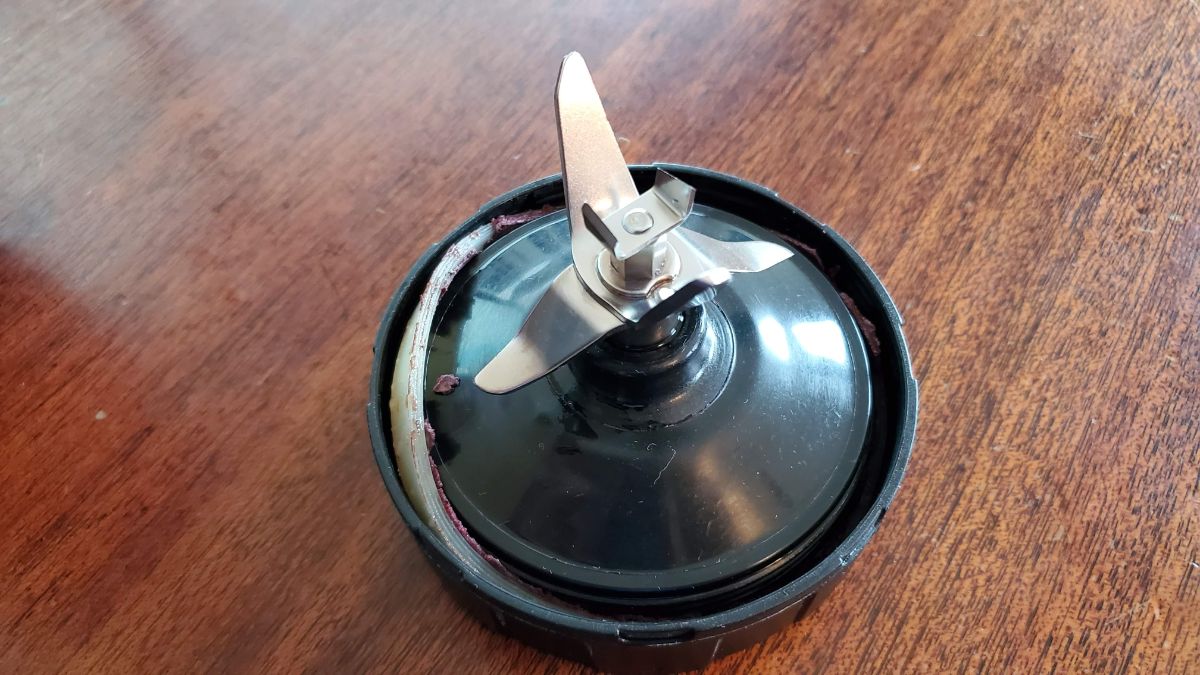
This is the critical part: turn the blade mechanism upside down and pour about 1-2 teaspoons of oil in between the cup mount and the spindle, as shown.
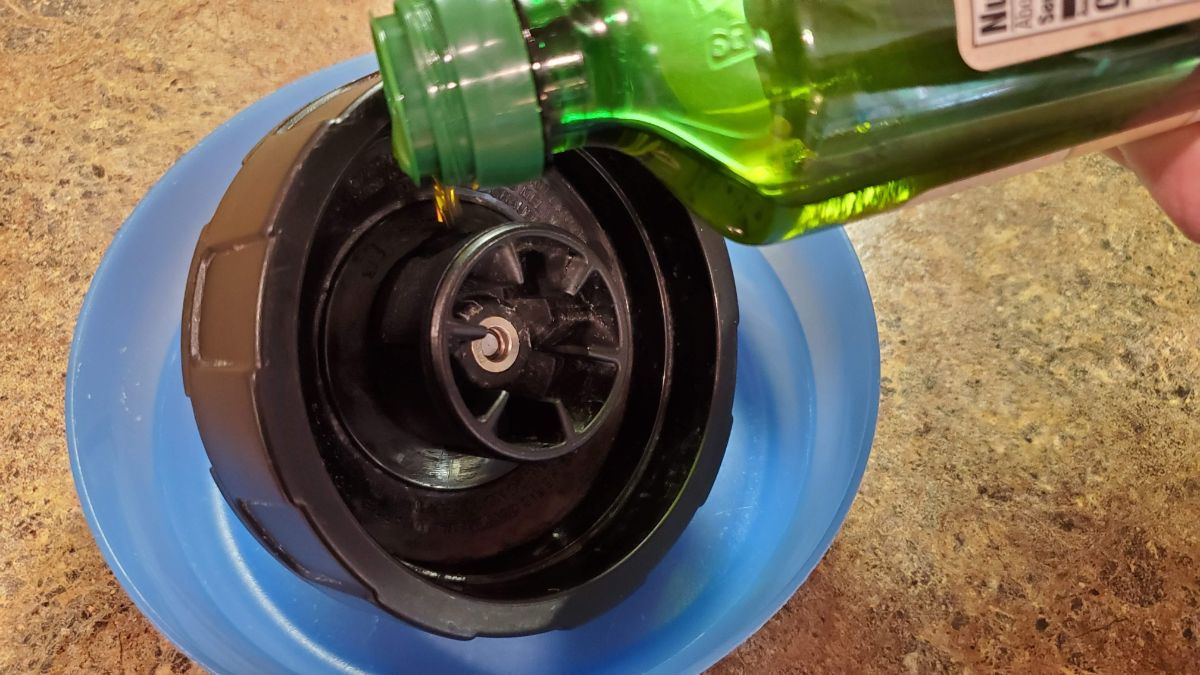
From this point on, keep the bottom portion ‘upside down.’ Don’t turn it over, or all of the oil will leak out!
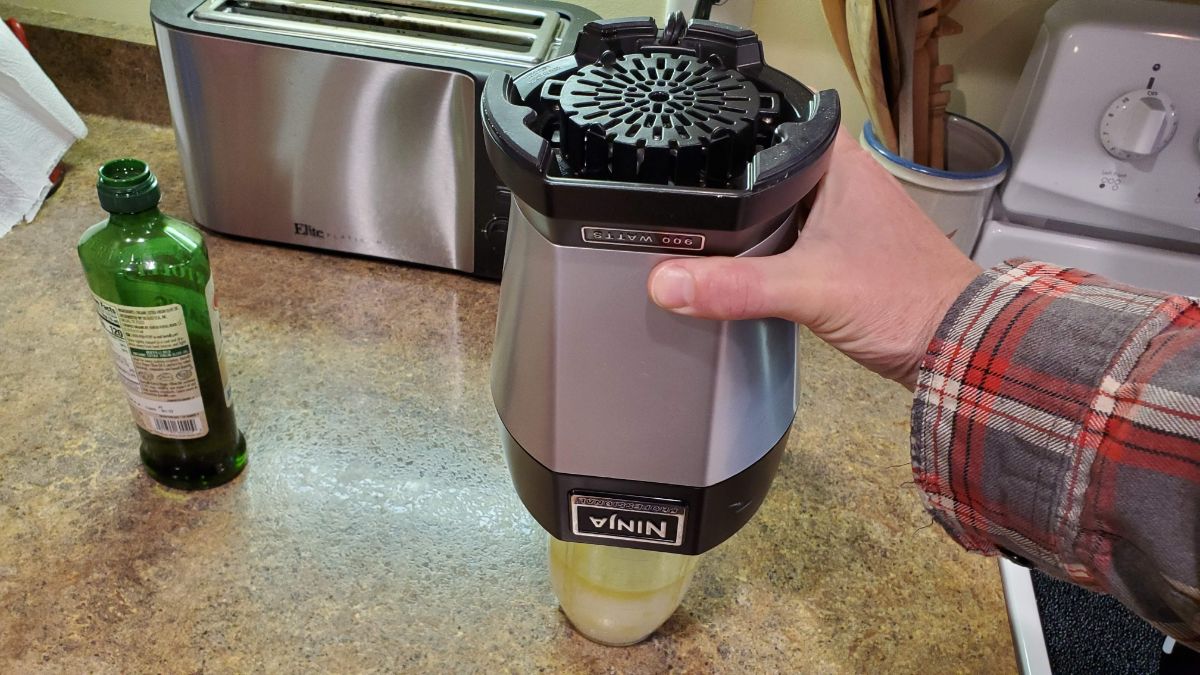
Next, turn the blender upside down, and fit it onto the cup/blade assembly. Turn on the blender for several seconds.
Note: For the Ninja, you press down on the cup (or in this case the blender motor) to activate the motor, so go ahead and do that. For other blenders, you may need to press the buttons. Turn the motor on at the lowest speed setting (e.g. grind).
Verify that oil is not spraying everywhere. As long as you didn’t go overboard on coating everything with oil, it shouldn’t be a problem, especially if you keep everything upside down.
This helps with the lubrication process, as the oil is forced down into the spindle axle.
Run the blender for 20-30 seconds at a time, 2-3 times. You may even hear the sound of the blender change, as the lubrication kicks in!
After running the blender for a total of about a minute or so, remove the motor and set it down. Turn the blade by hand – It will be a lot easier to turn!
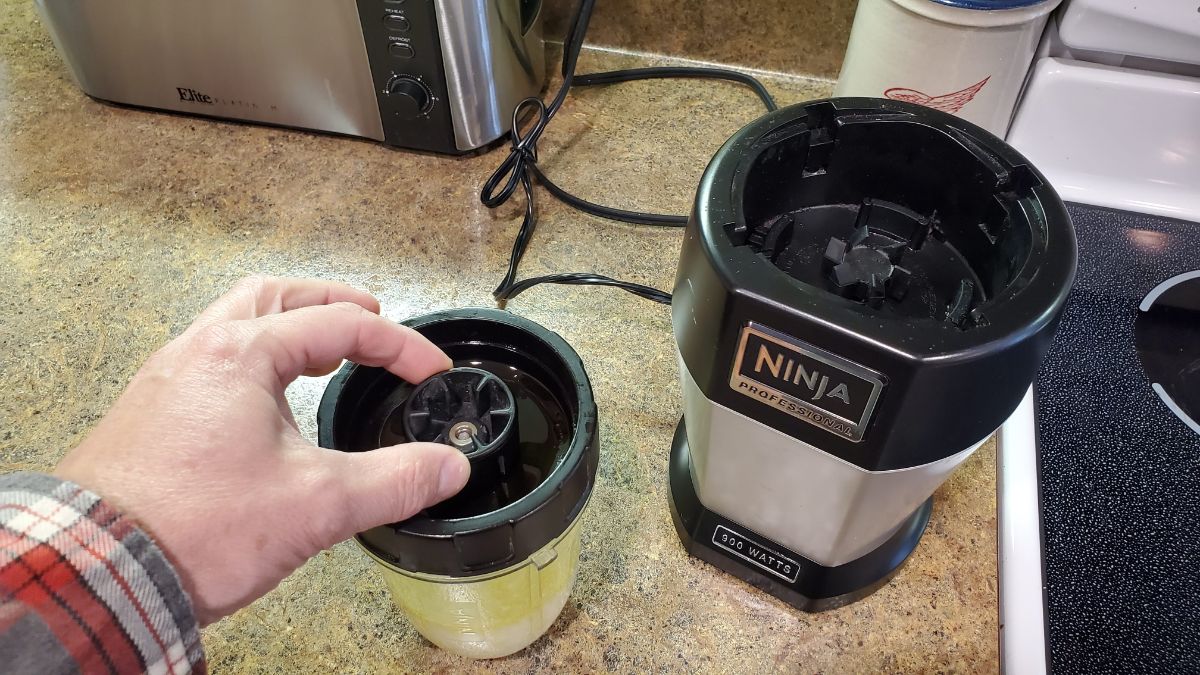
If you want to lubricate some more, clean off the excess oil with a paper towel (mine was black!). And repeat the process.
That completes the lubricating process!
In my experience, I repeat this whenever the blade seems like it is not spinning as freely as it used to, which is usually about every 6 months or so.
If you find that your blade assembly is still not lubricated properly even after repeated attempts, the bearings may be too far gone. In that case, consider buying a new blender blade replacement.
By the way, if your cups break or get worn out, you can get replacement cups pretty reasonably on Amazon.
Cleaning the Blender Gasket – Stops Leaks!
Another thing you should do is clean out the rubber gasket. This will not only stop the blender cup from leaking while blending, it can help to prolong the life of the blender.
The first step is to go-ahead and rinse off the blending/blade assembly with warm soapy water.
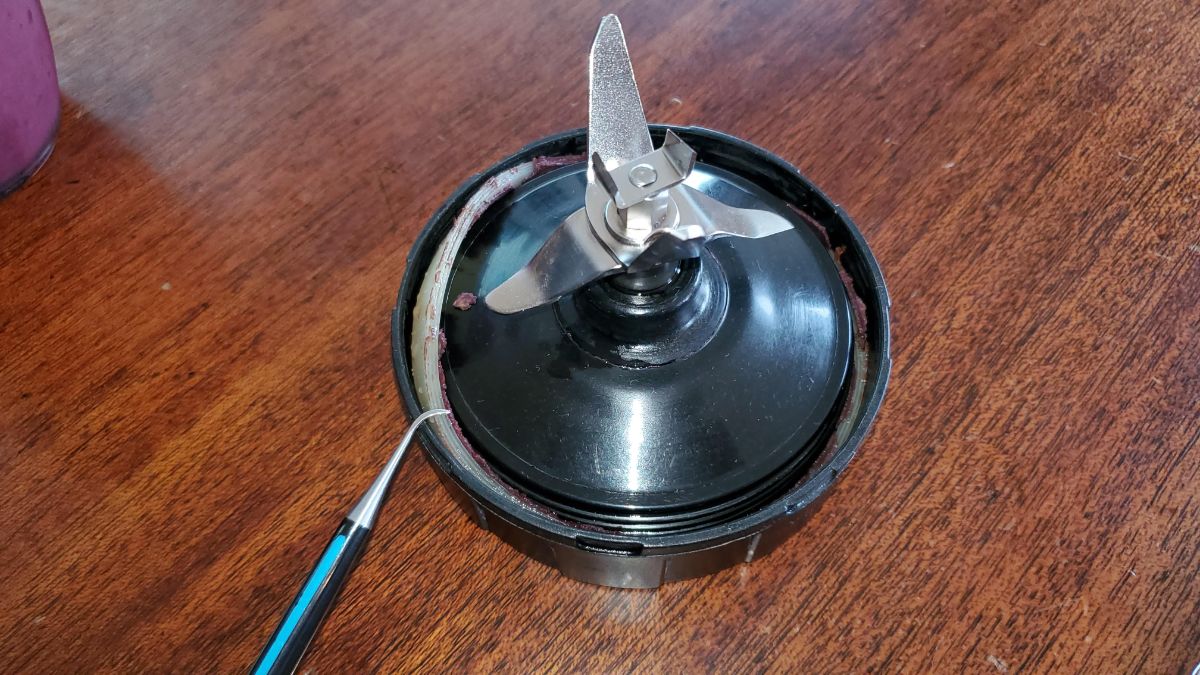
Dry it off, then find a pokey-tool – I found a dental pick to work perfectly.

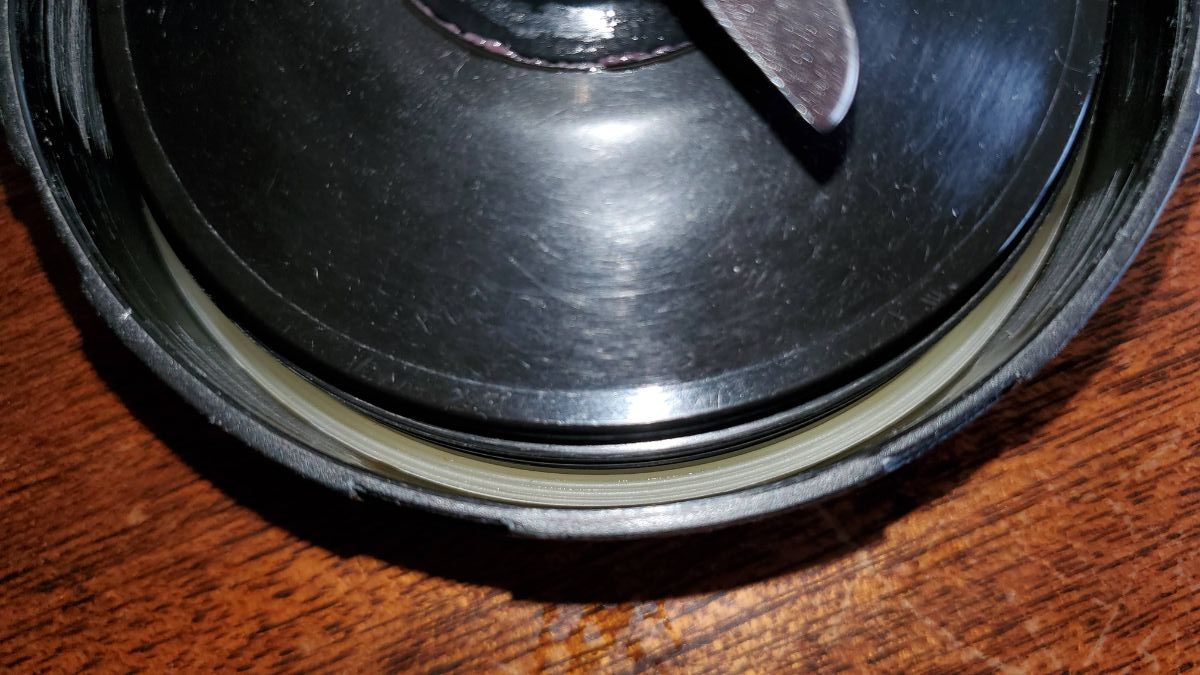
Poke the pick between the rim and the threads where the gasket is. Gently pick it out from the side, taking care not to puncture or damage it.
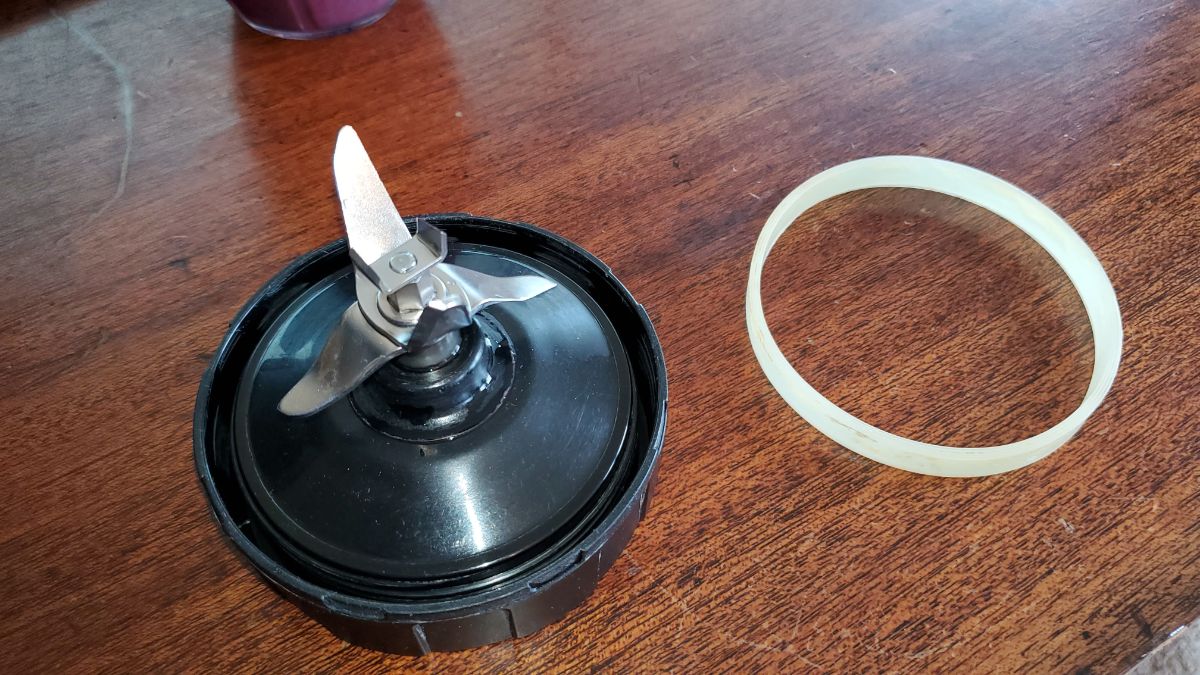
Once you get it out far enough, grab it with your fingers and pull it out.
Is your gasket too far gone? Pick up a set of spares…
Wash the gasket off and also wash the gap where it fits. Get all of the gunk out!
Once it is all cleaned up, dry off both the gasket and the gap, and press the gasket back in place.
No more leaks!
I hope you found this helpful!
Replacement Parts:
- Blender Blade Replacement – Ninja Blender
- Blender Blade Replacement – Ninja Blender
- Applies to: BL660 1100w, Ninja BL771 30, Ninja BL770 1500w, BL780CO BL663 BL663CO BL665Q BL740 BL773 BL780
- Replacement Cups – Ninja Blender
- Applies to: BL450 BL454 Auto-iQ BL480 BL481 BL482 BL687
- Replacement Rubber Gaskets – Ninja Blender
- Applies to: CT680 BL456-30 BL480 BL681A BL682 BL640
- Dental Pick


Thank you so much for this! So helpful. Blade assembly spinning well. New lease on life for my CT680!
This worked awesome! Thank you!
Worked perfectly. Saved me from having to buy a replacement blade.
This worked amazingly. Thank you so much!
You’re welcome! Glad it worked out!
Thank you! This worked really well and I love how I can extend the life of my blender.
Awesome! I’m so glad to hear that. Thanks for the feedback!
works great, I have a BL482 30 DOB and can’t seem to find a gasket for it and not sure it uses one. Maybe same as BL480? do you know?
Hi! Glad to hear it!
By the way, the BL480 30 and the BL482 30 DOB use the same size gasket. I hope this helps.
Works great thanks!
Glad to hear it. Thanks for the feedback!
Thanks for this….my blender blades easily. Followed the instructions twice, and my Ninja Professional 900 is as good as new!!
Glad it’s working!!!