How to Replace Car Battery Connectors
Do you have a flaky car battery? Intermittent electrical issues? It could be the battery cable clamps not making good contact with your car battery! Perform a simple replacement and ensure good contact from now on!
Before investing in a new battery or alternator, make sure you have good contact between the battery posts and the cables. This picture guide walks through the steps to replace bad, broken or loose battery cable clamps with new ones!
Note: When you buy through links on our site, we may earn an affiliate commission – at no cost to you. Thanks, it allows me to keep this site ad-free.
Are your battery terminals horribly corroded? Check out this article on how to clean a corroded car battery!
How to Change the Battery Clamps on Your Car
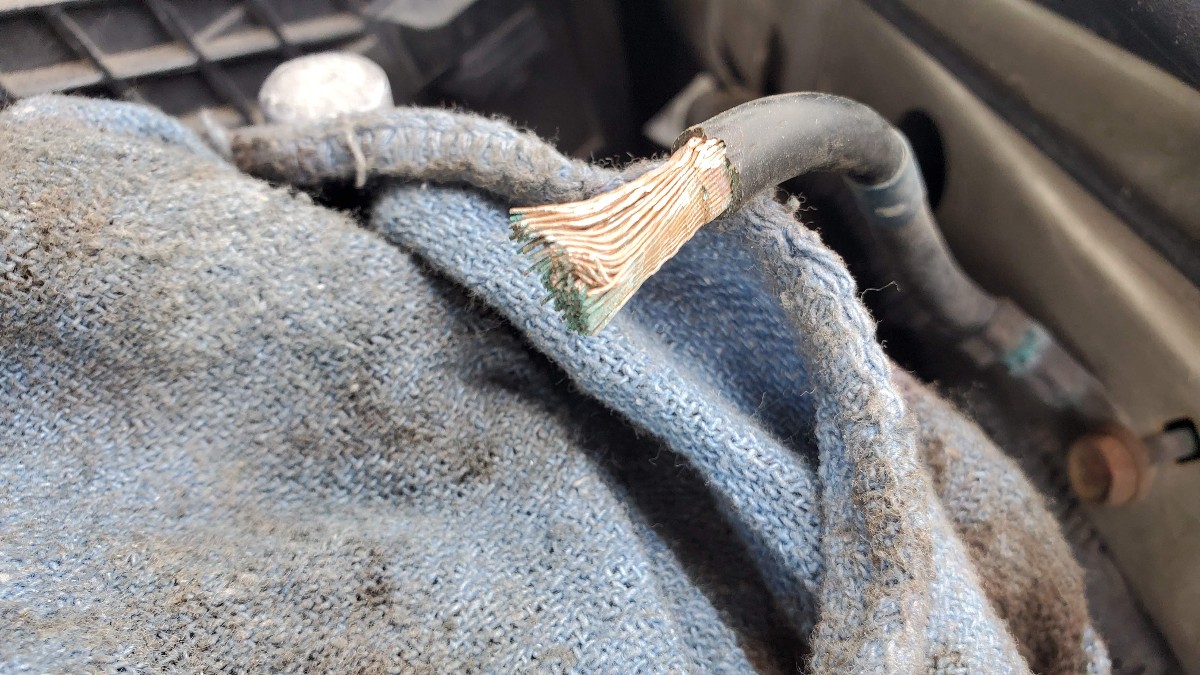
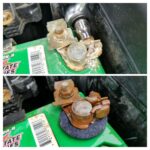
I went to remove the battery from my 2004 Honda Accord the other day, and in the process of removing the battery cables, the connector broke off!
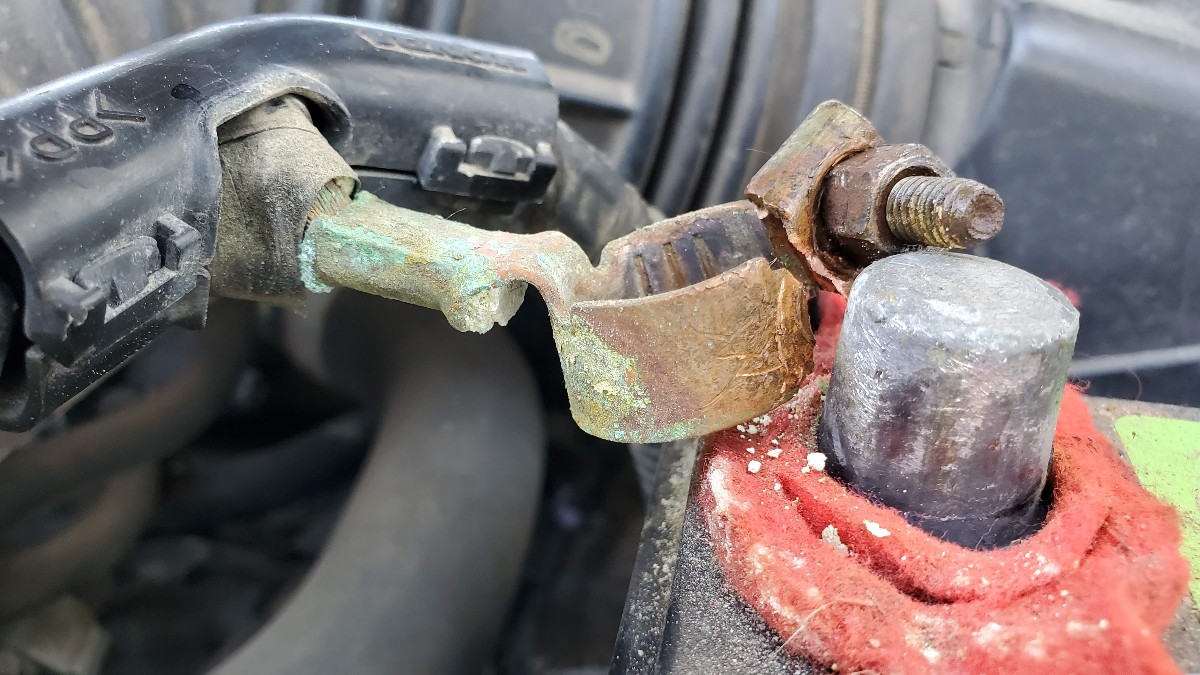
Those old cheap connectors had to go. You shouldn’t have to put up with that either. Follow these steps to replace the battery clamps on your car.
What you’ll Need:
Gather together the following items to perform this simple repair.
- 10mm wrench
- wire brush
- sandpaper
- terminal cleaner brush
- battery cleaner spray
- diagonal cutters and/or dremel tool
- new battery clamps – I use and recommend these ones
Overview
These are the steps to take to replace the battery terminal clamps:
- Disconnect the negative, then positive battery cables.
- Cut, or grind, off the old connector.
- Clean the exposed battery cable with a cleaning agent.
- Attach new clamps using a 10mm wrench.
- Reconnect the battery cables starting with the positive side first.
Now let’s go into more detail on each of these steps.
Step by Step Procedure to Change Battery Terminal Clamps
Step 1: Disconnect the Battery
Start by disconnecting the battery cables from the battery. Start with the negative cable first. It may make things easier to remove the battery from the car while you work on the clamp replacement.
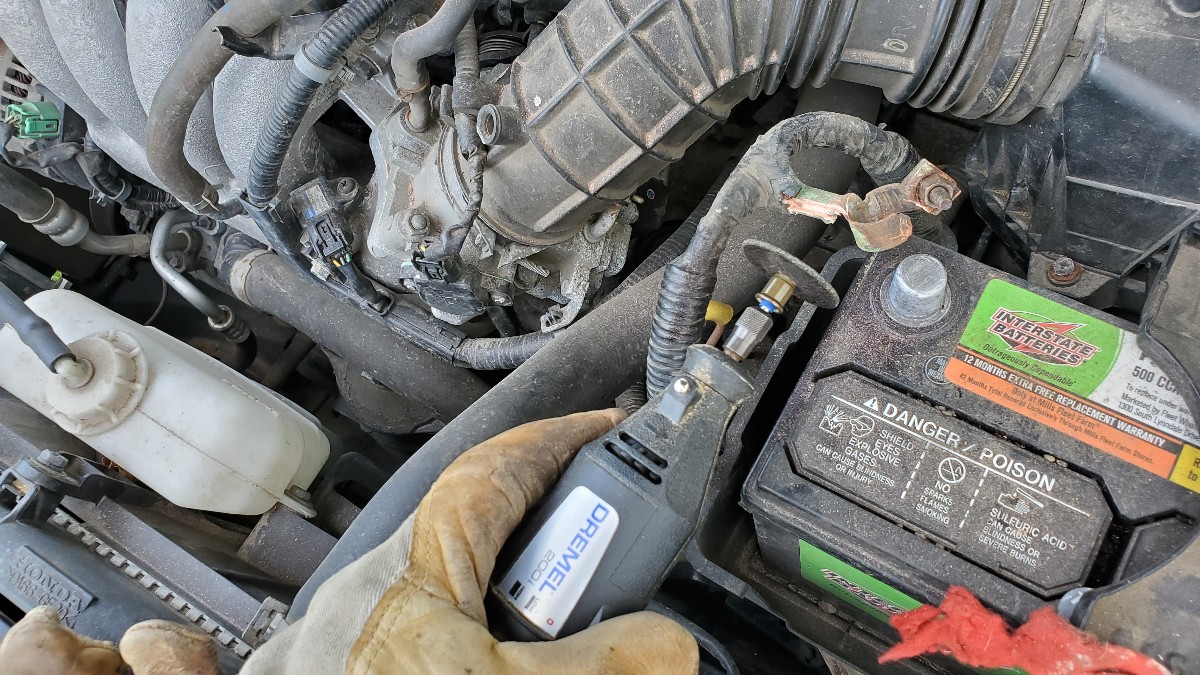
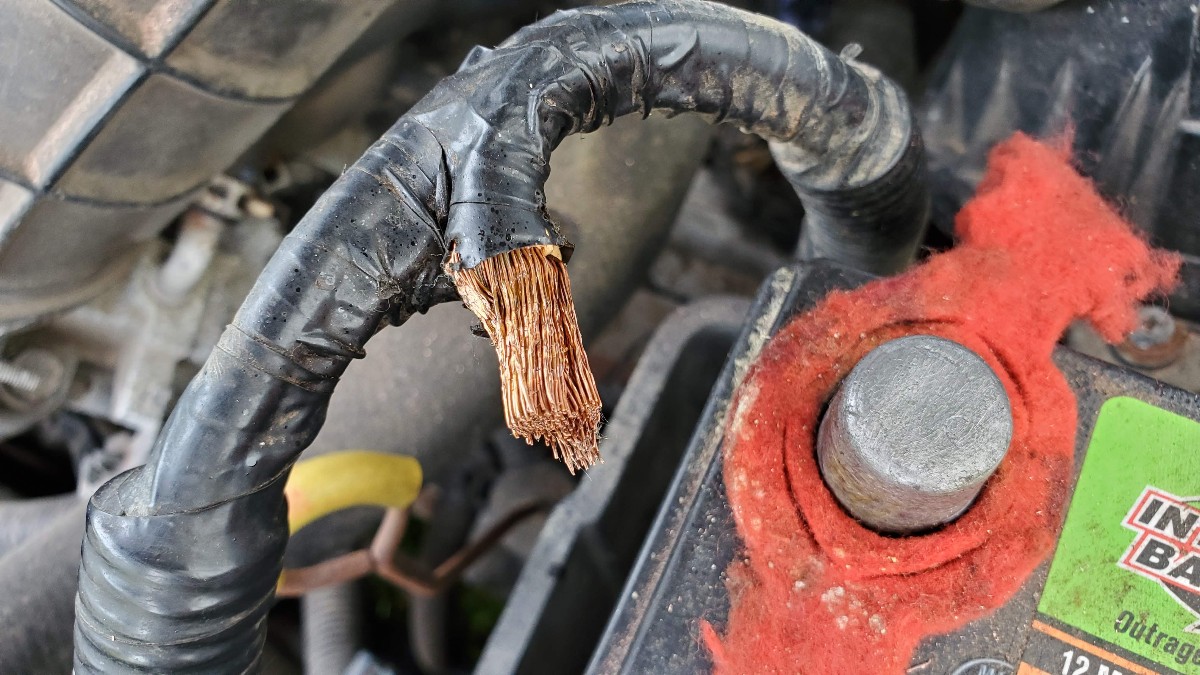
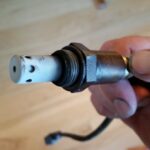
Step 2: Remove the old Connectors
If you have plenty of battery cable to work with, use a diagonal cutters or wire cutter to cut the old clamps off. If not (as in my case), use a grinder or dremel to cut off the old clamp.
The metal clamps are typically fairly soft, it tends to not take too much grinding.
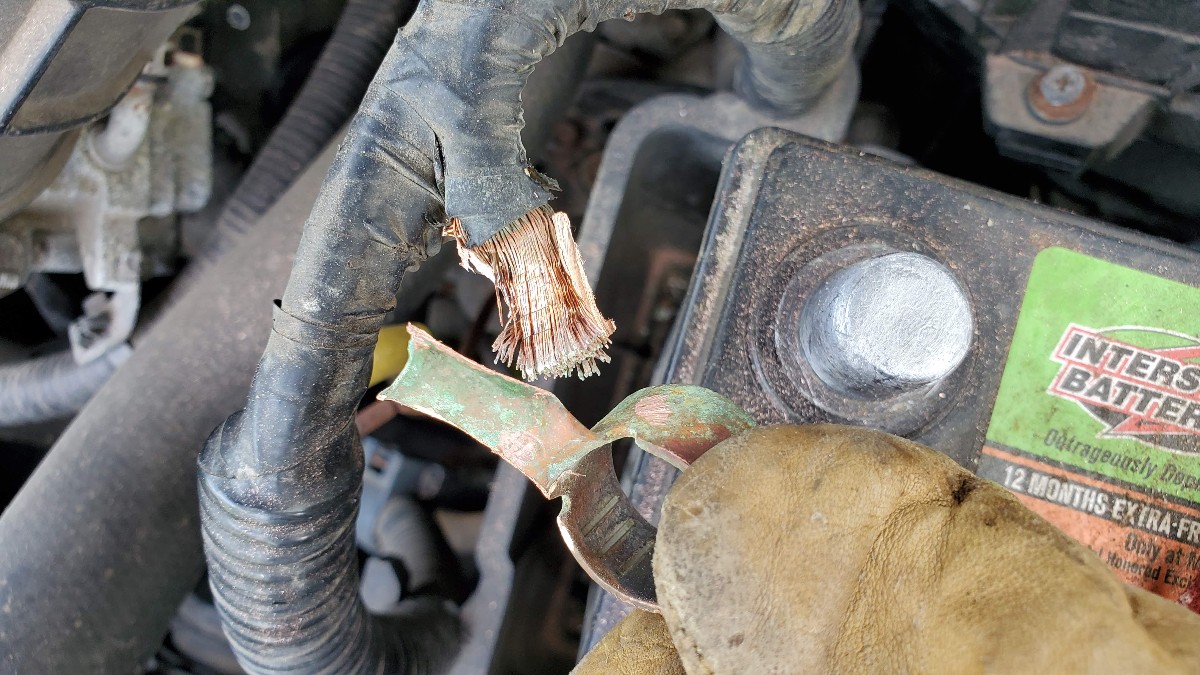
Remove both the positive and the negative battery clamps.
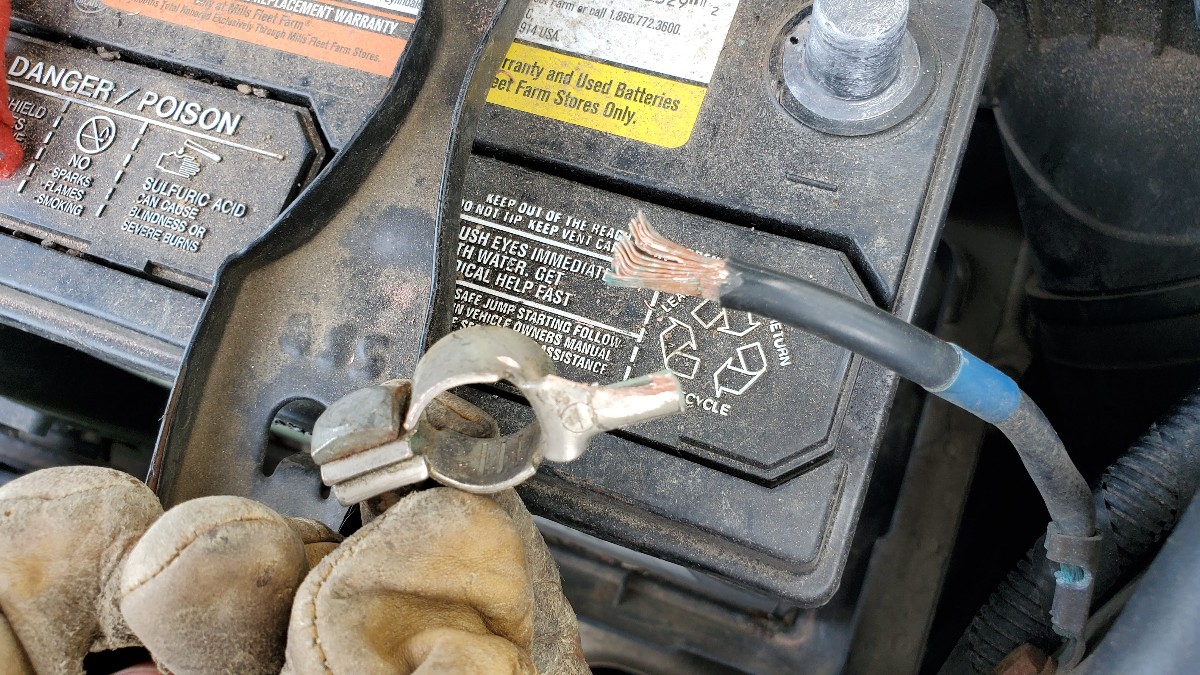
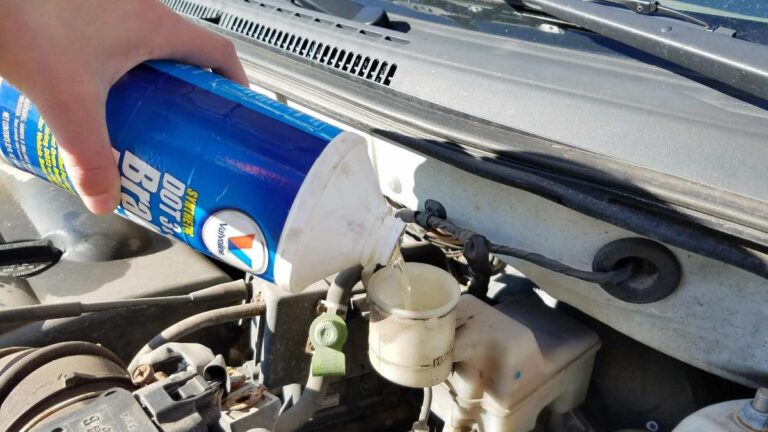
Step 3: Clean the Battery Cables
The battery cables likely have some amount of corrosion on them (generally a result of either over or under-charging the battery).
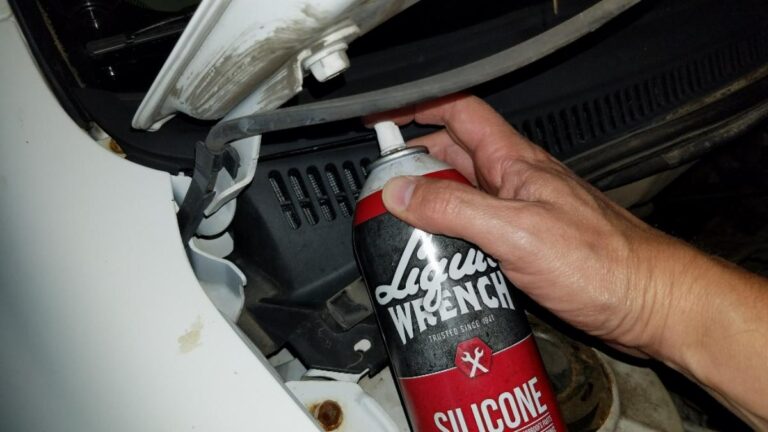
Use a corrosion cleaning agent such as battery cleaner spray.
For more details, check out this article on cleaning the corrosion off of your battery.
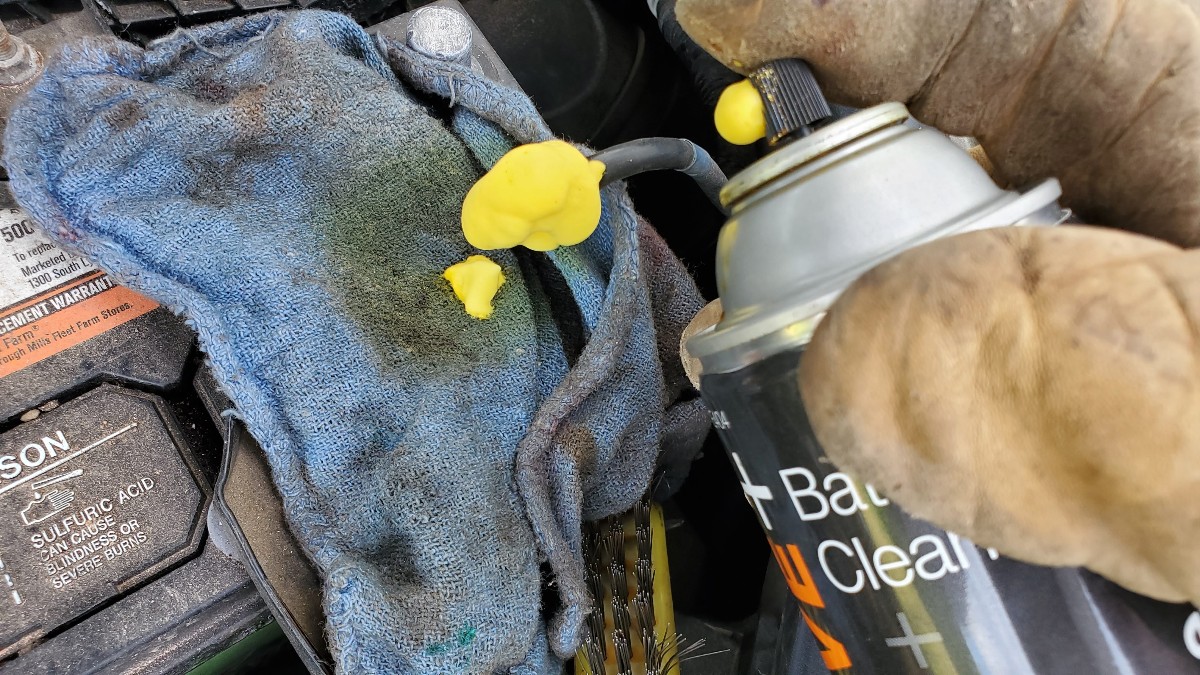
Use a wire-brush to scrape off the corrosion. Also use the wire brush or battery terminal cleaner brush on the battery terminal to clean off any corrosion there as well. Use a rag to wipe the wire clean.
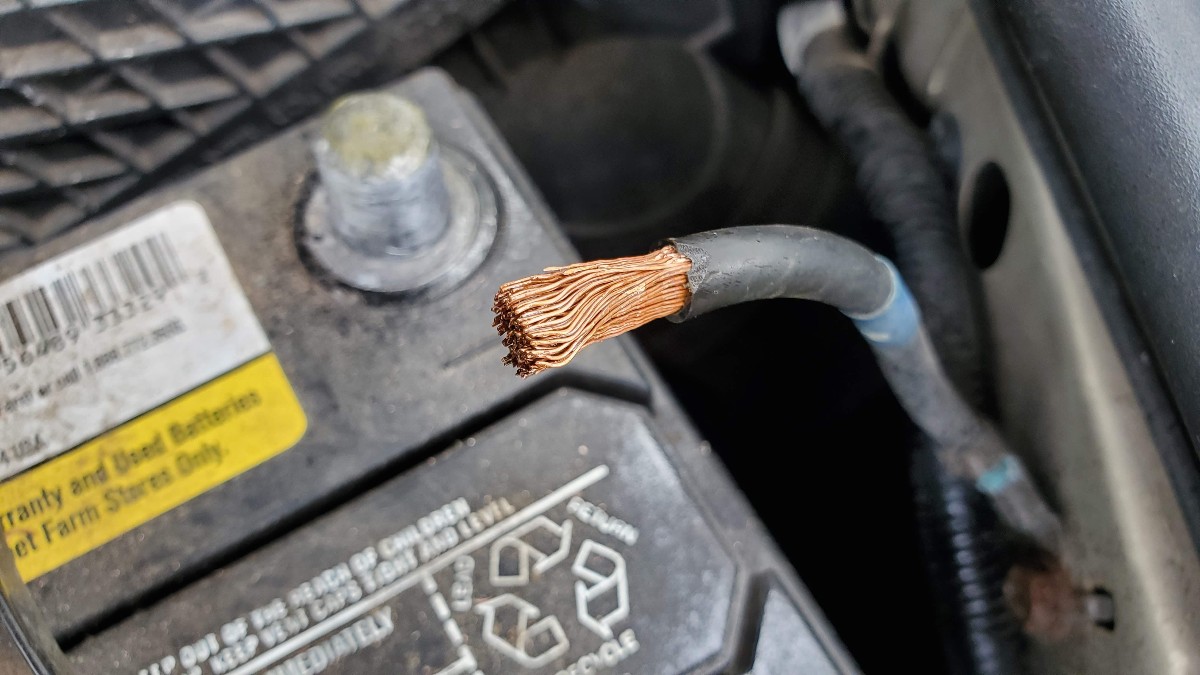
Repeat for both the positive and negative battery cables.
Step 4: Acquire and Attach New Battery Clamps
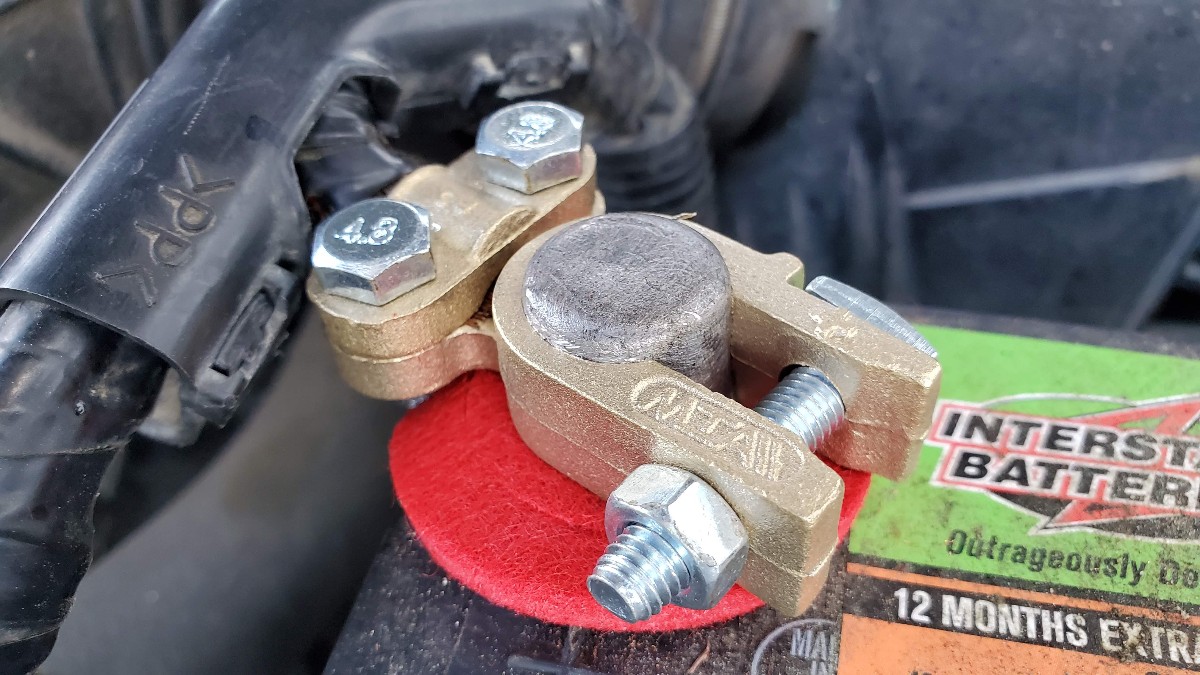
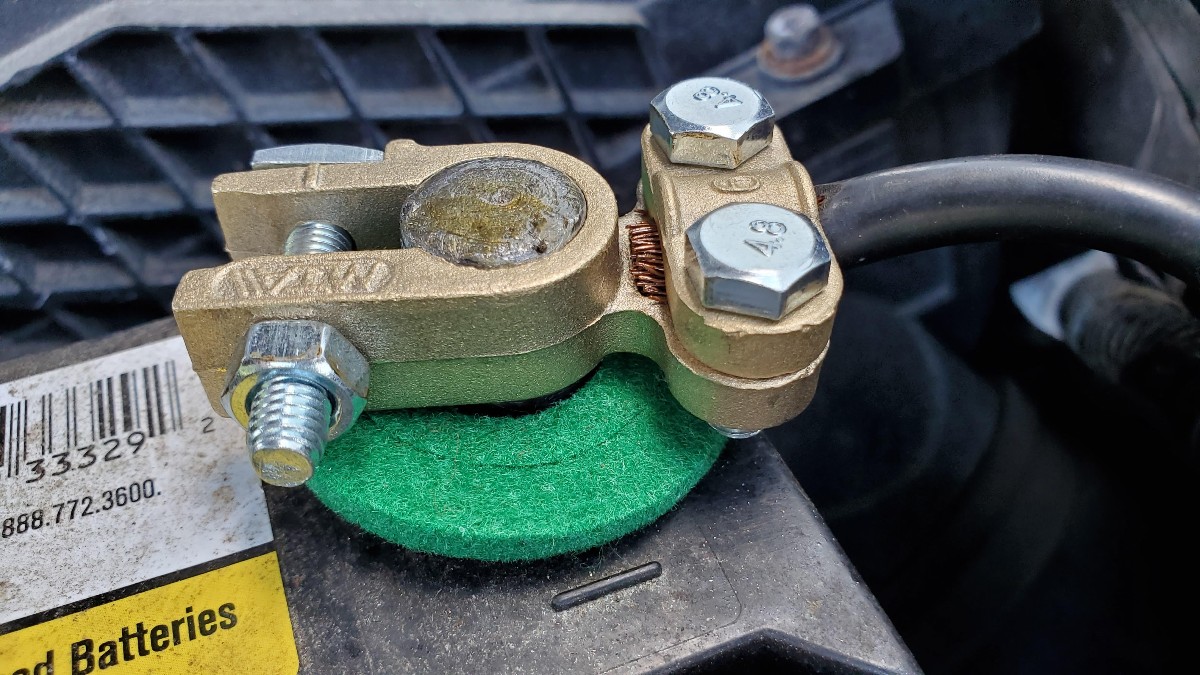
I like these battery clamps for the following reasons:
- They are stiff, unlike lead or copper clamps that deform every time you take them on or off.
- Made of brass which is a good conductor.
- Military-style clamp.
- Plenty of room to clamp down on the battery post. My old ones were ‘maxed out.’
- These come with the corrosion-resistant pads (red/green).

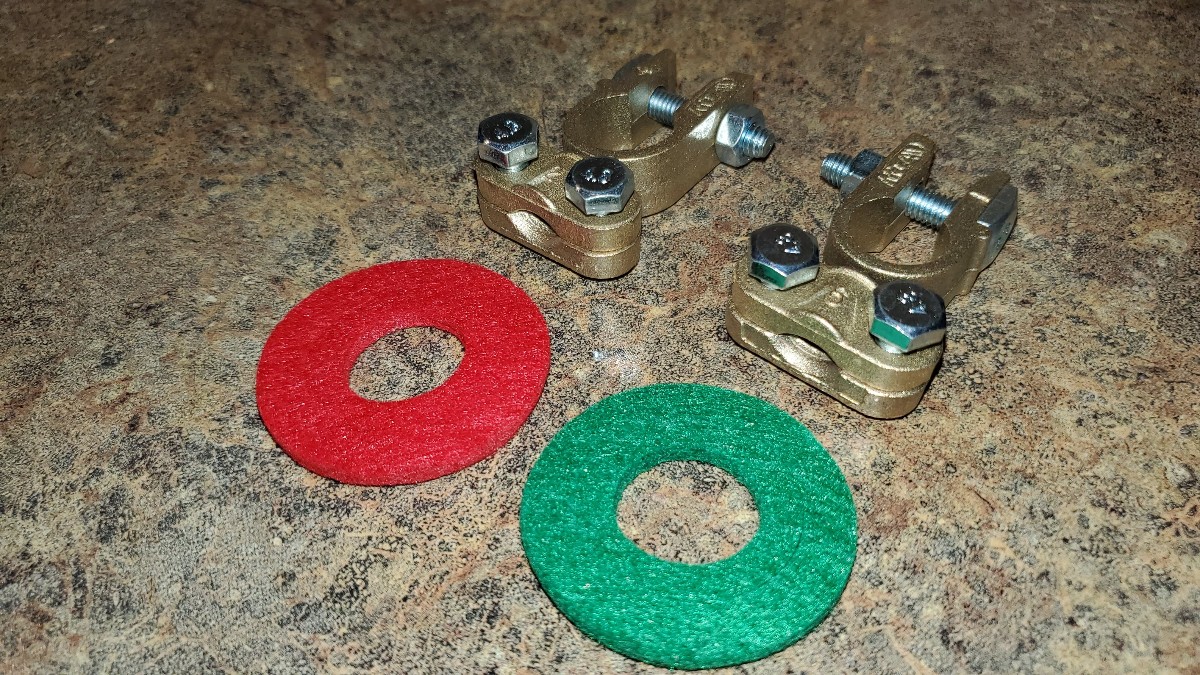
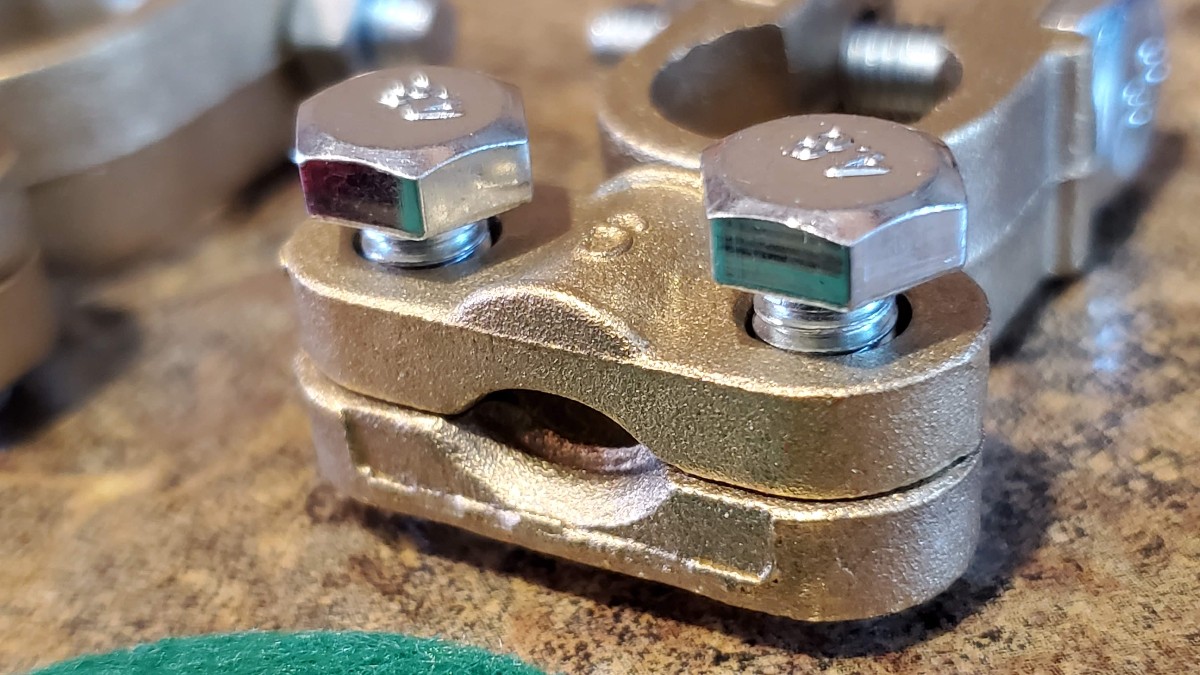
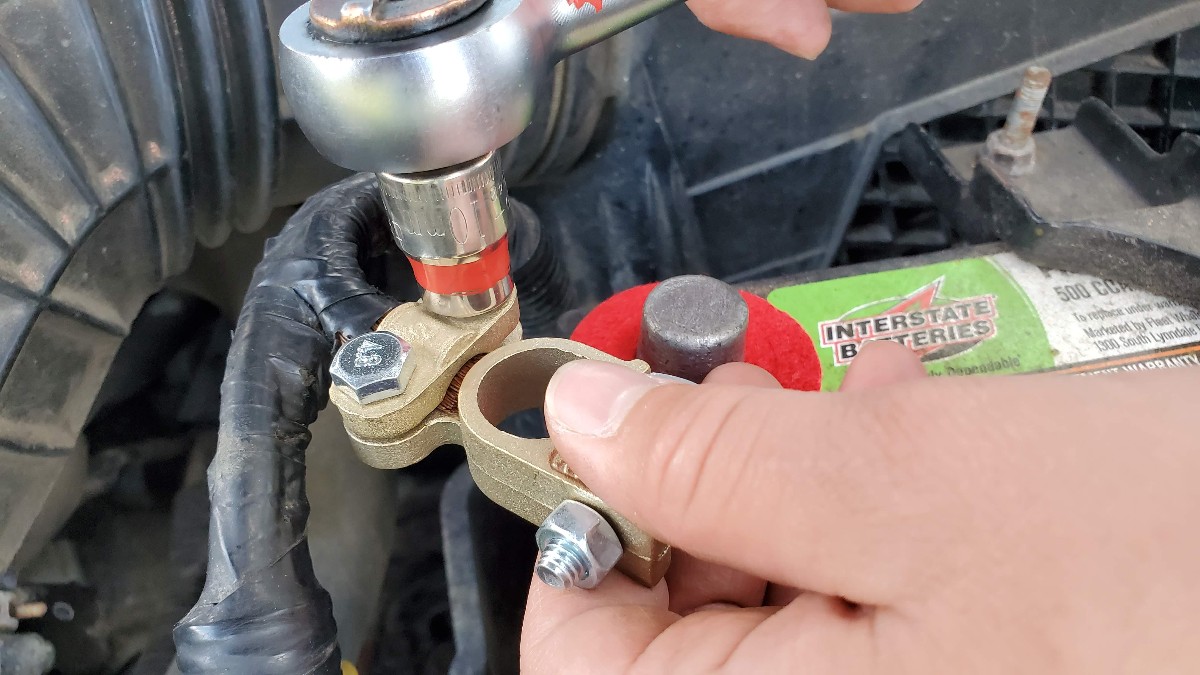
The connector clamps onto the battery cable using two 10mm bolts. The threads are in the clamp, so you don’t have to worry about losing the nuts.
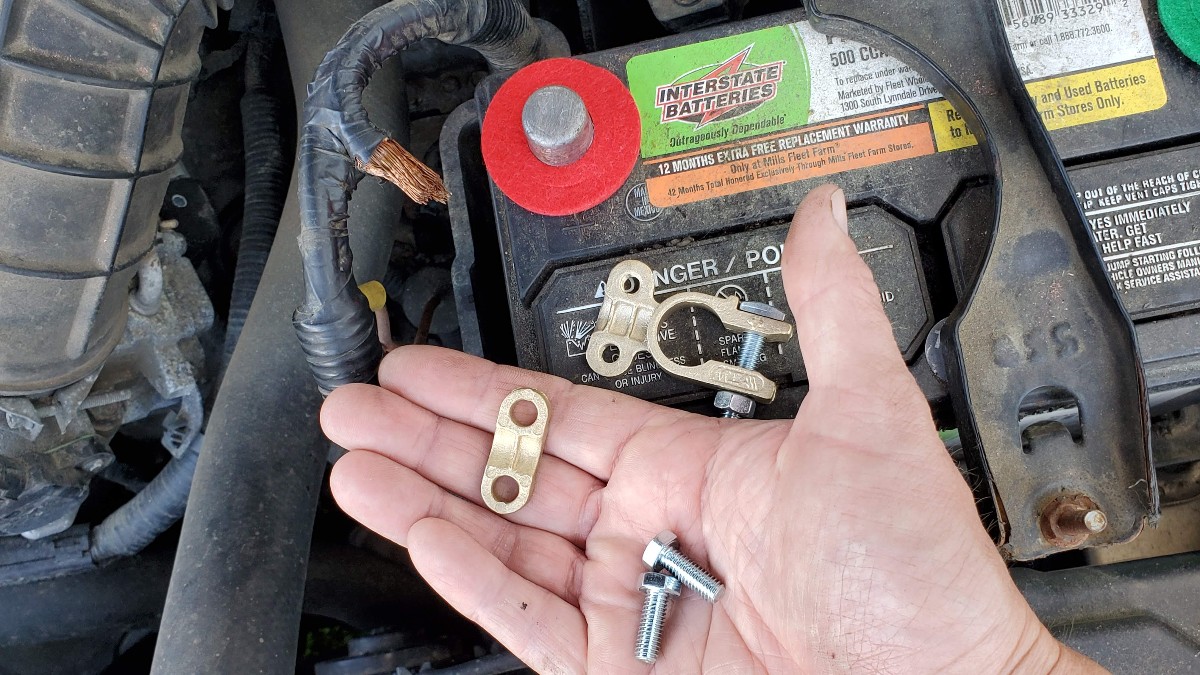
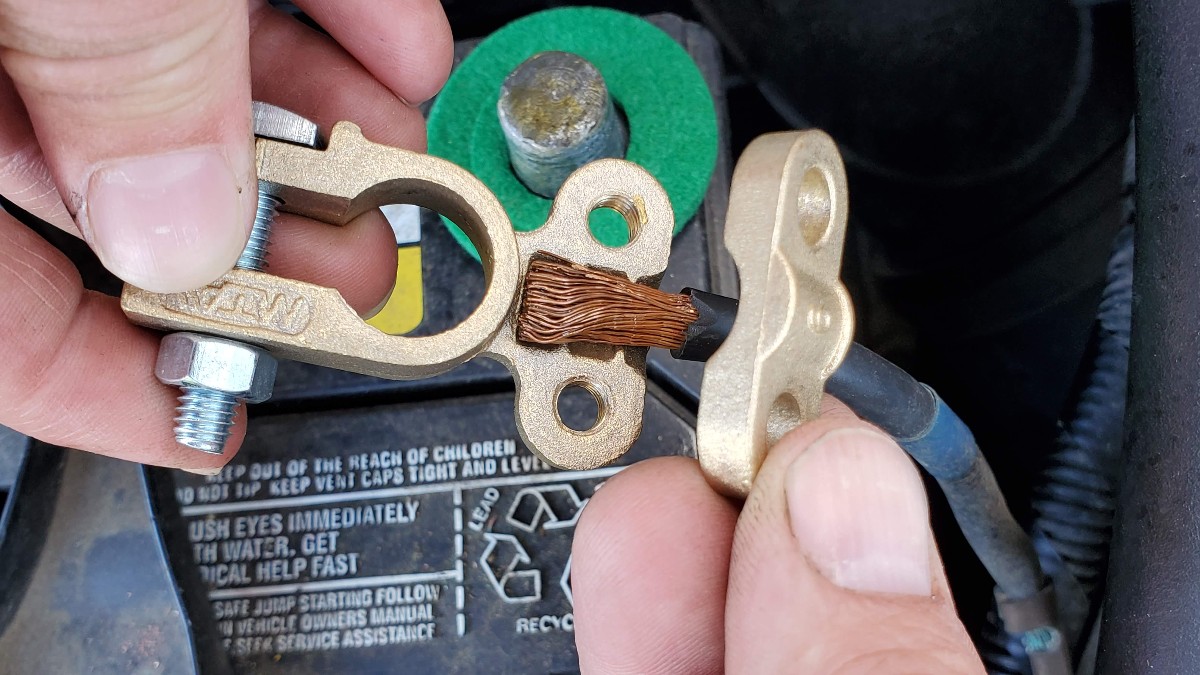
Put the corrosion-resistant pads onto the positive (red) and negative (green) battery terminals. Disassemble the clamp.
Place the battery cable in the clamping portion.
Use a 10mm wrench or socket to tighten down the clamping bolts.
Repeat for both the positive and negative battery terminals.
Step 5: Reconnect the Battery Cables
Put the battery cables back onto the battery posts. Start with the positive side first.
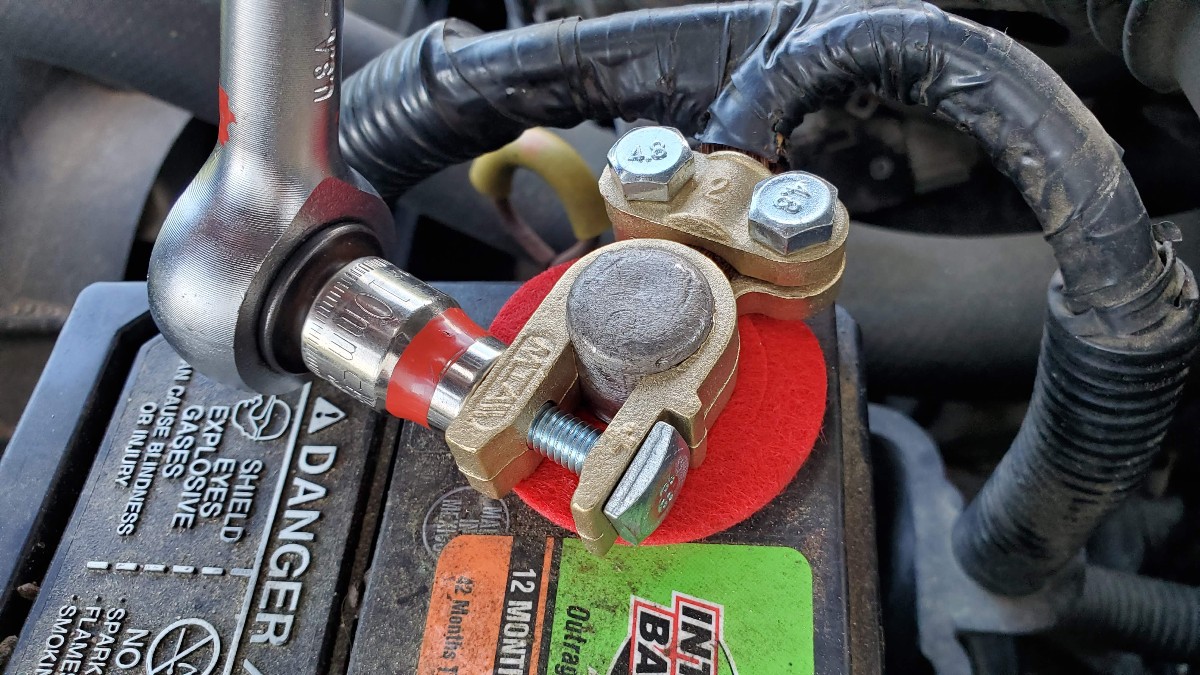
Tighten them down with a 10mm wrench or socket.
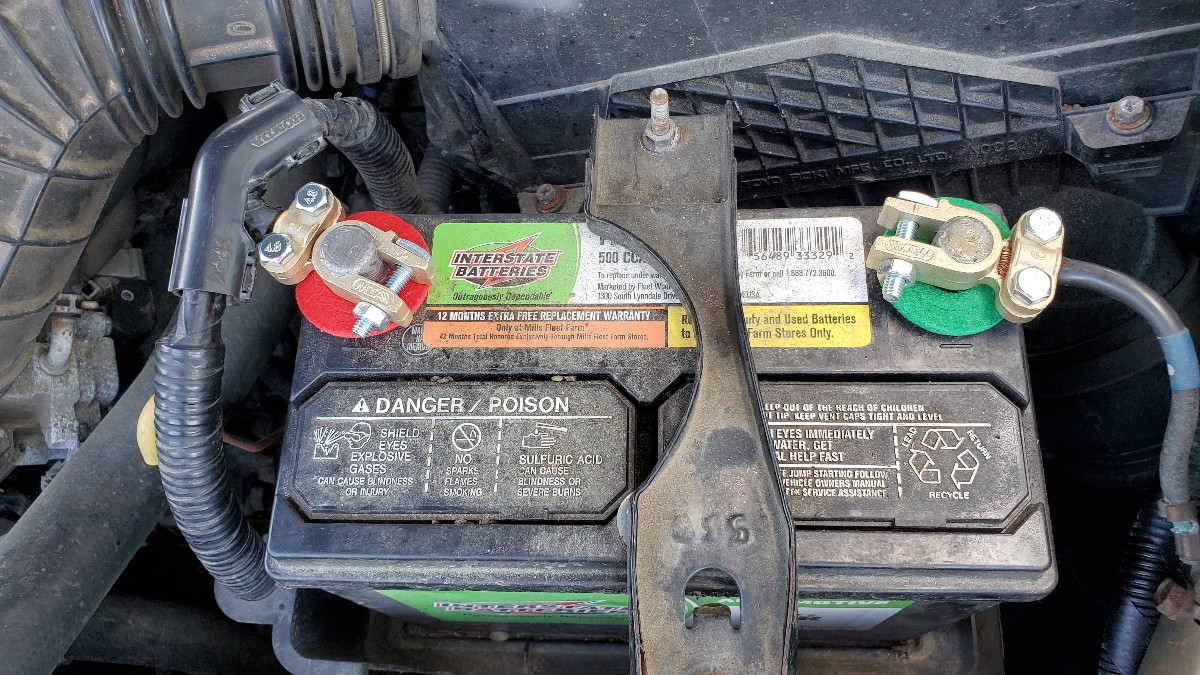
The new clamps will last for quite some time.
Well done! I hope this helped someone out there. Thanks for visiting PracticalMechanic.com
Check out this article to diagnose a bad car battery, alternator or starter!
Tools and Supplies Used:
- 10mm wrench
- wire brush
- sandpaper
- terminal cleaner brush
- battery cleaner spray
- rag
- diagonal cutters and/or dremel tool
- new battery clamps – I use and recommend these ones


Really appreciate all the photos in the post here! My battery terminals are too loose (can only tighten so far) and it keeps causing the battery to go dead b/c it won’t charge. I’m going to buy some terminals like the ones you suggested as it seems those won’t have the issue of potentially being too loose.
I’m just a gurl but I believe I can do the work myself with this very informative post.
Hello
According to your battery replacement process, I will need a wire brush, but I haven’t one.
Would you please suggest to me similar stuff that I can be used as an alternative to wire brush?
I love your writing because it’s like I’m watching YouTube and replace my car battery. You show the whole process that’s great.
Thanks.
Have a good day.
Hello!
I found your website on google and found it very useful and informative for our business and I also shared your website with my other friends also. We have a written-off automobile company and we buy your written off cars and vehicles for top cash and free towing if you want to sell your written-off car then get in contact with us and sell your car within few hours and get the best services Here is the link: Cash for written-off cars Sydney