How to Replace the Starter on a Dodge 318 – V8
The following picture guide illustrates the steps used to replace the starter on a Dodge 318 V8 engine when turning the key only results in a single ‘click’.
The 1977 Dodge PowerWagon W200 with the 318 cu in (5.2 L) V8 engine had trouble starting. When the ignition switch was turned, all that was heard was a single click.
By the way, this repair would be the same or similar for other Dodge pickup trucks and vans including the Dodge Dakota, Dodge Ram, and Ramcharger.
After repeated attempts at turning the key, the starter would finally engage, and the engine would start. Over time it would take more and more key turn attempts before the starter would engage.
When you buy through links on our site, we may earn an affiliate commission – at no cost to you.
Other Issues Where Truck Won’t Start
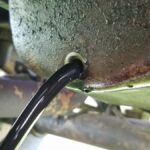
It is important at this point to rule out other problems, the most common being a poor wiring connection somewhere, often at the battery. Make sure the battery cables are tight and not corroded. Also make sure that the cables to the starter and solenoid are tight as well.
The problem was the internal solenoid connection. Replacing the starter/solenoid unit solved the problem.
Tools and Parts used for this repair:
- Dodge Starter (3.9L 5.2L 5.9L engines)
- Socket set including 1/2″ and 5/8″ sockets.
- Pliers
- Grease
![]() Click here if you prefer a video version of this repair.
Click here if you prefer a video version of this repair.
Starter Replacement Guide: Step-by-Step Procedure
The first step is to disconnect the negative battery cable from the battery terminal.

The starter is best accessed from underneath the vehicle. Crawl underneath and locate the starter.

The starter is held in place with two 5/8″ bolts. Use a socket wrench with an extension (a 6″ extension worked well) and remove the bottom bolt.


Removing the bolt.

This is a photo showing the location of the top bolt.

Use the 5/8″ socket to remove the top bolt as well.

Once both bolts are removed, pull on the starter to remove it.

It is still attached to the vehicle by the cables.

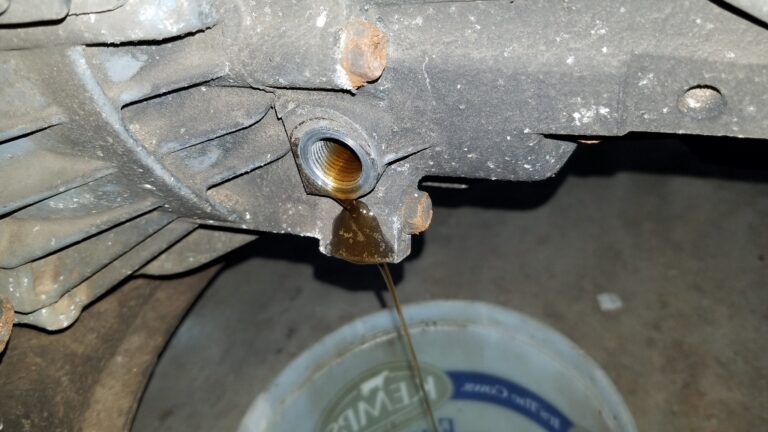
We will remove these next.

Use a 1/2″ socket or wrench to remove the nut for the starter motor.


Once it is loose, remove it the rest of the way by hand.


Next remove the solenoid power cable. This is a smaller nut. I used a pliers to remove this one.

Once it is loose, remove it the rest of the way by hand as well.

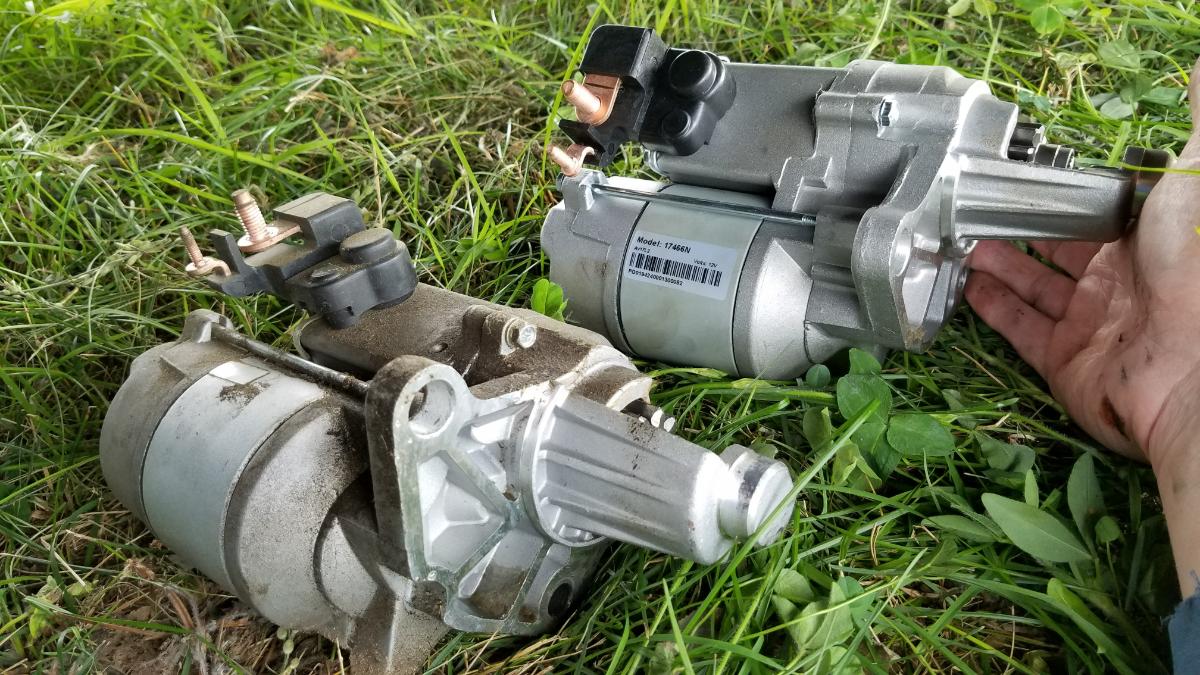
Here is a shot of the old and new starters.

The old and new starters side by side.

Before putting on the new starter, put a bit of grease on the gear.

Next, attach the motor and solenoid wires to the new starter.

And tighten them up.

Once the wires are attached, position the starter at its mounting holes.

This is a view inside the engine with the fly-wheel visible, where the starter gear engages it. Notice the seating position for the end of the starter motor to seat properly.

Position the new starter, lining up the mounting holes.


Wiggle the starter around a bit to make sure that it is seated properly.

At this point, insert the bottom mounting bolt and begin tightening it. Make sure the starter is not crooked (it is crooked in the photo below), before tightening all the way.

Once the starter is straight, and seated properly, put in a tighten the top mounting bolt as well.

This is a view of the starter properly aligned and mounted.

Excellent work! Don’t forget to re-connect the negative battery cable.

Make sure the battery cable is good and tight.

And that about wraps it up. I hope this helps someone out there.
Tools Used for this Job:
- Dodge Starter (3.9L 5.2L 5.9L engines)
- Socket set including 1/2″ and 5/8″ sockets.
- Pliers
- Grease
Watch my YouTube video on How to Change the Starter in a Dodge 318.
For more Dodge w200 maintenance articles, check out these posts.


This is very helpful. I appreciate you putting this on here. Would you happen to now how to rebuild this starter, or have another step by step on how to rebuild it. Thank you so much.