How to Change Brakes on a Toyota Sienna
Follow this instructional picture guide with all the details necessary to change the front brake pads on a Toyota Sienna.
Greetings everyone, I documented the process of changing the brakes on my Sienna the other day and thought it might be helpful, so here it is!
Note: If you buy through links on my site, I may earn an affiliate commission – at no cost to you.
Procedure for Changing the Front Brake Pads
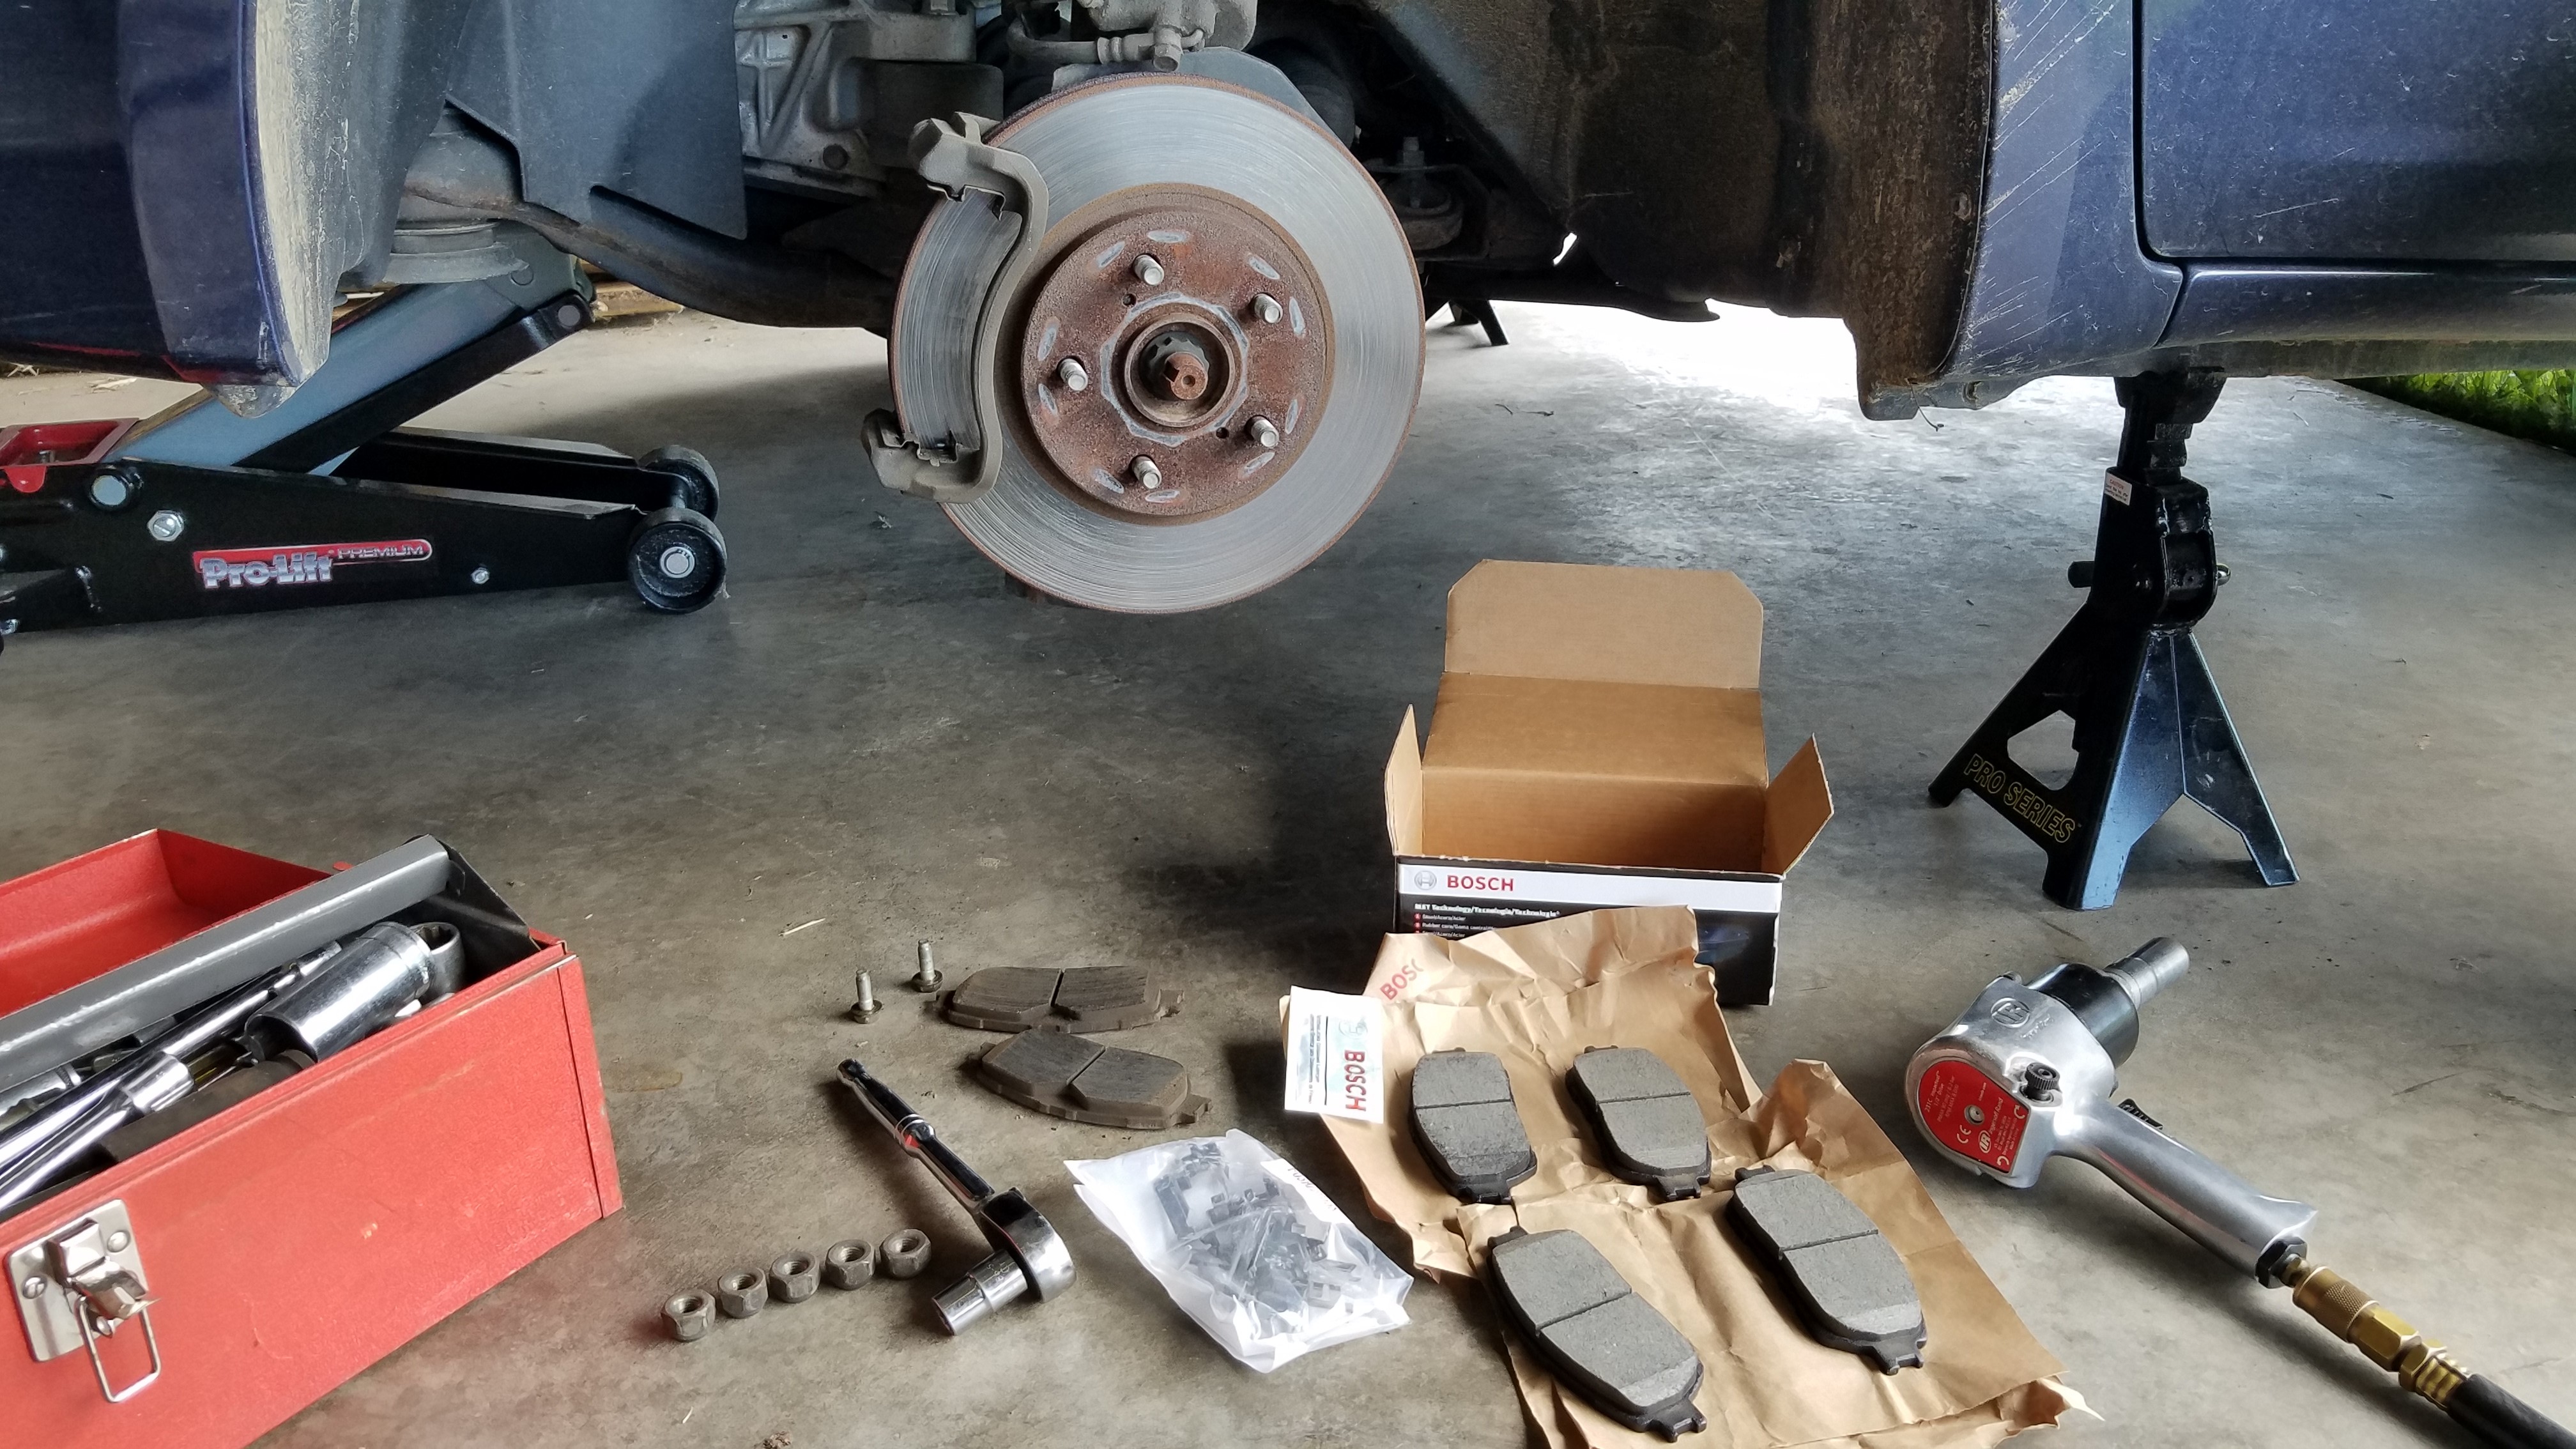
Changing front brake pads on your Toyota Sienna is pretty straightforward and doesn’t require much in terms of tools and materials. The van shown here is a 2006 Toyota Sienna LE. Here is a list of the tools and materials used in this guide:
Main tools and materials used:
- 2003-2010 Toyota Sienna – Bosch BC906 Front Brake Pad Set
- 2012-2018 Toyota Sienna – Bosch BC1324 Front Brake Pad Set
- caliper hook hangers
- large c-clamp or piston compression tool
Along with the main tools and materials, the other standard tools needed are the following:
Other tools:
- flat-head screwdriver
- 13/16″ lug nut socket
- caliper grease
- socket wrench
- 14 mm socket
- torque wrench
- 18 mm wrench
- anti-seize
Alright, let’s get started!
Changing Brake Pads
The first step is to jack up the vehicle and put some jack-stands under it. You can use the scissor jack that came with the vehicle and do one side at a time. Or jack up the entire front end with a hydraulic jack and do both. Still use the jack-stands under each side.
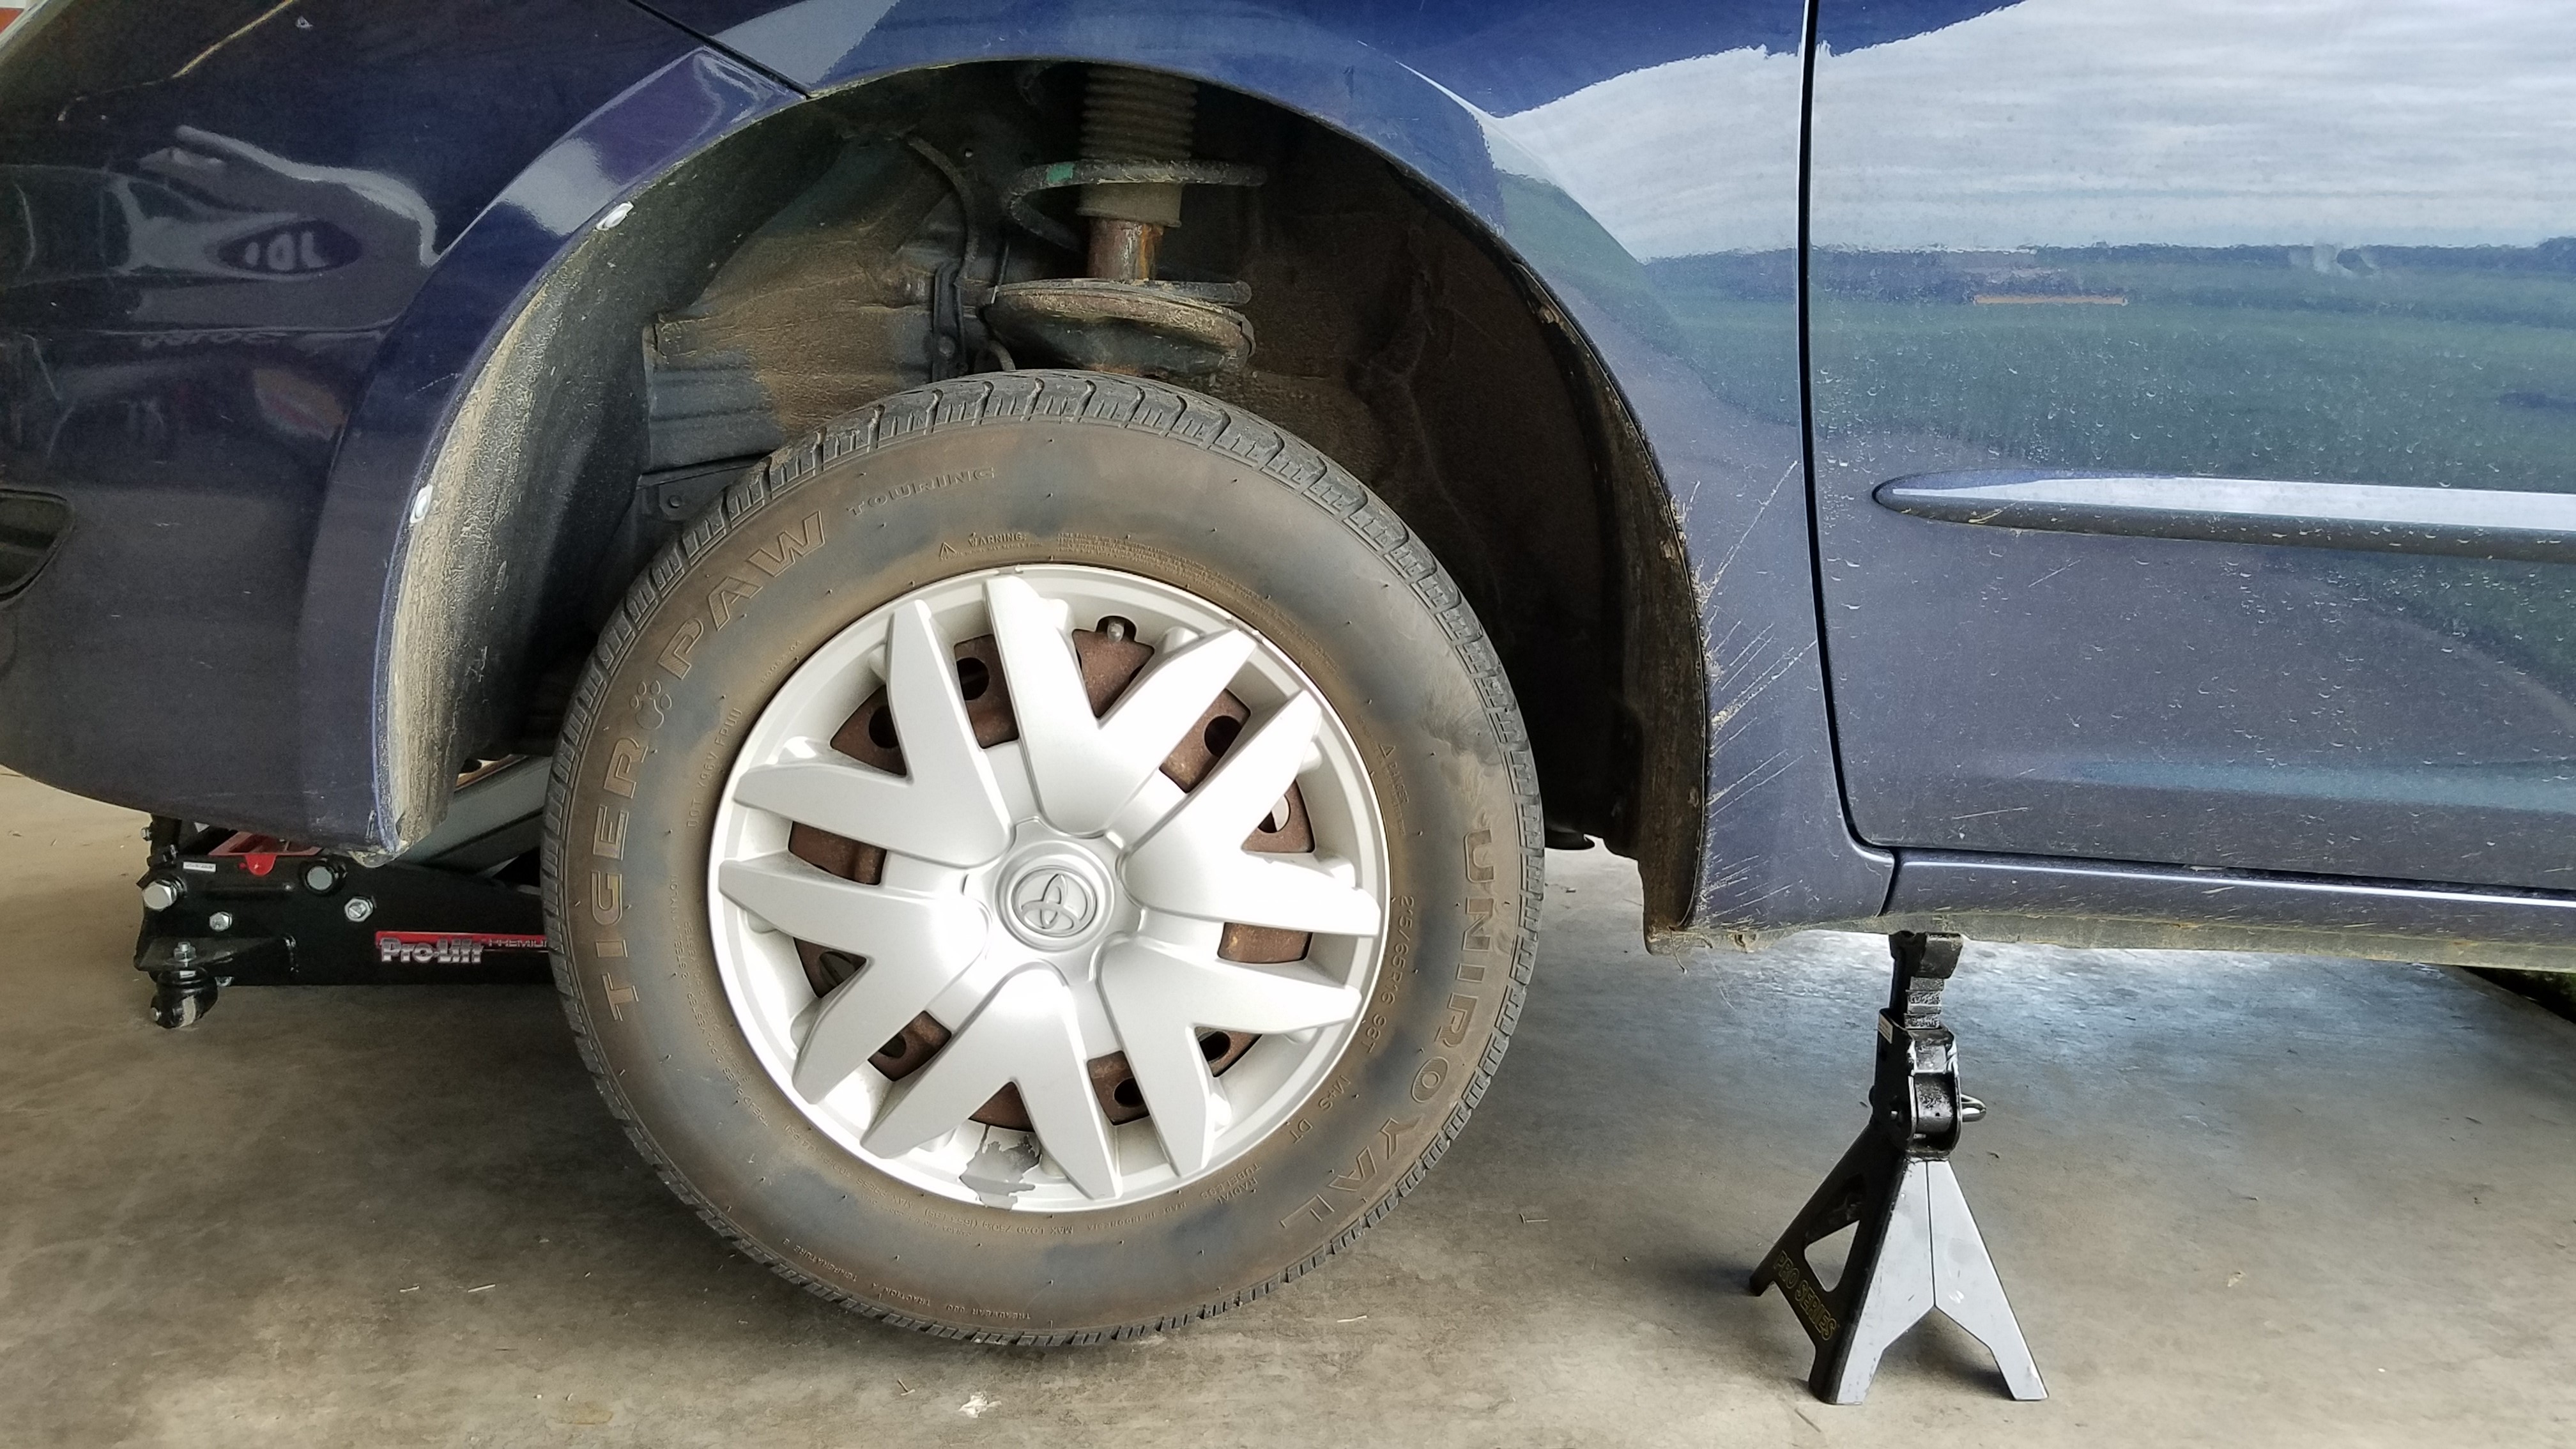
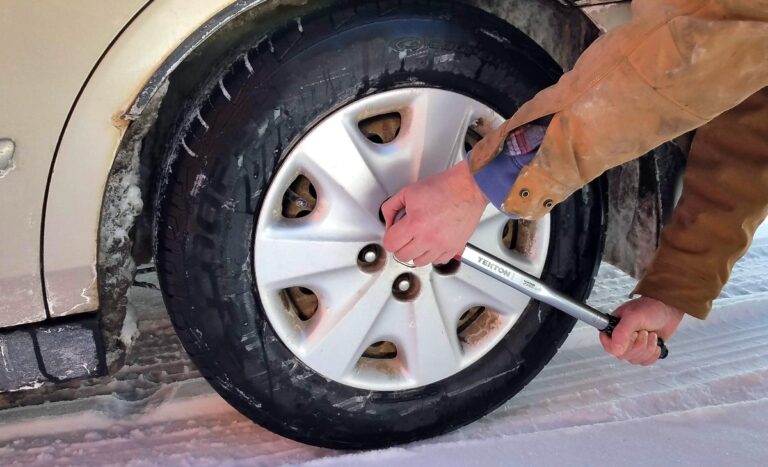
Next, pry off the hubcap with a large screwdriver.
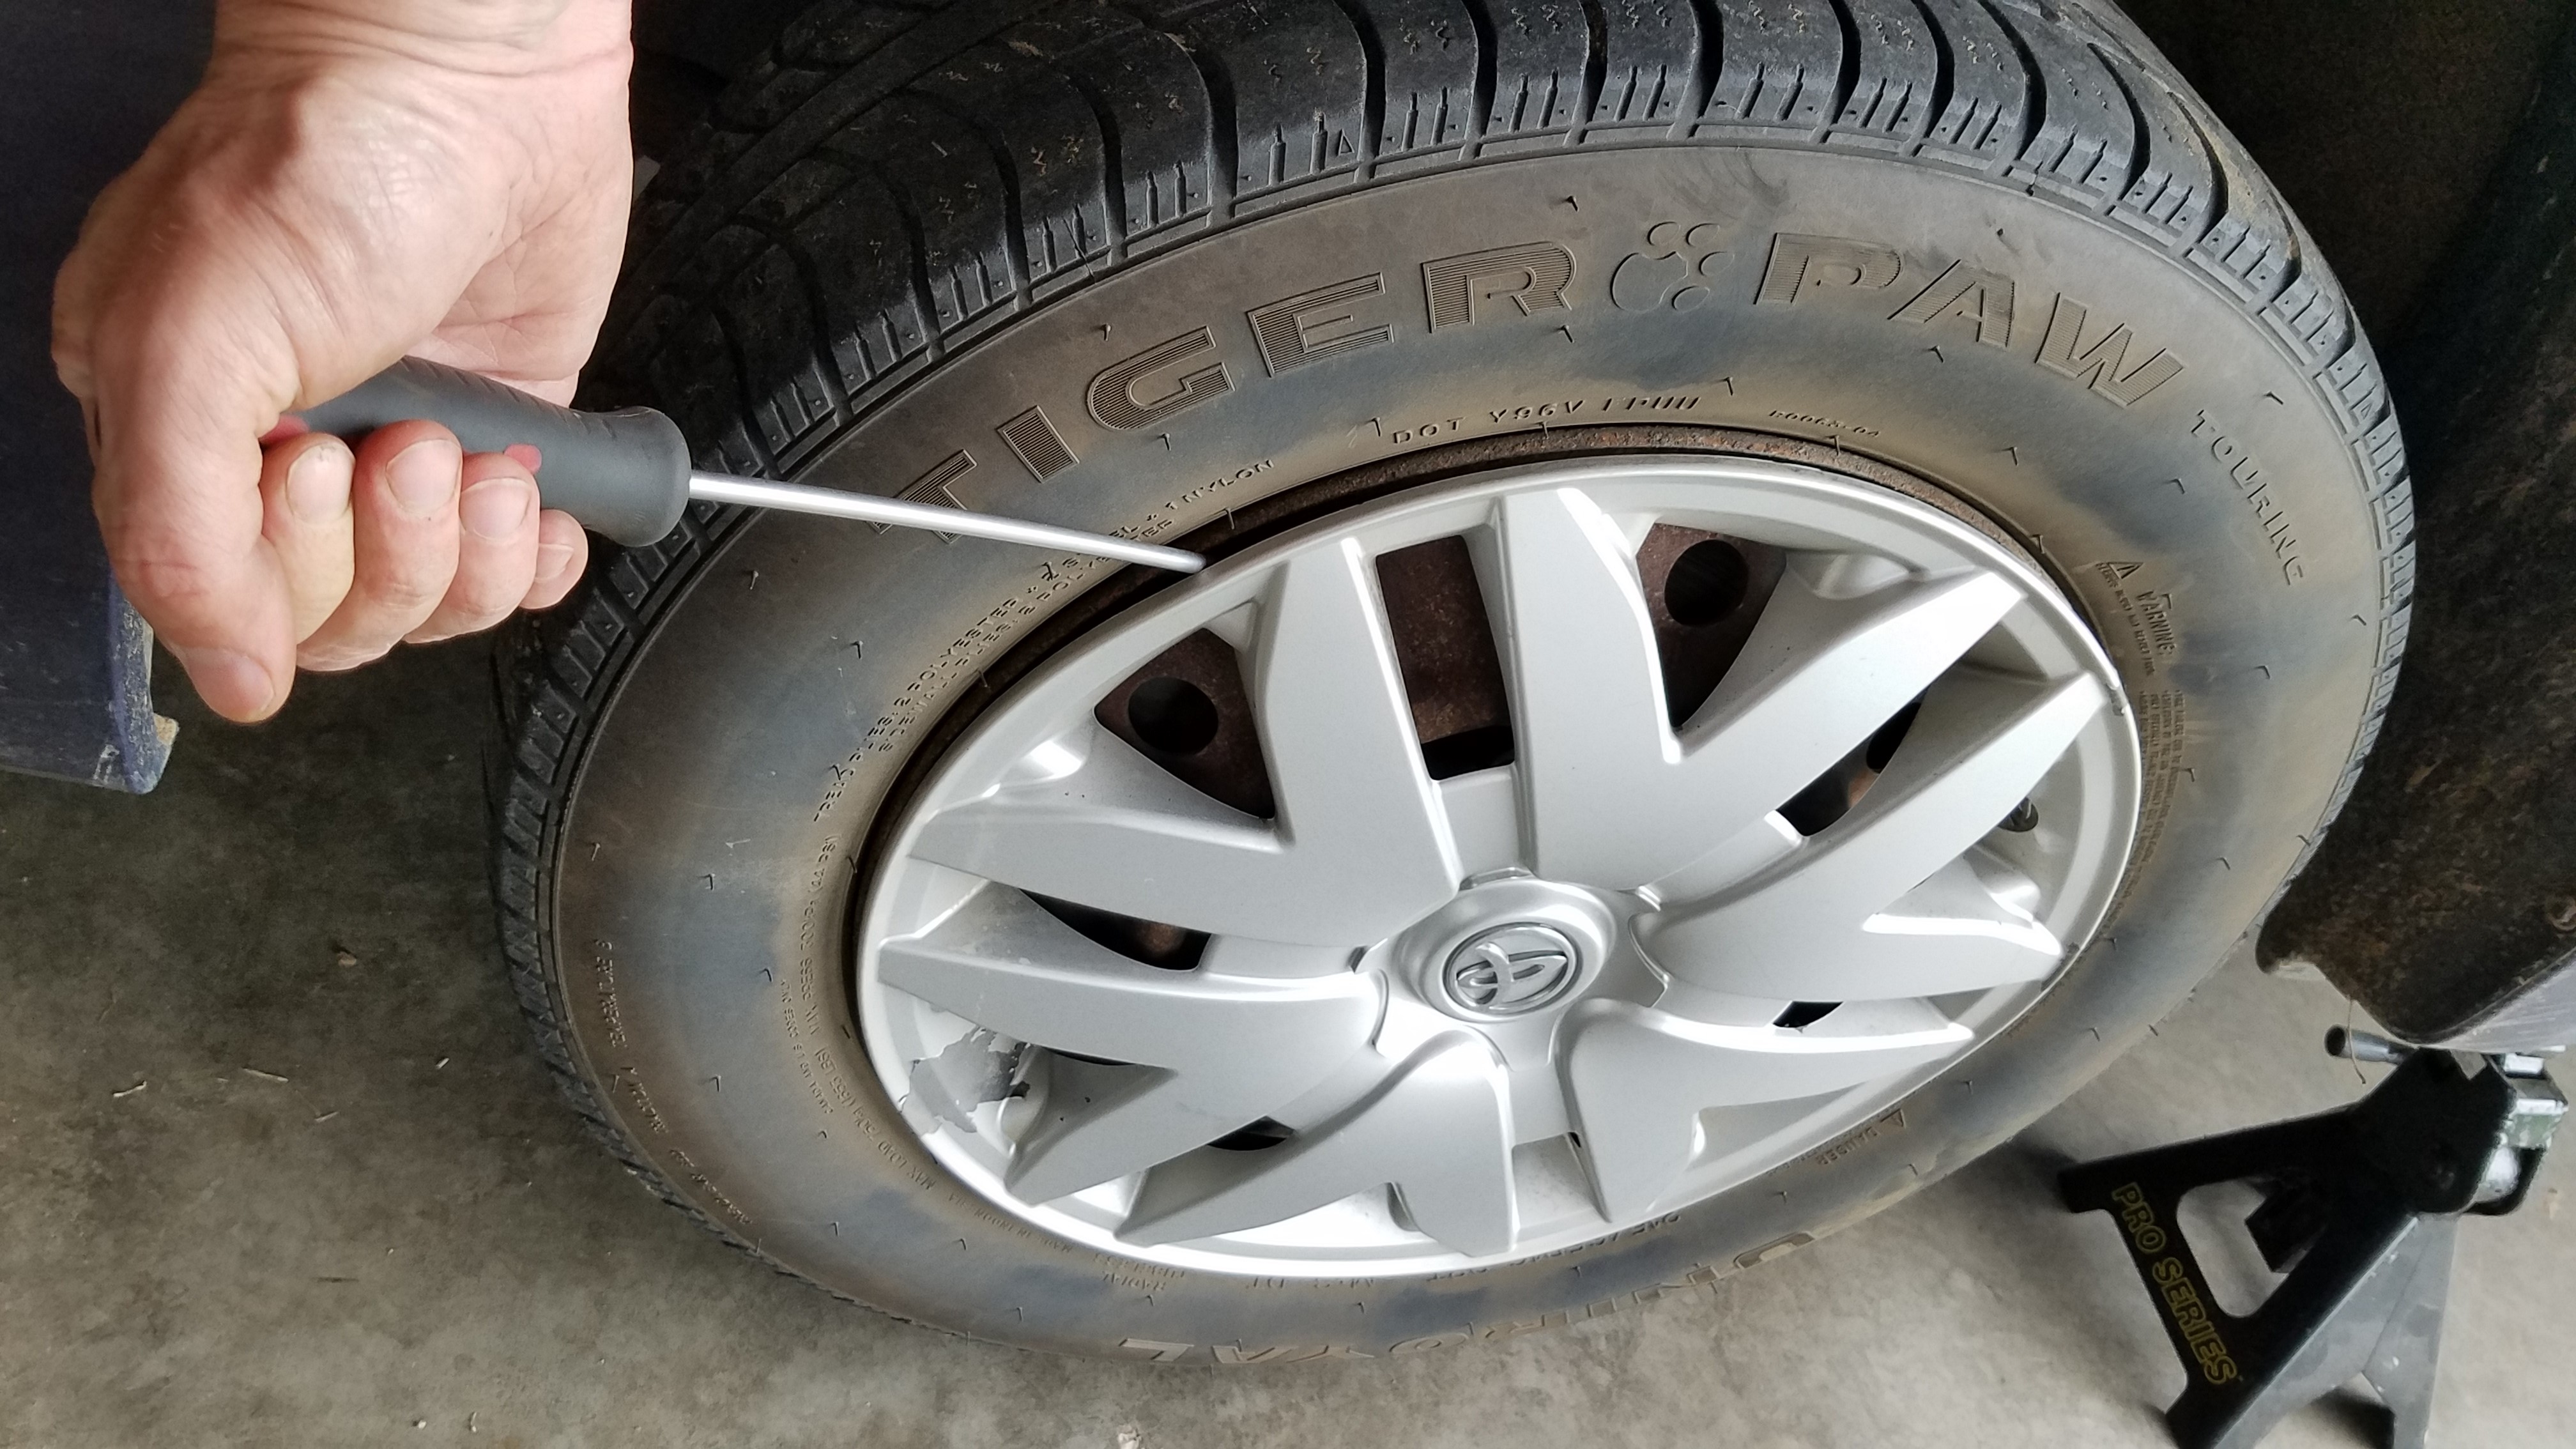
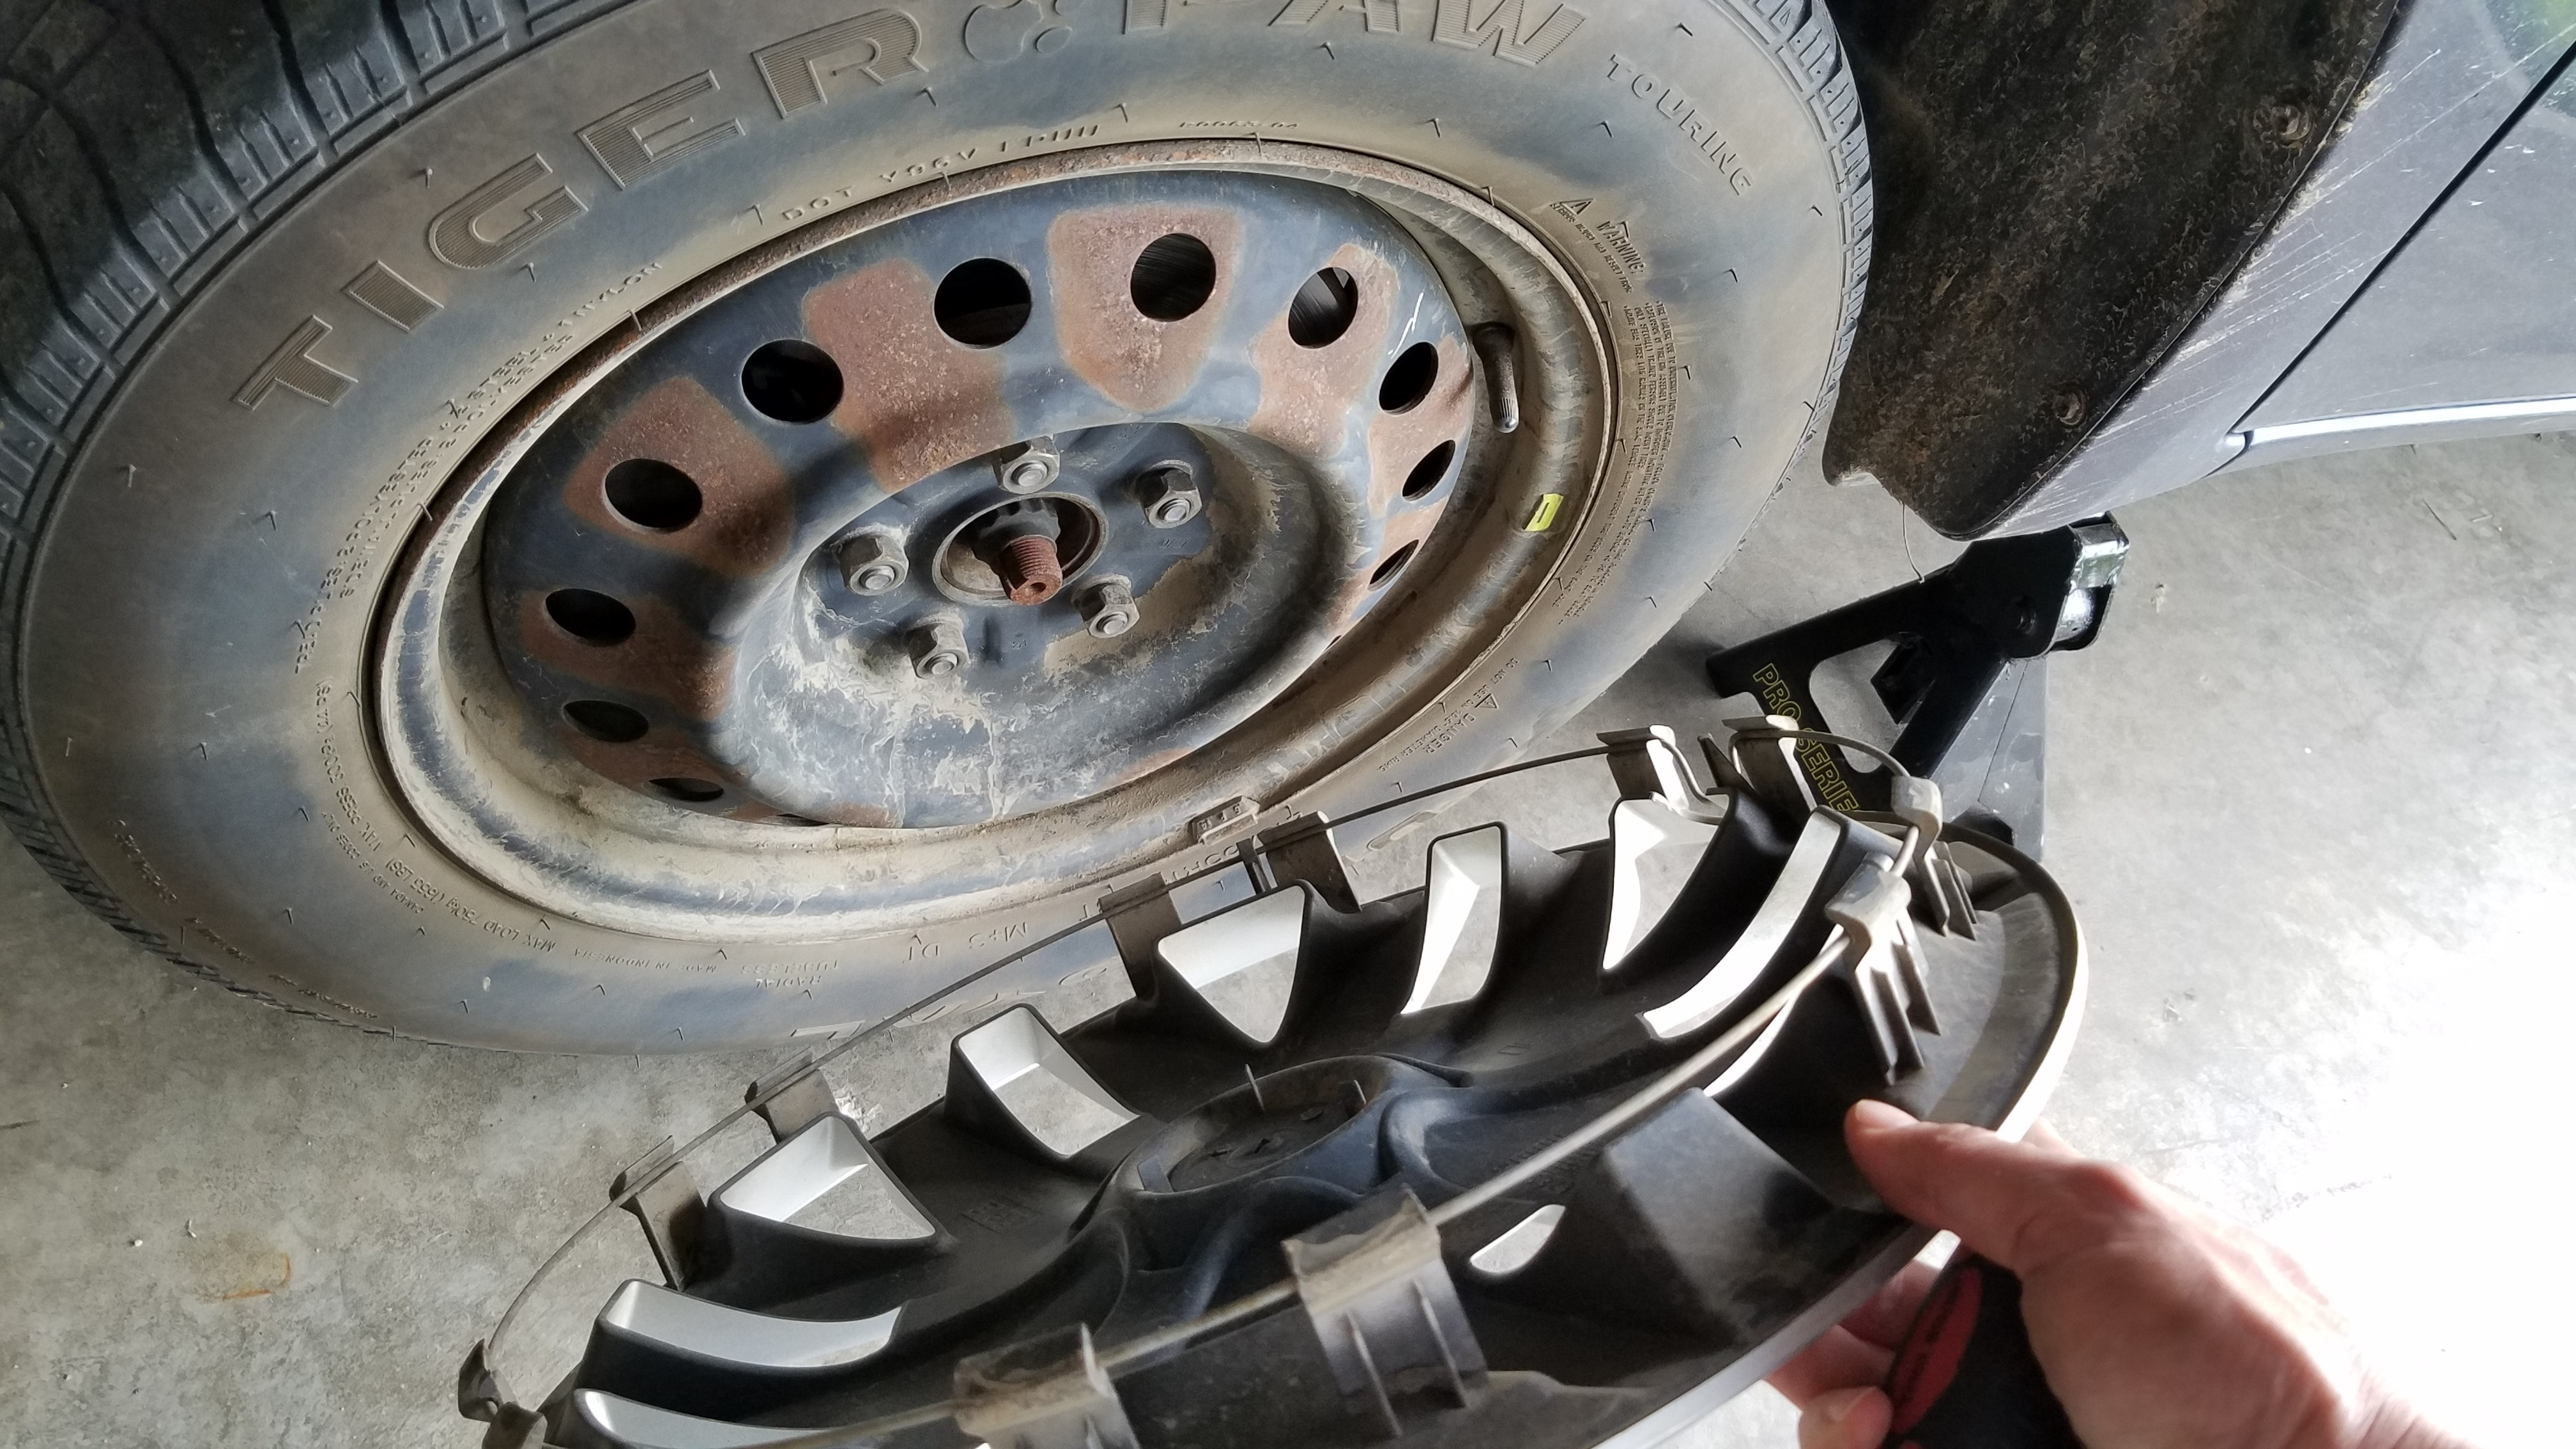
Once the hubcap is off, take off the lug-nuts with a breaker bar, or my personal favorite impact wrench. If using a wrench, loosen the lug-nuts before jacking, while the vehicle is still on the ground, then take them all the way off once the vehicle is jacked up.

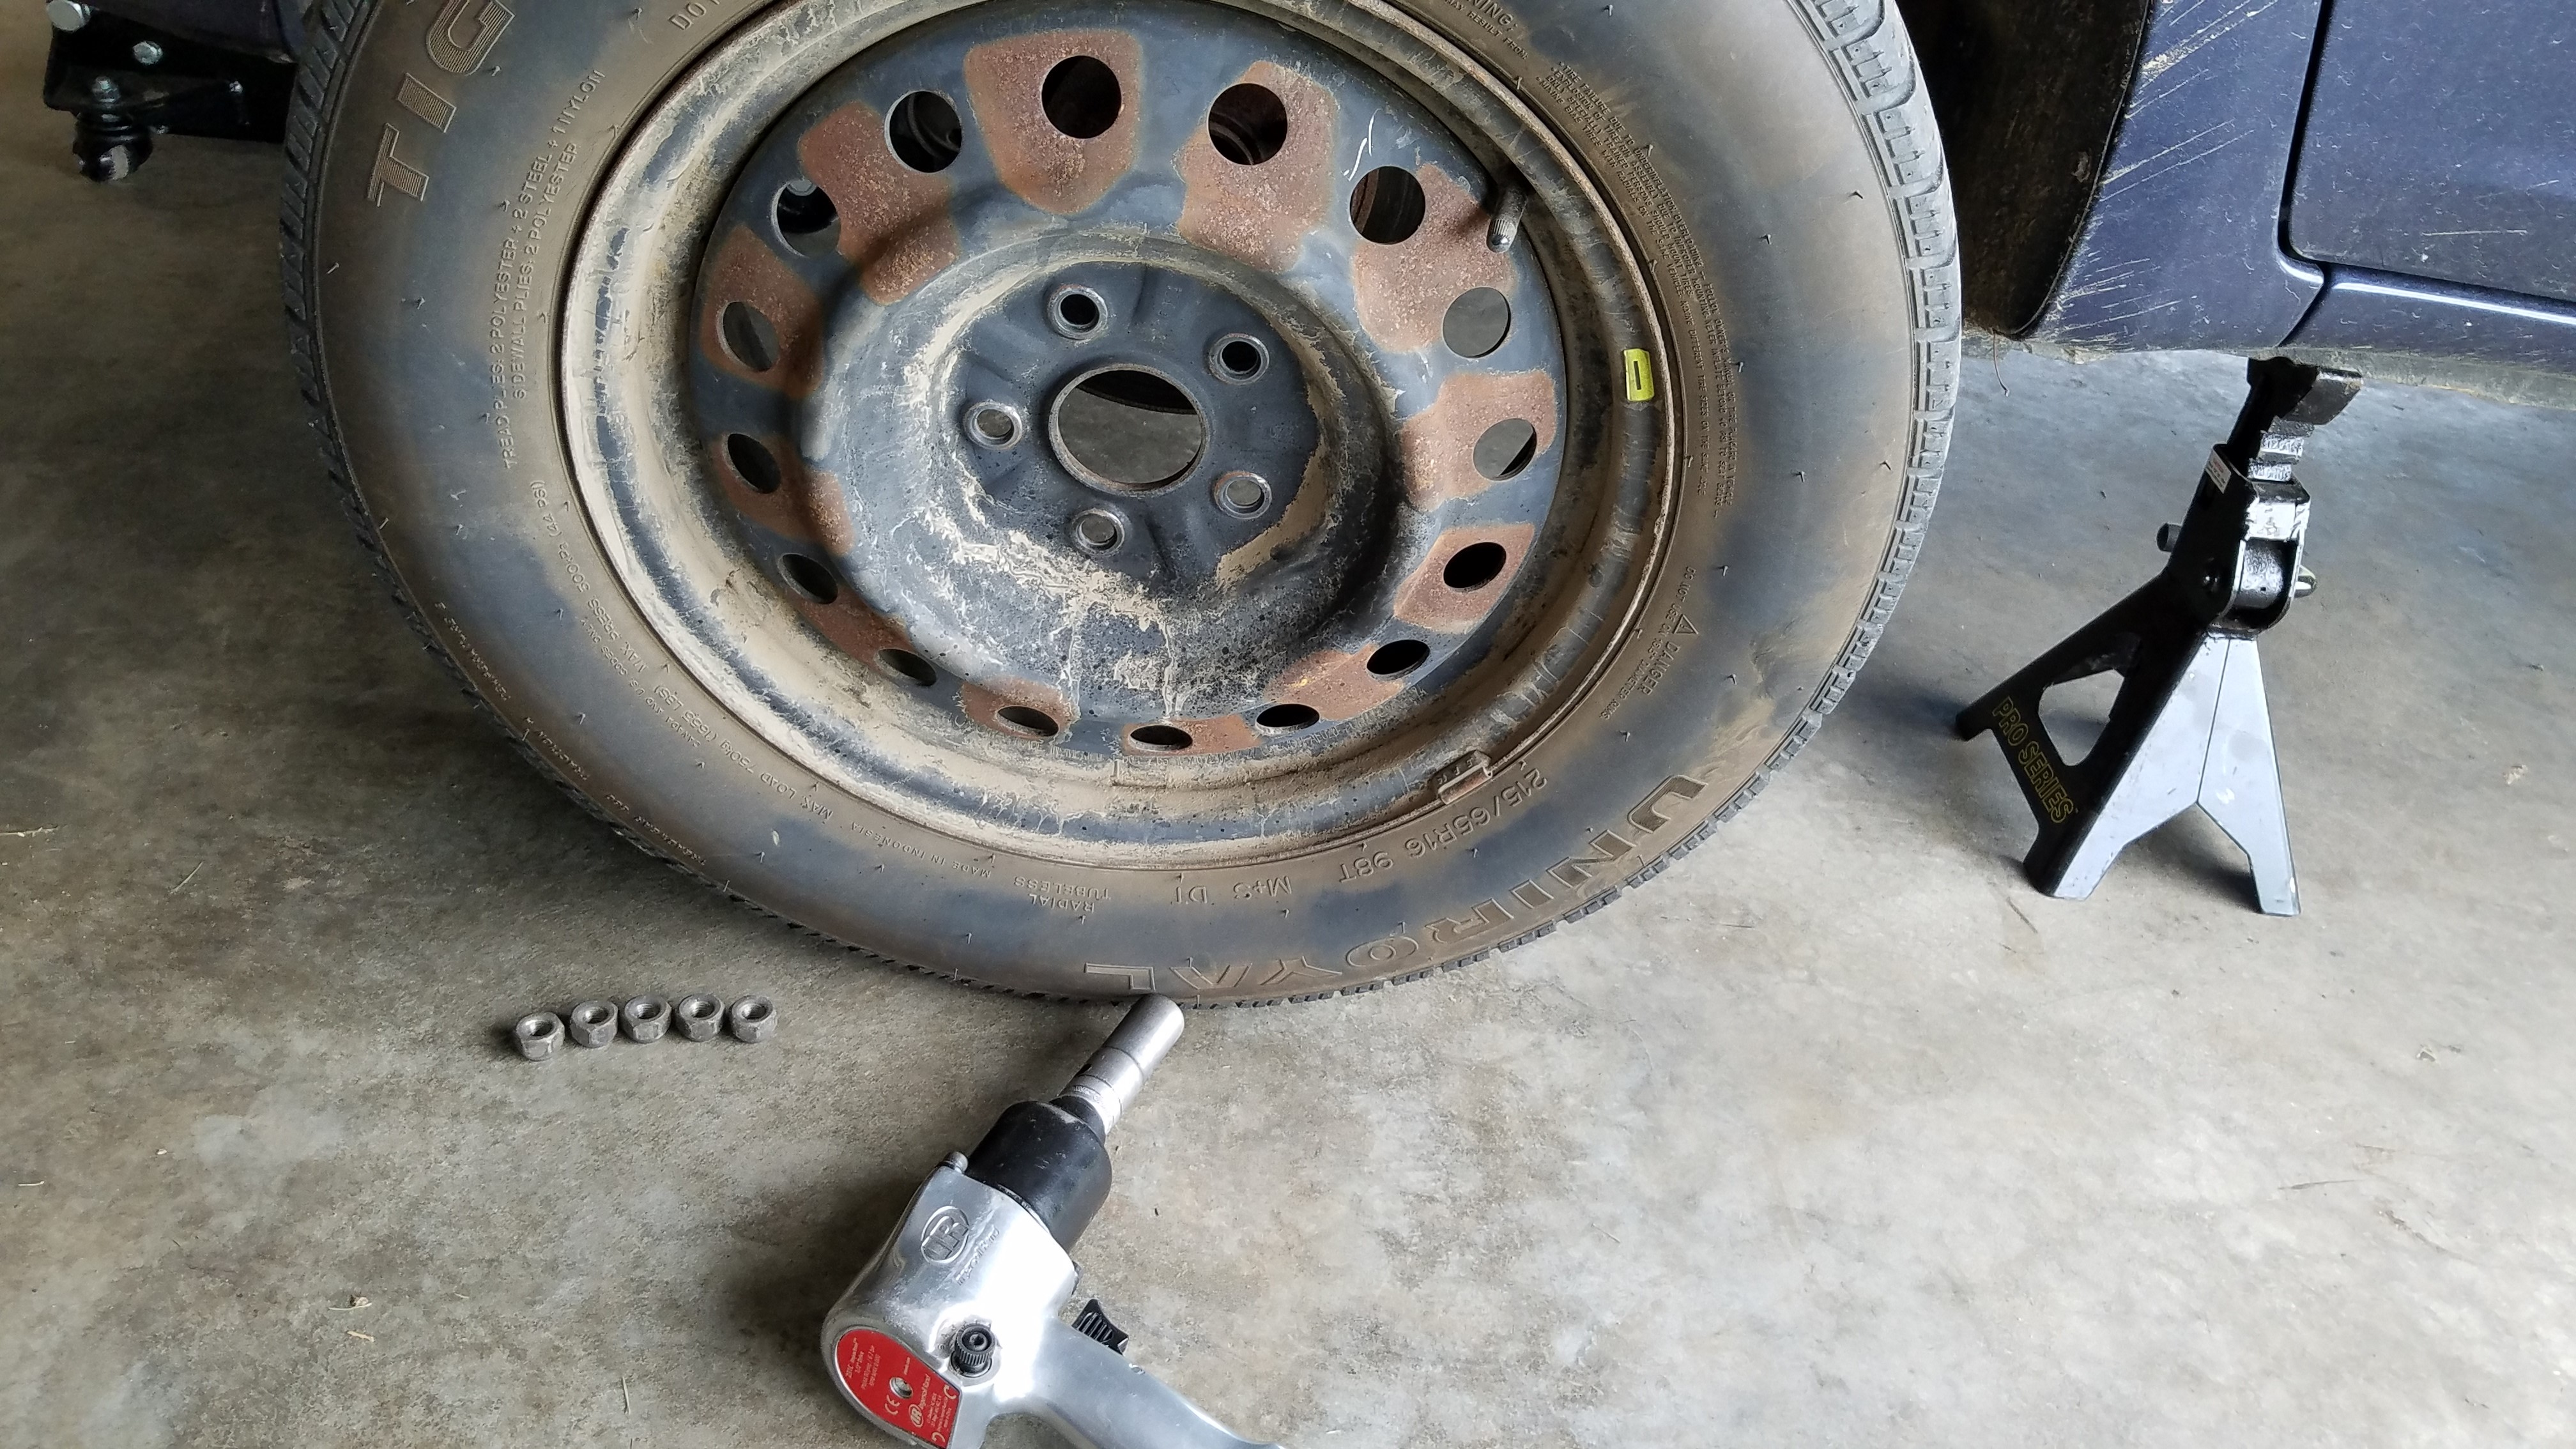
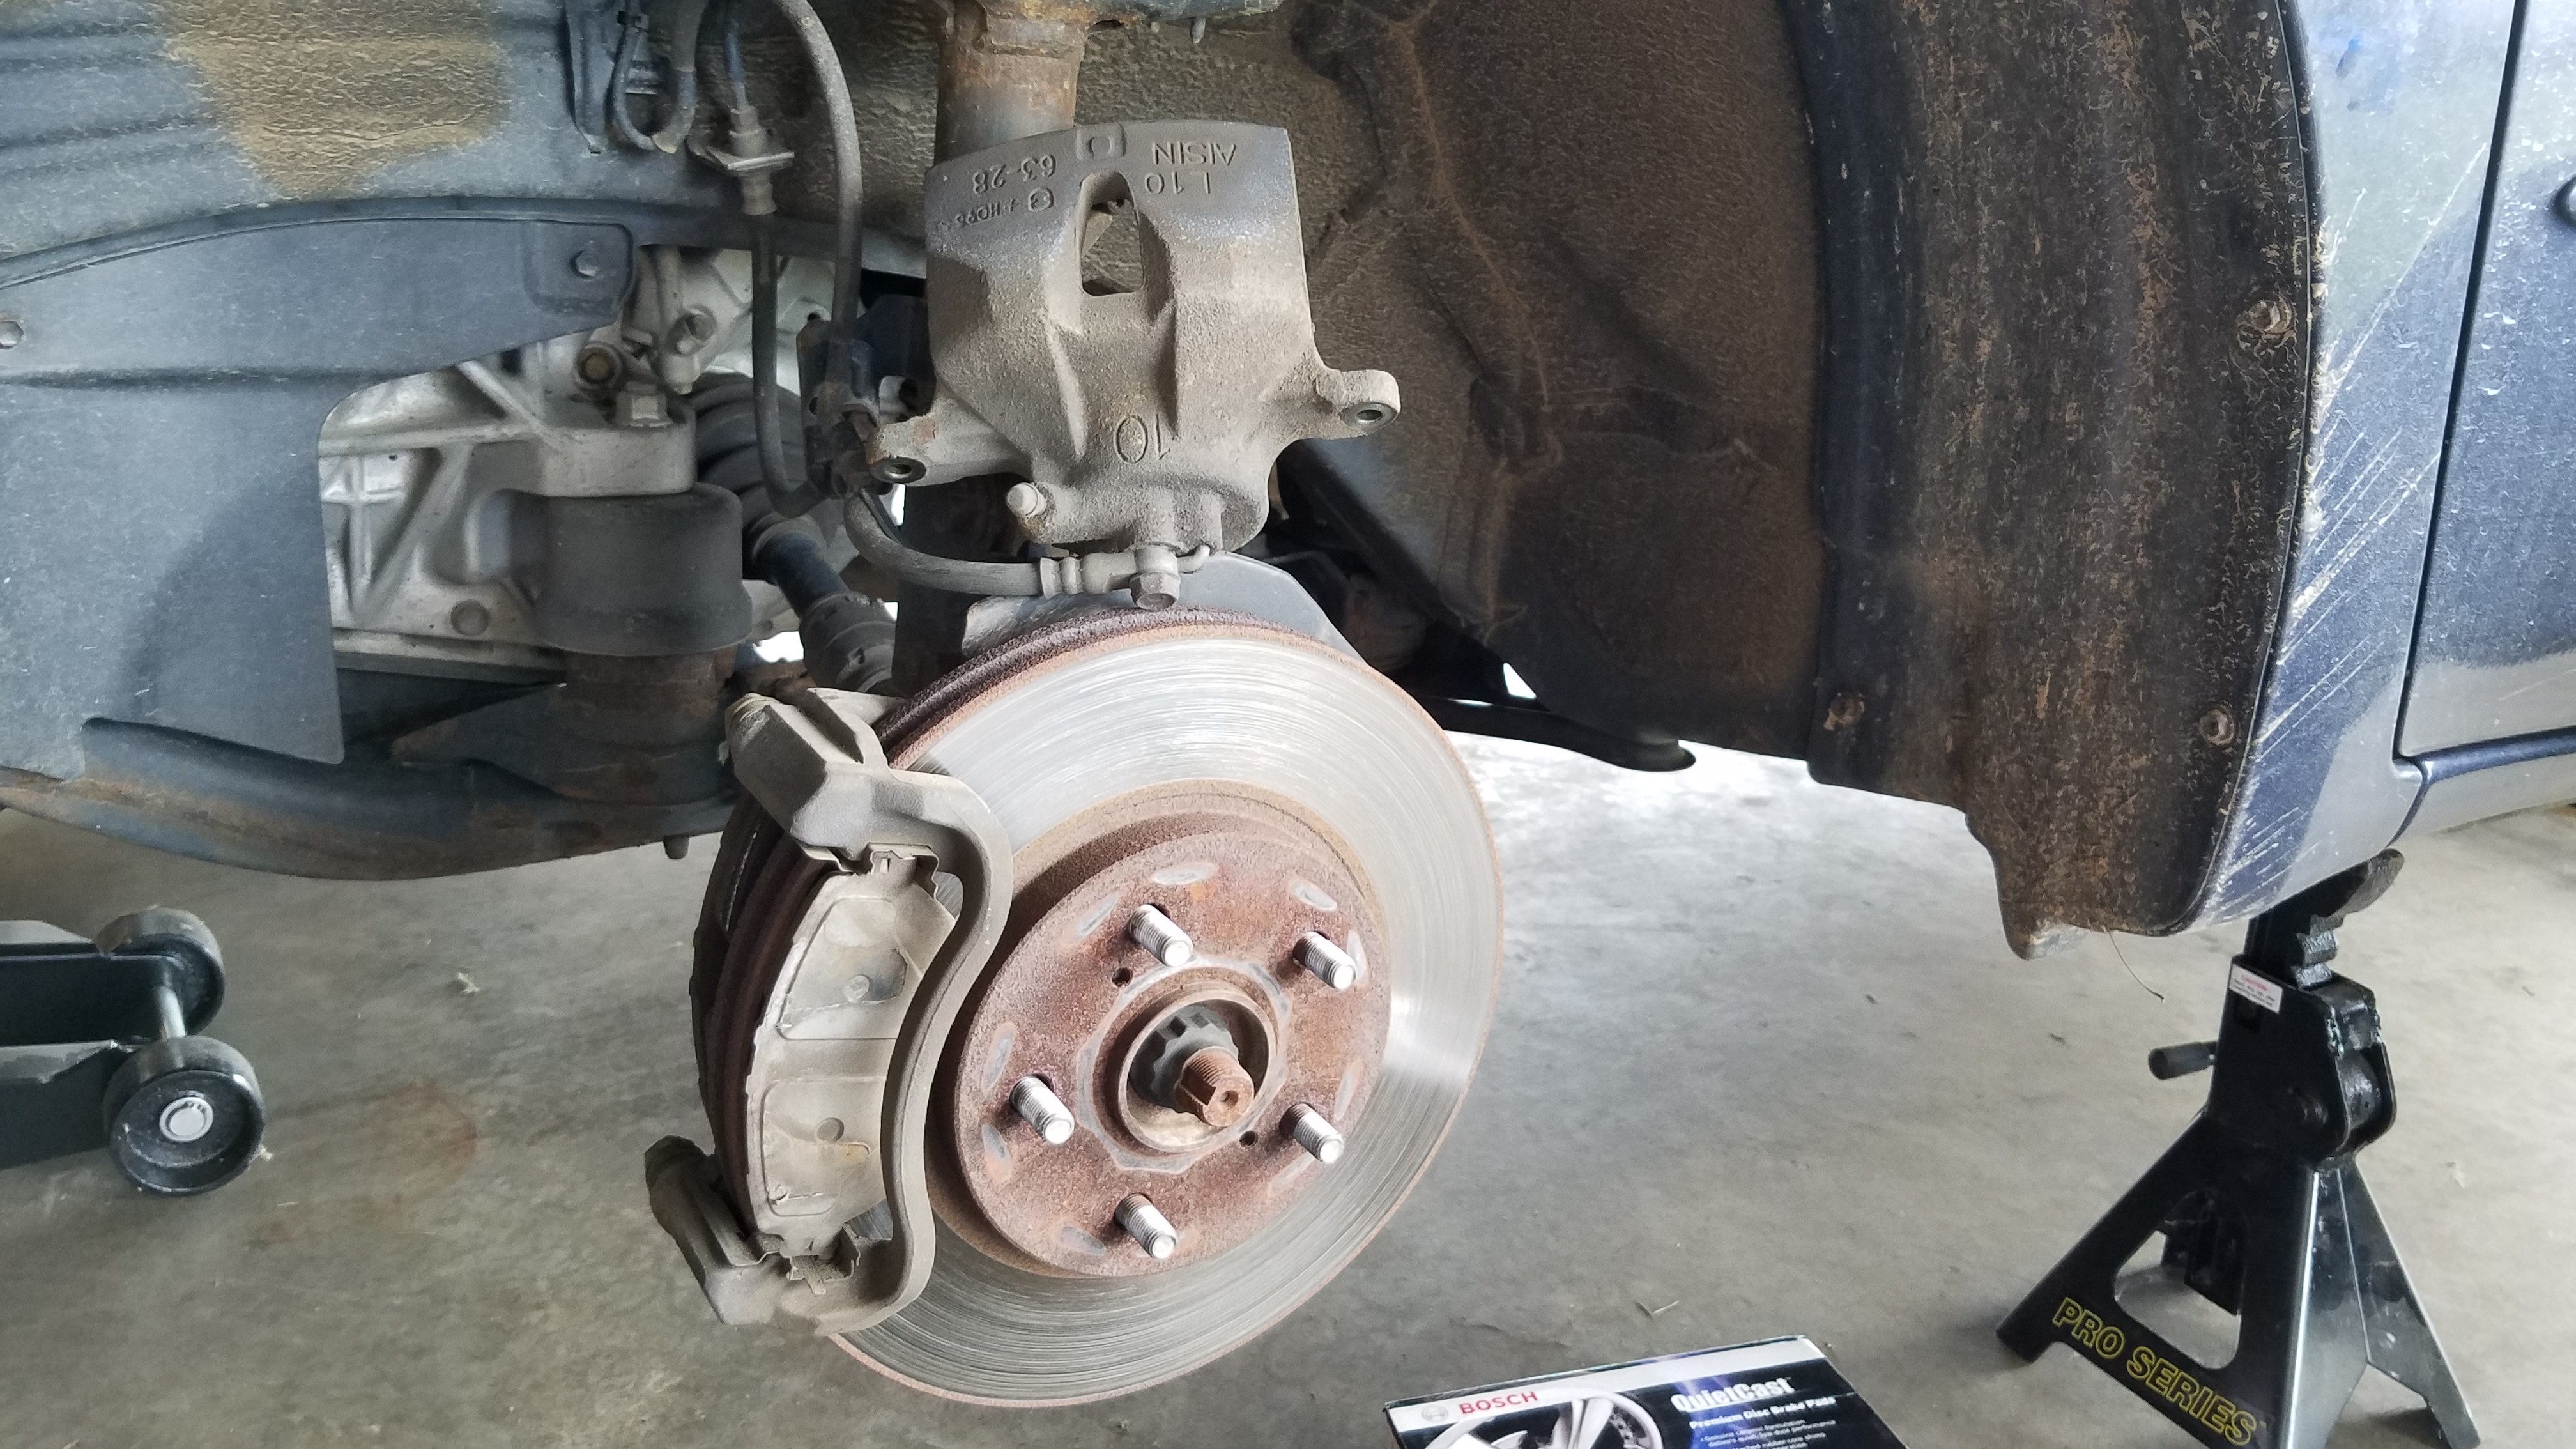
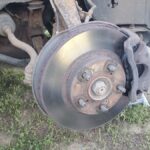
Once the tire is off, roll it aside. If it is rusted on, try this trick to get it off. This now exposes the brake rotor and caliper.

Use a 14 mm socket to loosen and remove the lower caliper bolt.
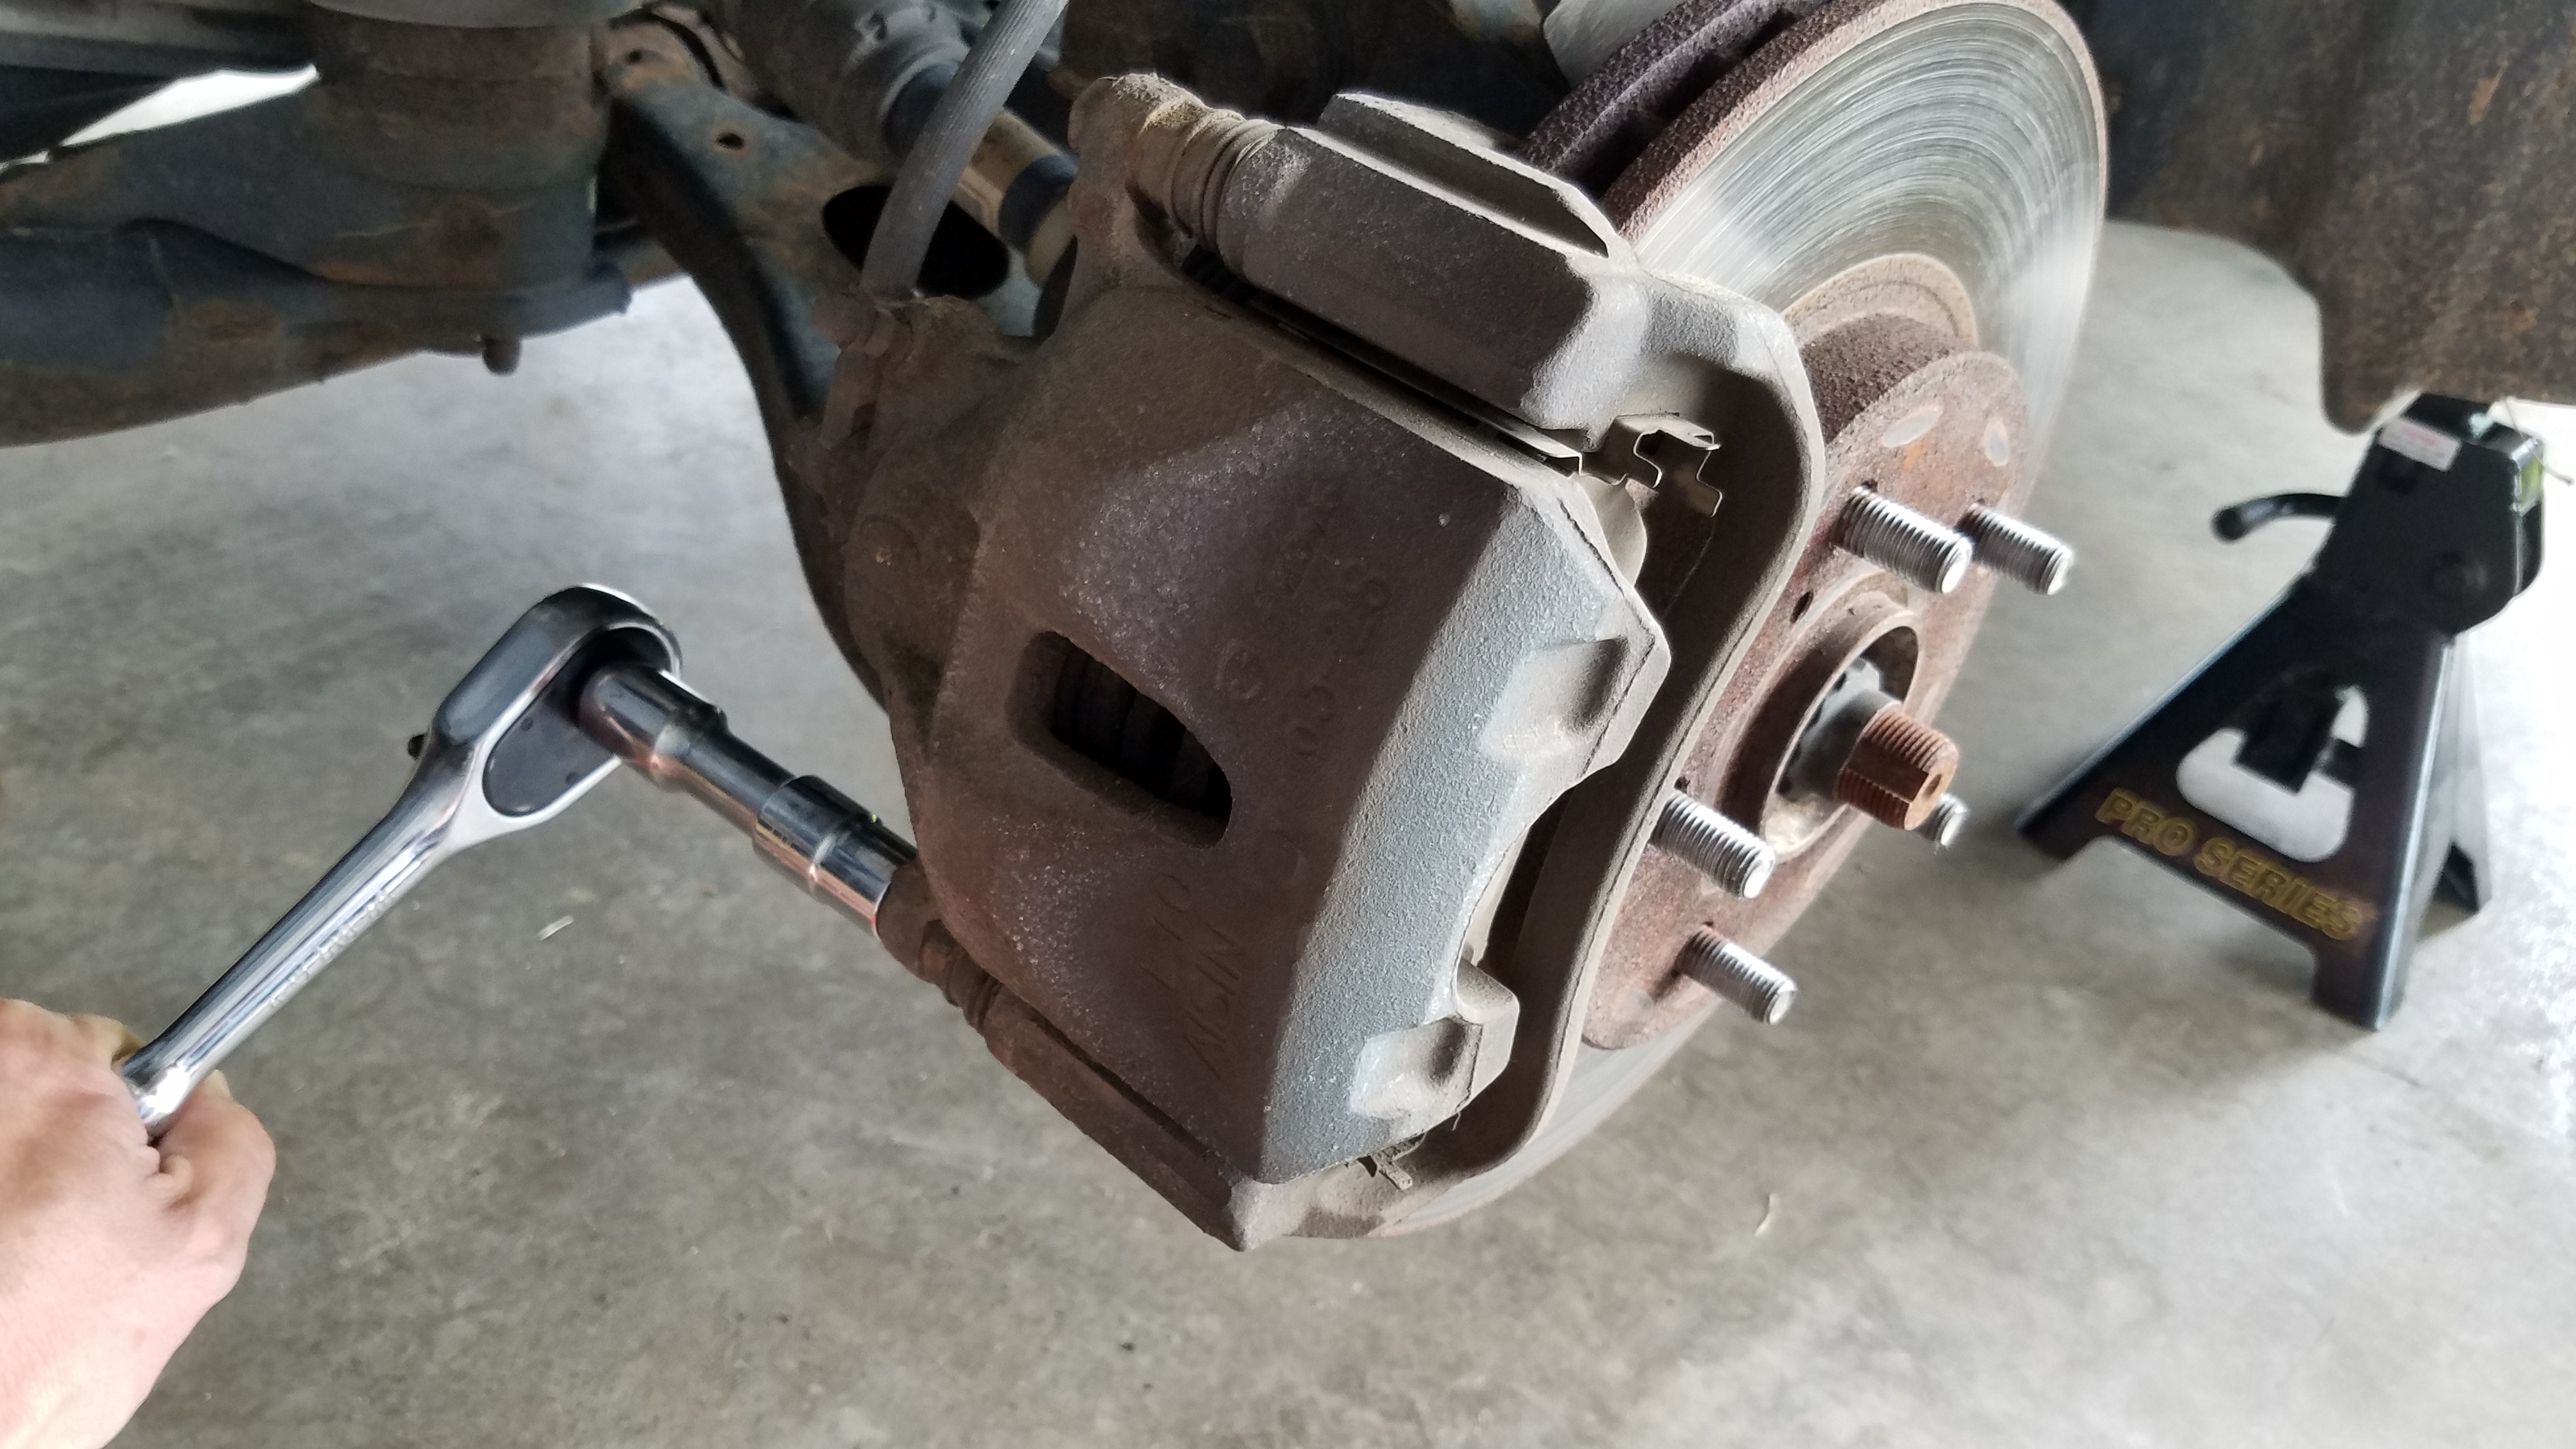
Now loosen the upper 14 mm caliper bolt.
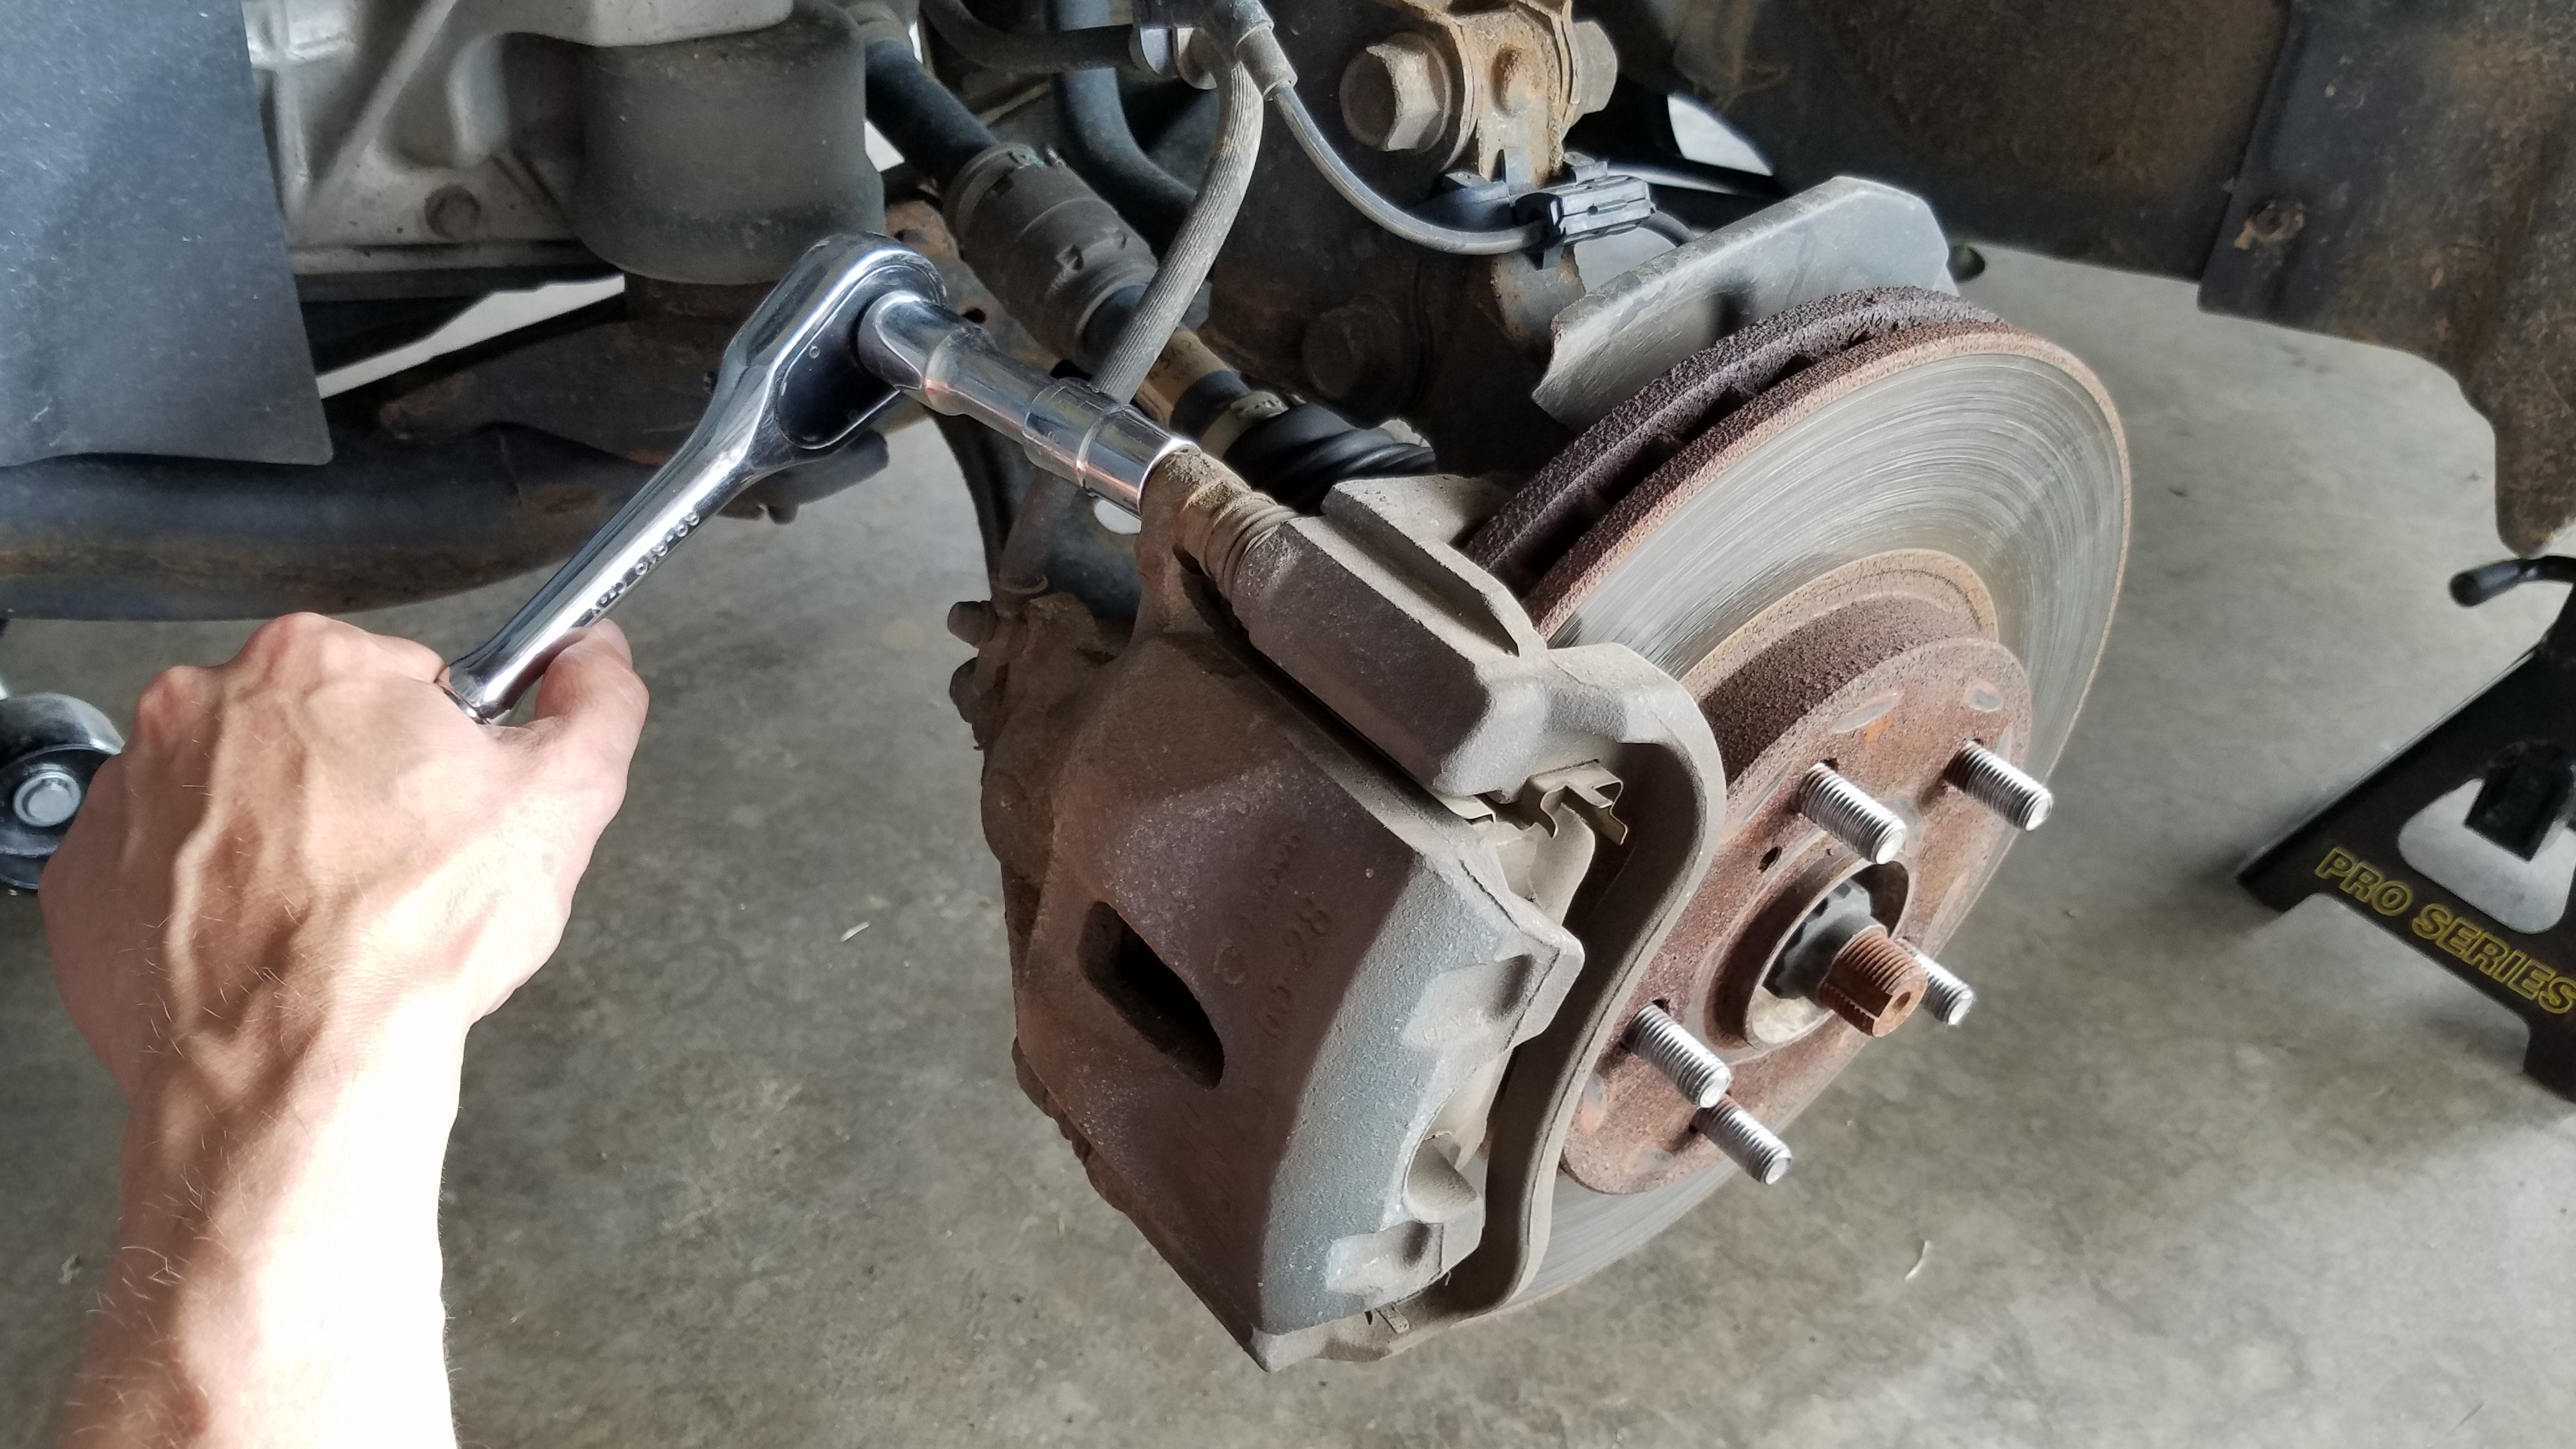
Now that the upper caliper bolt is loose, the caliper will be free to pull it up and rotate it free of the brake pads.

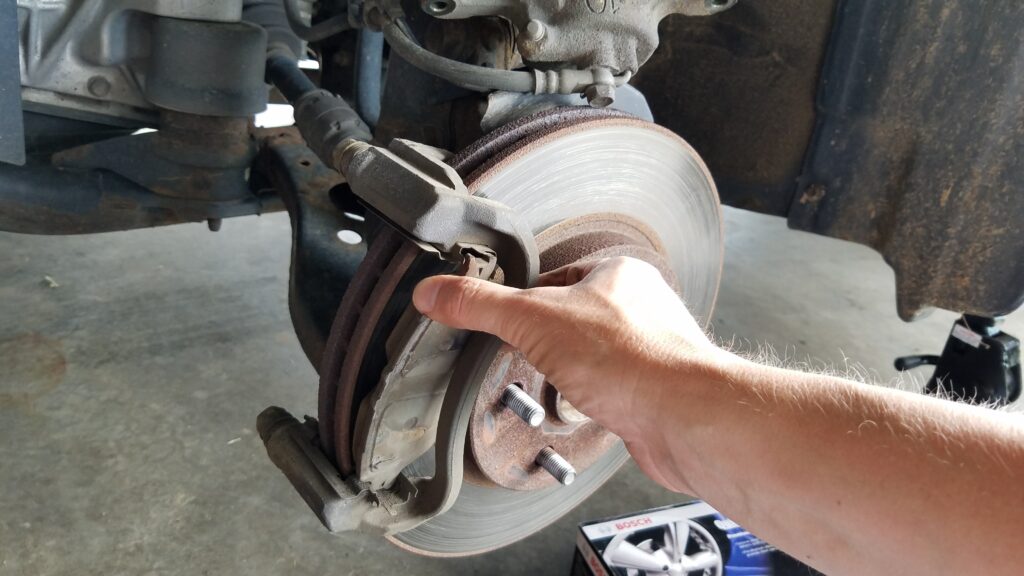
While it may be possible to replace the brake pads like this, I usually remove the 14 mm upper bolt and carefully set the caliper above by hanging it with some wire or setting it carefully on the rotor.
Be careful not to ‘drop’ the caliper. It is only attached by the brake line at this point, and you don’t want to jerk that loose! Use a caliper hook holder to secure the caliper to the strut.

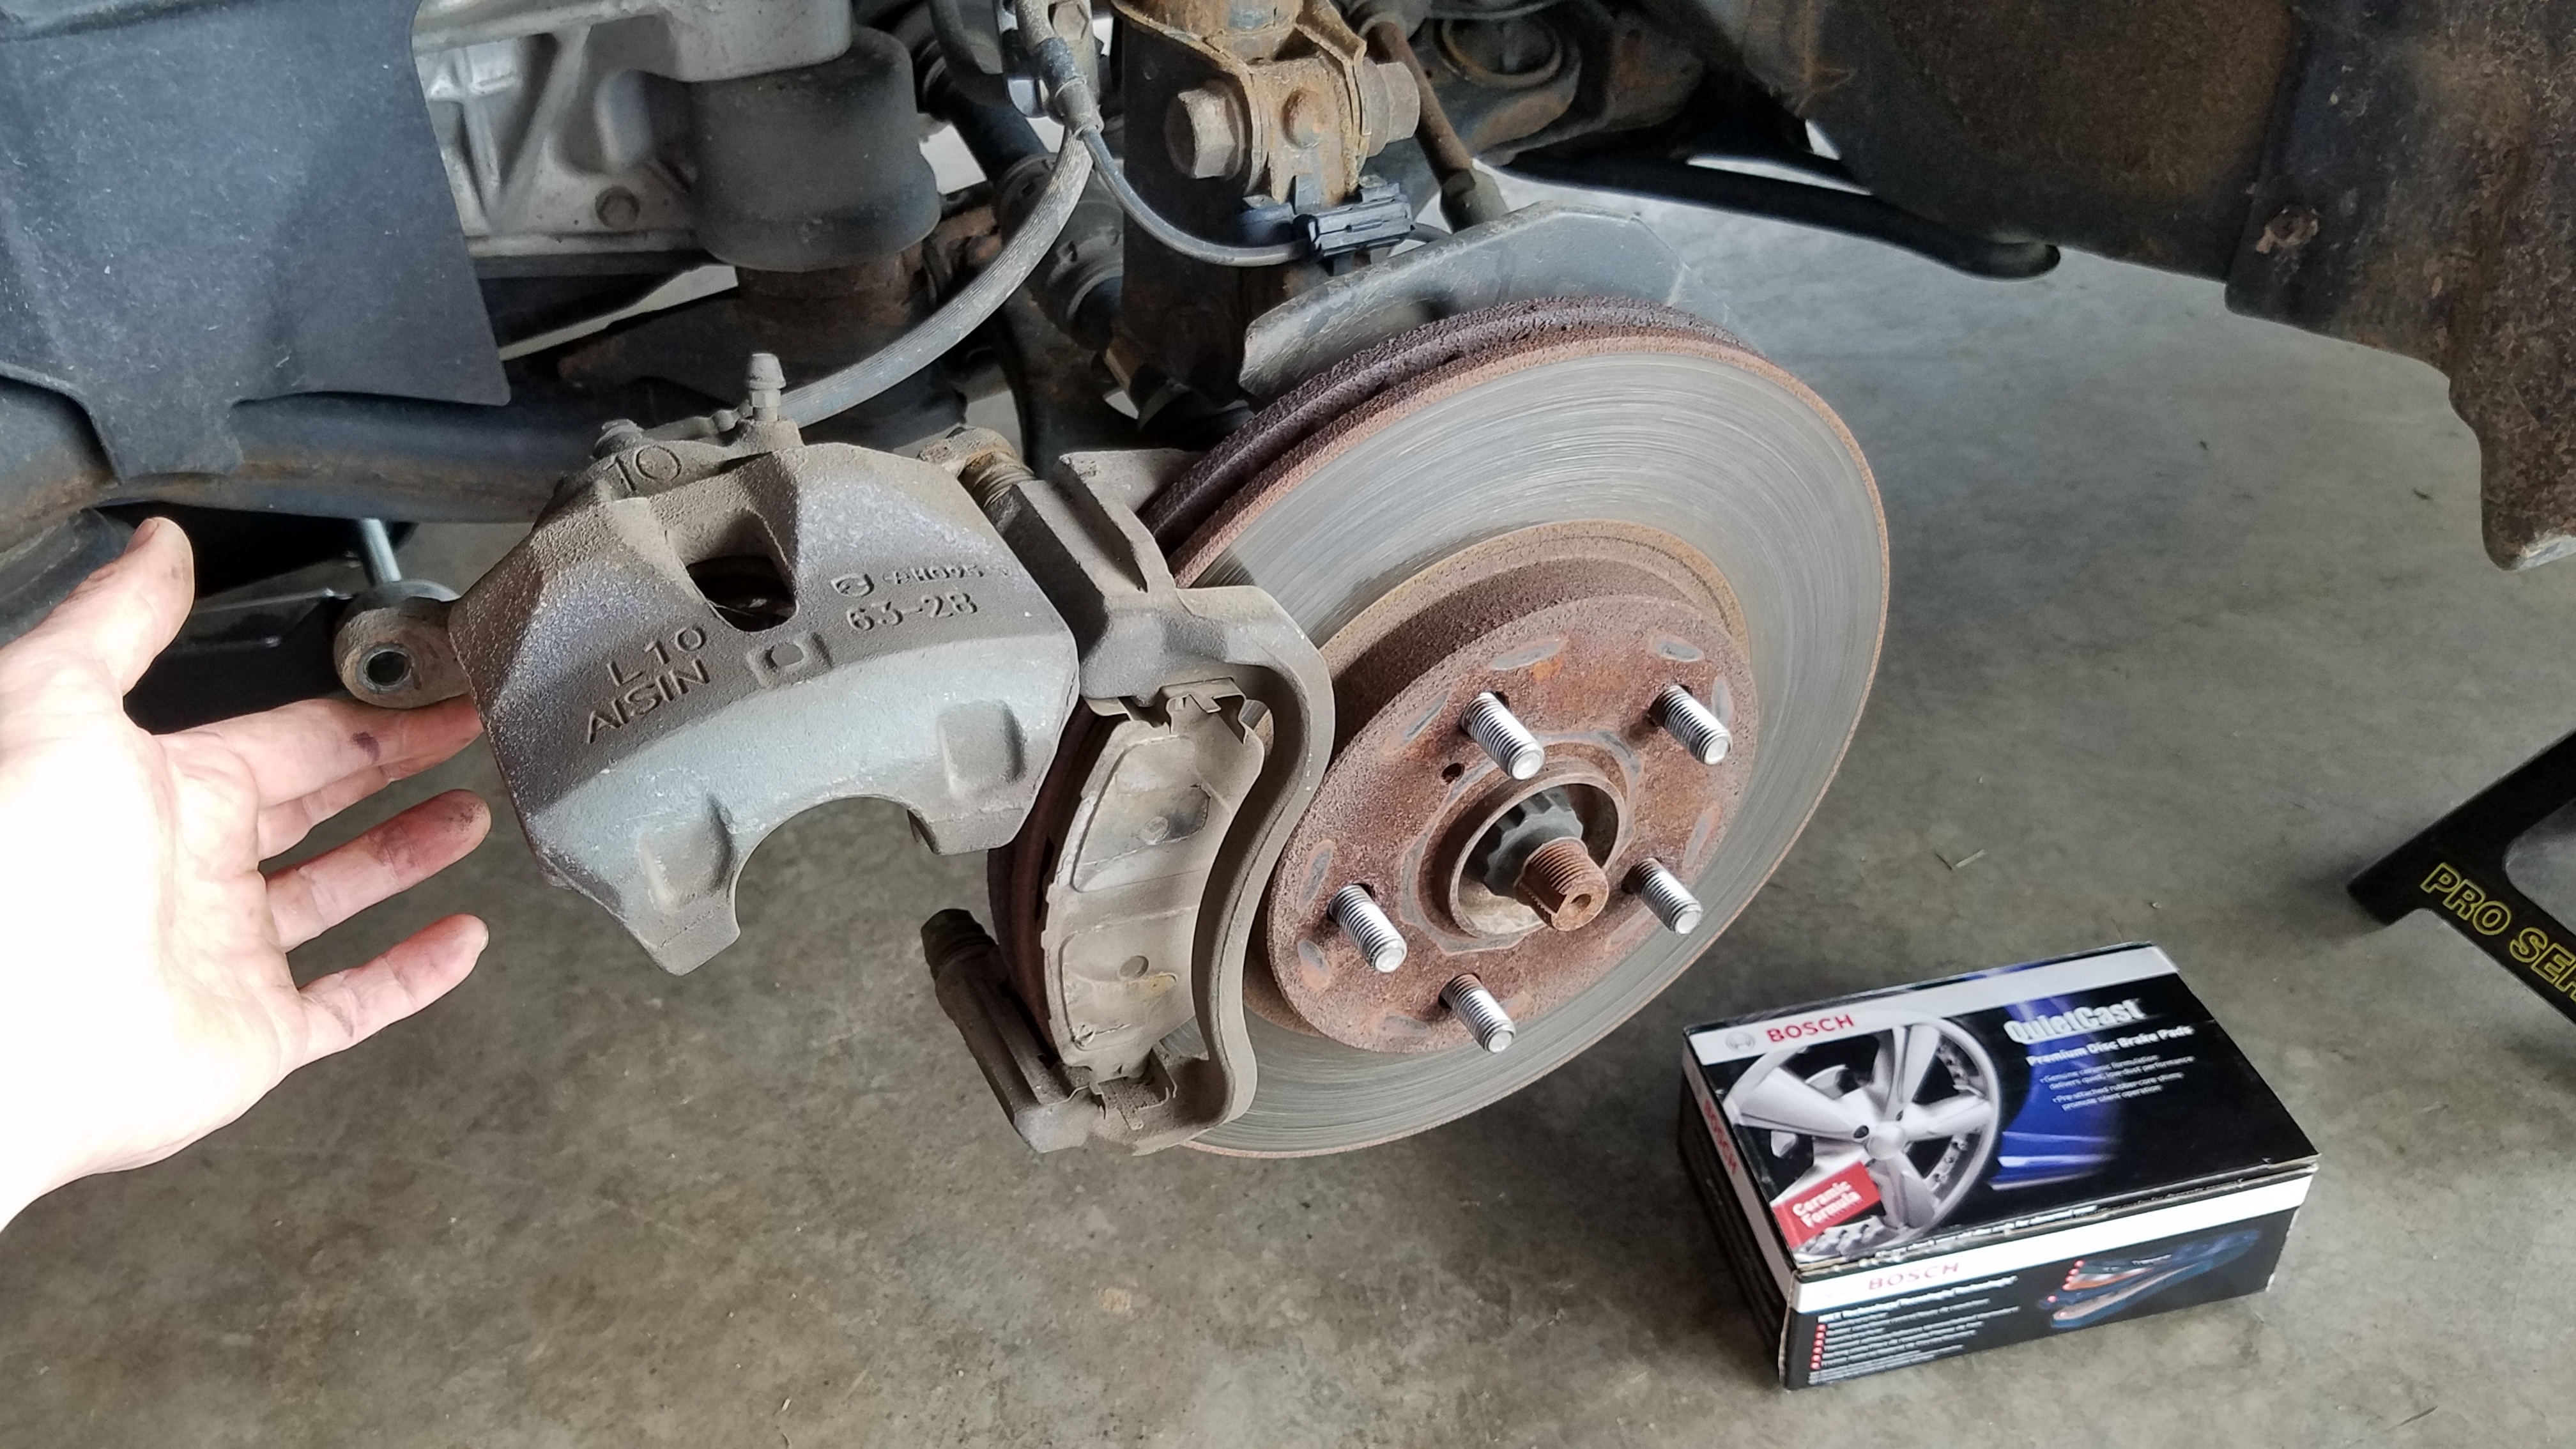
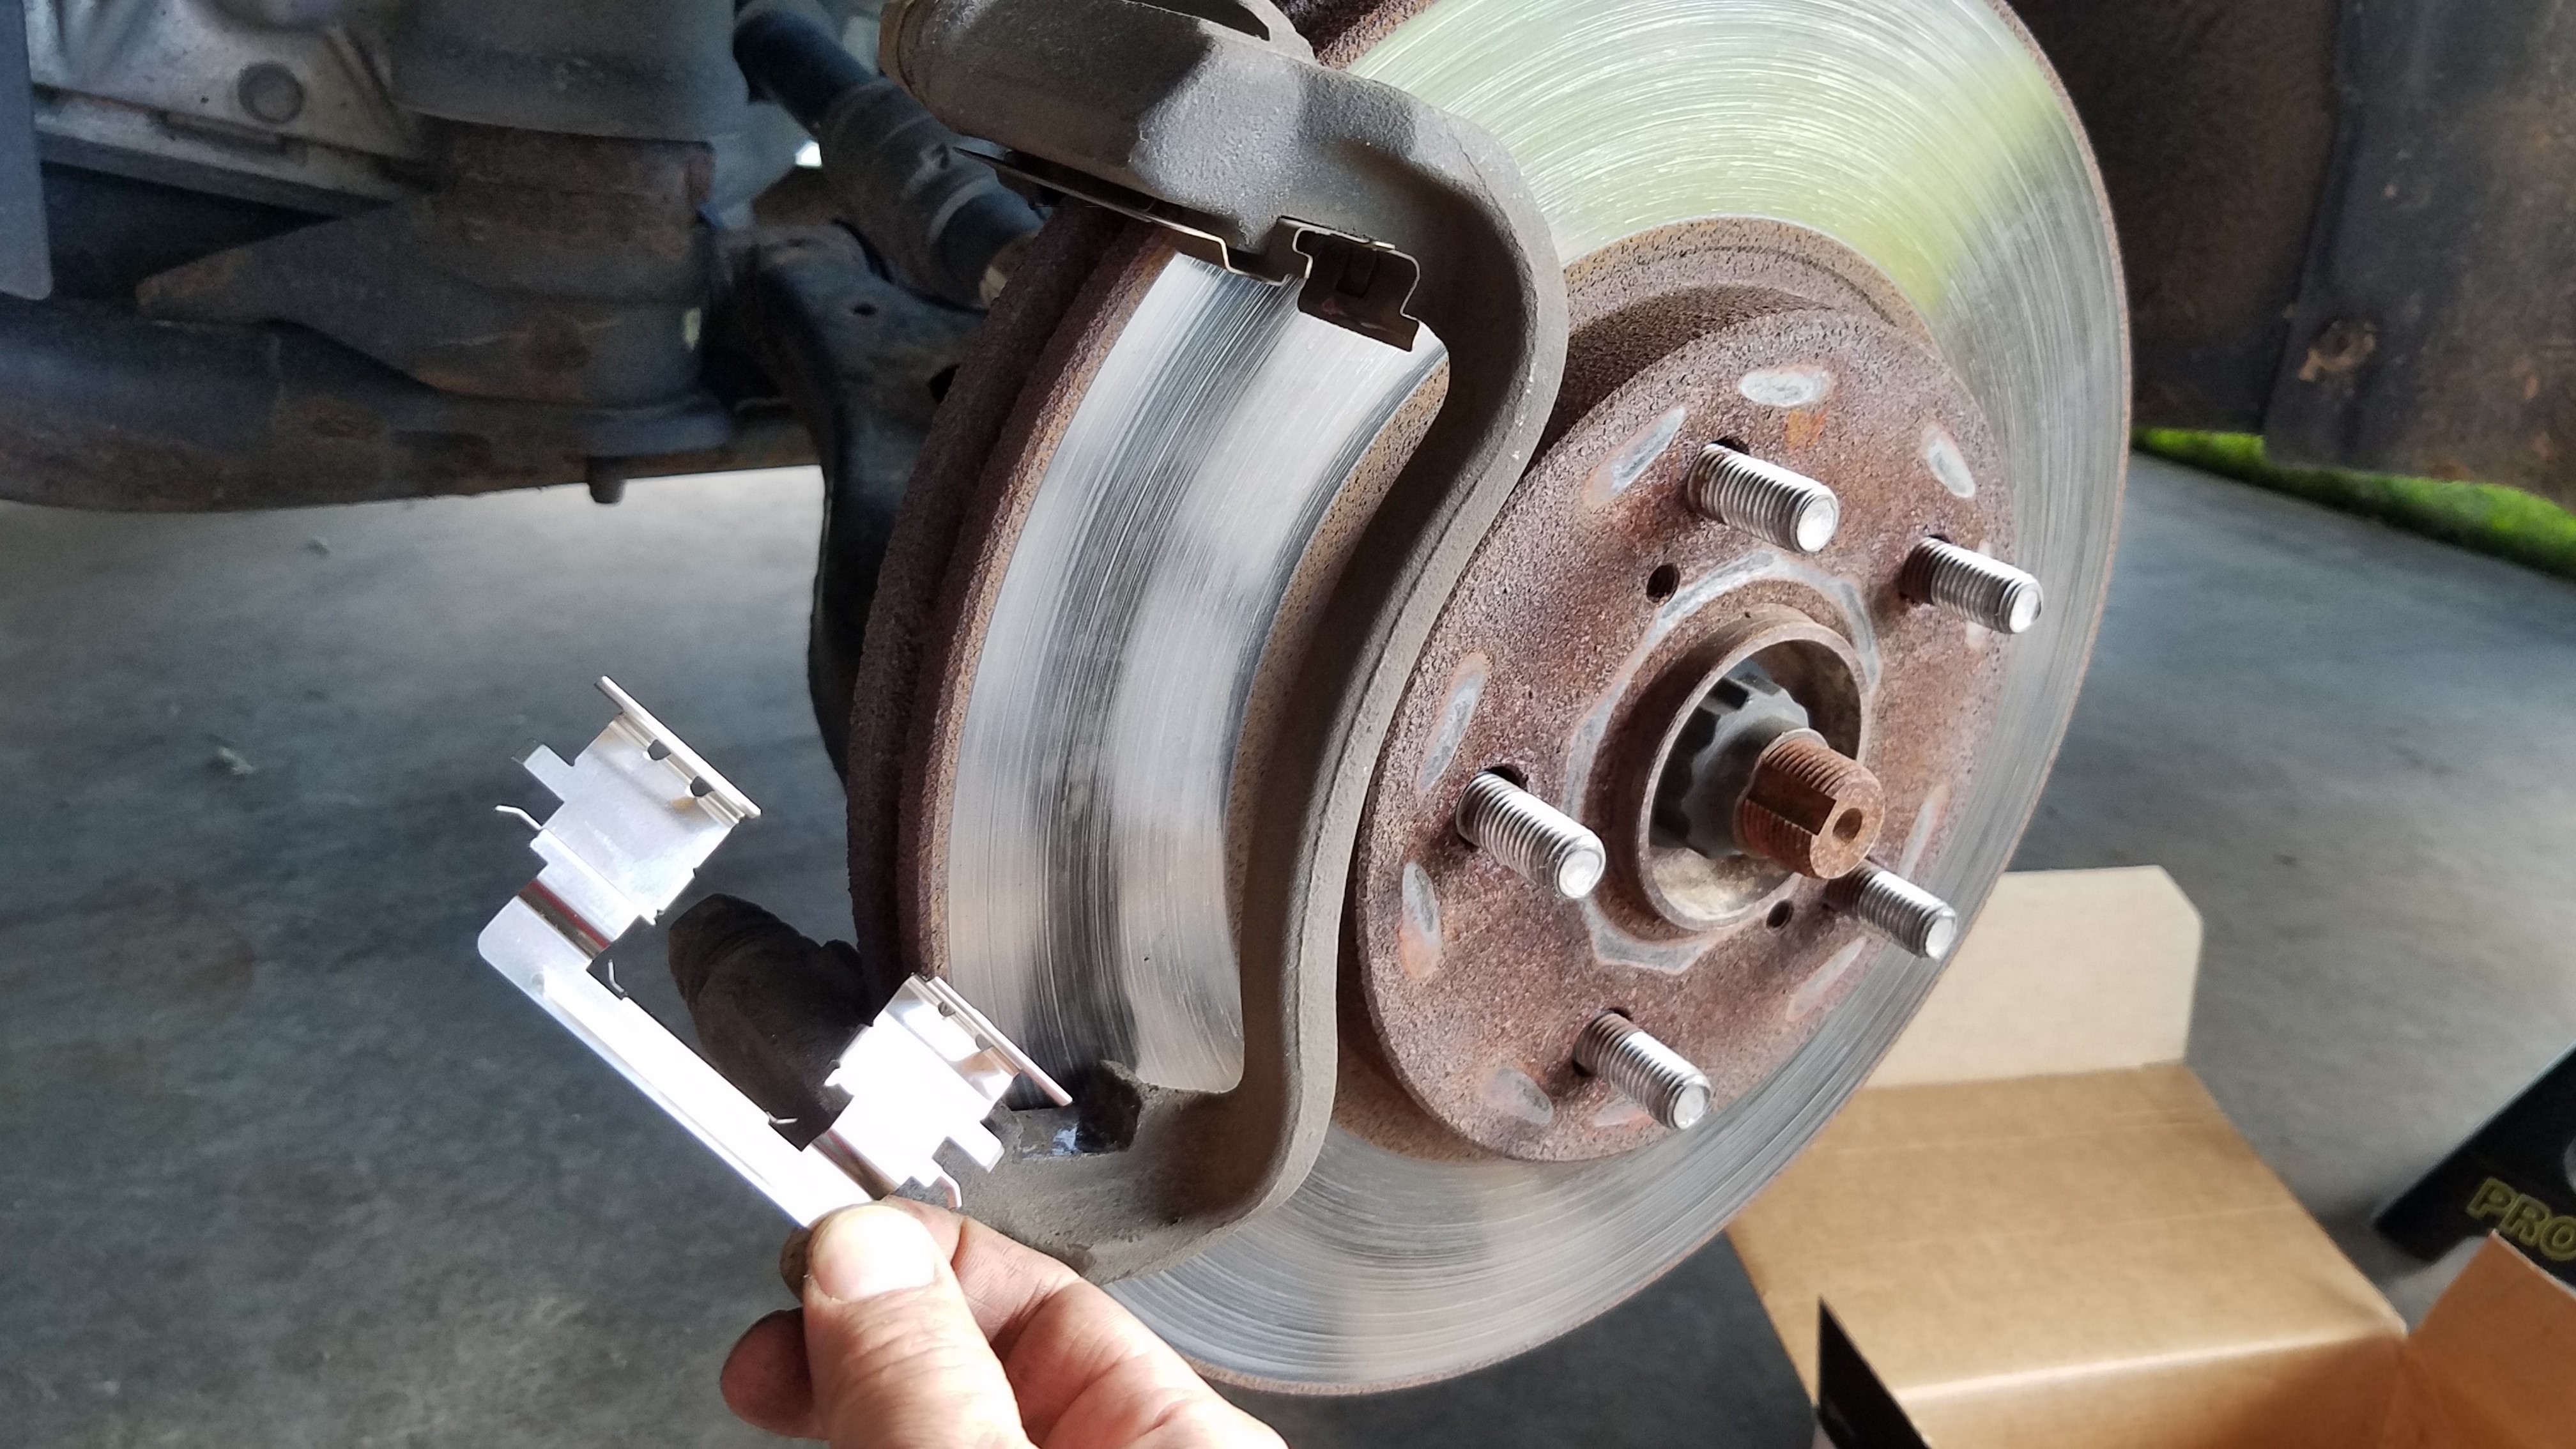
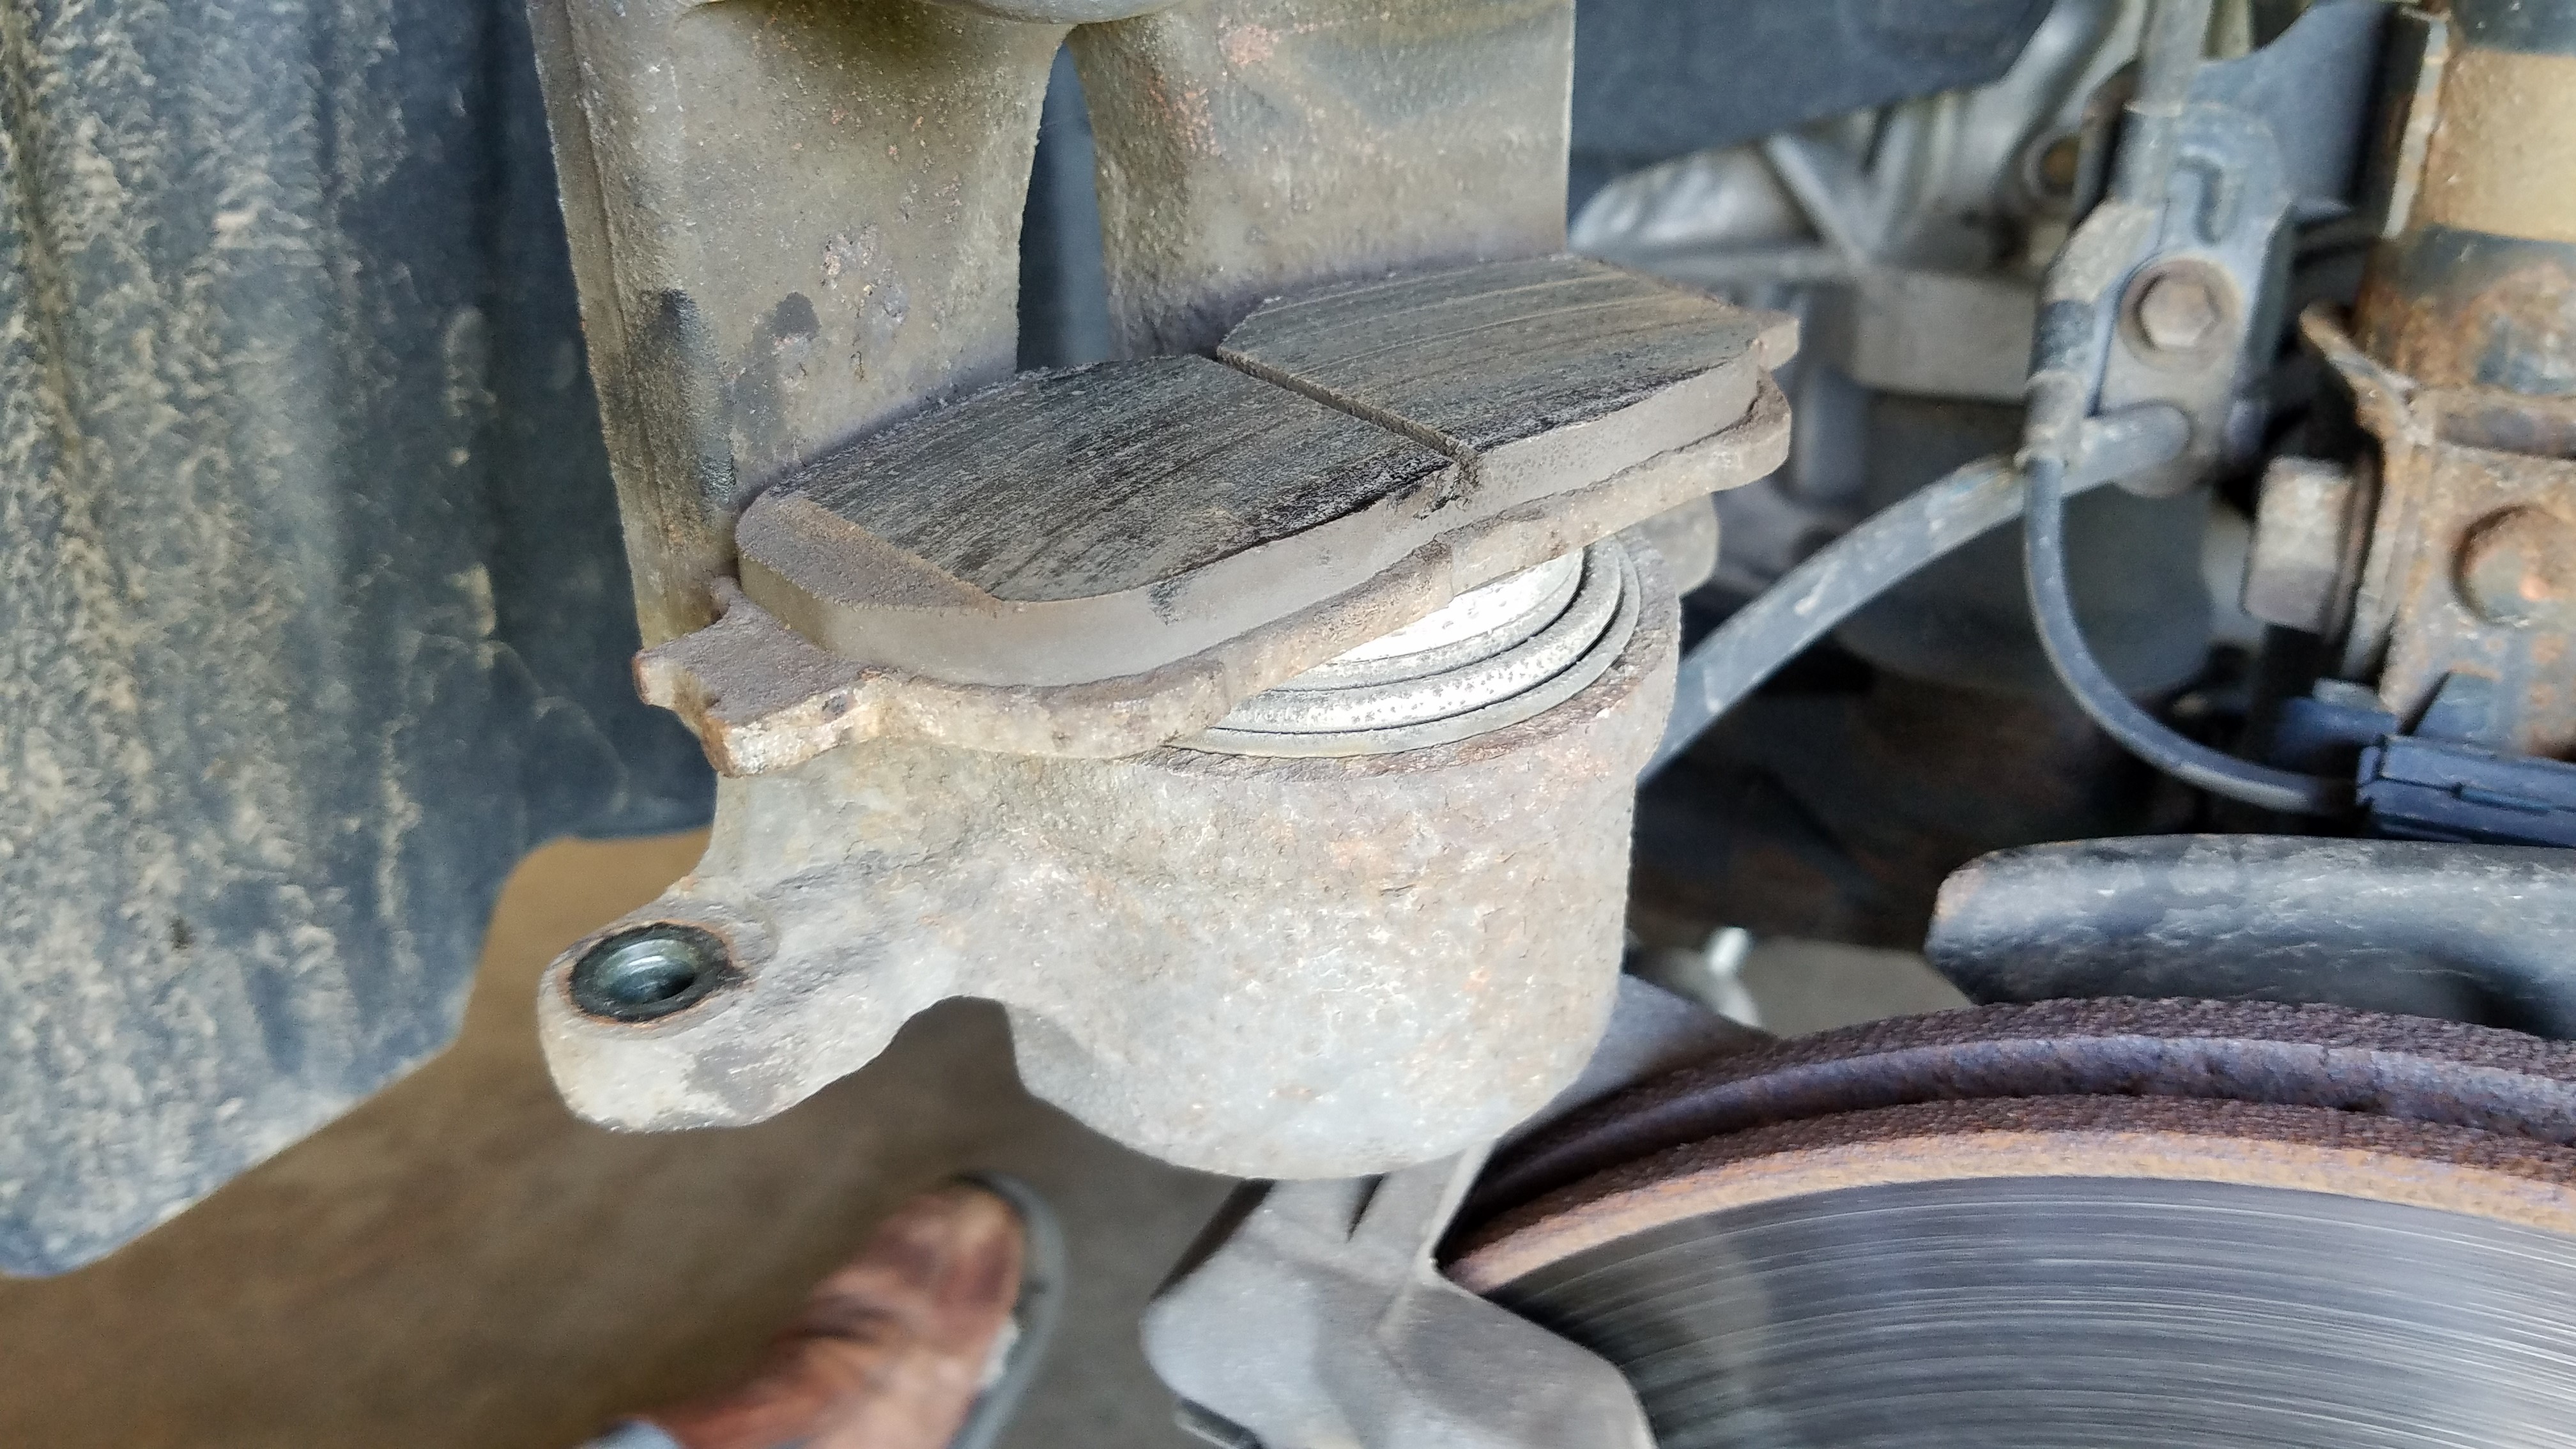
Now, slide the old brake pads out of the clips.
It works well to tip them, so pull out the top part first, then the bottom part. Remove both the outer and inner brake pads. Set the old brake pads aside, as we will use those later to compress the brake cylinder.

This is a view with the old brake pads removed.

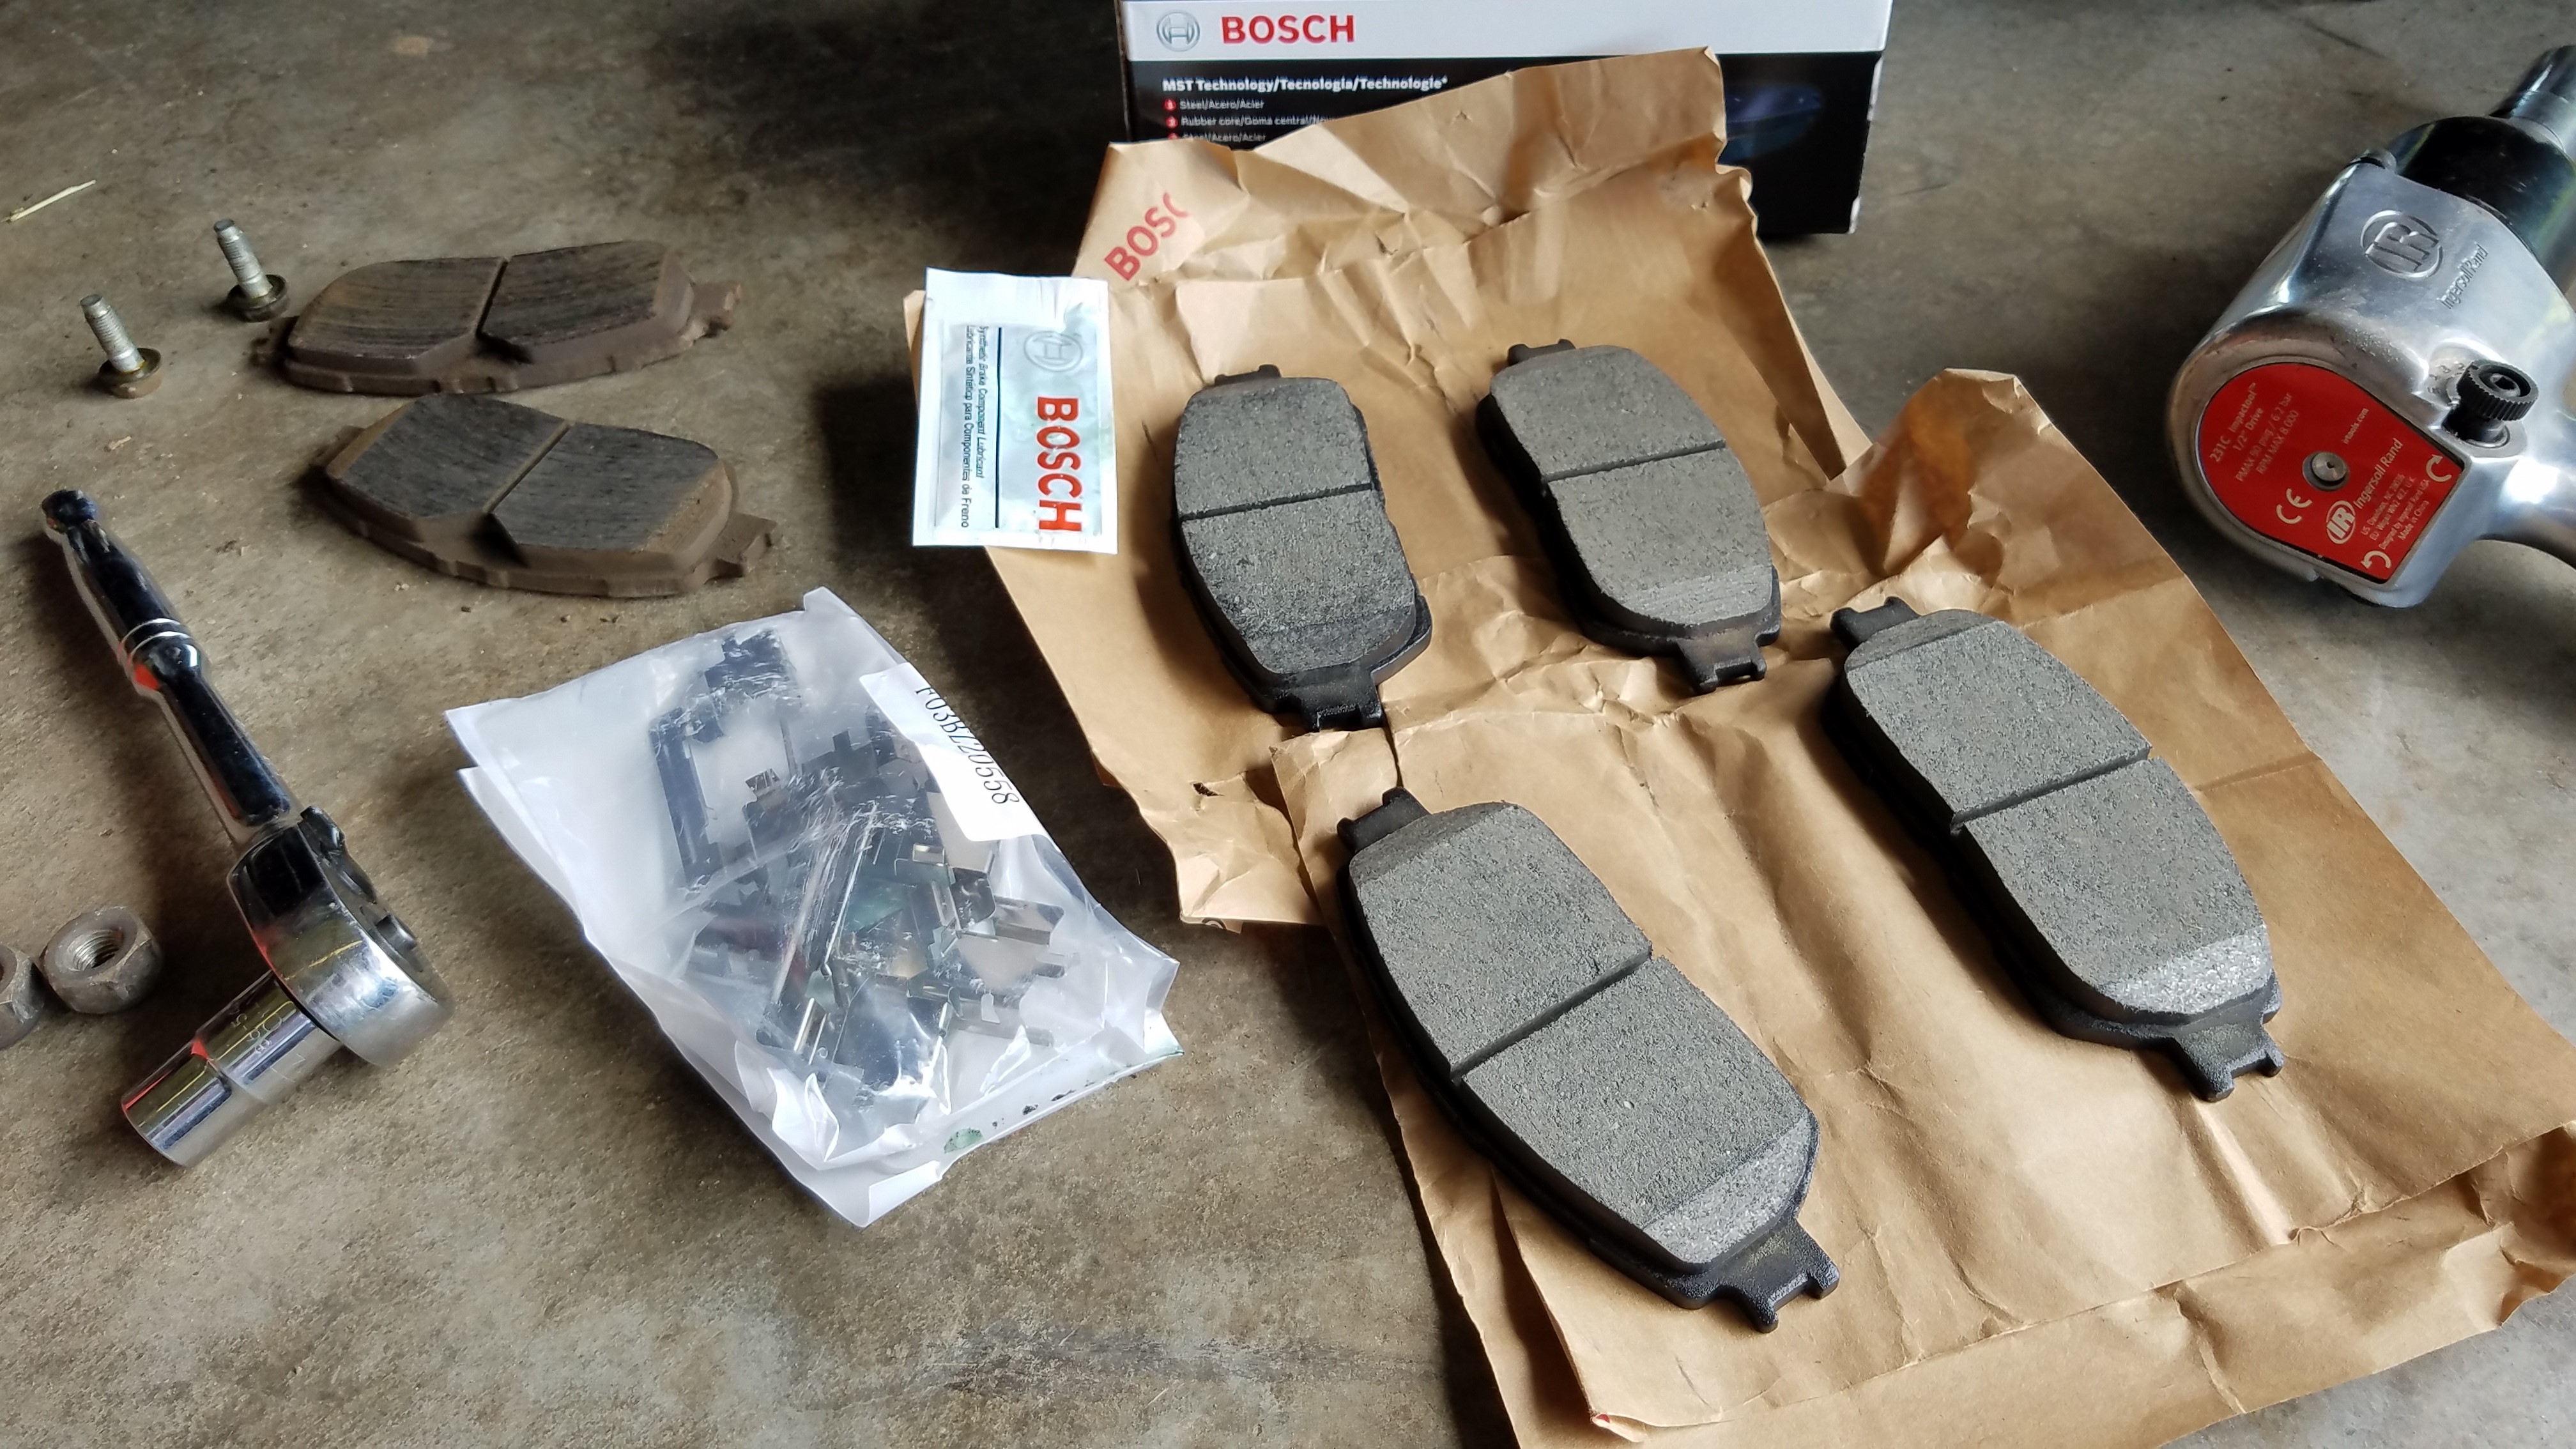
These are the parts included in the bosch brake pad kit I recommend for this job:
- brake pads (total of 4, 2 for each side)
- slide clips (total of 4)
- caliper grease (small packet – enough for both sides)
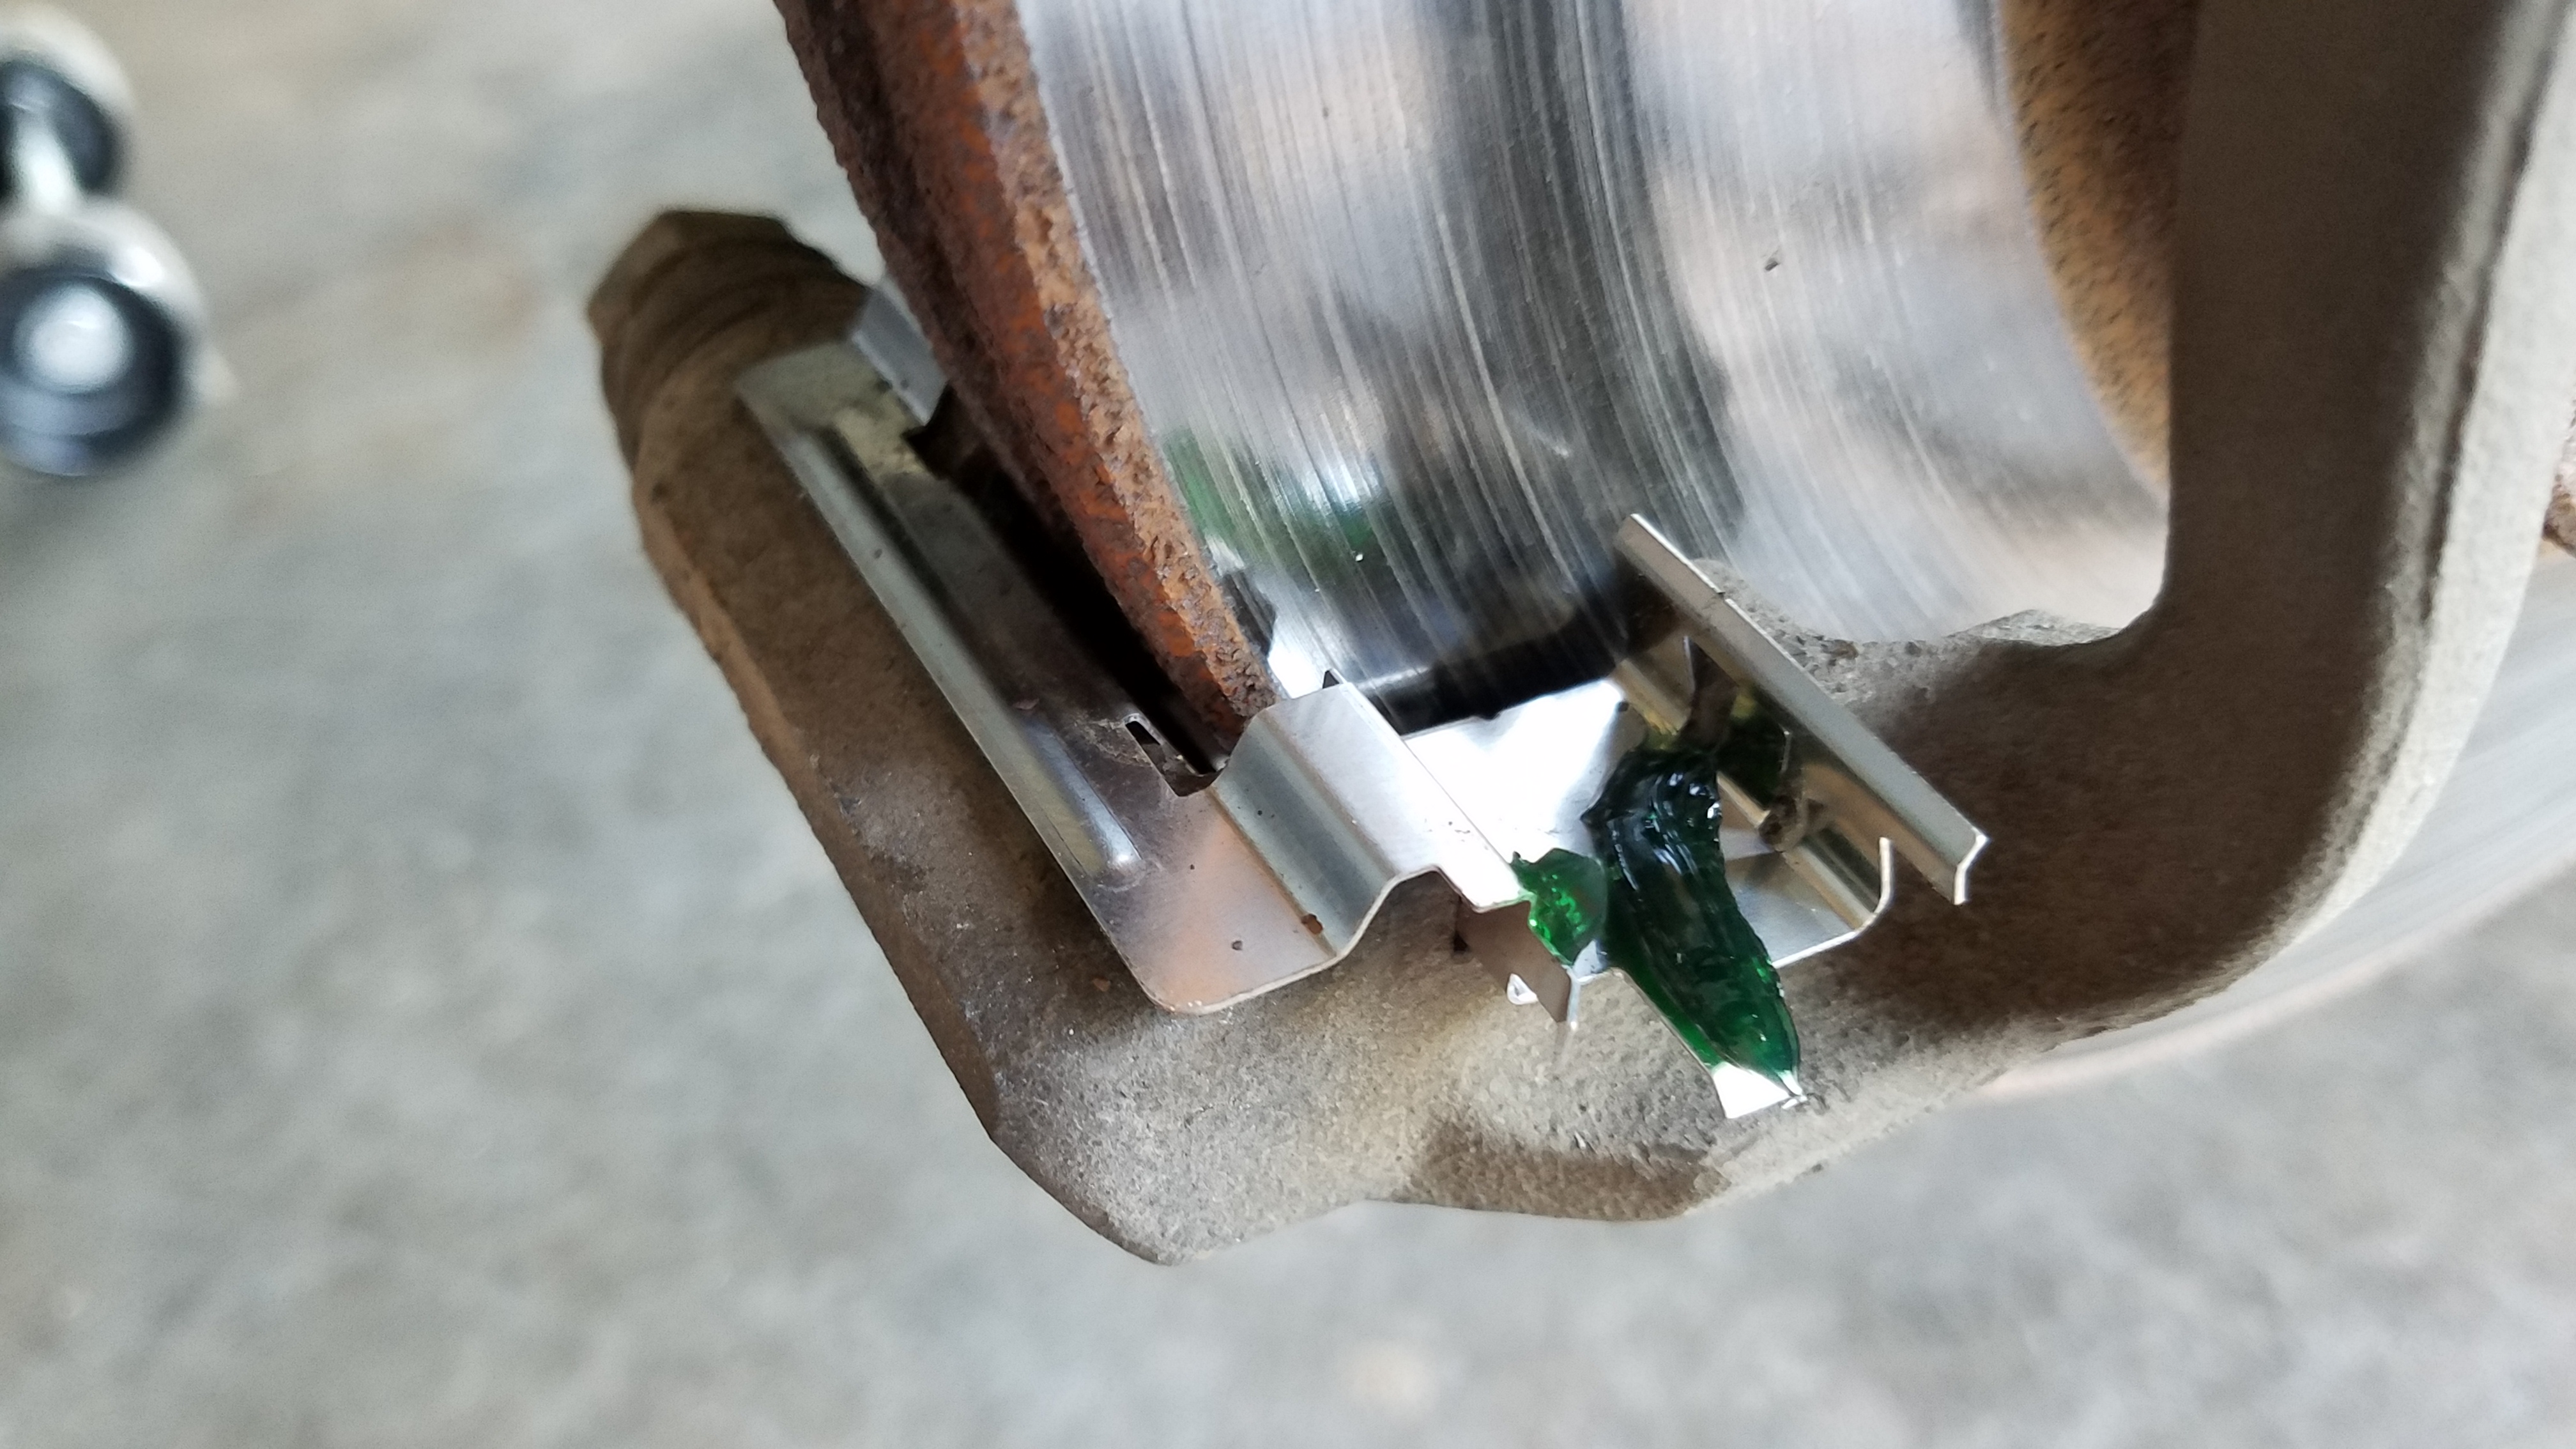
Now we can pry out the old slide clips and put in the new ones. I use this kit that come with new clips. If you do not have new clips, clean off the old ones and re-insert them.


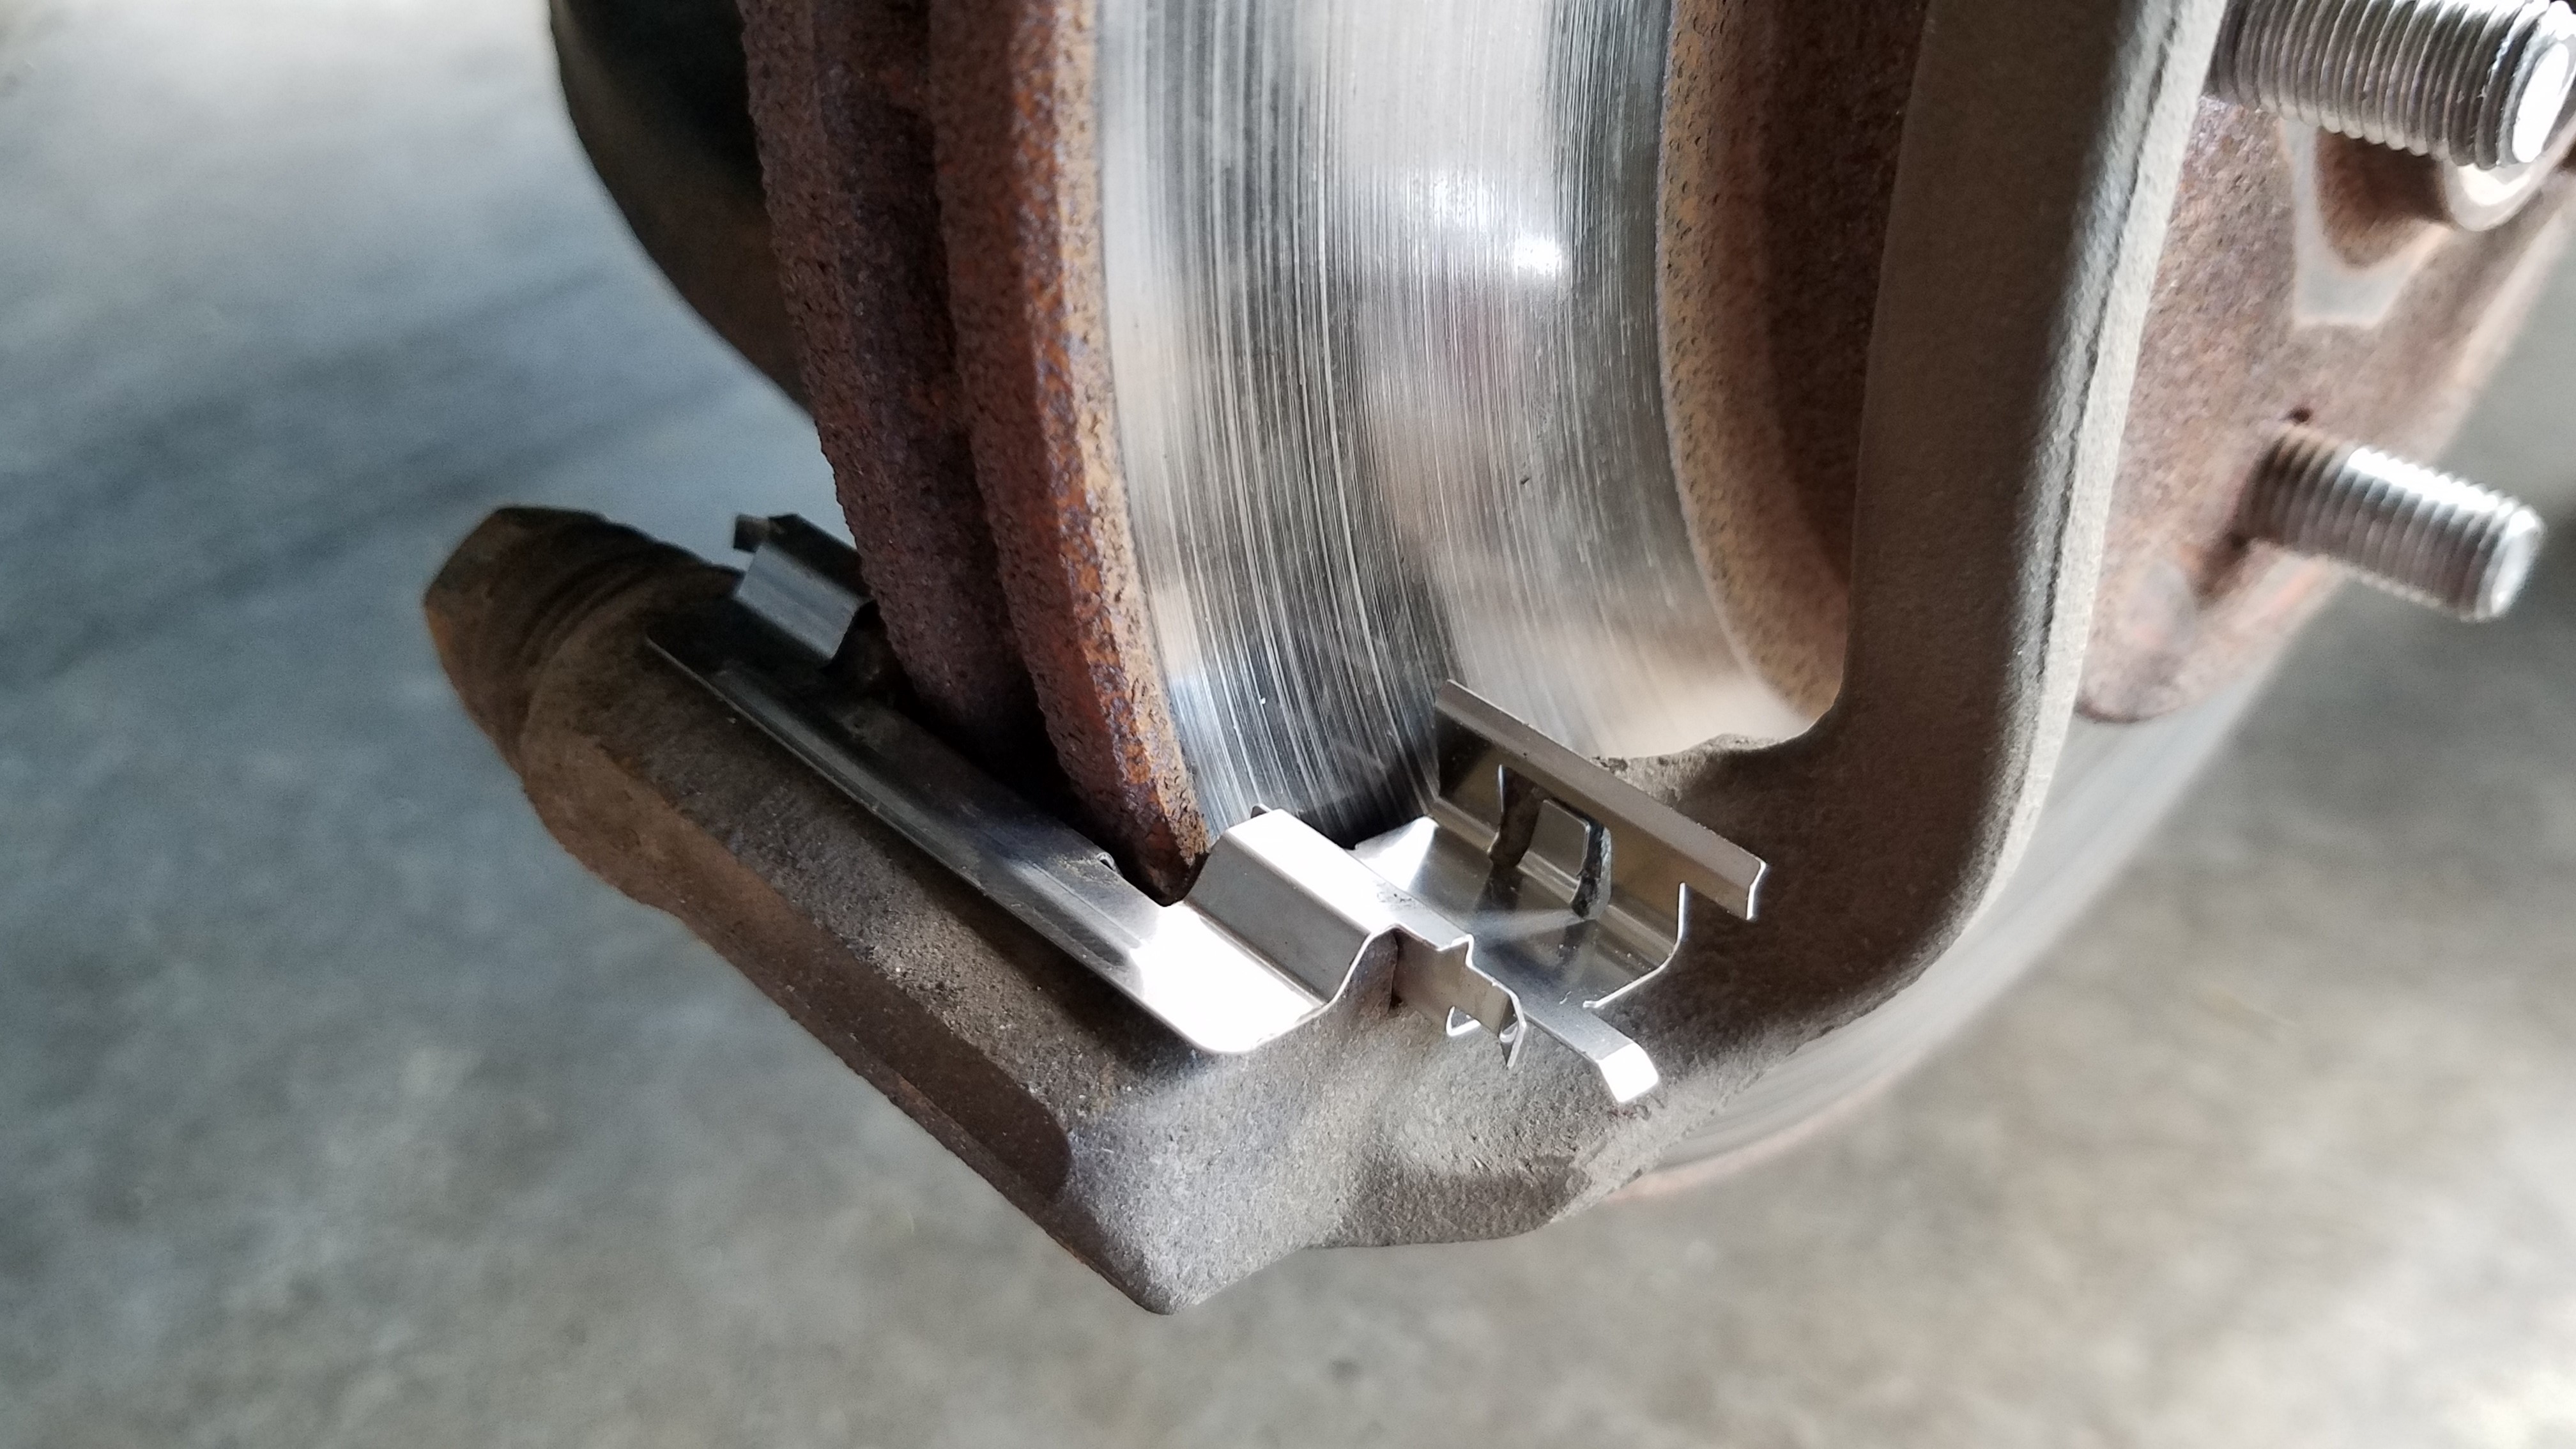
Next, put some caliper grease onto the slide clips (the kit comes with a small packet of grease, otherwise, you can order a tube of it here). This will help the brakes not to rattle and squeak.
Be careful not to get caliper grease on the rotor.

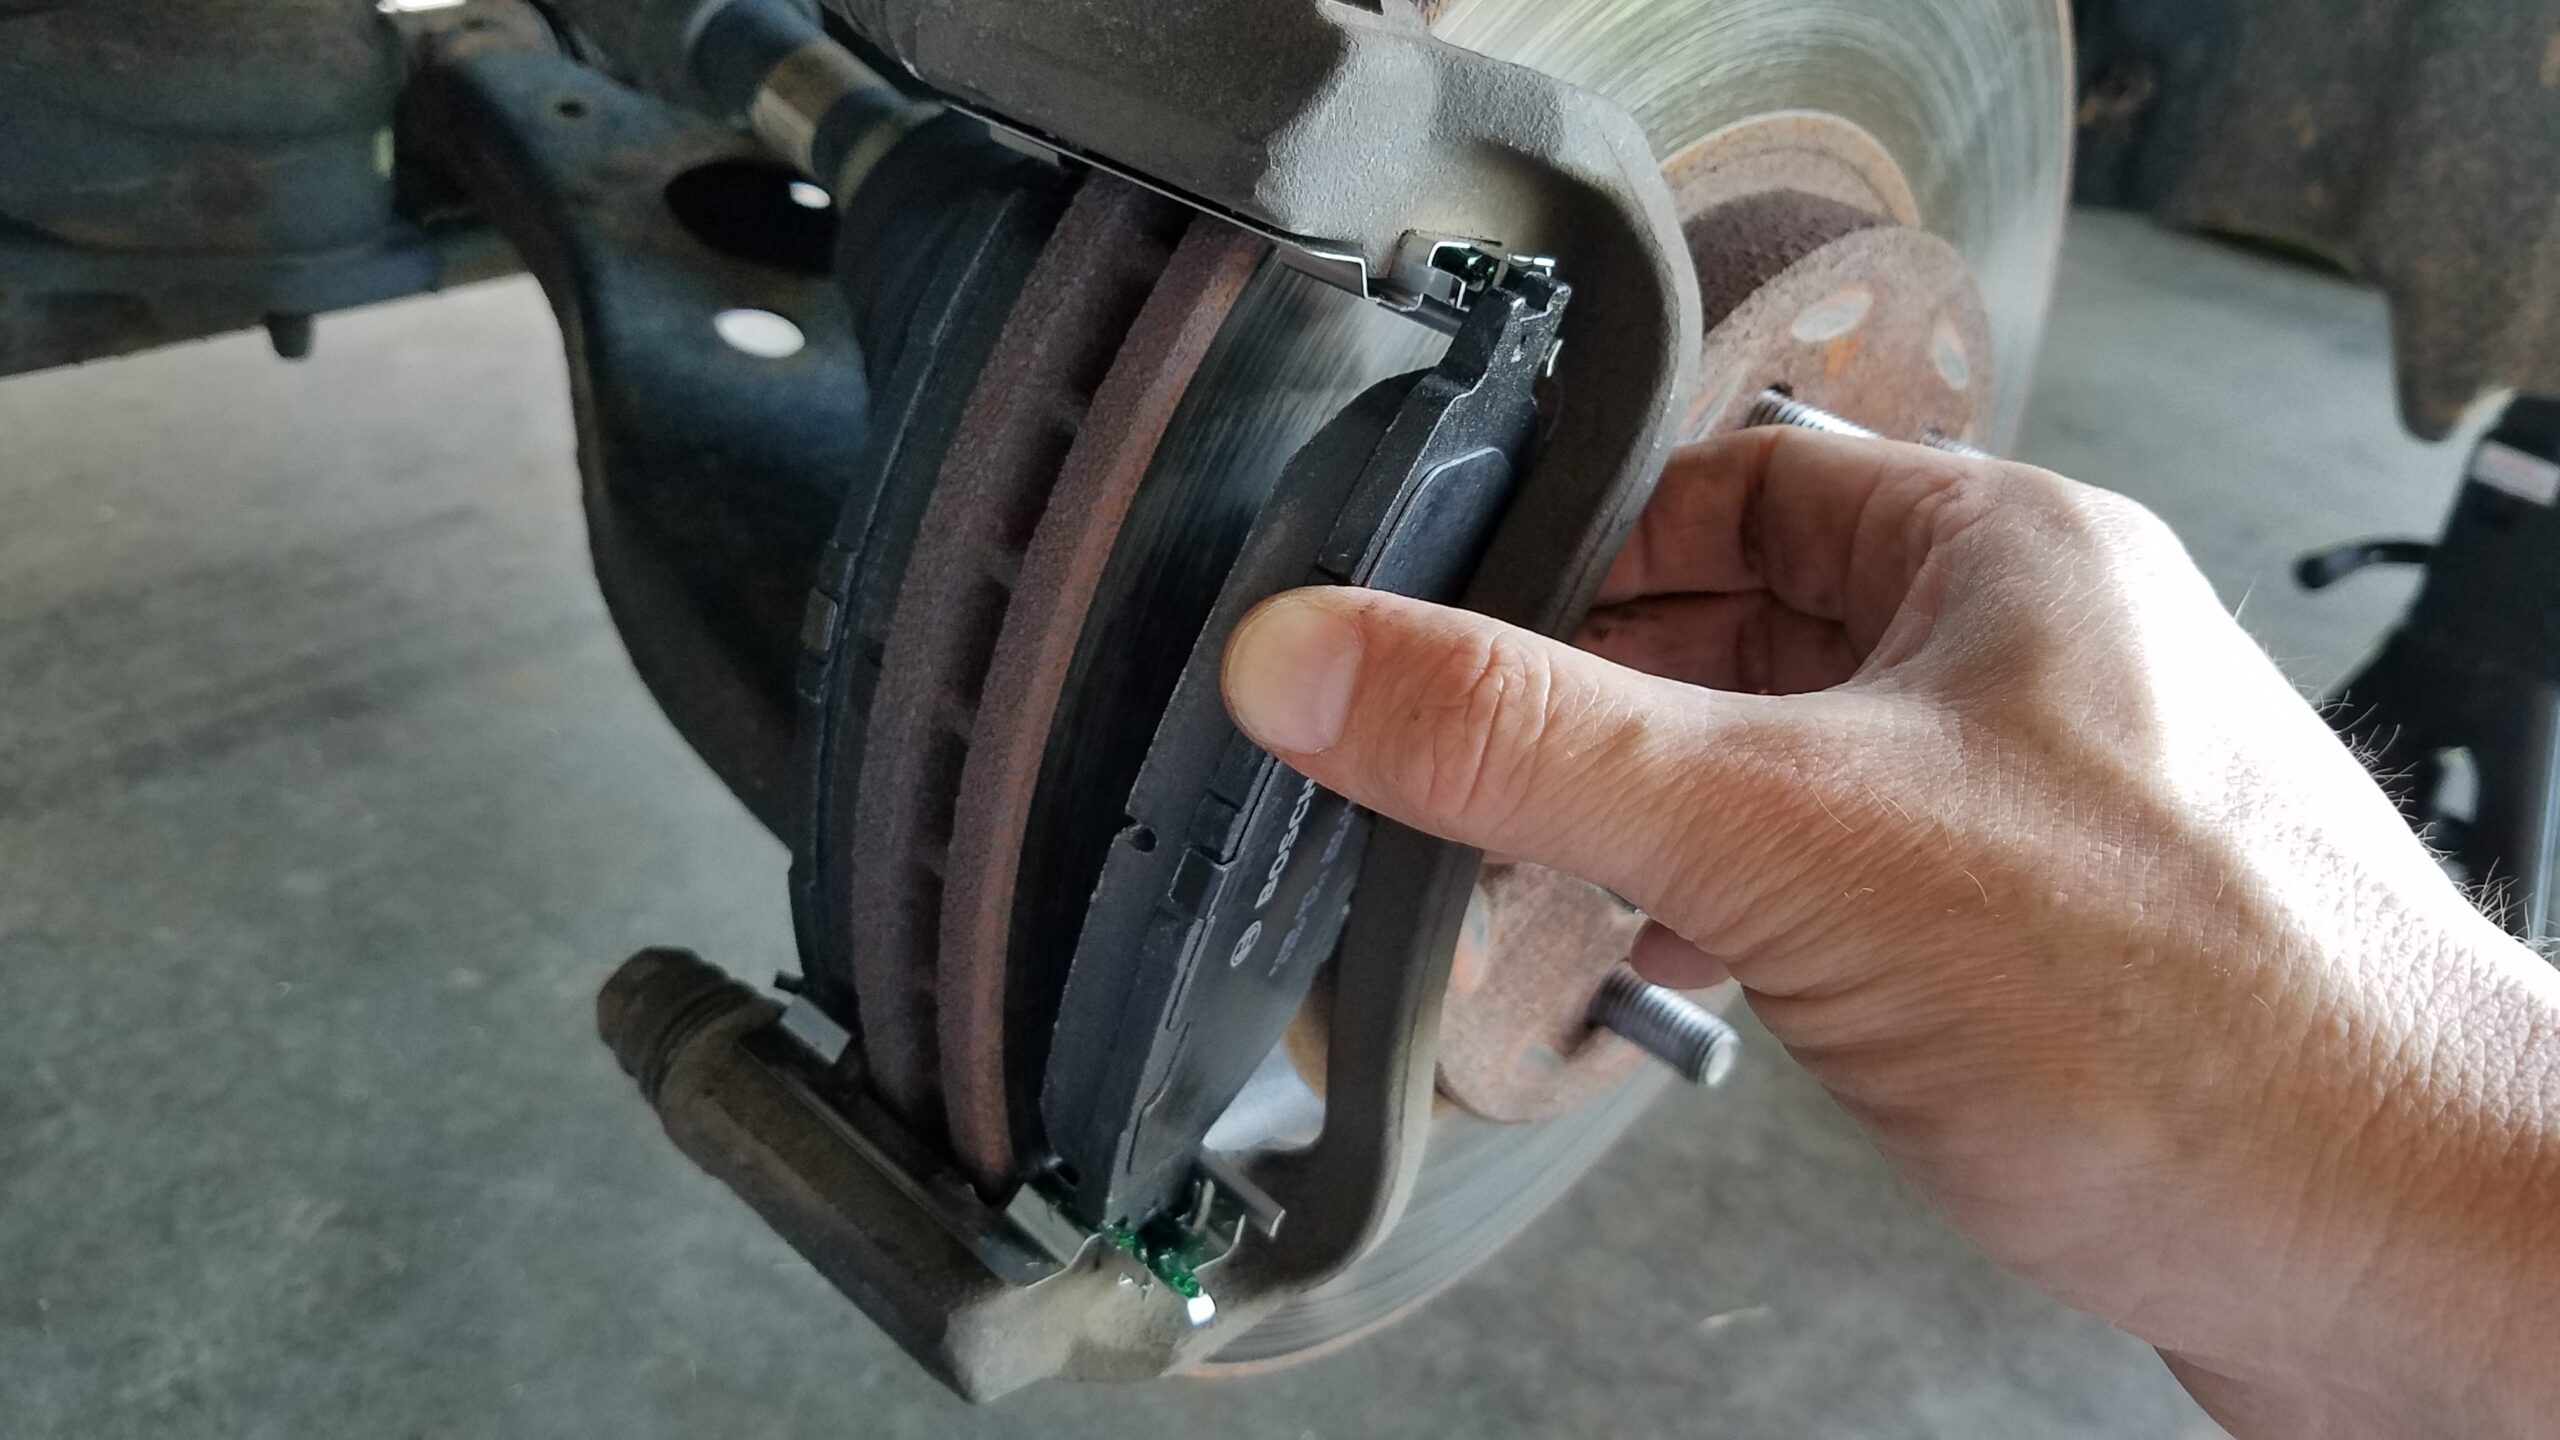
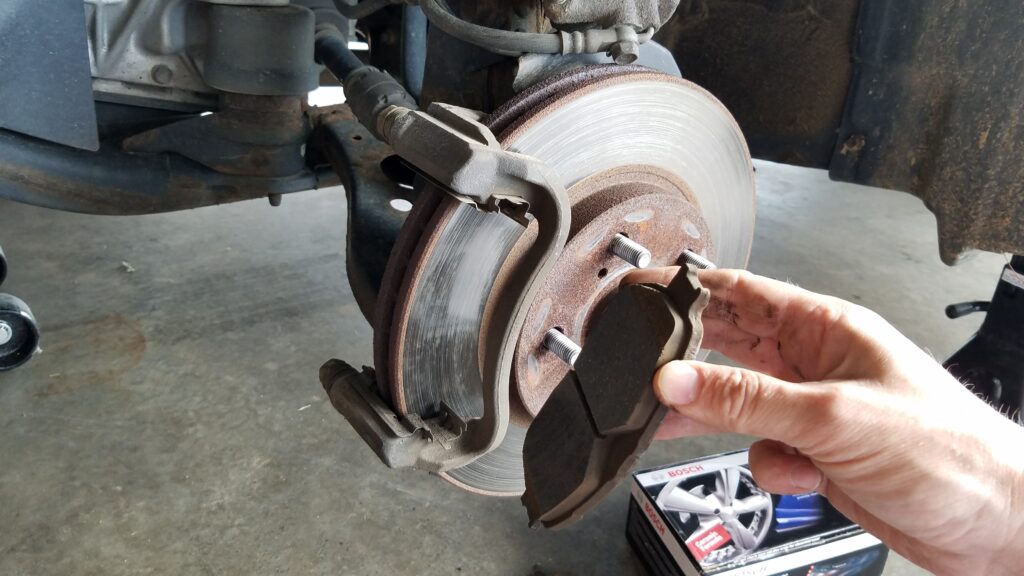
Now, put in the new brake pads. It works nicely to put the bottom in first, then fit the top in.
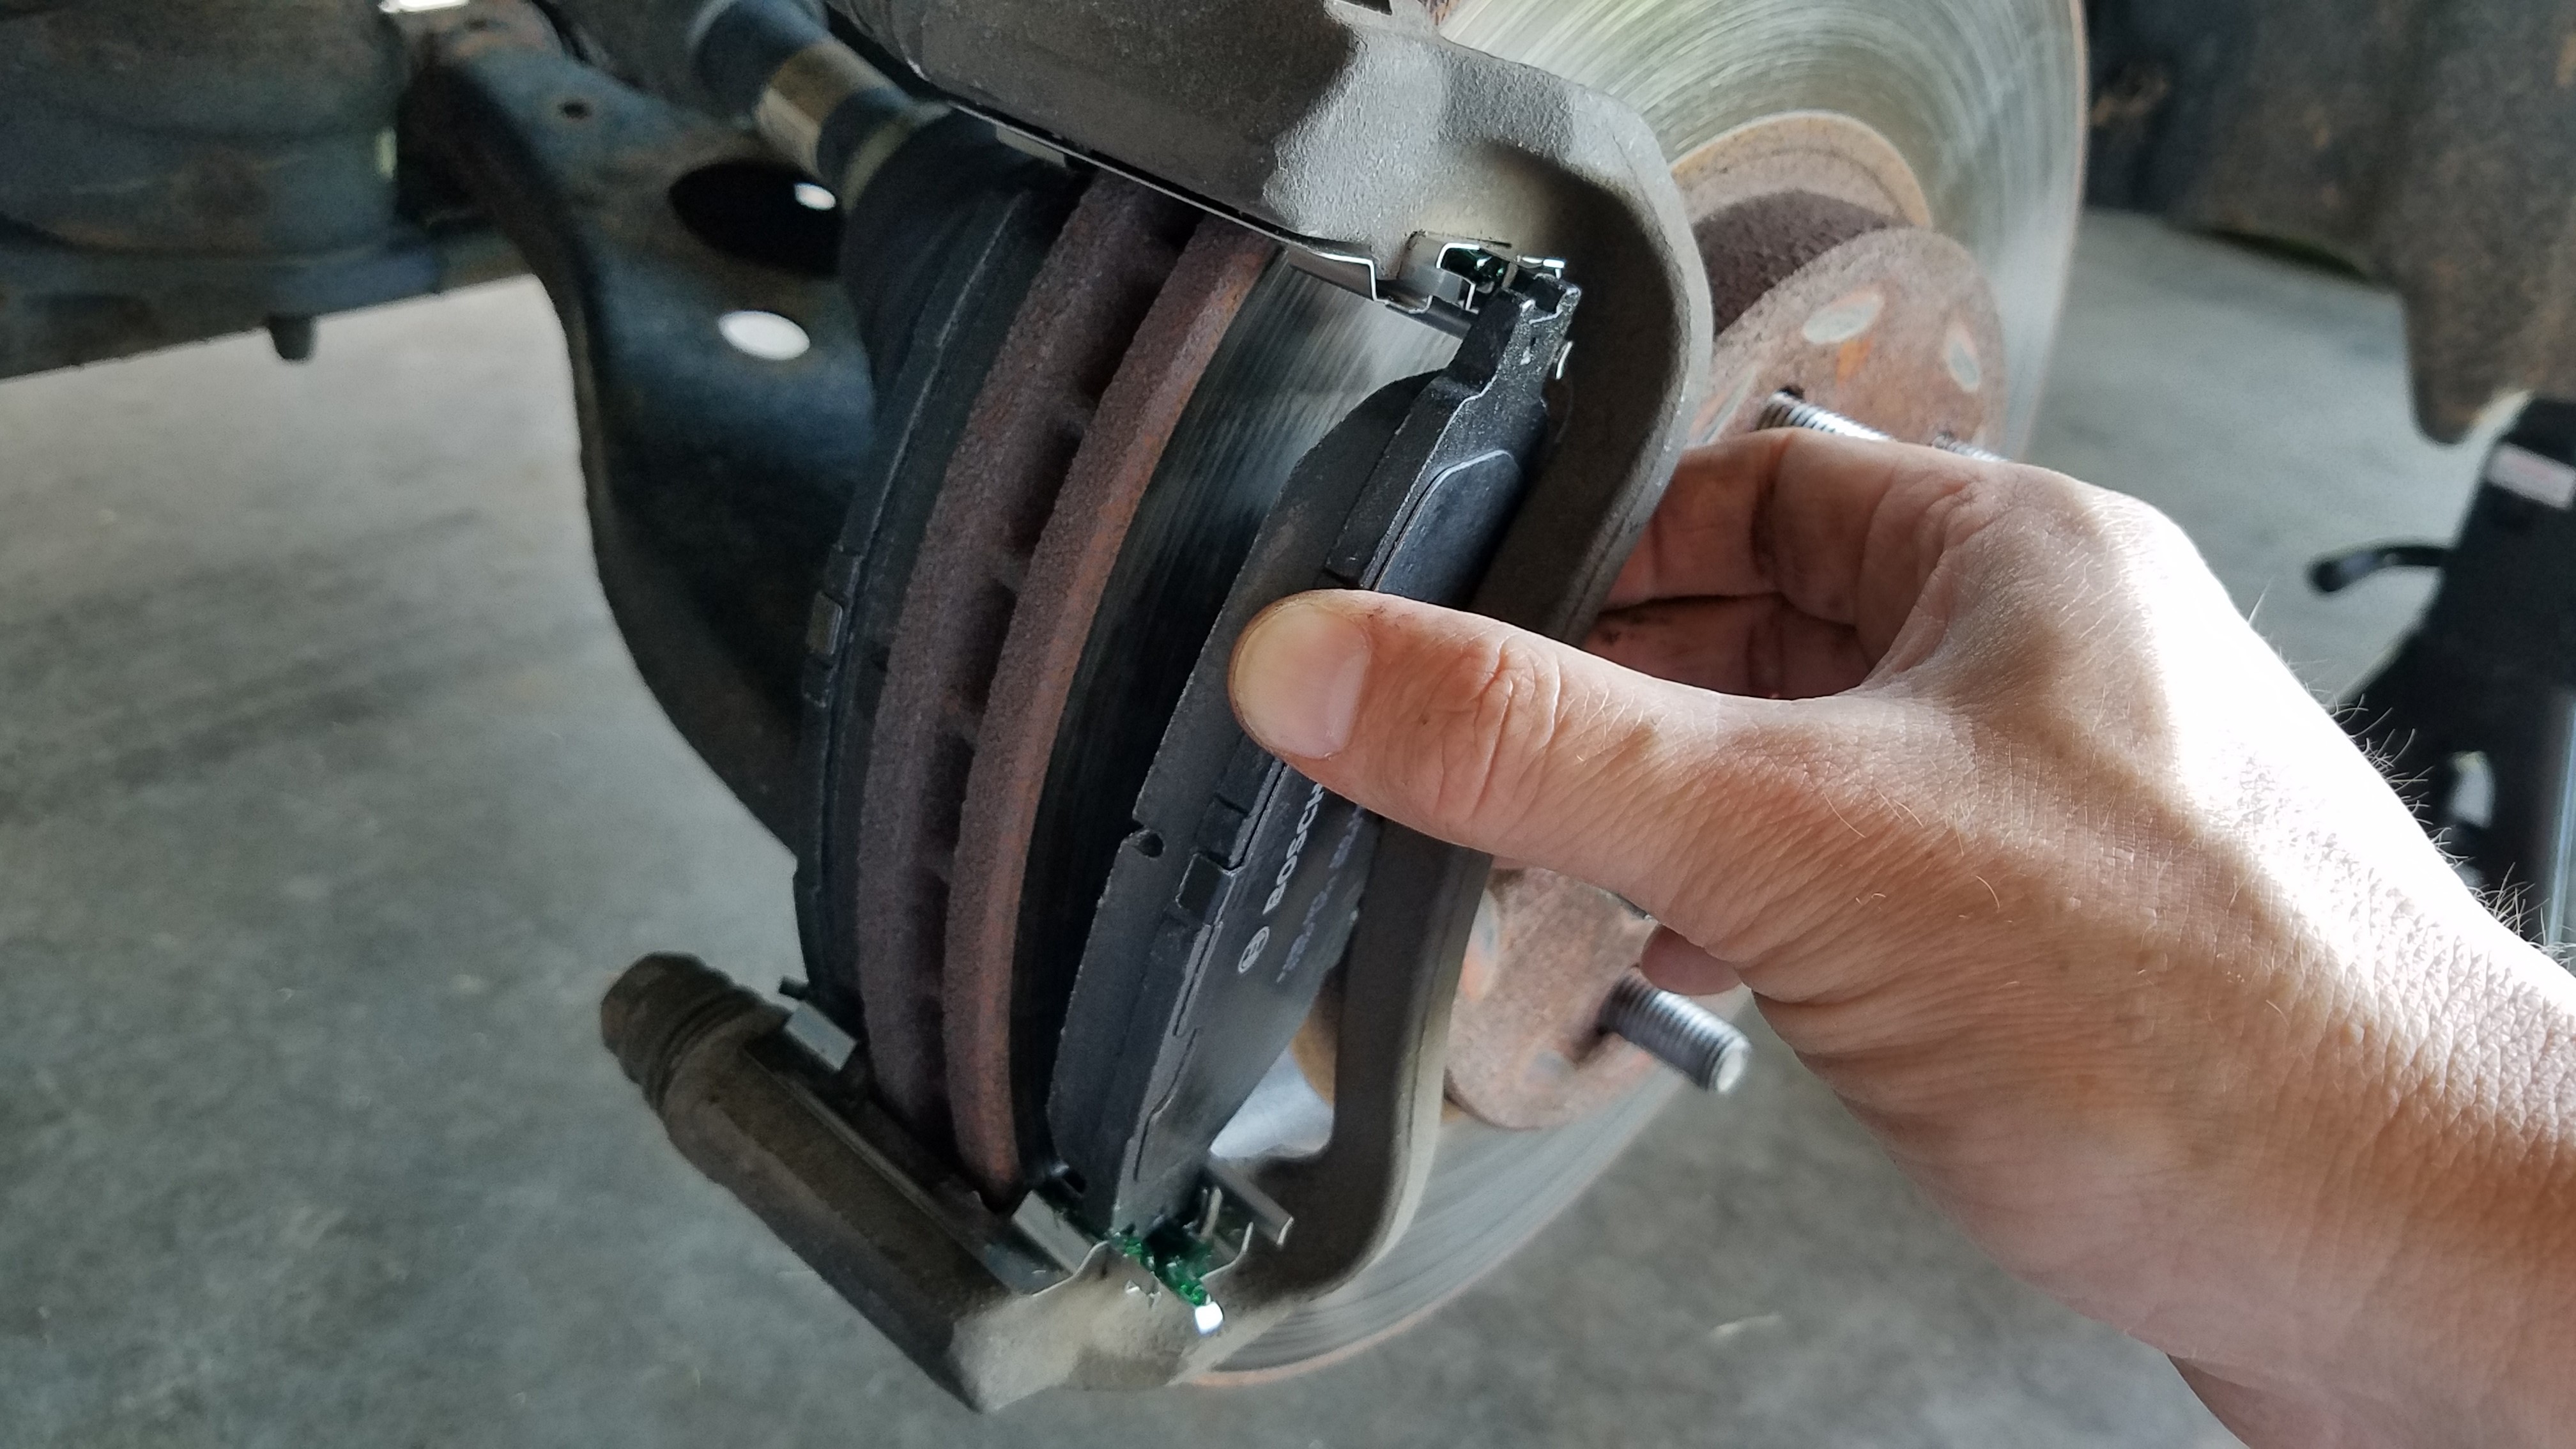
Make sure the grease is evenly distributed on the slide.
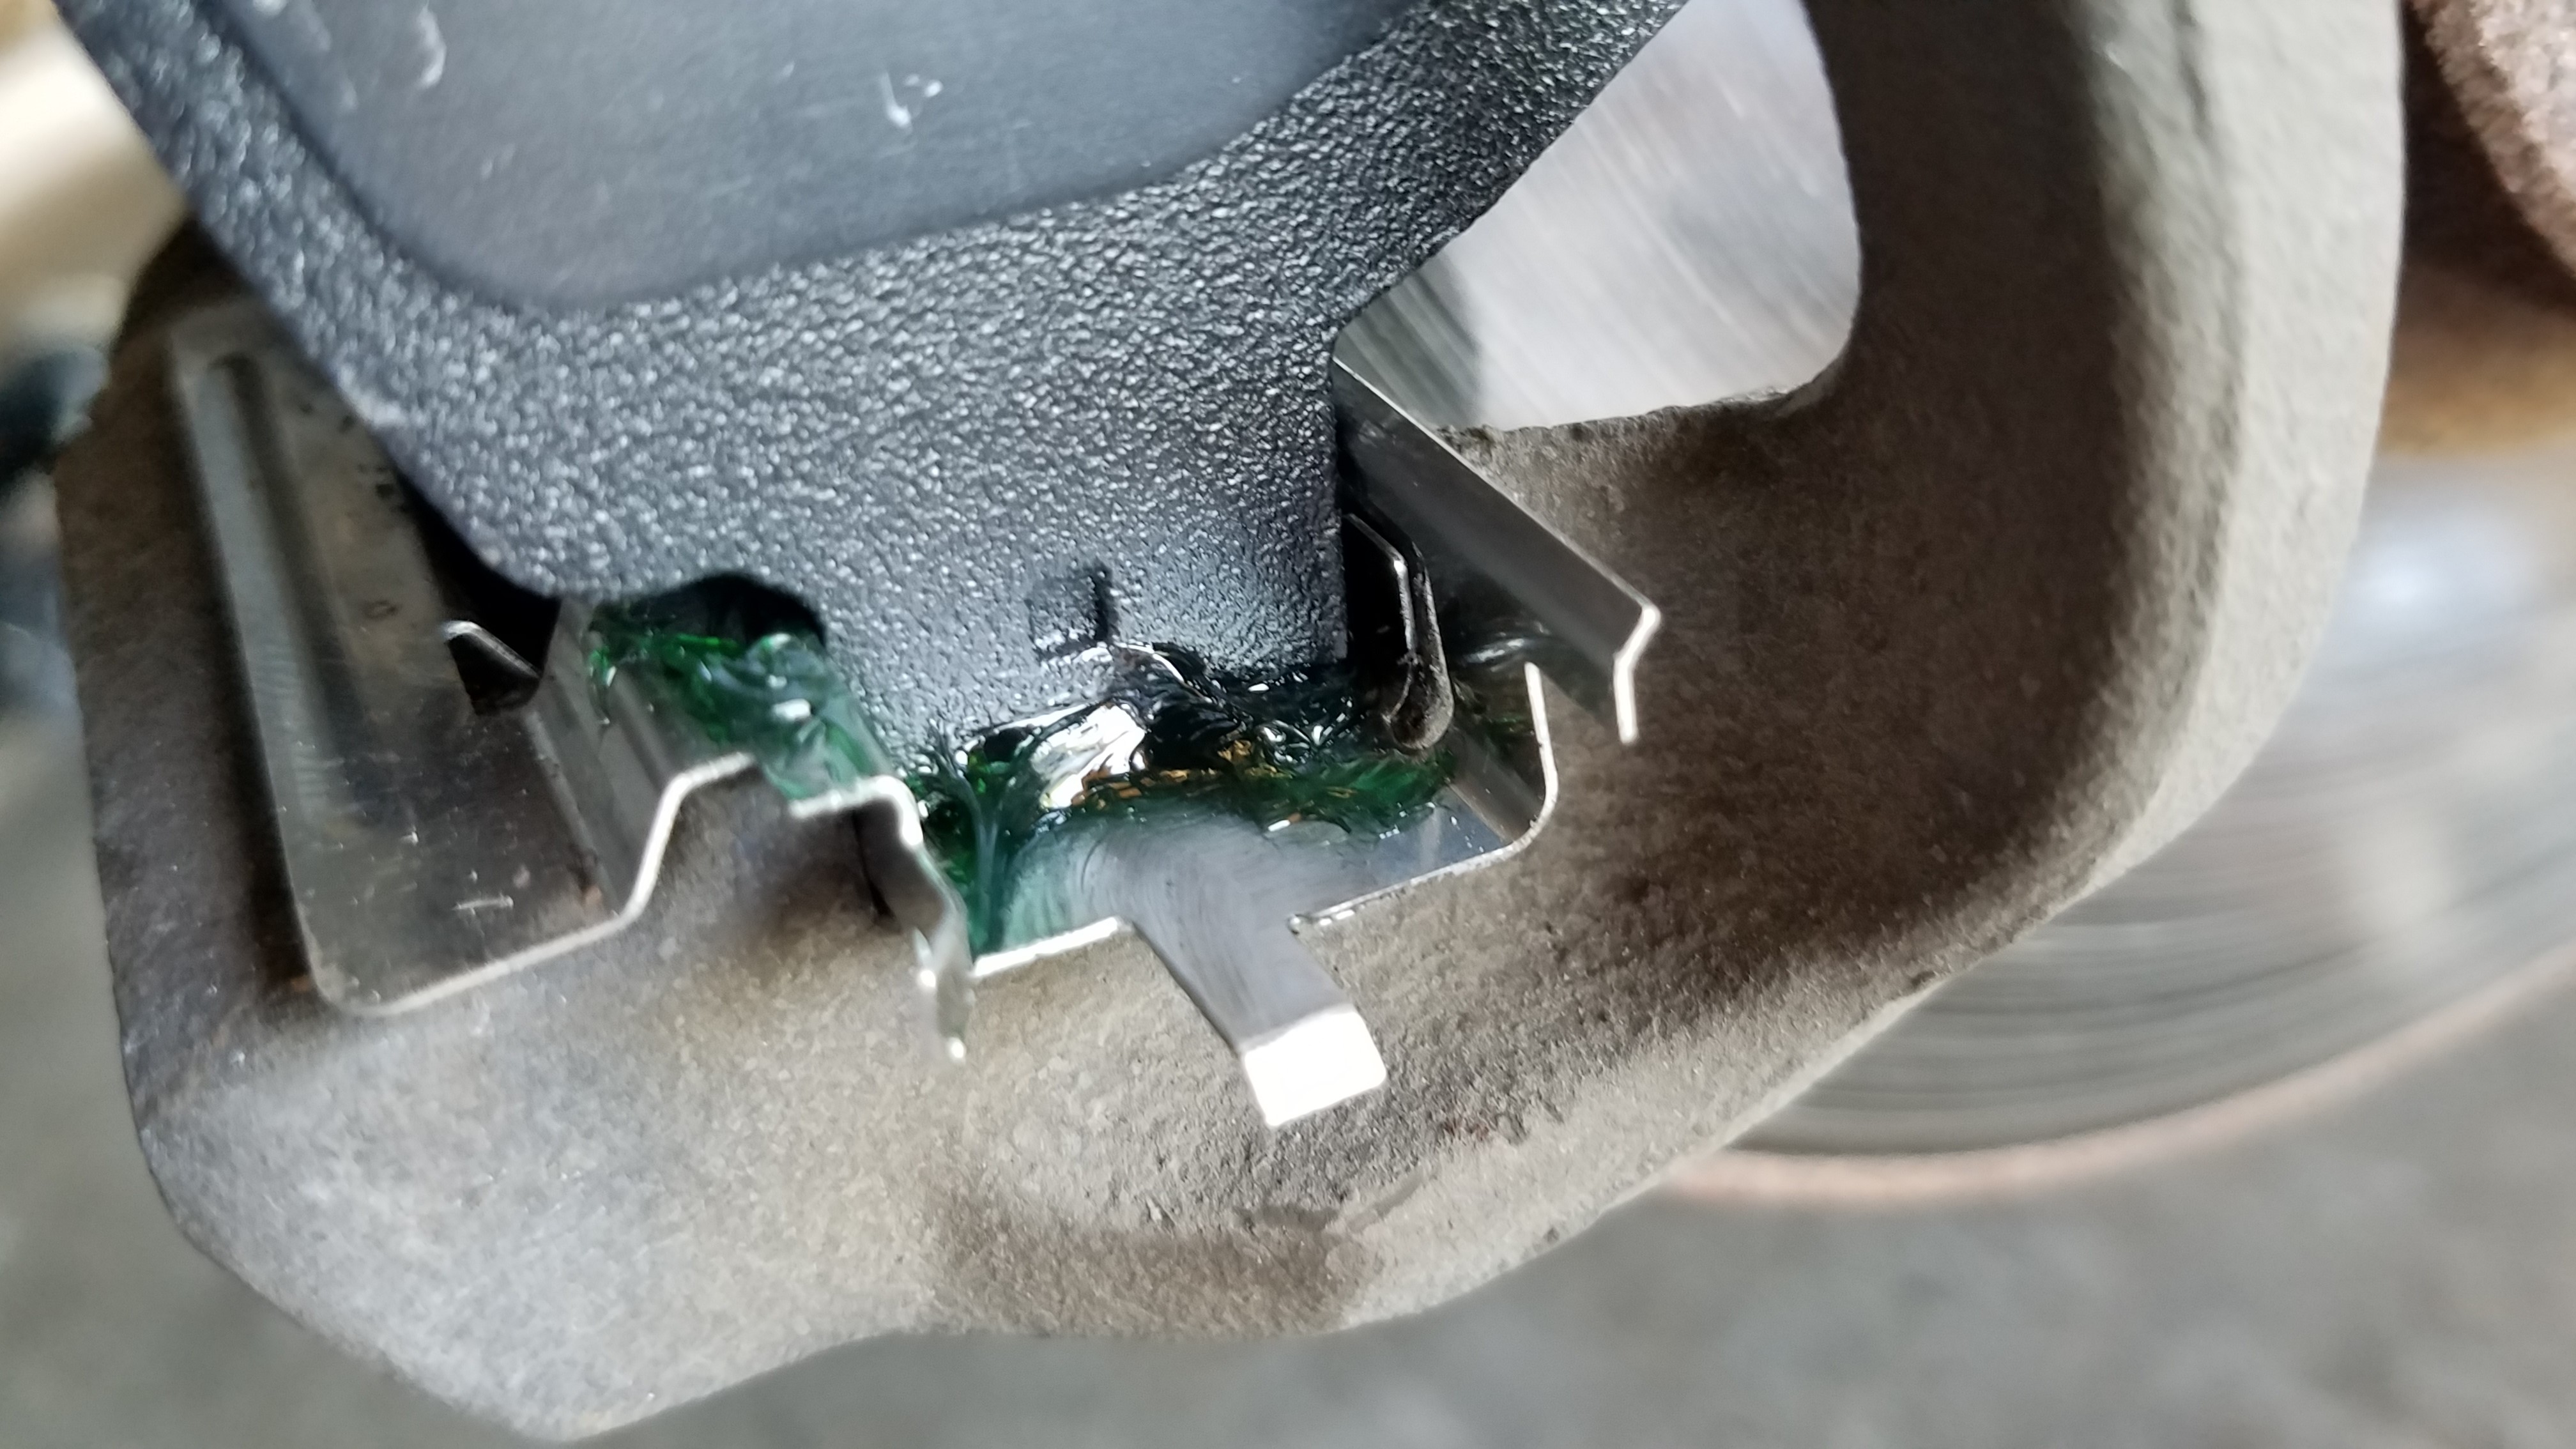
After both brake pads are in, press them together against the rotor. Ensure that they are not loose, rattling, or crooked.
Tip: Normally the rotor is stuck to the mating surface. If not, and the rotor is loose, put a couple lug nuts on to hold it tight while you position the brake pads and caliper, so that the rotor is not rattling around while you are trying to get the brake pads on.

We’re now ready to put the caliper back on, but it won’t fit now because the new brake pads are thicker than the old ones. If you calipers are seized (won’t move), replace them.
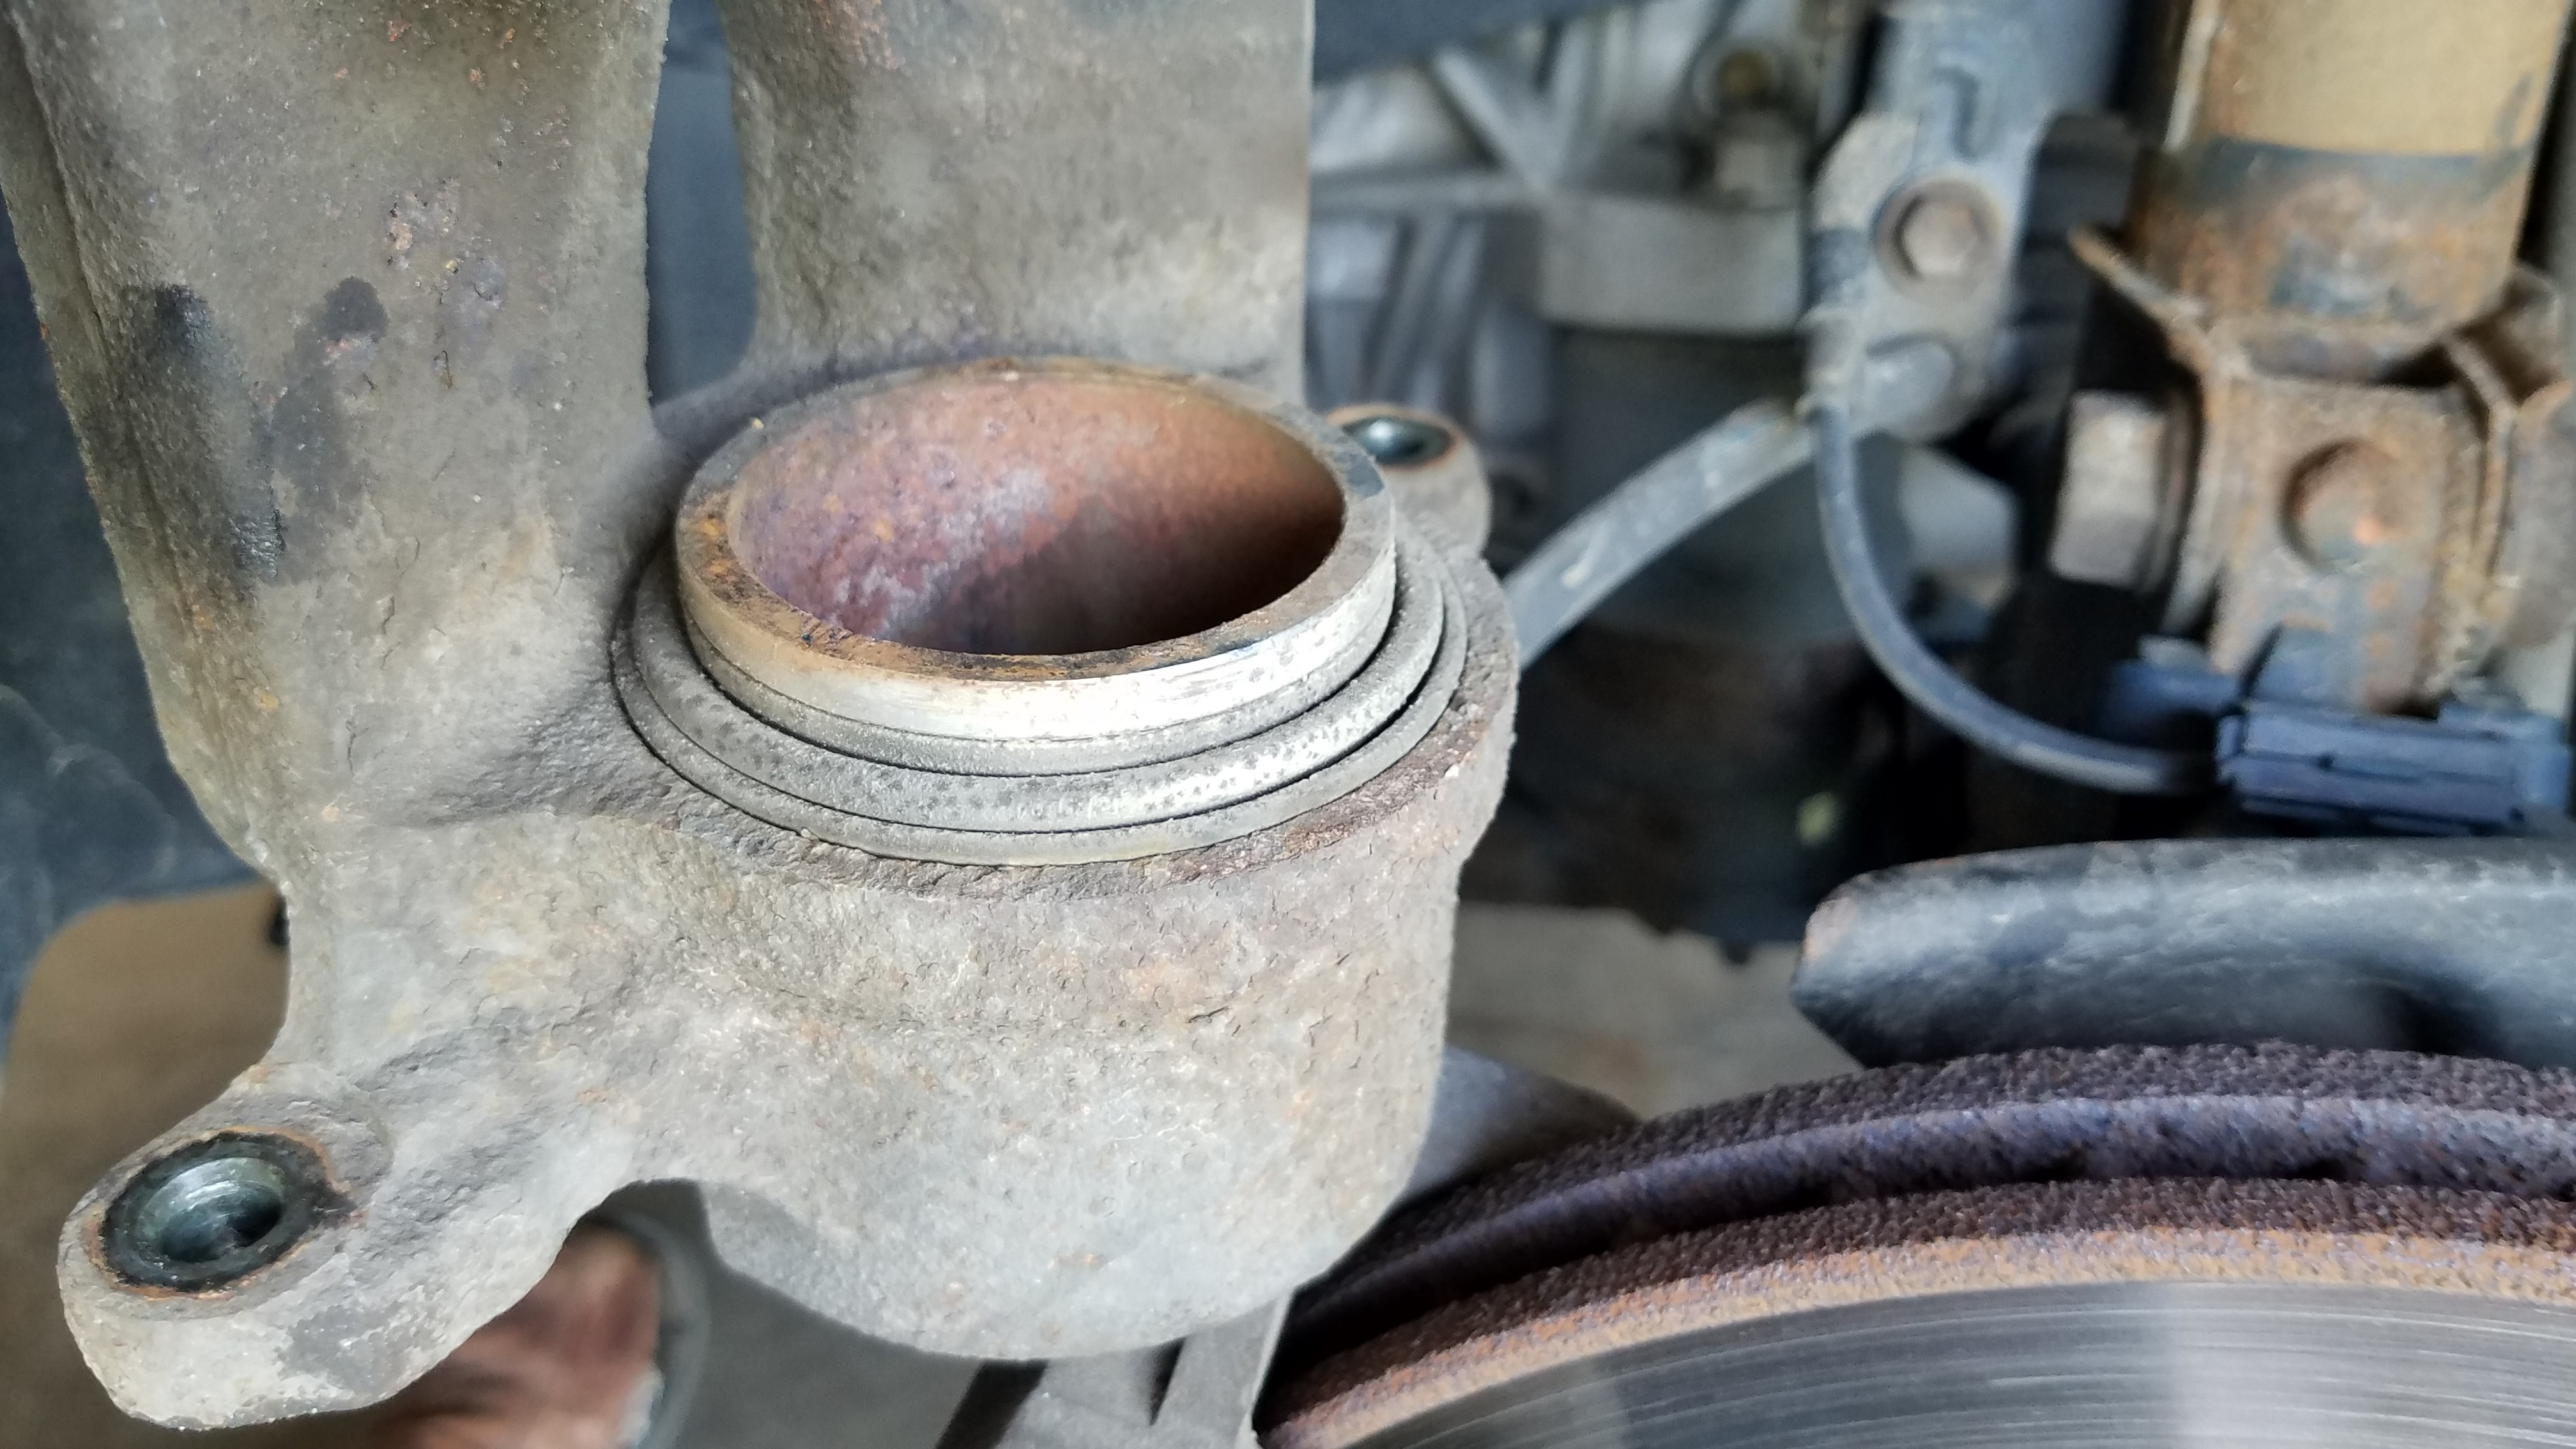
Use a large C-clamp or a brake piston compression tool to press the piston back into the cylinder. Take one of the old brake pads and put it against the piston as shown.
Position the C-clamp so that it will compress the piston by pressing on the old brake pad. Press the piston back into the cylinder by tightening the c-clamp.
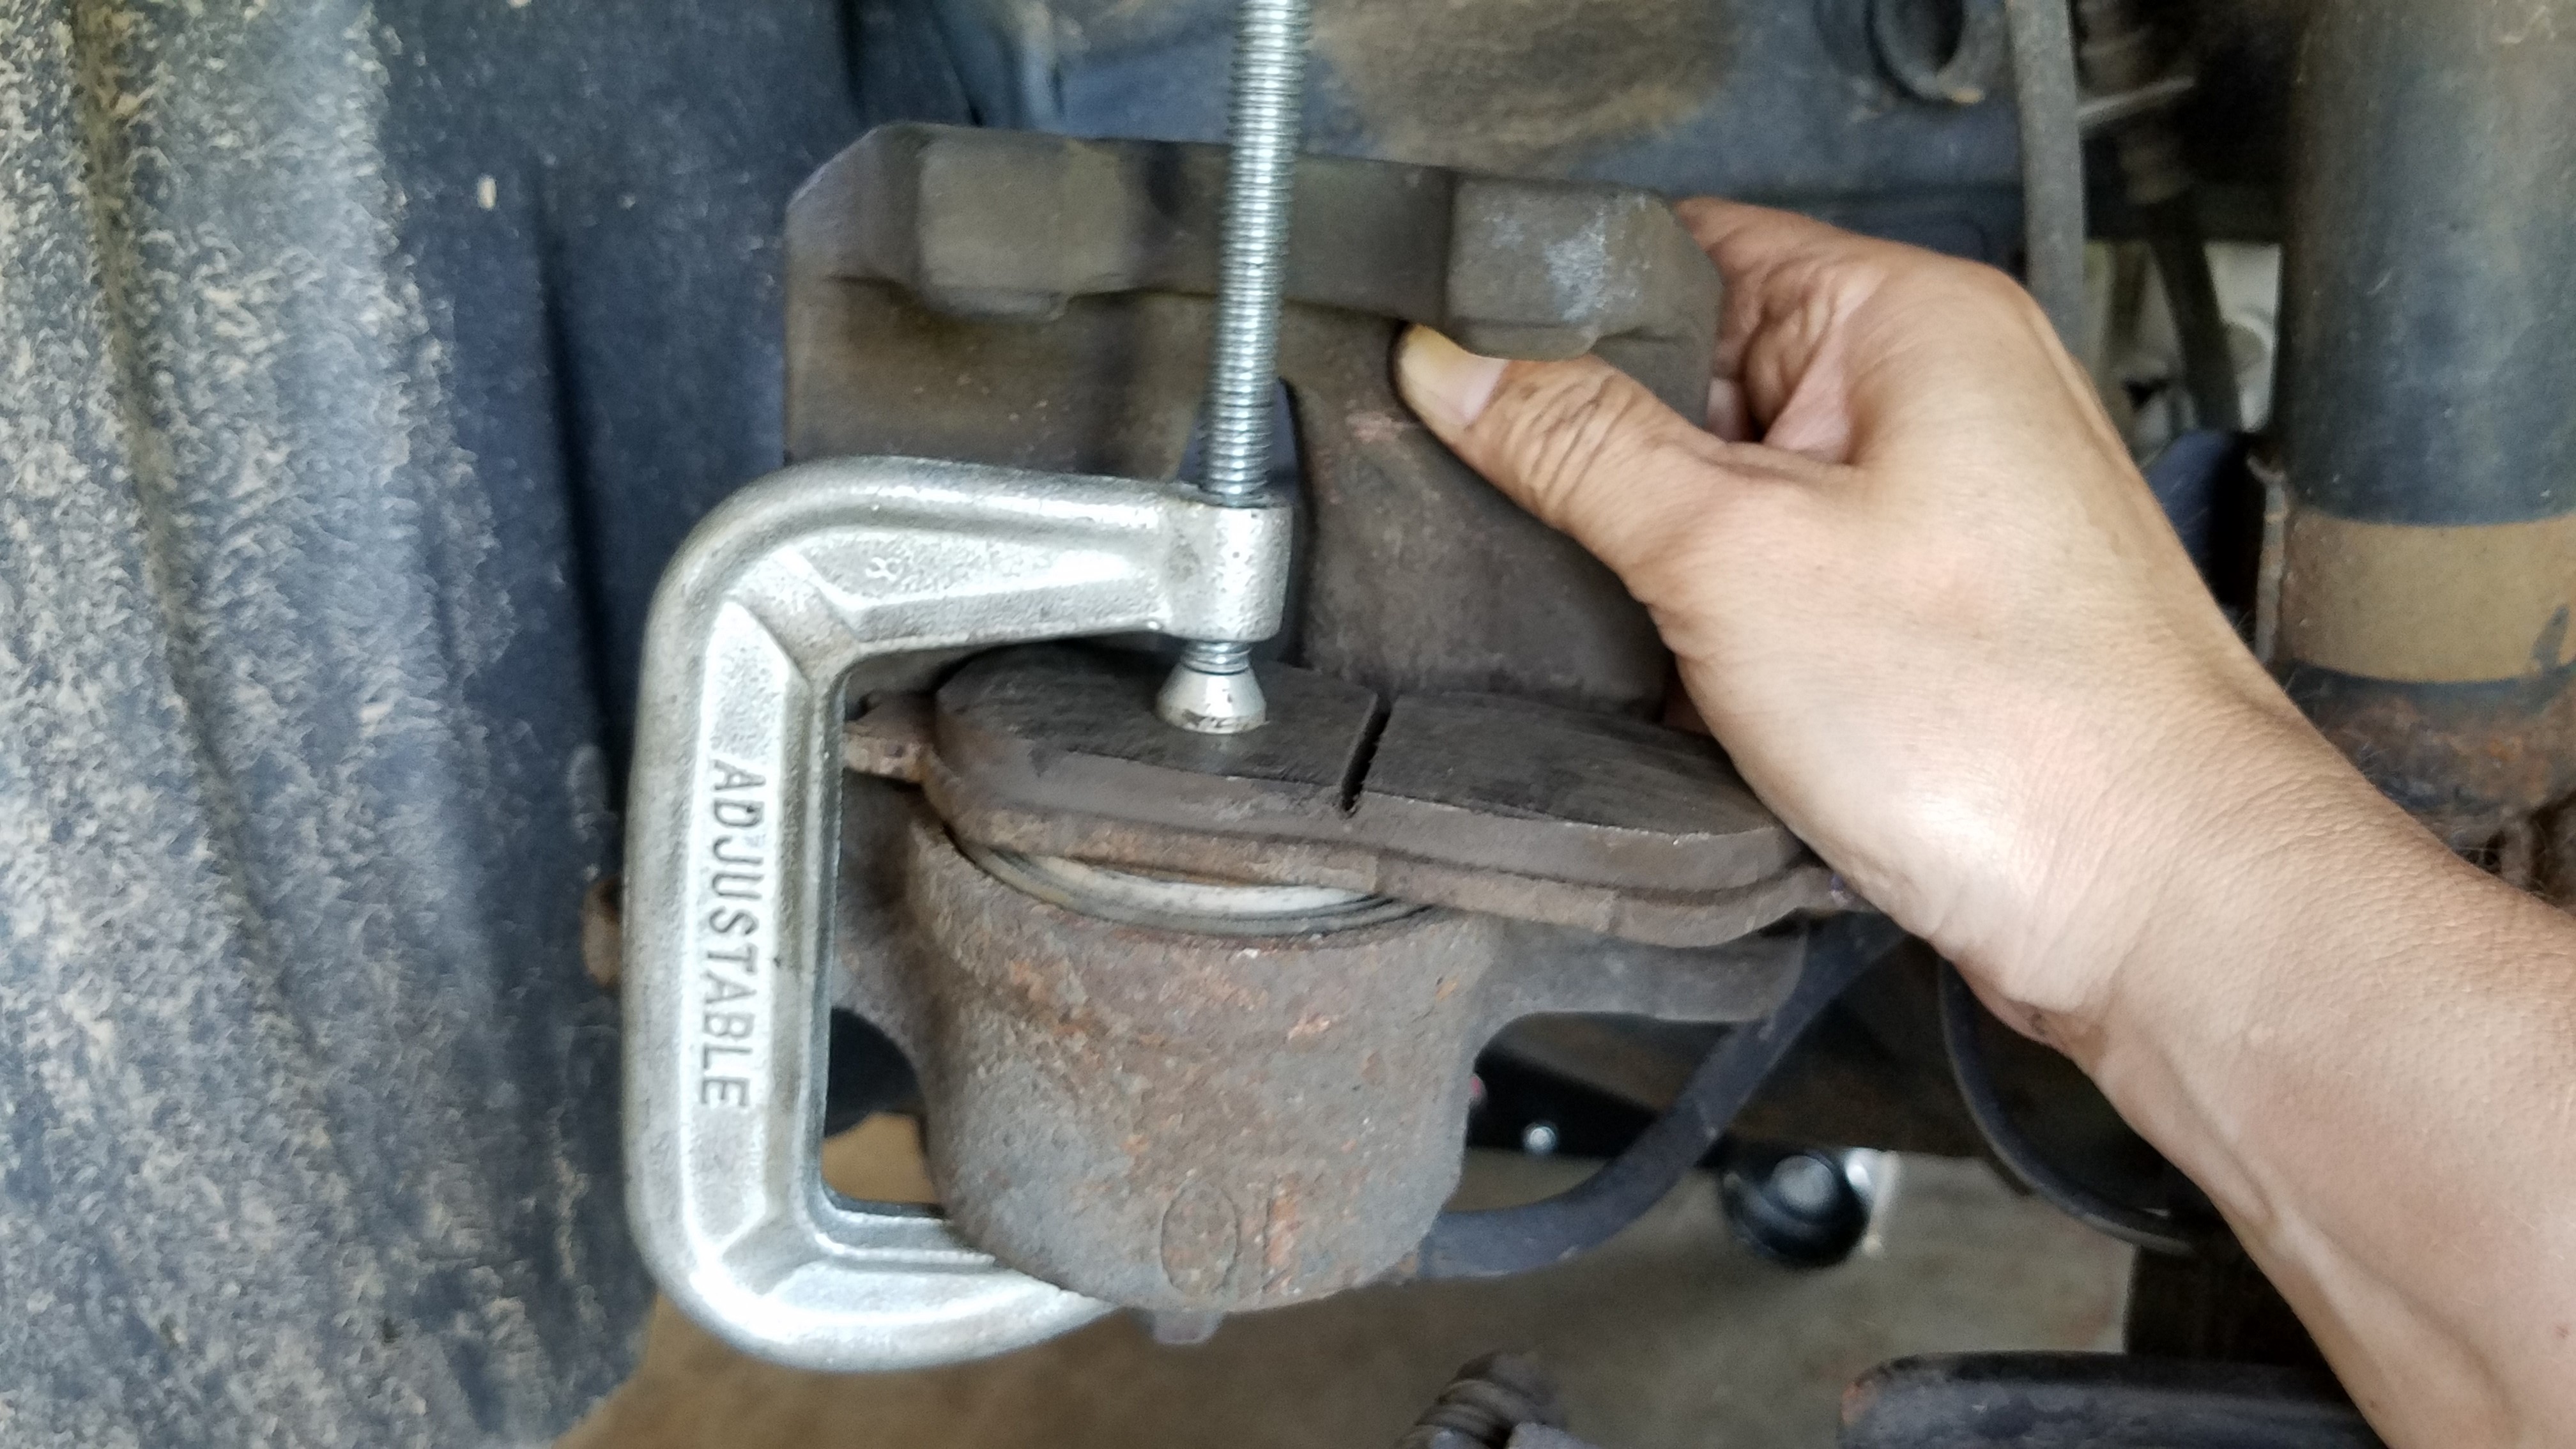
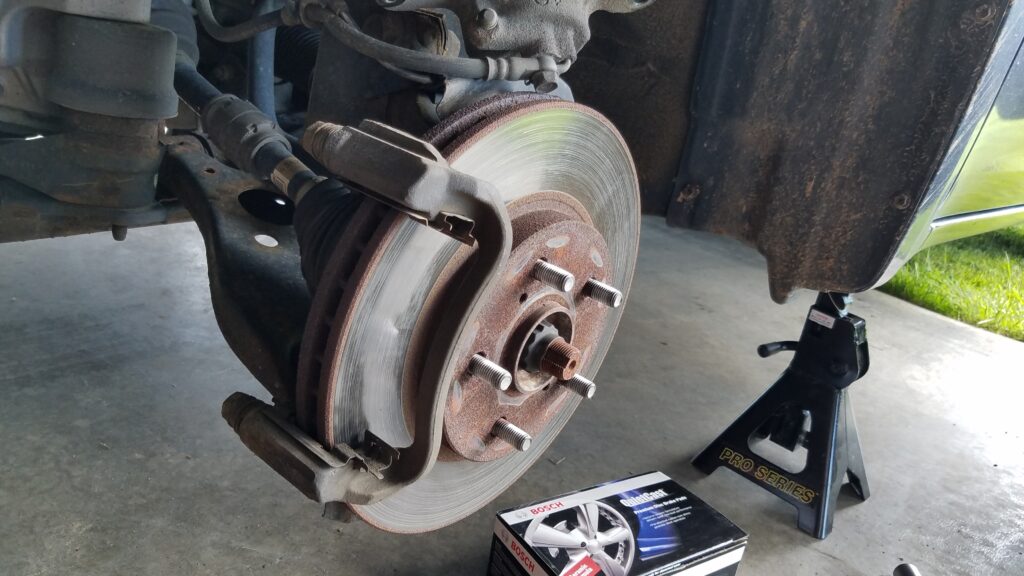
Once the caliper piston is compressed enough to fit over the new brake pads, slide it back into position over the new brake pads.
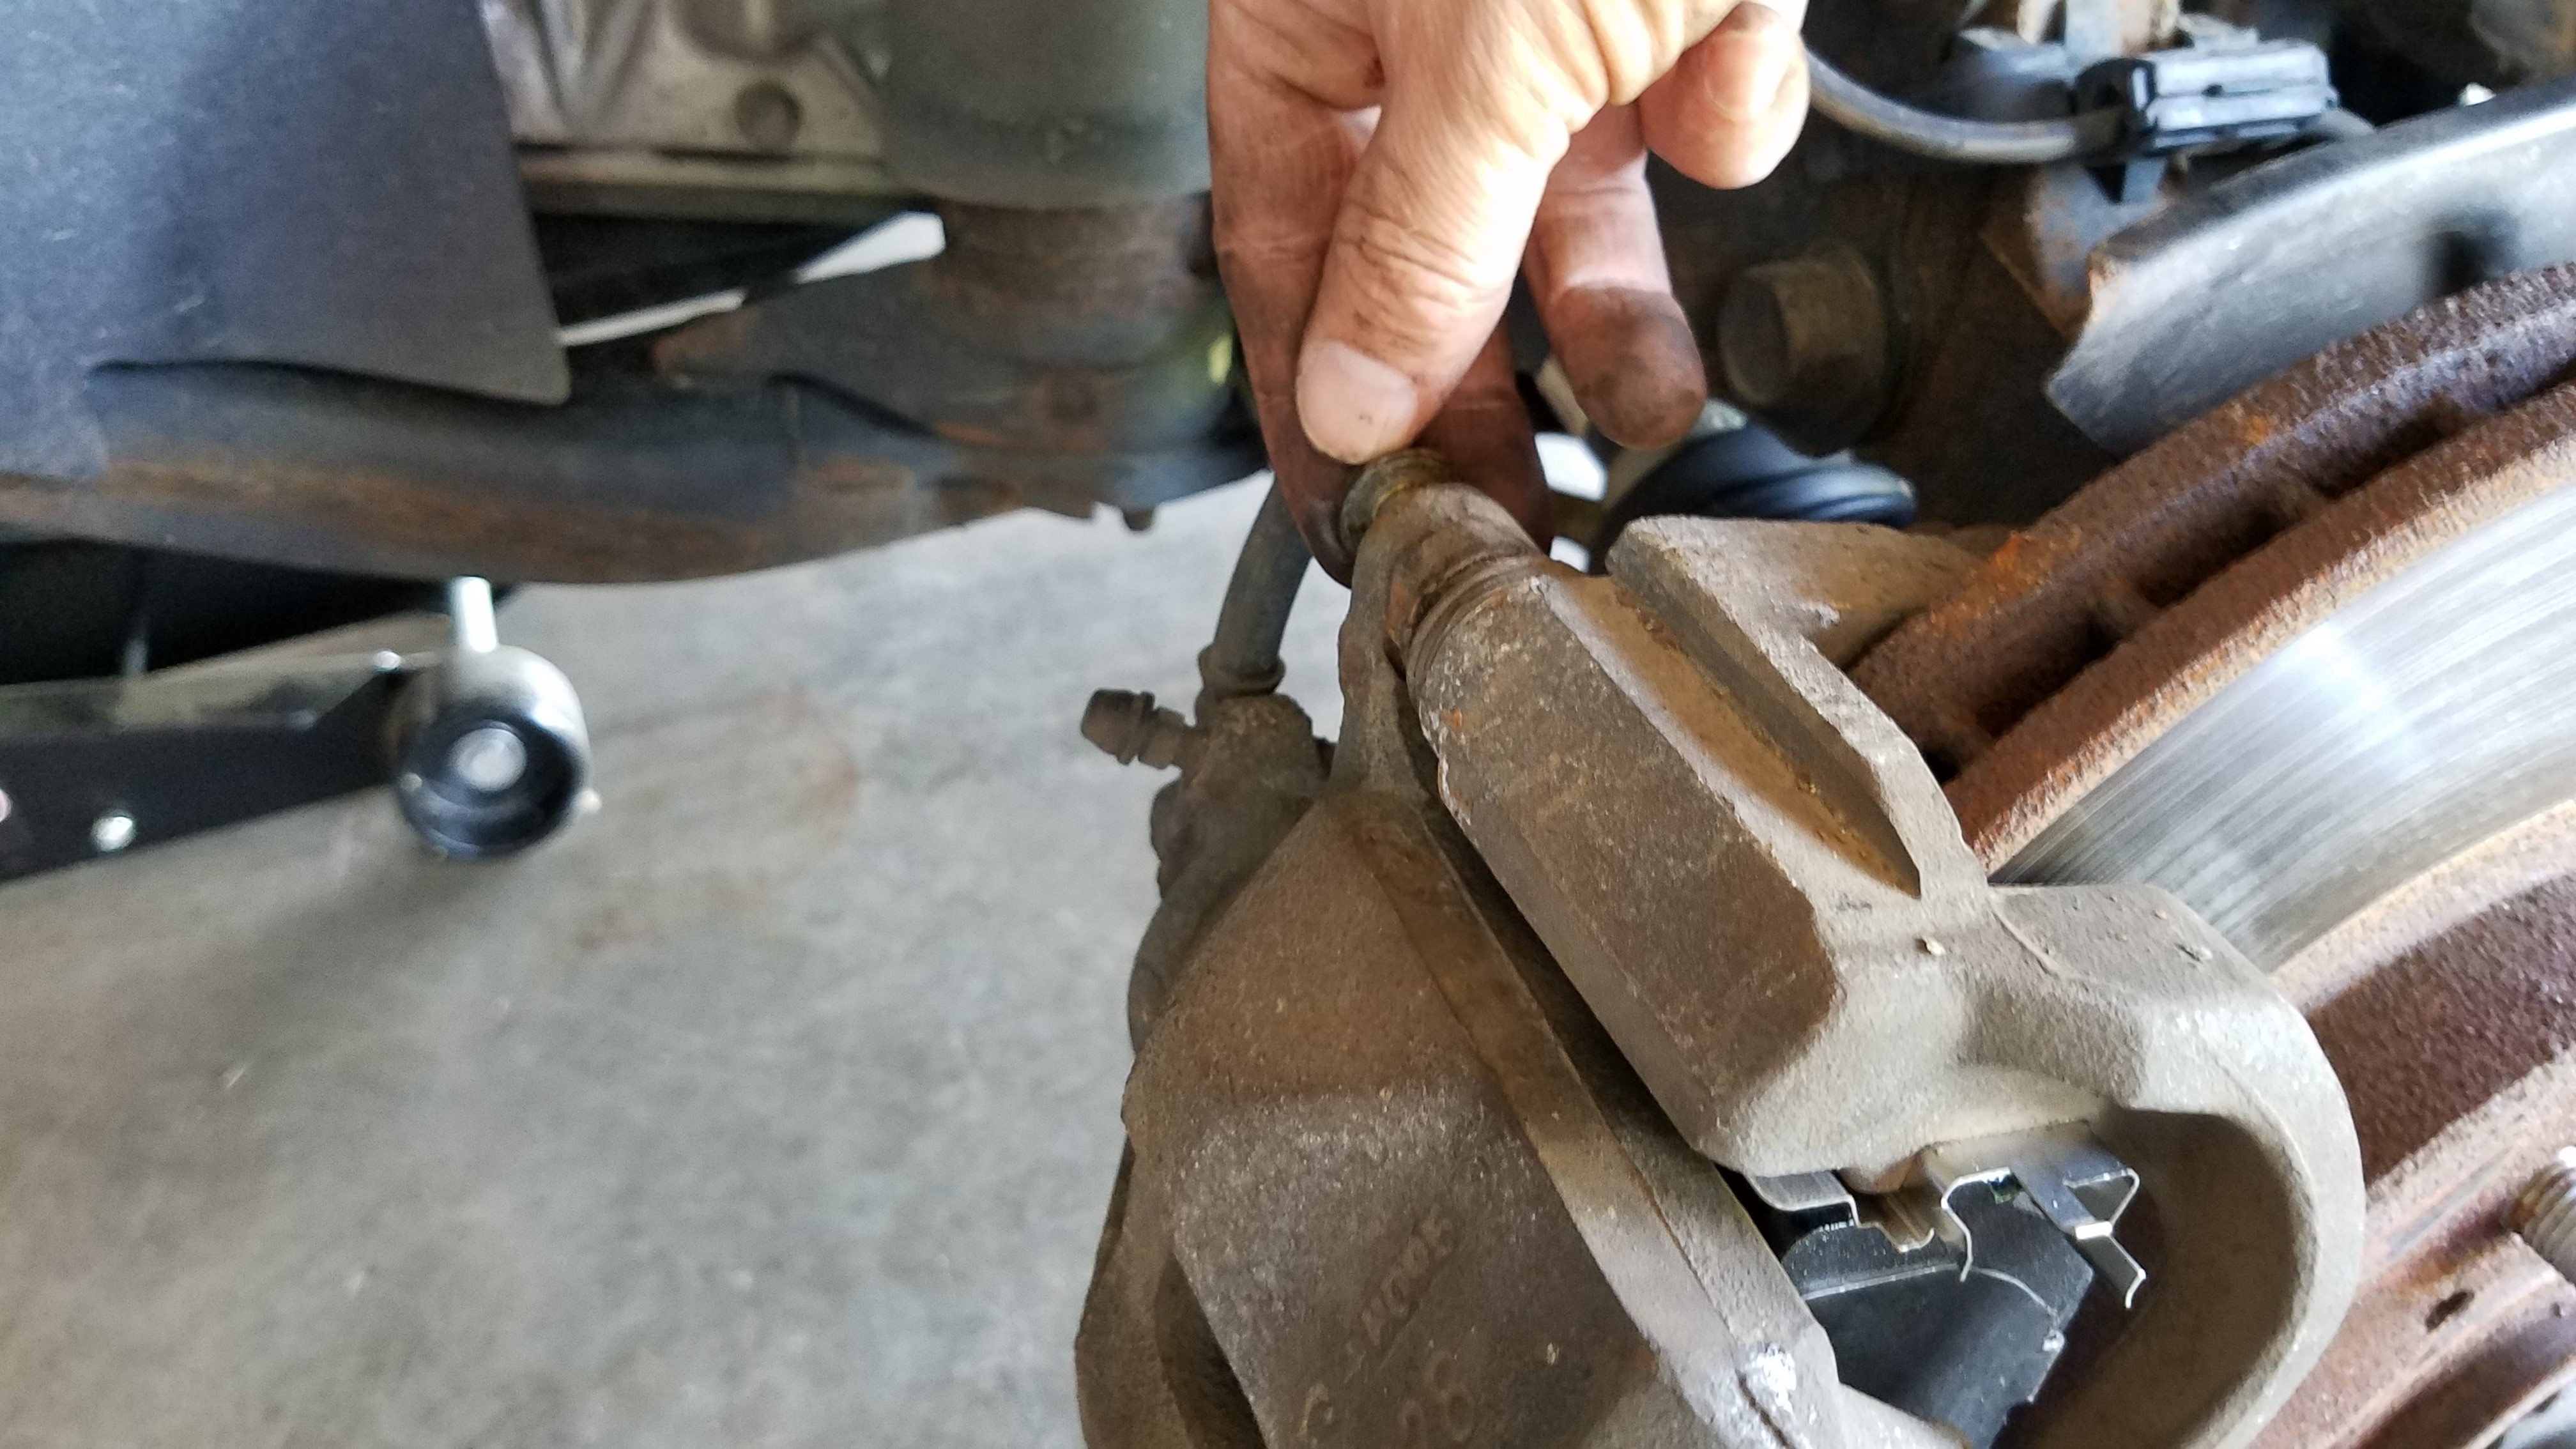
Put some anti-seize on the threads of the caliper bolts.

Re-insert the caliper bolts and tighten them finger-tight.
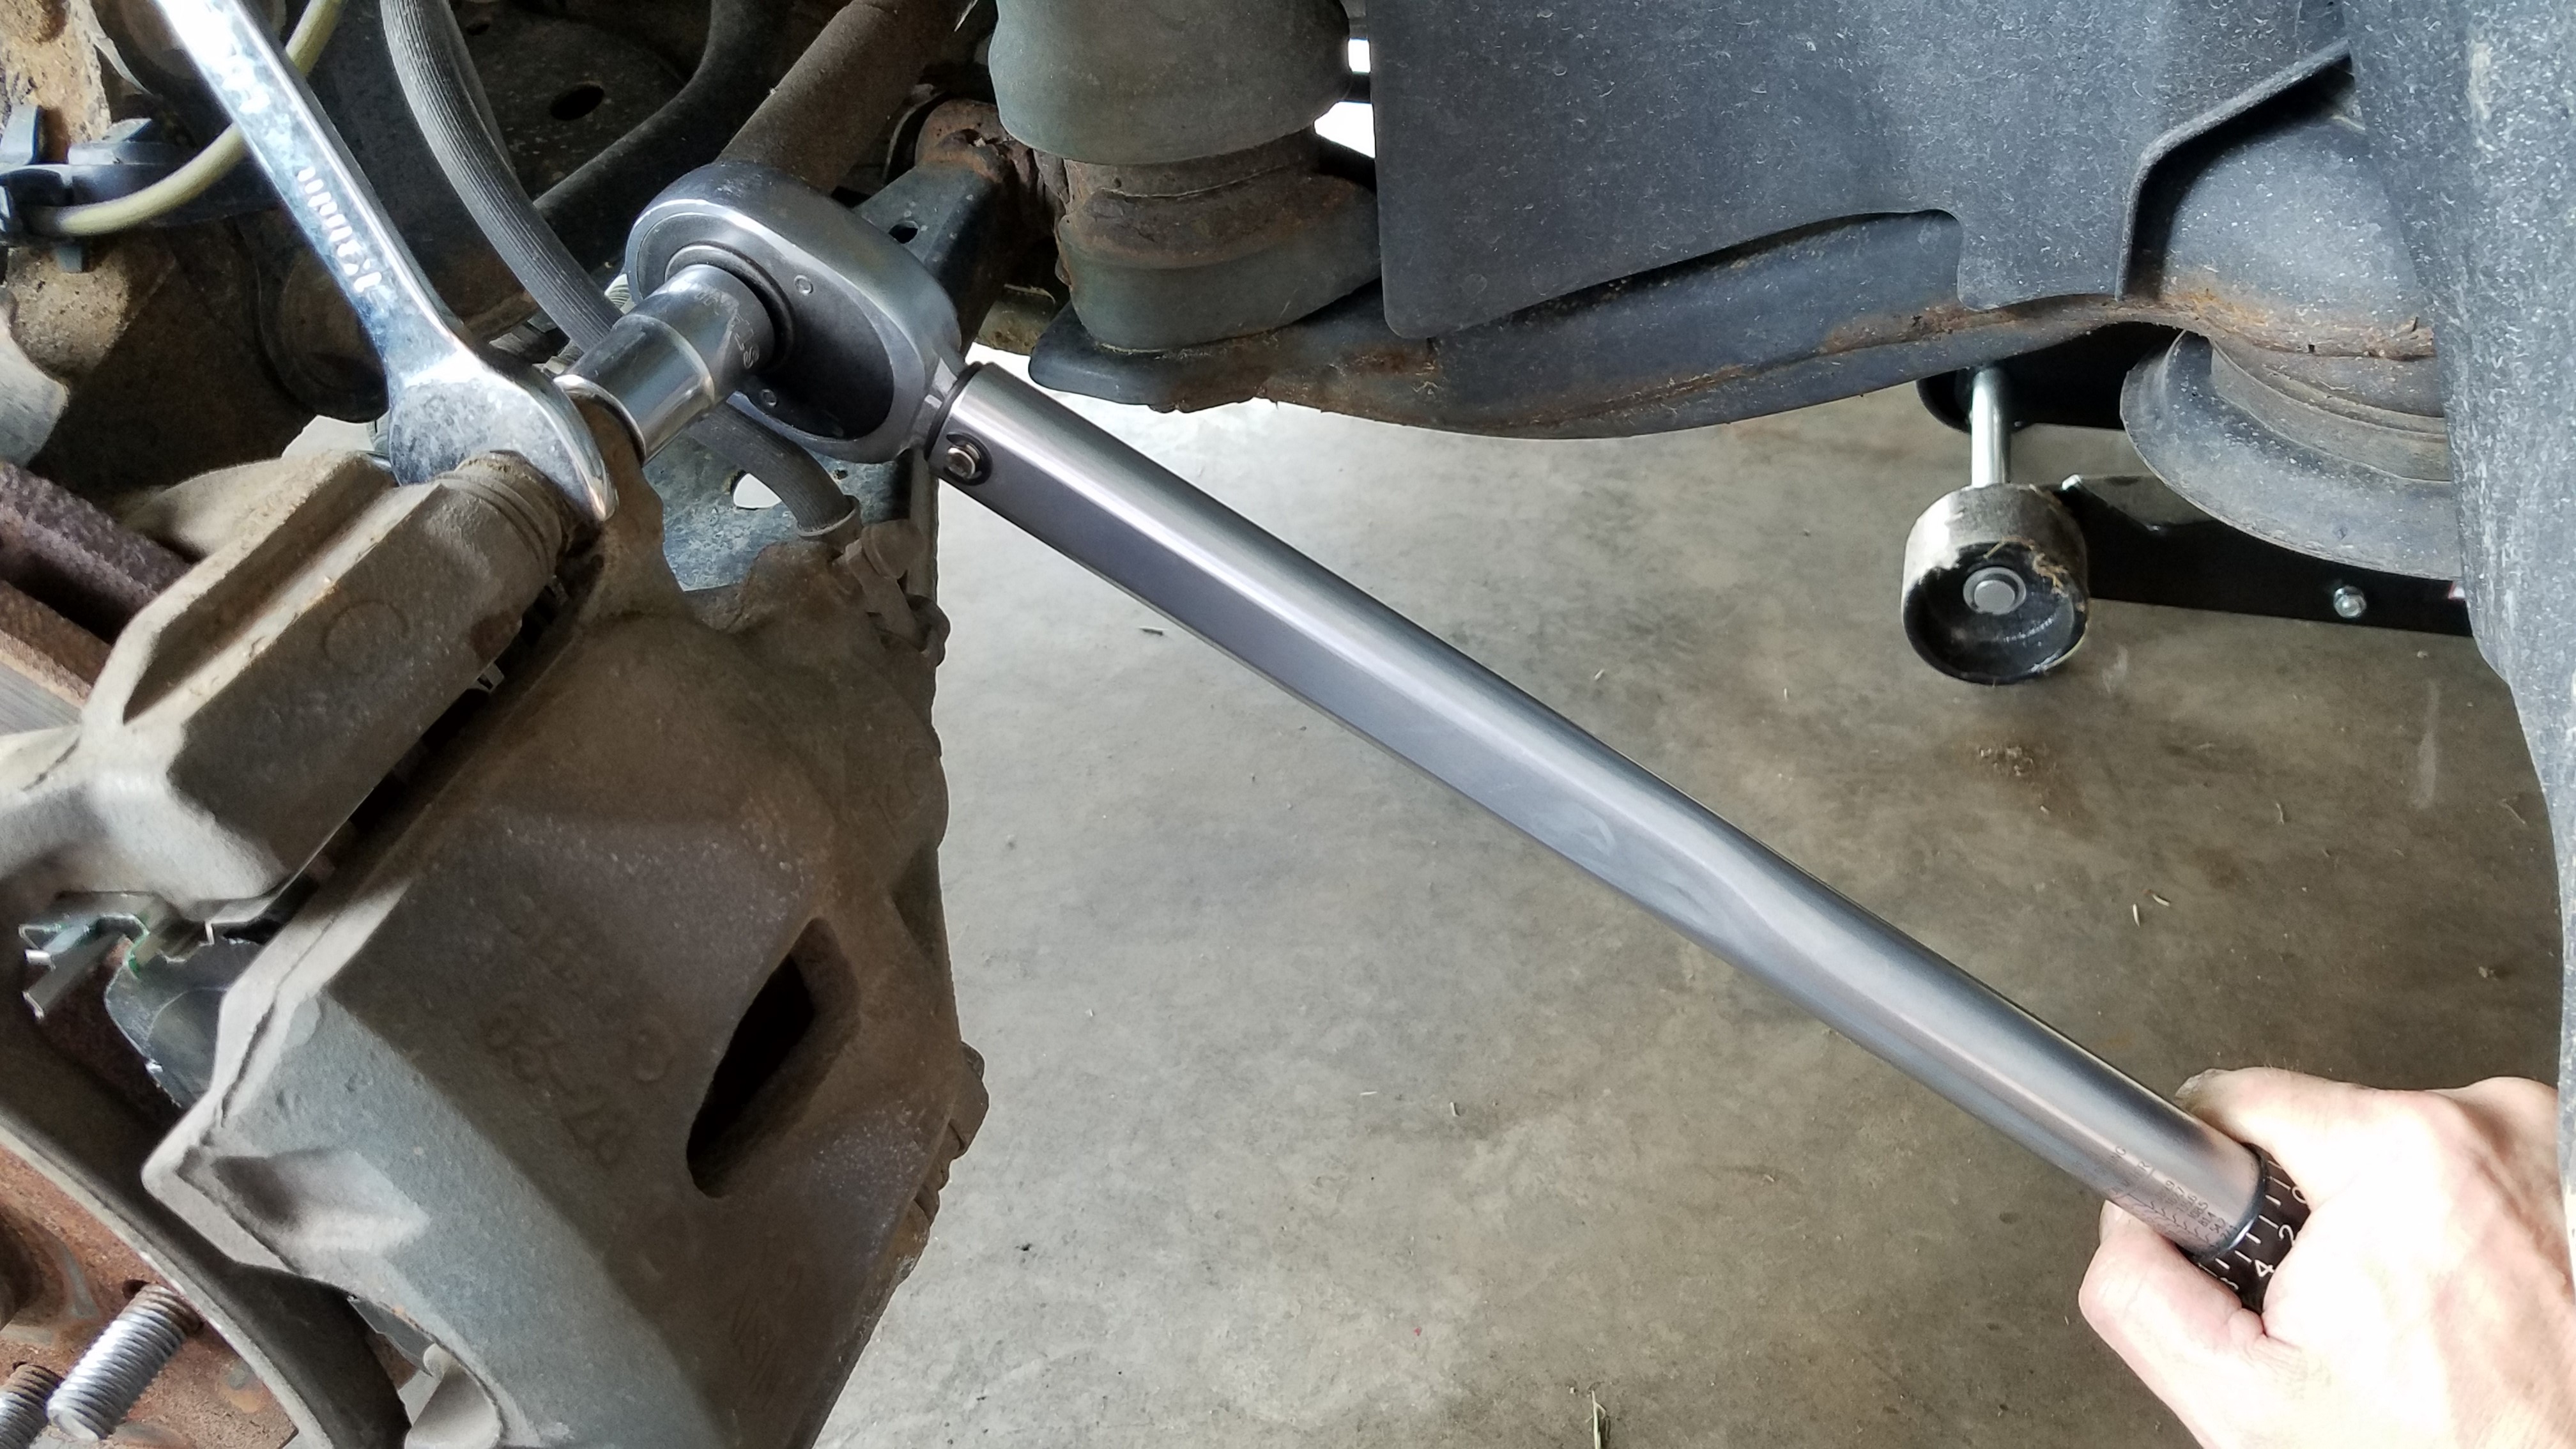
Get out your torque wrench and set it to 25 ft-lbs.

You will notice that the caliper pin can spin freely. Hold it with an 18 mm wrench while you tighten the 14 mm bolt with your torque wrench to 25 ft-lbs.
Now spray off the rotor with some brake cleaner to get any grease or fingerprints off of it.

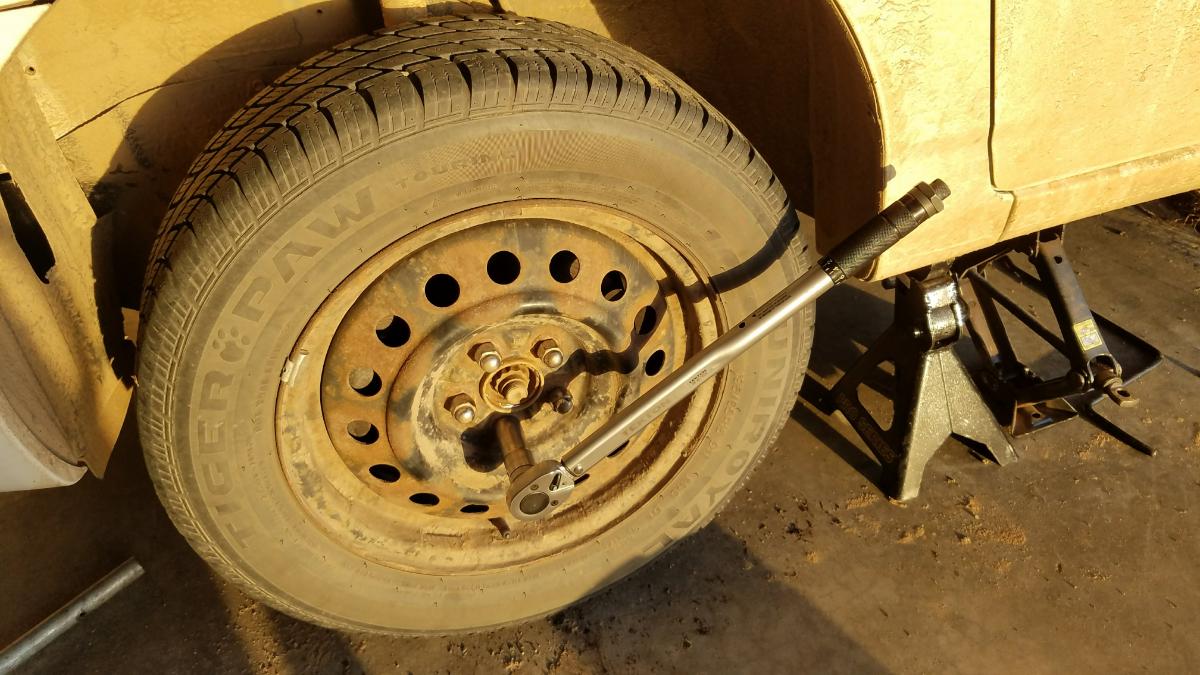
Now put the tire back on and tighten the lug nuts finger tight, nice and snug. Then torque the lug nuts to 76 ft-lbs.

Now repeat the process for the other side.
Tip: Before driving the vehicle, start it and press the brake pedal fully down several times to compress the caliper piston. the brakes won’t stop the wheel the first couple times you press them, so be sure to perform this step before you drive anywhere!

Also, remember to re-torque your lug nuts after driving about 50 miles.
That’s about it! I hope you found this guide helpful. For more informative maintenance articles for your Toyota Sienna, check out these posts.
Tools and Supplies used in this repair:
- 2003-2010 Toyota Sienna – Bosch BC906 Front Brake Pad Set
- 2012-2018 Toyota Sienna – Bosch BC1324 Front Brake Pad Set
- caliper hook hangers
- large c-clamp or piston compression tool
- flat-head screwdriver
- 13/16″ lug nut socket
- caliper grease
- socket wrench
- 14 mm socket
- torque wrench
- 18 mm wrench
- anti-seize


0 Comments