
How to Replace the Front Struts on a Toyota Corolla
This picture guide walks you through replacing the front shocks and struts on your Corolla. We also describe the symptoms and warning signs of bad struts.
How do you know your struts and springs are bad?
When you are driving along and you hit a slight bump, and you hear a dense ‘thud’ coming from the front end, particularly when you have a car full of people, this indicates that your struts are going bad and need to be replaced. The problem can be even more pronounced when you are going around a curve, and you hear a series of small ‘thuds’ as you hit small bumps in the road.
When you buy through links on our site, we may earn an affiliate commission – at no extra cost to you.
Recommendations for Replacing Bad Struts
This is the scenario I faced with the 2004 Toyota Corolla. The following is a description of how to replace the front strut assemblies on your vehicle. It also applies to the 2003, 2005, 2006, 2007, and 2008 Corolla.
Some people replace just the spring coil. That is one approach. It requires taking a lot of care in compressing the coil. I opted to replace the entire assembly, and this is what I recommend. Honestly the entire assembly for a Corolla just isn’t that expensive.
One other thing to mention is that I recommend that you replace the sway bars (stabilizer links) at the same time. These things are relatively cheap, and as long as you are taking them halfway off anyway, you might as well replace them. If you’ve driven the vehicle enough that you need to replace the struts, then chances are pretty good that you will need to replace the sway bars as well. One of mine was so rusted that I had to cut it off with a hacksaw (as you will see), so if you find yourself in a similar situation, another good reason to have them.
What you’ll need:
- jack-stands
- floor jack
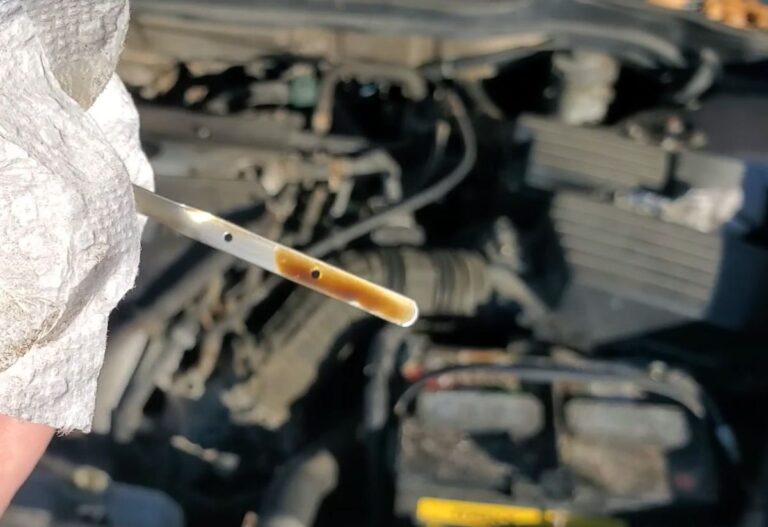
- penetrating oil
- hack saw (if the old sway bar won’t cooperate)
- torque wrench
- sway bars (Set of 2)
- 1/2″ Socket Set (sizes needed: 12mm, 14mm, 17mm, 19mm, 21mm)
- 6mm Allen Key
- Strut Assembly (choose from list below)
Corolla Strut Assembly by Year
- 2003-2008 Corolla – KYB Strut (Front Left) Part#SR4069
- 2003-2008 Corolla – KYB Strut (Front Right) Part#SR4068
- 2009-2012 Corolla – KYB Strut (Front Left) Part#SR4184
- 2009-2012 Corolla – KYB Strut (Front Right Part#SR4183
- 2013 Corolla – KYB Strut (Front Left) Part#SR4208
- 2013 Corolla – KYB Strut (Front Right) Part#SR4207
- 2014-2019 Corolla – KYB Strut (Front Left) Part#SR4479
- 2014-2019 Corolla – KYB Strut (Front Right) Part#SR4478
Strut Replacement Procedure: Step by Step
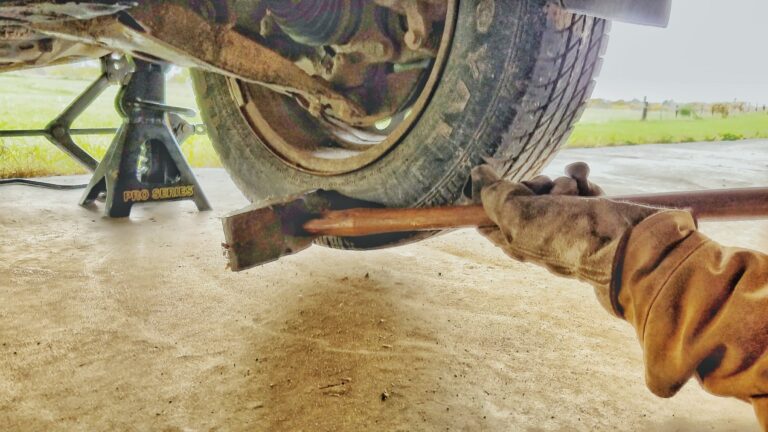
The first step is to use a floor jack to jack up the front of the vehicle and place some jack-stands under it. Don’t rely on just the jack, in case the vehicle tips over while you are working, you want something sturdy to support it. Use a large wooden log if you have to.

Take off the lug nuts (21mm socket) and pop off the wheel.
Put the car’s scissor-jack under the ball joint to hold it up when you remove the strut.
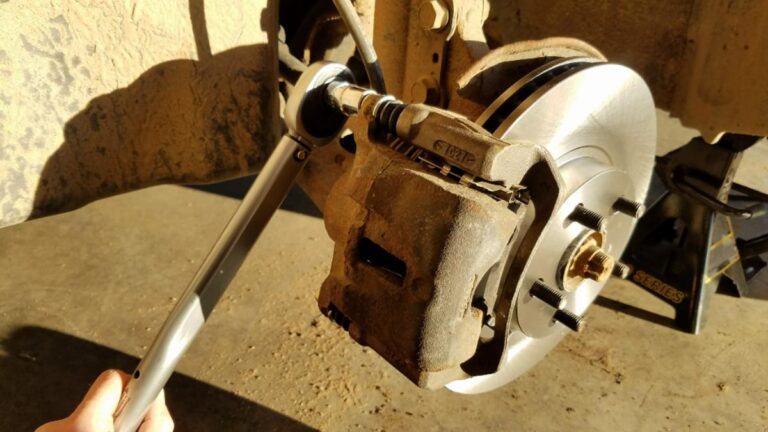
Remove the brake hose clamp from the strut using a 14mm wrench.
Next, you will want to remove the sway bar. This has a 17mm nut and a 6mm hex Allen driver inside.
Then remove the 2 large 19mm bolts and nuts on the strut flange.

I did both sides, so some of the pictures are from both sides.

The old sway bar I was removing had the nut rusted on so bad, I ended up cutting it off with a hacksaw. Another reason to replace the sway bars! I bought this set of 2 sway bars off of Amazon.

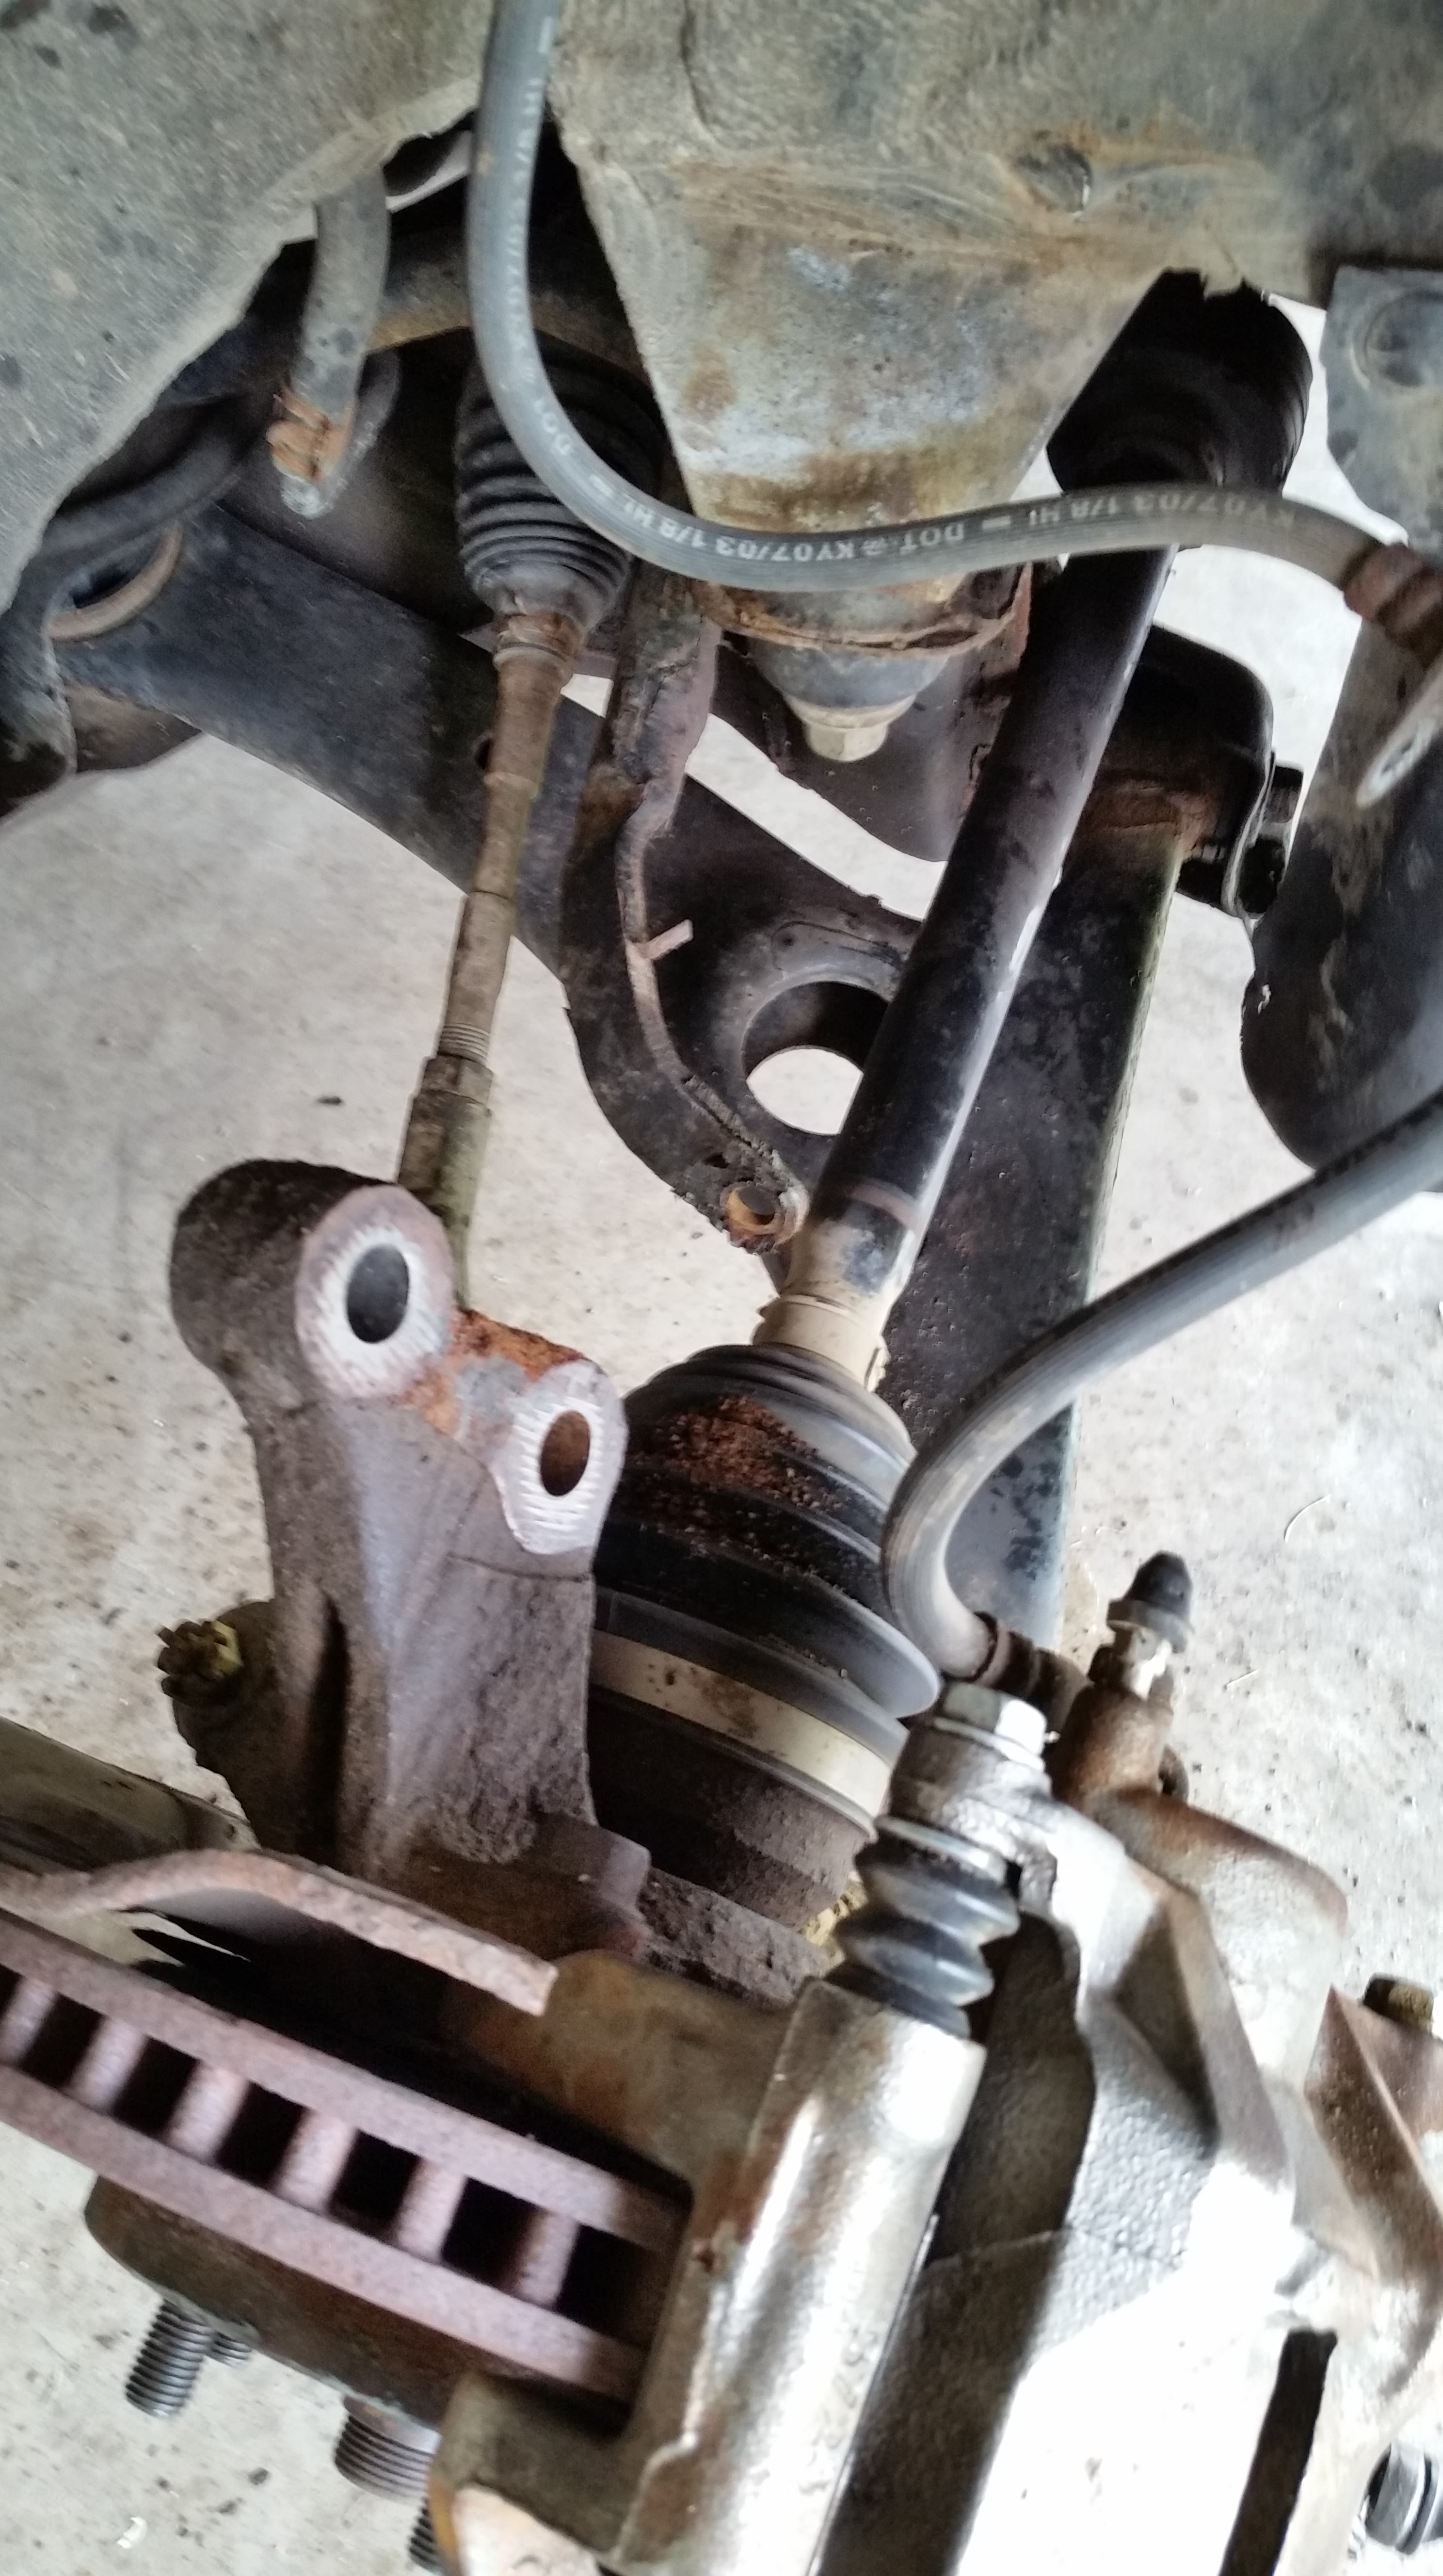
Here you can see the bottom of the strut assembly flange removed from the steering knuckle.

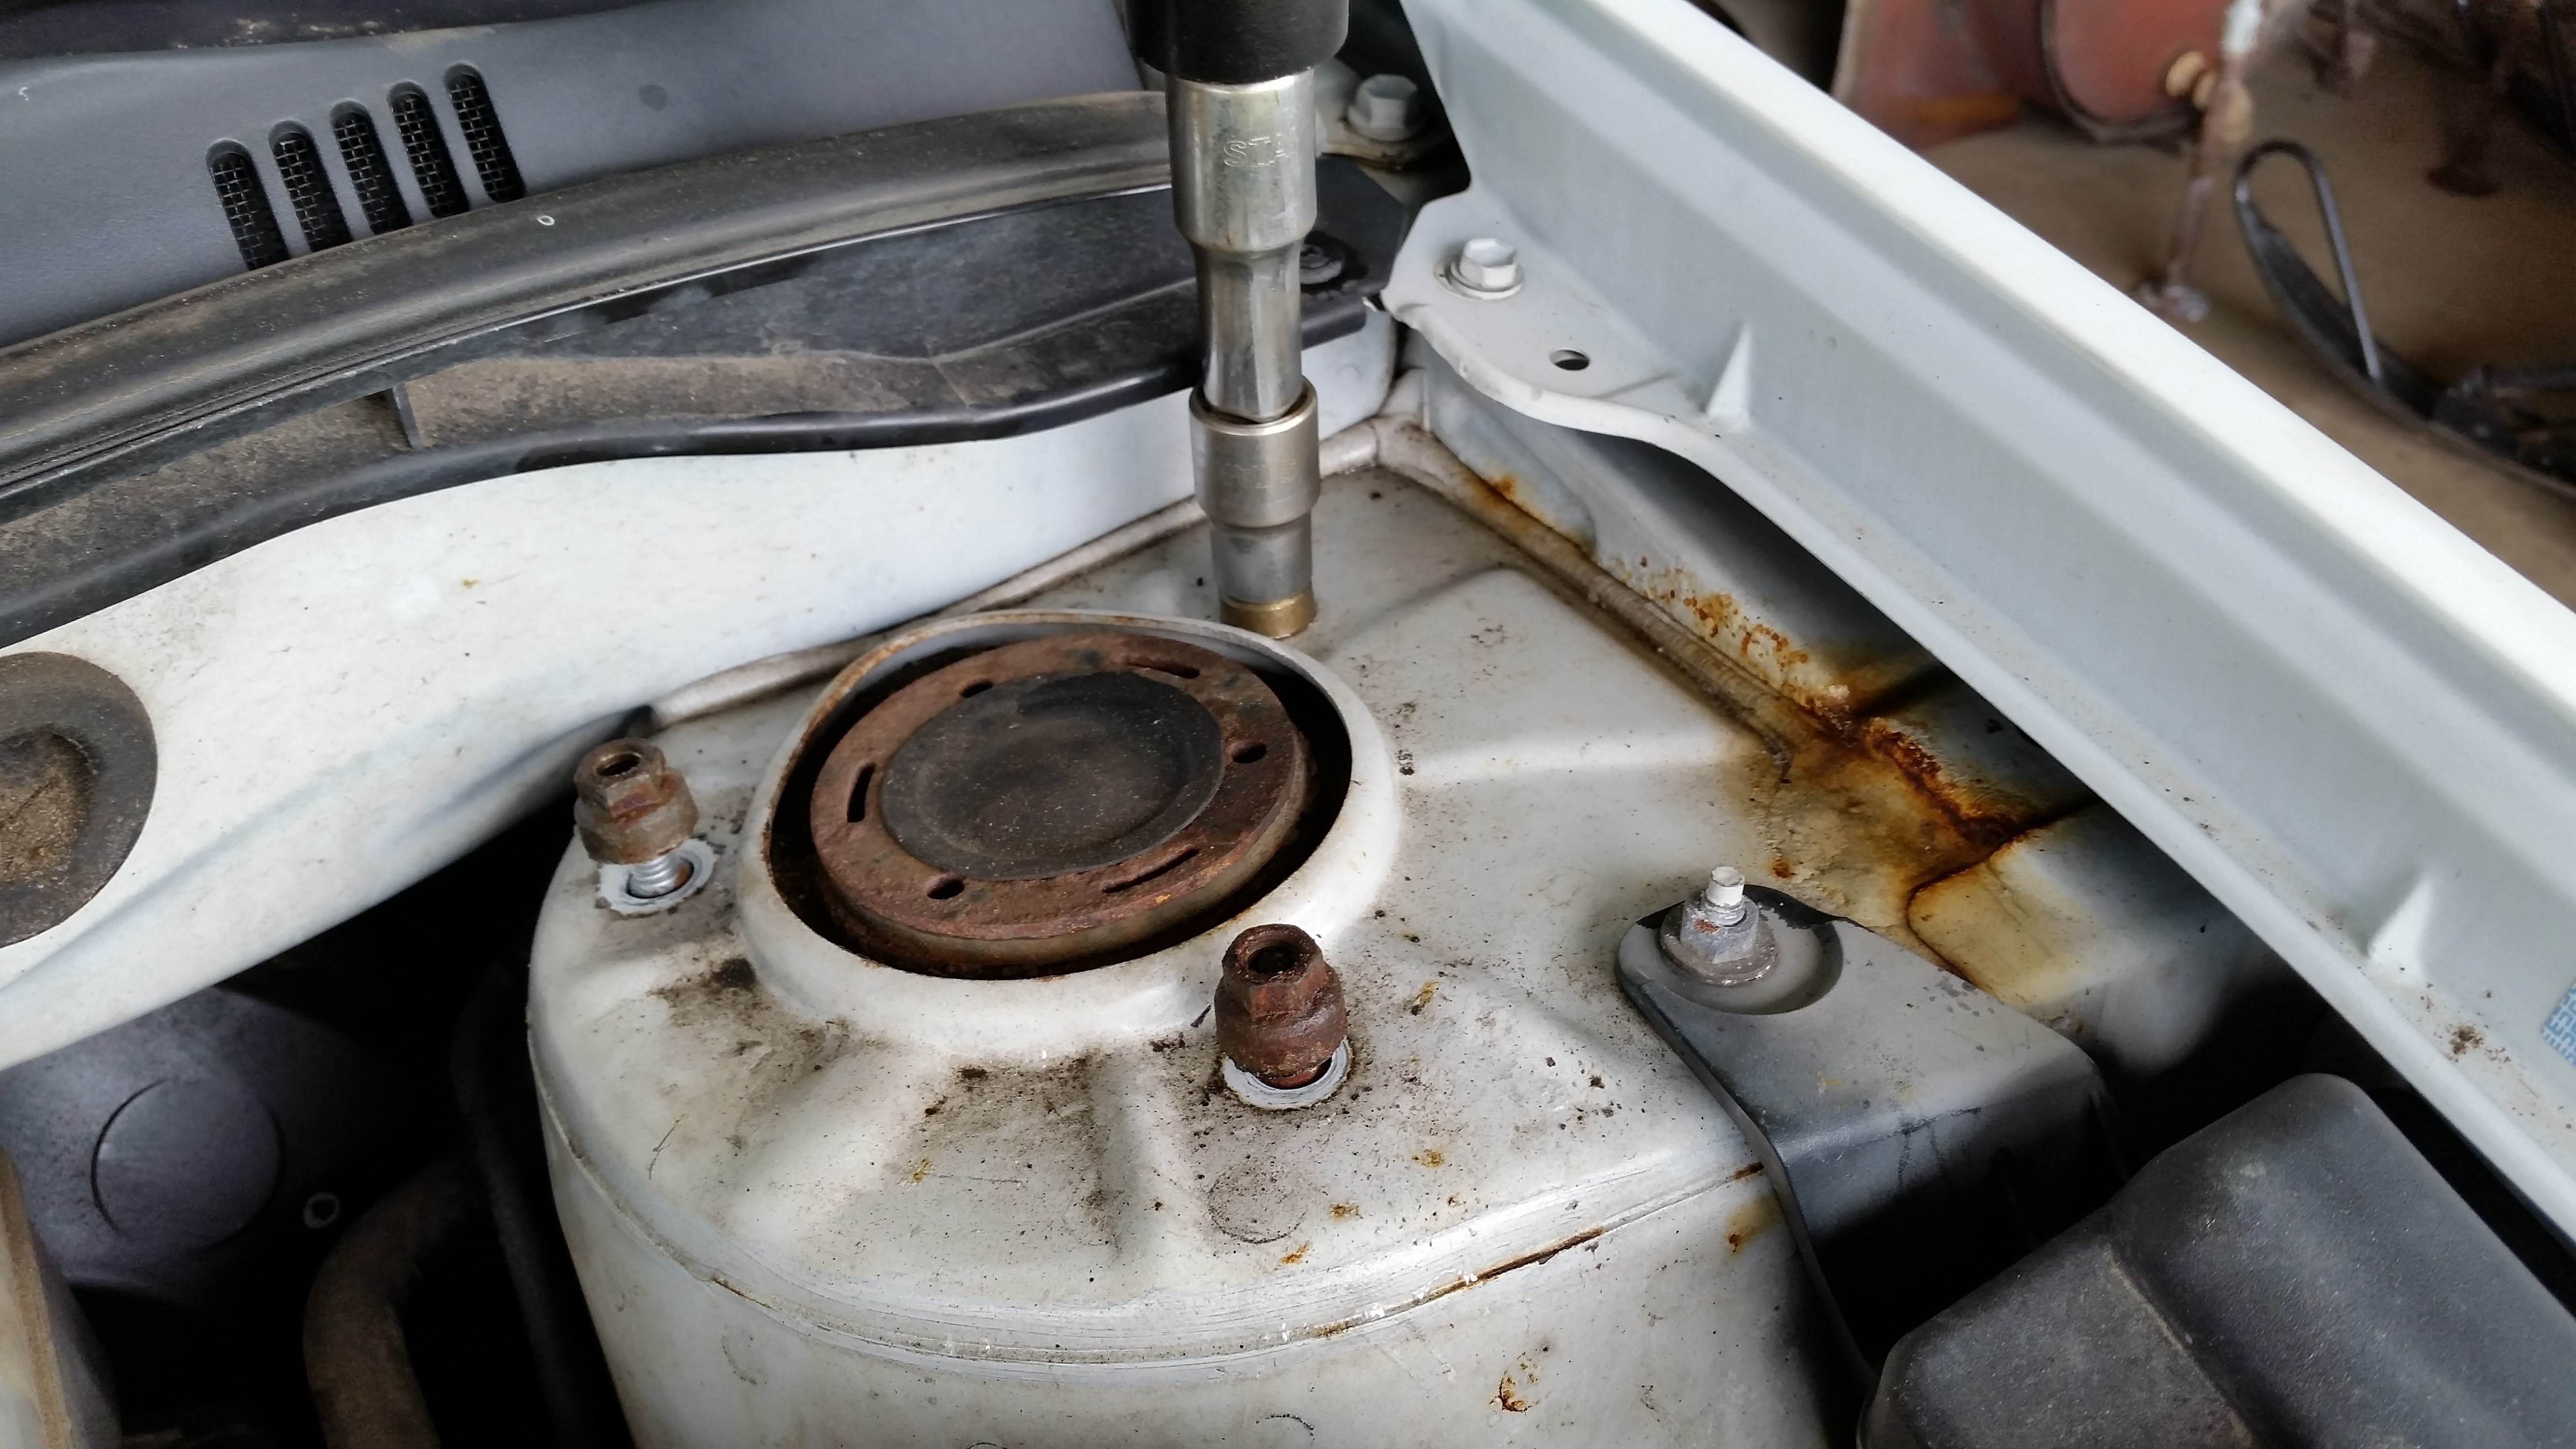
You’re now ready to remove the strut assembly from the top. Open the hood, and remove the 3 12mm nuts holding the strut assembly in place. It is a good idea to lubricate these ahead of time with some PB blaster, WD-40, or some other penetrating oil. Do this the day or 2 beforehand if possible, so that it has time to penetrate.
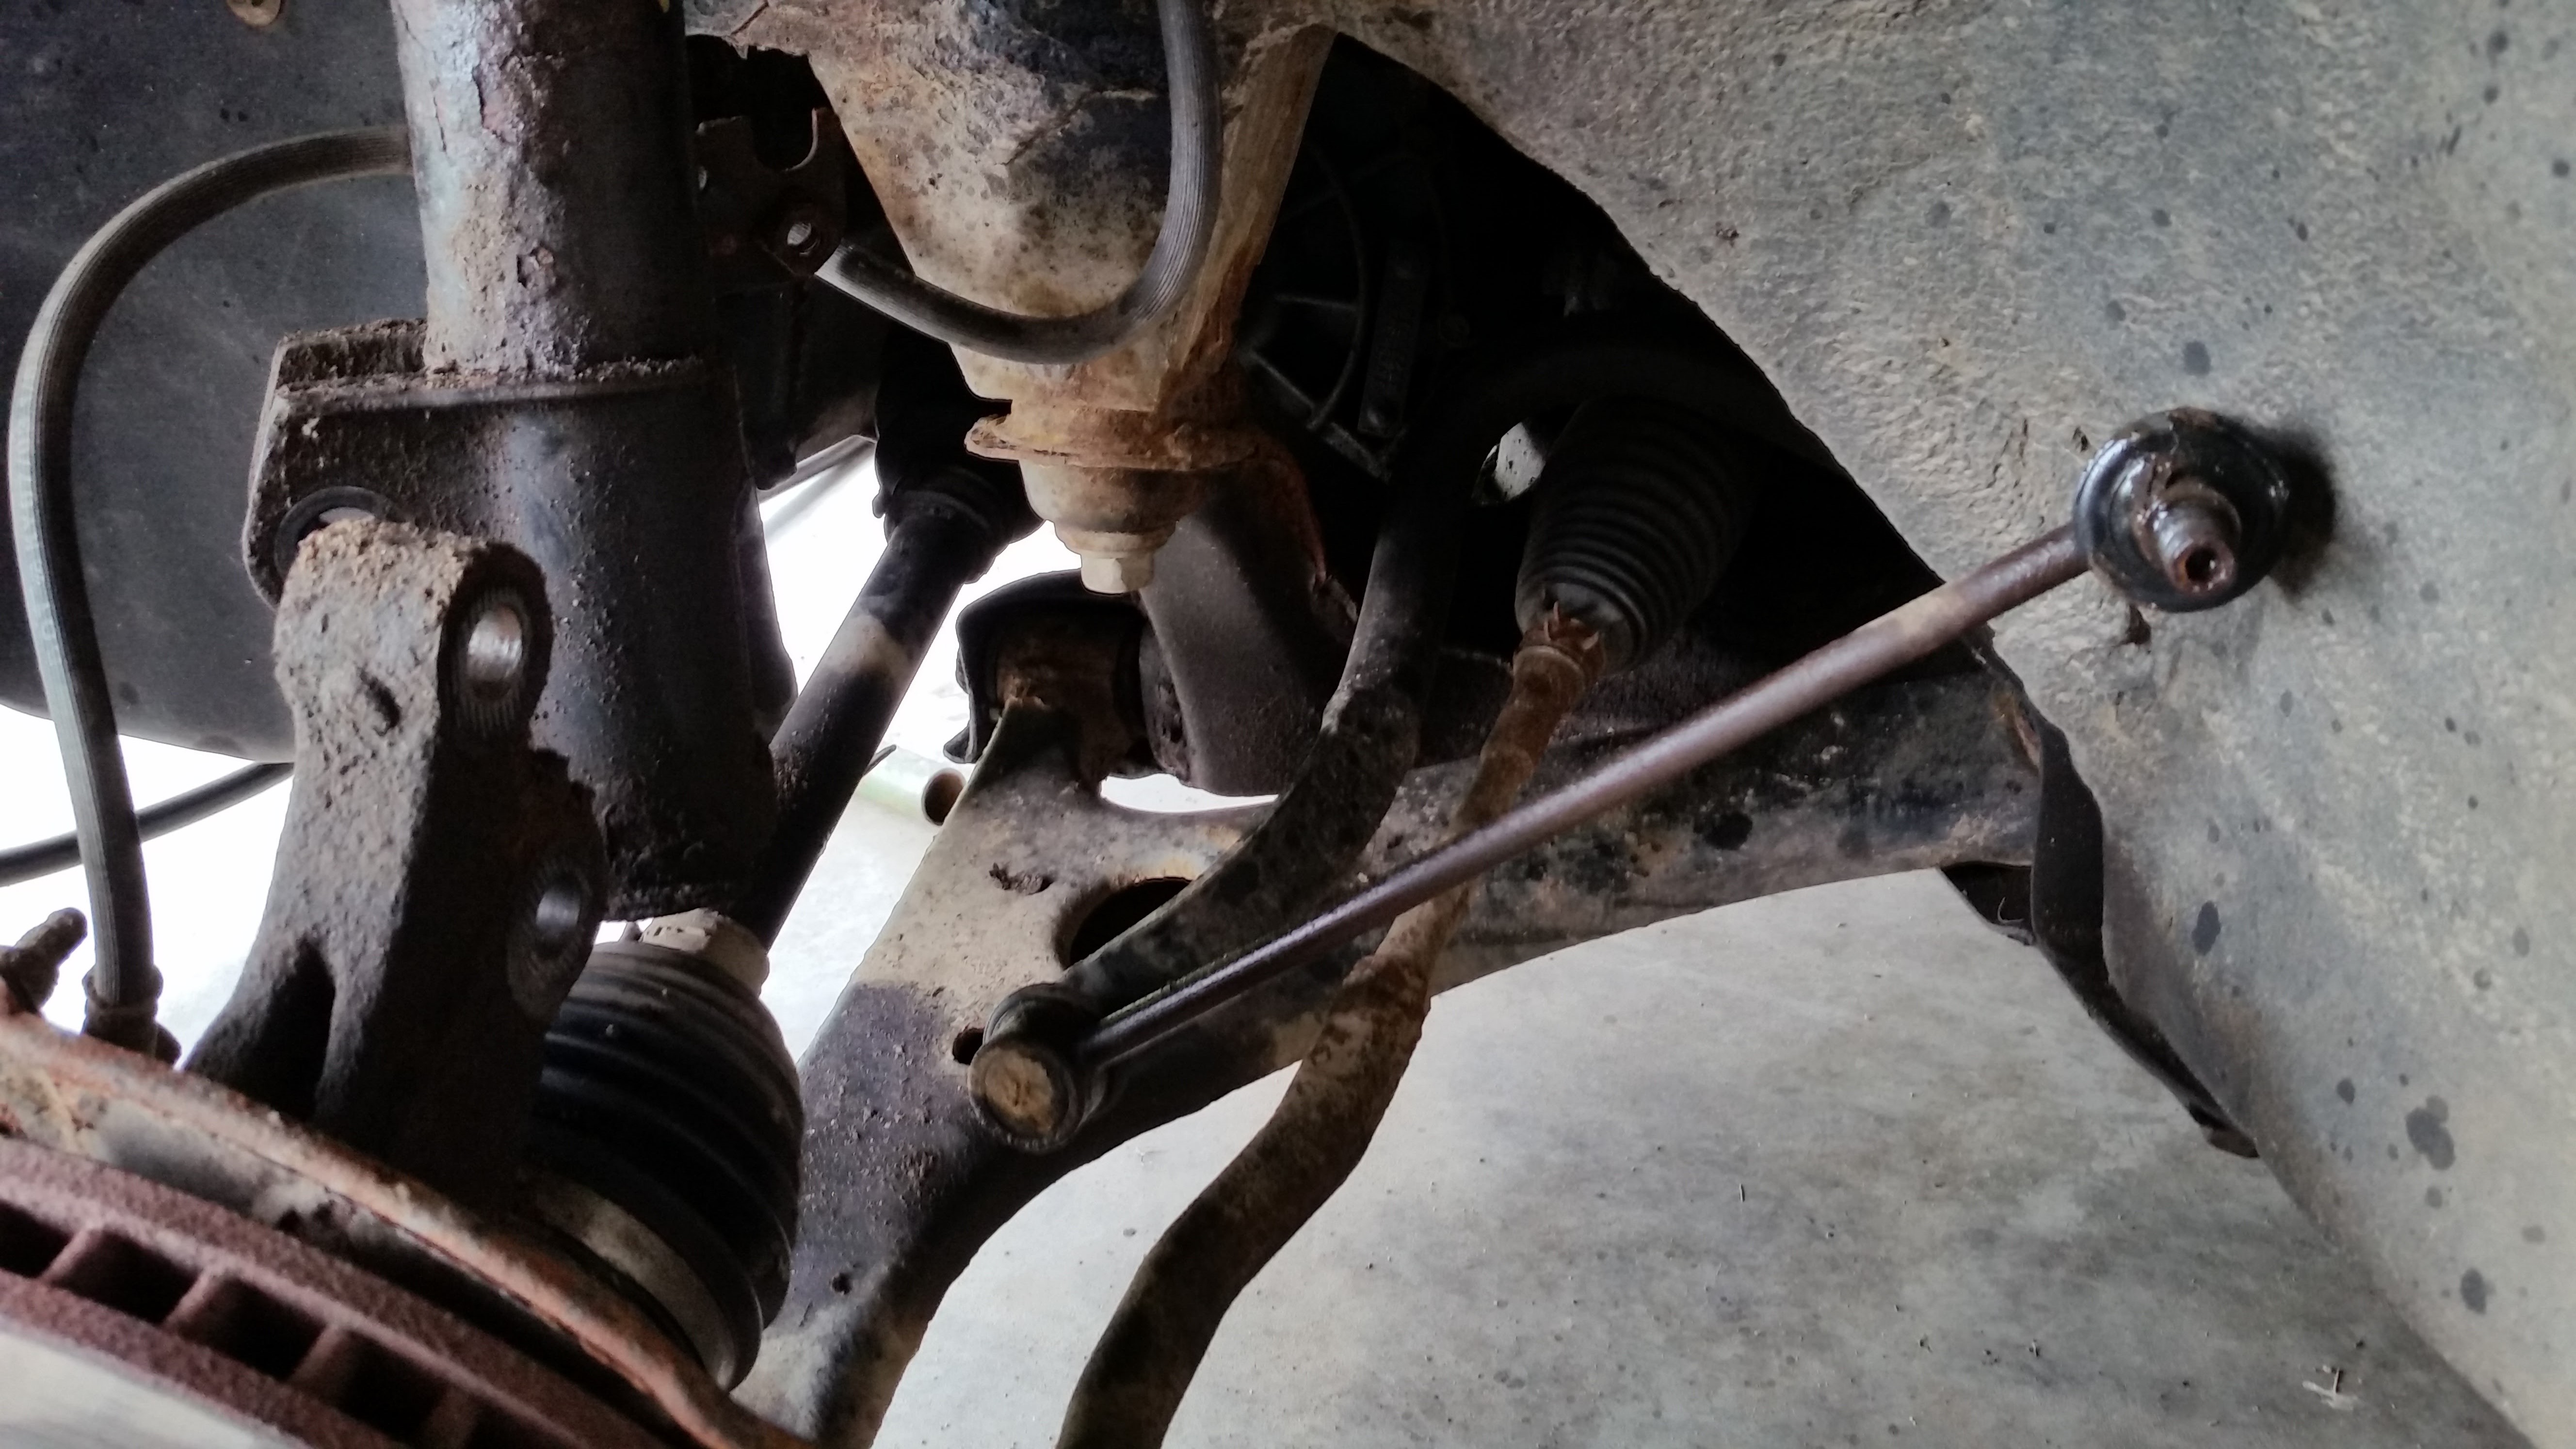
Here is a view of where the sway bar connects on the bottom. Remove that as well.
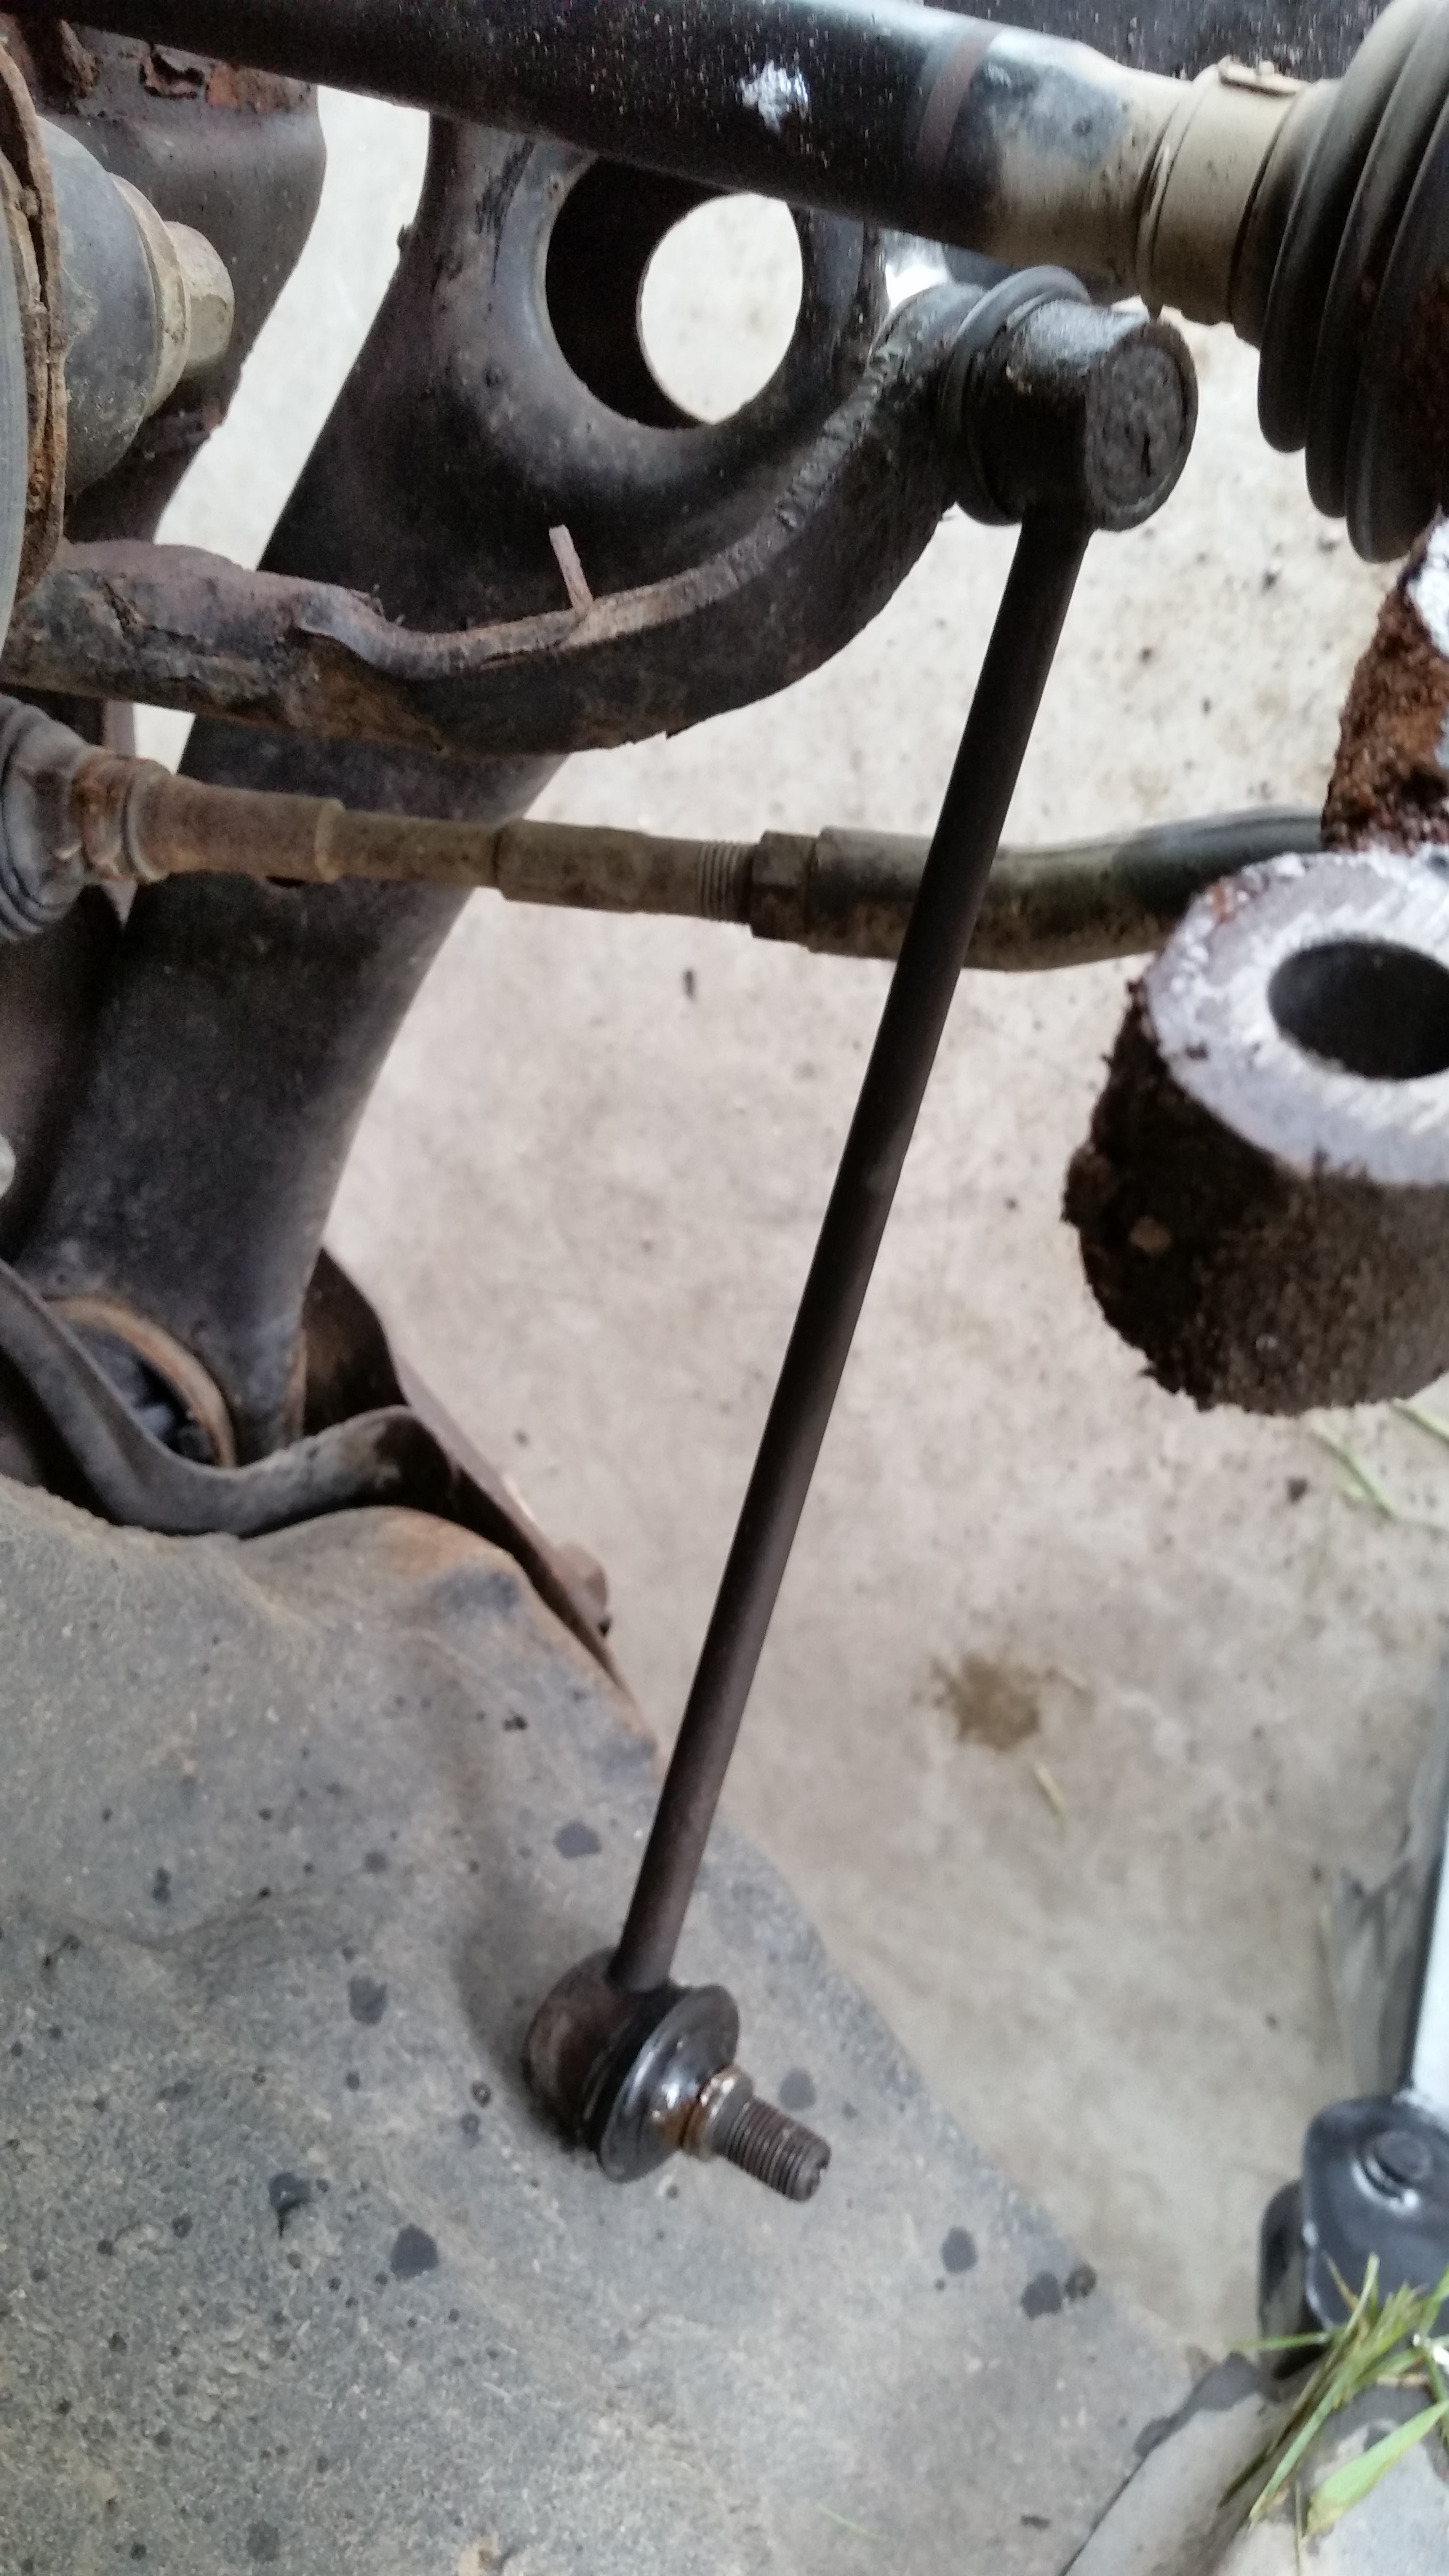
This is with the sway bar removed.
Once the old strut assembly has been removed, clean off the mating surfaces of grime and dirt.


At this point, get your new strut ready to go.
Corolla Strut Assembly by Year
- 2003-2008 Corolla – KYB Strut (Front Left) Part#SR4069
- 2003-2008 Corolla – KYB Strut (Front Right) Part#SR4068
- 2009-2012 Corolla – KYB Strut (Front Left) Part#SR4184
- 2009-2012 Corolla – KYB Strut (Front Right Part#SR4183
- 2013 Corolla – KYB Strut (Front Left) Part#SR4208
- 2013 Corolla – KYB Strut (Front Right) Part#SR4207
- 2014-2019 Corolla – KYB Strut (Front Left) Part#SR4479
- 2014-2019 Corolla – KYB Strut (Front Right) Part#SR4478
Here is a shot of the old and new strut assemblies side by side.

This is a shot of the old and new sway bars next to each other.

Next, put in the new strut assembly. Attached it at the top first with the 3 12mm nuts. These should be torqued to 29 ft-lbs. I bought this torque wrench, and it has been working well for me. By the way, check out this article on the proper way to use a torque wrench.
Then attach the bottom 19mm bolts. These nuts should be torqued to 113 ft-lbs. Note: torque the nut, not the bolt. Hold the bolt stationary, and torque the nut.
Install the 14mm bolt attaching the mounting bracket of the brake hose to the strut, torque it to 21 ft-lbs.
Install the sway bar (stabilizer link) 17mm nuts, and torque to 55 ft-lbs.

Put the tire back on and torque the 21mm lug nuts to 76 ft-lbs.
Remove the jack-stand and lower the jack.
You’re all set, nice work! Remember to re-torque the lug nuts after driving 50-100 miles.
That’s it, I hope you found this helpful! Did you replace the entire spring-strut assembly or just the coil spring? Let me know your experience with this in the comments section at the end of the page!
Tools and Supplies referenced in this repair:
- jack-stands
- floor jack
- penetrating oil
- hack saw (if the old sway bar won’t cooperate)
- torque wrench
- sway bars (Set of 2)
- 1/2″ Socket Set (sizes needed: 12mm, 14mm, 17mm, 19mm, 21mm)
- 6mm Allen Key
- Strut Assembly (choose from list below)
Corolla Strut Assembly by Year
- 2003-2008 Corolla – KYB Strut (Front Left) Part#SR4069
- 2003-2008 Corolla – KYB Strut (Front Right) Part#SR4068
- 2009-2012 Corolla – KYB Strut (Front Left) Part#SR4184
- 2009-2012 Corolla – KYB Strut (Front Right Part#SR4183
- 2013 Corolla – KYB Strut (Front Left) Part#SR4208
- 2013 Corolla – KYB Strut (Front Right) Part#SR4207
- 2014-2019 Corolla – KYB Strut (Front Left) Part#SR4479
- 2014-2019 Corolla – KYB Strut (Front Right) Part#SR4478
Click here or more helpful DIY articles on Toyota Corolla maintenance.


I was surprised to read that you torqued the two bottom bolts (19 mm) to 113 ft-lb. The information I found (https://toyota-specs.com/cars/2003/corolla1.8/torque-specs_front.php) says to torque them to 166 ft-lb. The other two torque setting agree with the information I have (top bolts to 29 ft-lb, sway bar link to 55 ft-lb). Also, another video I watched said not to torque the 3 top bolts on each strut until the wheels are back on and the full weight of the car is on the strut. Is that important?
I just did the front struts on my 2001 Toyota Corolla. Watch out – I borrowed a torque wrench from the auto store I was working in front of – they lend tools. I believe it was broken. I set it to 39 lb and tried to tighten the upper bolts and the first one broke. Be sure you have a working and calibrated torque wrench. Now I have to replace that strut again. Also be sure to have a breaker-bar; you will likely need it for the two lower 19 mm bolts.
Hi, i was wondering if you used the old nuts at the bottom those 2 19mm if they are rusted, because i know they dont come with the new struts. I’m about to replace the struts in 2 weeks. And, on a video the guy shows the replacement by only using an impact gun, so no torc rench. Why would he do that if it seems so important. DO i need to worries about that?
thank you for that guide
Hi Nicolas,
Yes, I re-used the 19mm nuts; new ones don’t come with the strut assembly, and it was mainly surface rust on the old ones, so I just cleaned up the threads and re-used them.
Concerning whether or not to use a torque wrench. I see this argument a lot on car forums. I guess the answer is that if you want to do it correctly, you should find out the torque spec, get a torque wrench, and use it. I know there are a lot of people who don’t, but it’s a judgement call you need to make for yourself. Overtightening can damage the threads, undertightening can cause the nut to come loose, neither is a good outcome!
Torque wrenches are pretty inexpensive these days. If you plan on doing more of this type of thing, I would go ahead and invest in one now, you’ll be surprised how often you end up using it once you have one.
Whatever you decide, I would probably avoid an impact wrench for tightening, since it is hard to know exactly how tight you are making it…
Good luck on your project in 2 weeks, I hope it goes well!
Rich
Thank you Very much
Excellent website.. I just replaced the front struts on my wife’s 2003 Corolla and used the Monroe Quick struts. One thing I cannot stress enough to anyone doing this is BUY THE SWAYBAR LINKS, YOU WILL NEED THEM. I could not get the old ones off without cutting them off.
Cutting the center of the link, removing the strut and then using a sawzall on the remaining link, I cut down the center of the swaybar link hex screw and nut, then pounding it off with a chisel. The link was by far the hardest part of this. Once that was done the installation was an absolute breeze.
Did both struts and a brake job in 5 hours.
Tom, great advice, thanks for sharing your experience. I bet your ride smoothed out quite a bit after that!
Many thanks for theses detailed instructions we just bought a 2003 Corolla (170k miles) for our son and we need to replace the struts. Do you have instructions for changing the rear as well?
Great to hear the instructions were helpful! At this point I don’t have instructions for the rear, but I’ve thought of doing those as well some time in the future!
Thank you for these crystal clear instructions: well-written and clearly illustrated.
I would add one important caution: those of us in the rust belt should PLAN ON cutting off the sway bar link ends and replacing the sway bar links.
They are designed as they are, apparently, to be replaced and not reused—no grease fittings (so they’re more likely to wear out) and a securing system designed for installation but not removal: a large diameter nut in a wheel well (where it will be bathed in salt water, therefore it will be rusted in place at removal) on the end of a stud that spins freely (because it’s part of a ball joint), and while turning the nut you can only keep the stud from rotating with a 6 mm Allen wrench! It would have been simple to put flats on the stud so it could be gripped with a hefty wrench during removal IF they had wanted us to be able to remove it.
Time for the Dremel and a trip to the parts store!
Peter,
Thanks for the kind words and couldn’t agree more! You can see what I had to do to remove the old sway bar. I believe Moog makes a sway bar with a nut at the base instead of an Allen wrench, however the price of the unit reflects that at about 4x the cost… Fortunately the standard ones are fairly inexpensive to begin with, so I highly recommend replacing them like you suggest.
Good luck with the rest of your repair!
thank you , this was a great help
Thanks for the feedback, Todd!