Replace a Leaking Front Axle Oil Seal on a 2004 Toyota Corolla
It is not uncommon for the seal between the transmission and the axle to become damaged and begin leaking. This post describes with pictures how to replace the leaking seal.
Background
I began to notice an oil leak underneath the 2004 Toyota Corolla. This is the 5-speed manual transmission (C59), this should also apply to the C59 in the Gen 9 Corollas, 2003, 2005, 2006, 2007, and 2008. It first started with small drips on the driveway. I assumed this had to do with the motor oil. But when I got under the vehicle, it was clear that there was a leak coming from the seal around the location where the axle enters the manual transmission.

Note: if you purchase something through one of our affiliate links we may earn a commission, at no extra cost to you. Thanks for your help.
Here’s a closer view. The black rubber seal leading into the transmission from the axle.

I decided that the seal was bad and needed to be replaced. I documented the process, in case it would be helpful for someone else.
Well, let’s get started. First, a list of tools you will need:
- Air Impact Wrench (Optional)
- Ear Mufflers (Optional)
- Axle Nut Socket 30mm
- Torque Wrench
- Tie Rod Removal Tool
- Seal Puller
Supplies:
How to Replace the Oil Seal
The first step was to remove the hub cap and loosen the axle nut. I recommend doing this before you jack up the vehicle, since it is pretty tight. Spray some WD-40 Spray or other lubricant and let it soak for a while.
The axle has a notch, and the axle nut is dented into the notch.

Use a screw driver or punch and hammer to pound out the dent, so that it can be unscrewed.
You’ll need an axle socket with a 1/2 inch drive. If you don’t have one, follow this link to see one on Amazon.
I used a 1/2 inch socket and a long cheater bar to loosen the axle nut, but if I had to do it again, I would use an air compressor and an impact wrench. Later on I bought this impact wrench. It made the job much easier, and I highly recommend it.

Once the axle nut is loose, jack up the car and remove the tire. Be sure to use some jack stands (or a large stump, like I did) for purposes of safety.

Here’s a nice shot of the axle nut socket, with the axle nut mostly removed.

The next step is to remove the tie rod. Use a needle nose pliers to remove the cotter pin.

Lubricate the nut with something like WD-40 if it is tight, then remove it.

Then use a tie rod puller to remove the tie rod.


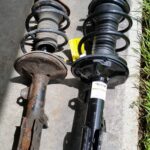
With the tie rod removed, you can pull the front strut forward, and pull the axle out of the hub.

Now you are ready to pull out the axle. Give it a good tug, and it will pop loose. Set it aside.

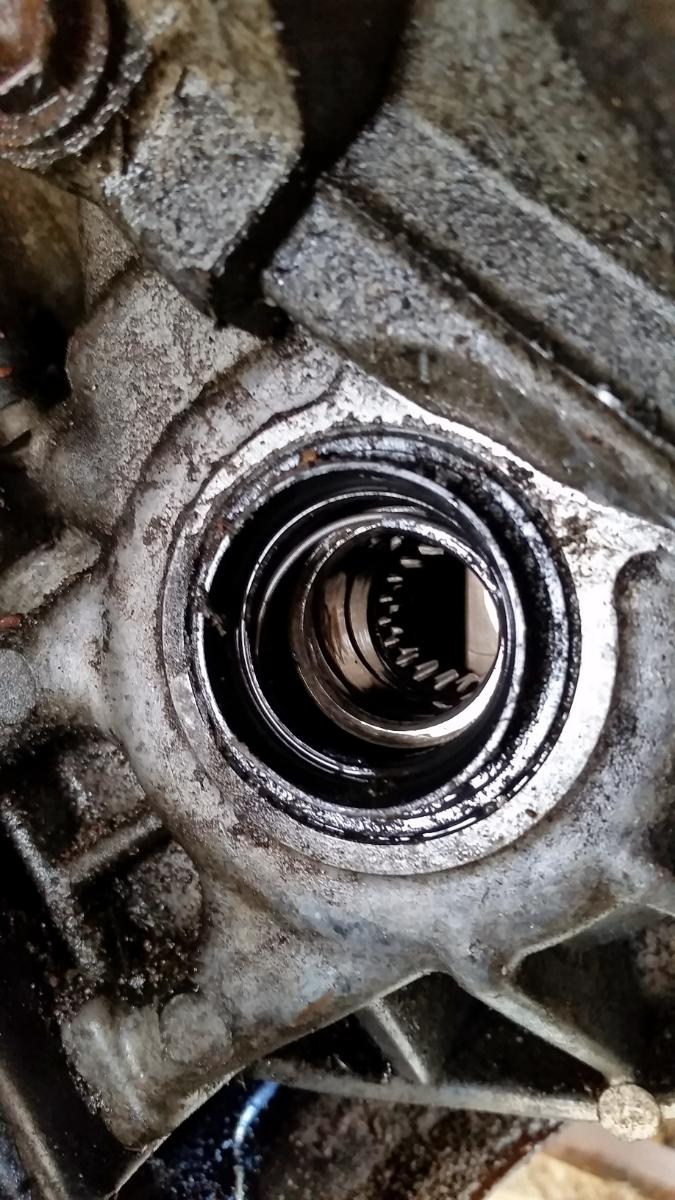
We are now in a position to examine the leaking oil seal.


This particular seal appears to be in pretty rough shape.
Pull it out with a screw driver or a seal puller.
The new seal can be bought from Amazon, just follow this link.
The seals are different on the driver’s side (left) and passenger’s side (right). This is the seal for the passenger’s side.
Here is a view of the old and new seals side by side.

Put a little GL4 transmission oil on the new one, and push it into place.

That was easy. Now we’re ready to put everything back together.
Push the axle back through the new seal into the transmission.
You’ll feel when it pops back into position. You may need to wiggle it a bit to get it to go.

Now, feed the end of the axle back through the hub. Put a little grease on that end before you do.

Next, put the tie rod back together, tighten on the nut, and replace the cotter pin.
(I also replaced the rotors at this time, since I was doing the brakes as well. So I had to put the caliper bracket back on as well.)

See this post for the details on replacing front brake pads.
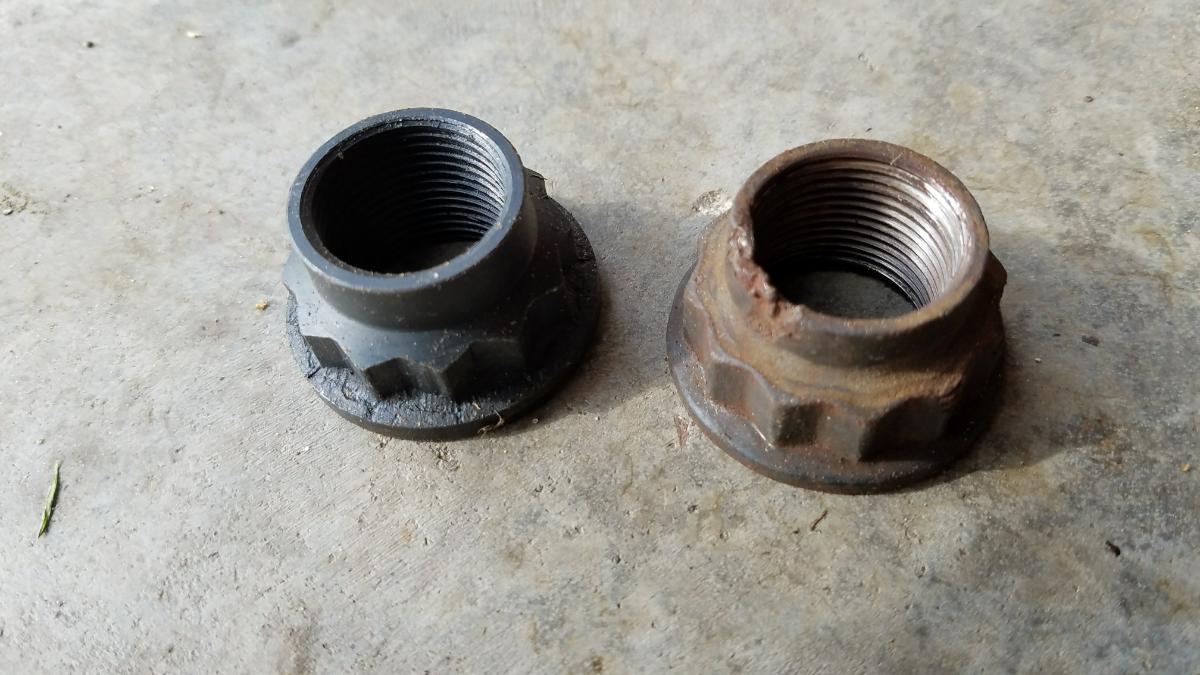
Then replace the axle nut (or, spindle nut). I recommend replacing the old one with a new one, since they are relatively cheap.
Here’s the old and new one side by side.
It is very important to torque the axle nut correctly. Use a proper torque wrench. If you don’t have one, please get one. You will use it for all sorts of things, and it is much better not to damage threads or other things (such as bearings) by over-tightening. For the axle nut, the torque is commonly 180 foot-pounds, but may be more, so check the spec for your vehicle. The spec may also be included with the bearing. For my vehicle, the spec was 159 ft-lbs.
Also, don’t put any weight on the bearing until the axle nut is properly tightened. Don’t set the vehicle down to hold the wheel while you tighten the axle nut!
When you tighten the axle nut, move the wheel an 1/8 to a 1/4 of a turn or so every time you tighten. This allows the bearing to be properly seated. After several rounds of tightening, end on the proper torque. Do not over tighten.

After putting the axle nut back on, and torquing to the correct specification. Be sure to notch the nut again in the groove. Use a hammer and a chisel or screwdriver.
Put on wheel and tighten lug nuts to 76 ft-lbs.

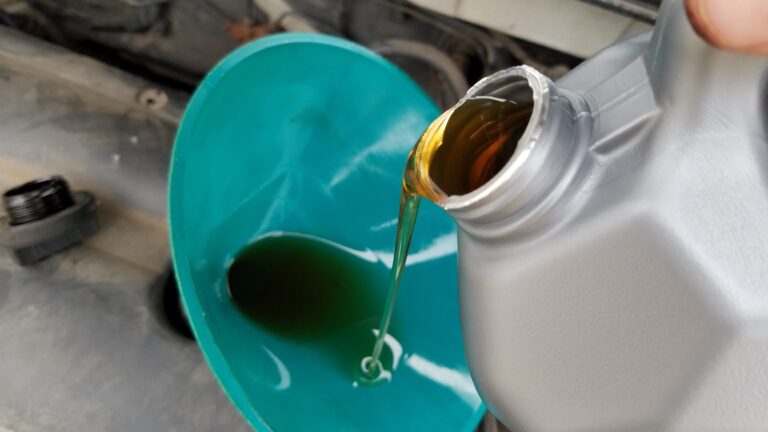
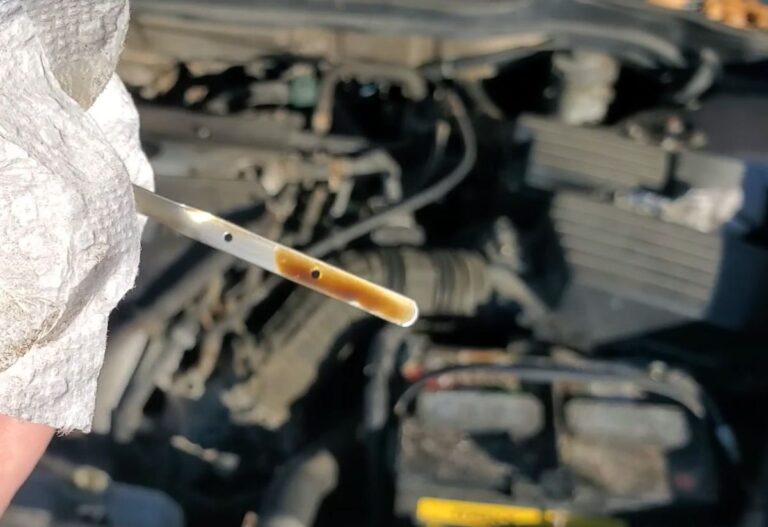
![]() Overall, this is a pretty straightforward repair. It is a good idea to check the transmission fluid level after a repair like this, and add transmission fluid as necessary. Note that these C59 manual transmissions require GL-4, this Red Line 75W-90 is what I recommend.
Overall, this is a pretty straightforward repair. It is a good idea to check the transmission fluid level after a repair like this, and add transmission fluid as necessary. Note that these C59 manual transmissions require GL-4, this Red Line 75W-90 is what I recommend.
It feels good to not have that oil leaking on the driveway anymore. I hope this guide was helpful. Please feel free to leave comments if this helped you at all.
Checkout these helpful articles on maintenance for your Toyota Corolla!
Here is the list of supplies used here. You can click the links to find them on Amazon.
Tools you will need:
- Air Impact Wrench (Optional)
- Ear Mufflers (Optional)
- Axle Nut Socket 30mm
- Torque Wrench
- Tie Rod Removal Tool
- Seal Puller