
Vibration when Applying Brakes -Toyota Corolla – How to Fix a Stuck Caliper Pin
Do you experience vibration when applying the brakes? You may have a seized caliper pin. This picture guide walks you through the process of fixing this problem.
Note: If you buy through links on our site, we may earn an affiliate commission – at no cost to you. Thank you for your support.
Background
Vibration when applying brakes can be caused by several different things. For example, it could be a warped rotor, worn or damaged brake pads, debris, worn bearings, etc. A stuck or seized caliper pin is one of these things. It is also relatively easy to check if this is the problem.
I recently had this issue on the 2004 Toyota Corolla. The problem seemingly developed out of nowhere. By that I mean that I hadn’t recently done any work on the front end that would require removing tires, and other items relating to brakes. The procedure discussed here would also apply to the 2003, 2005, 2006, 2007, and 2008 Toyota Corollas.
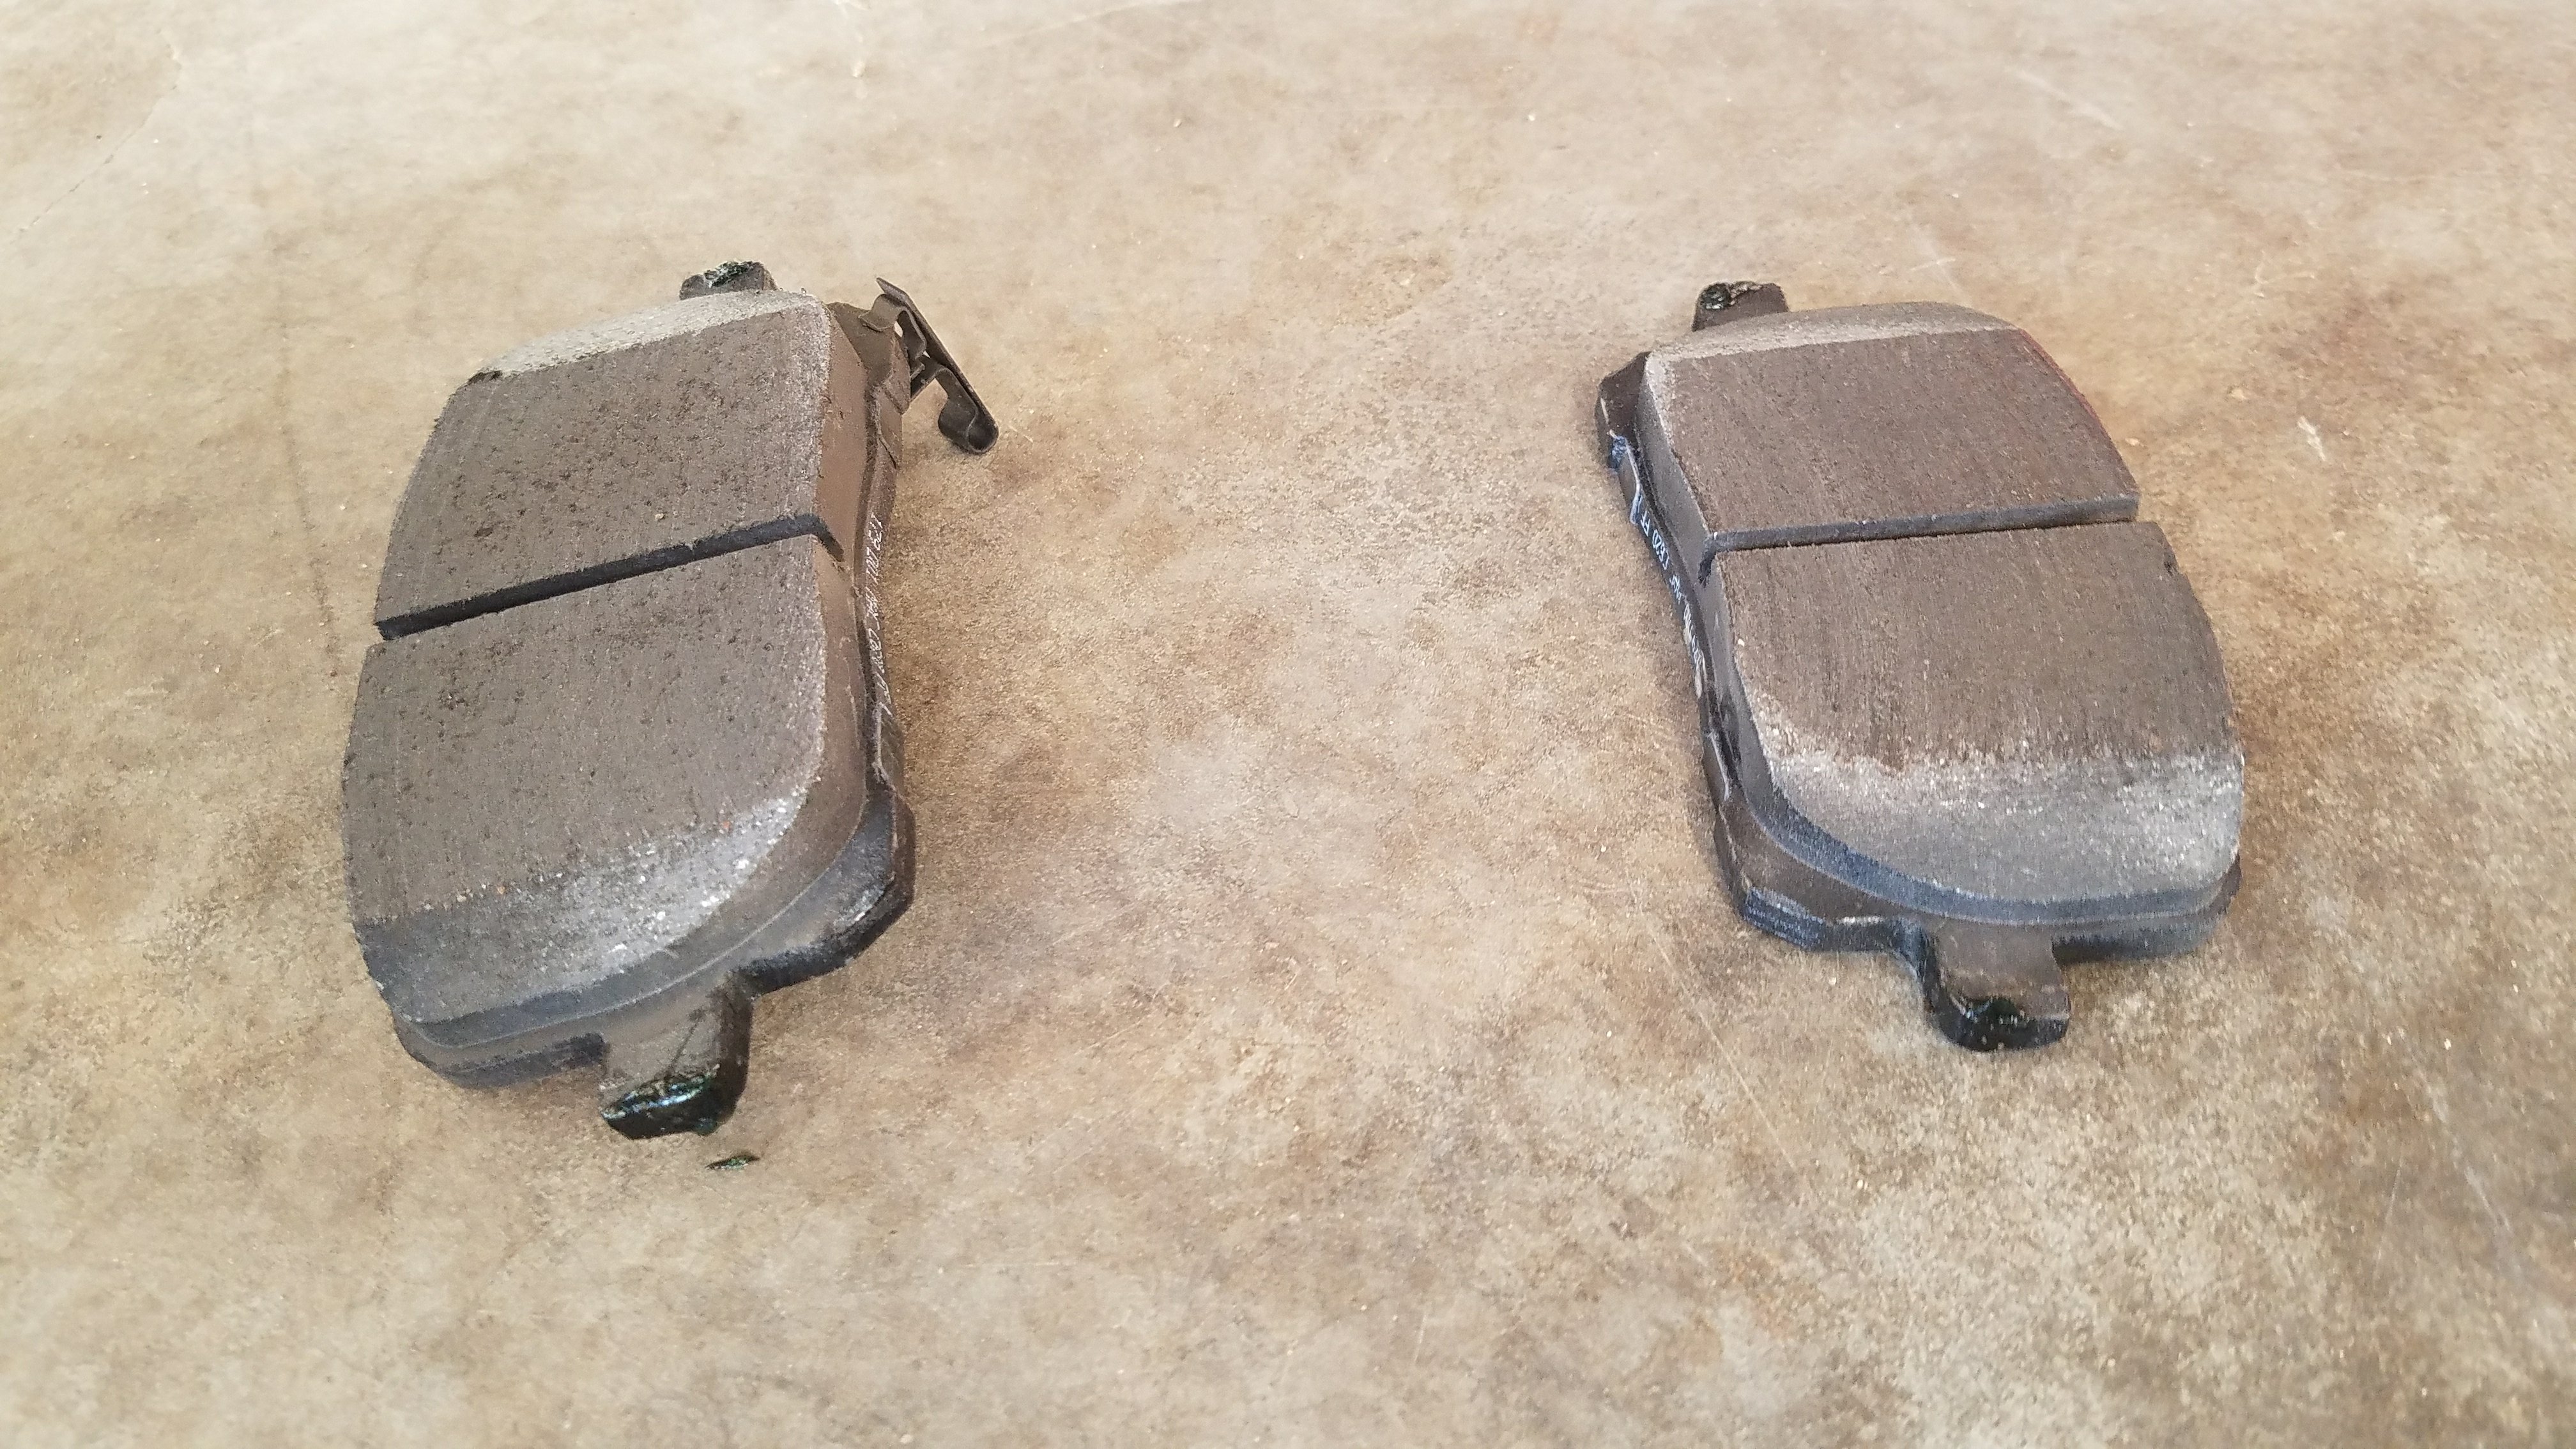
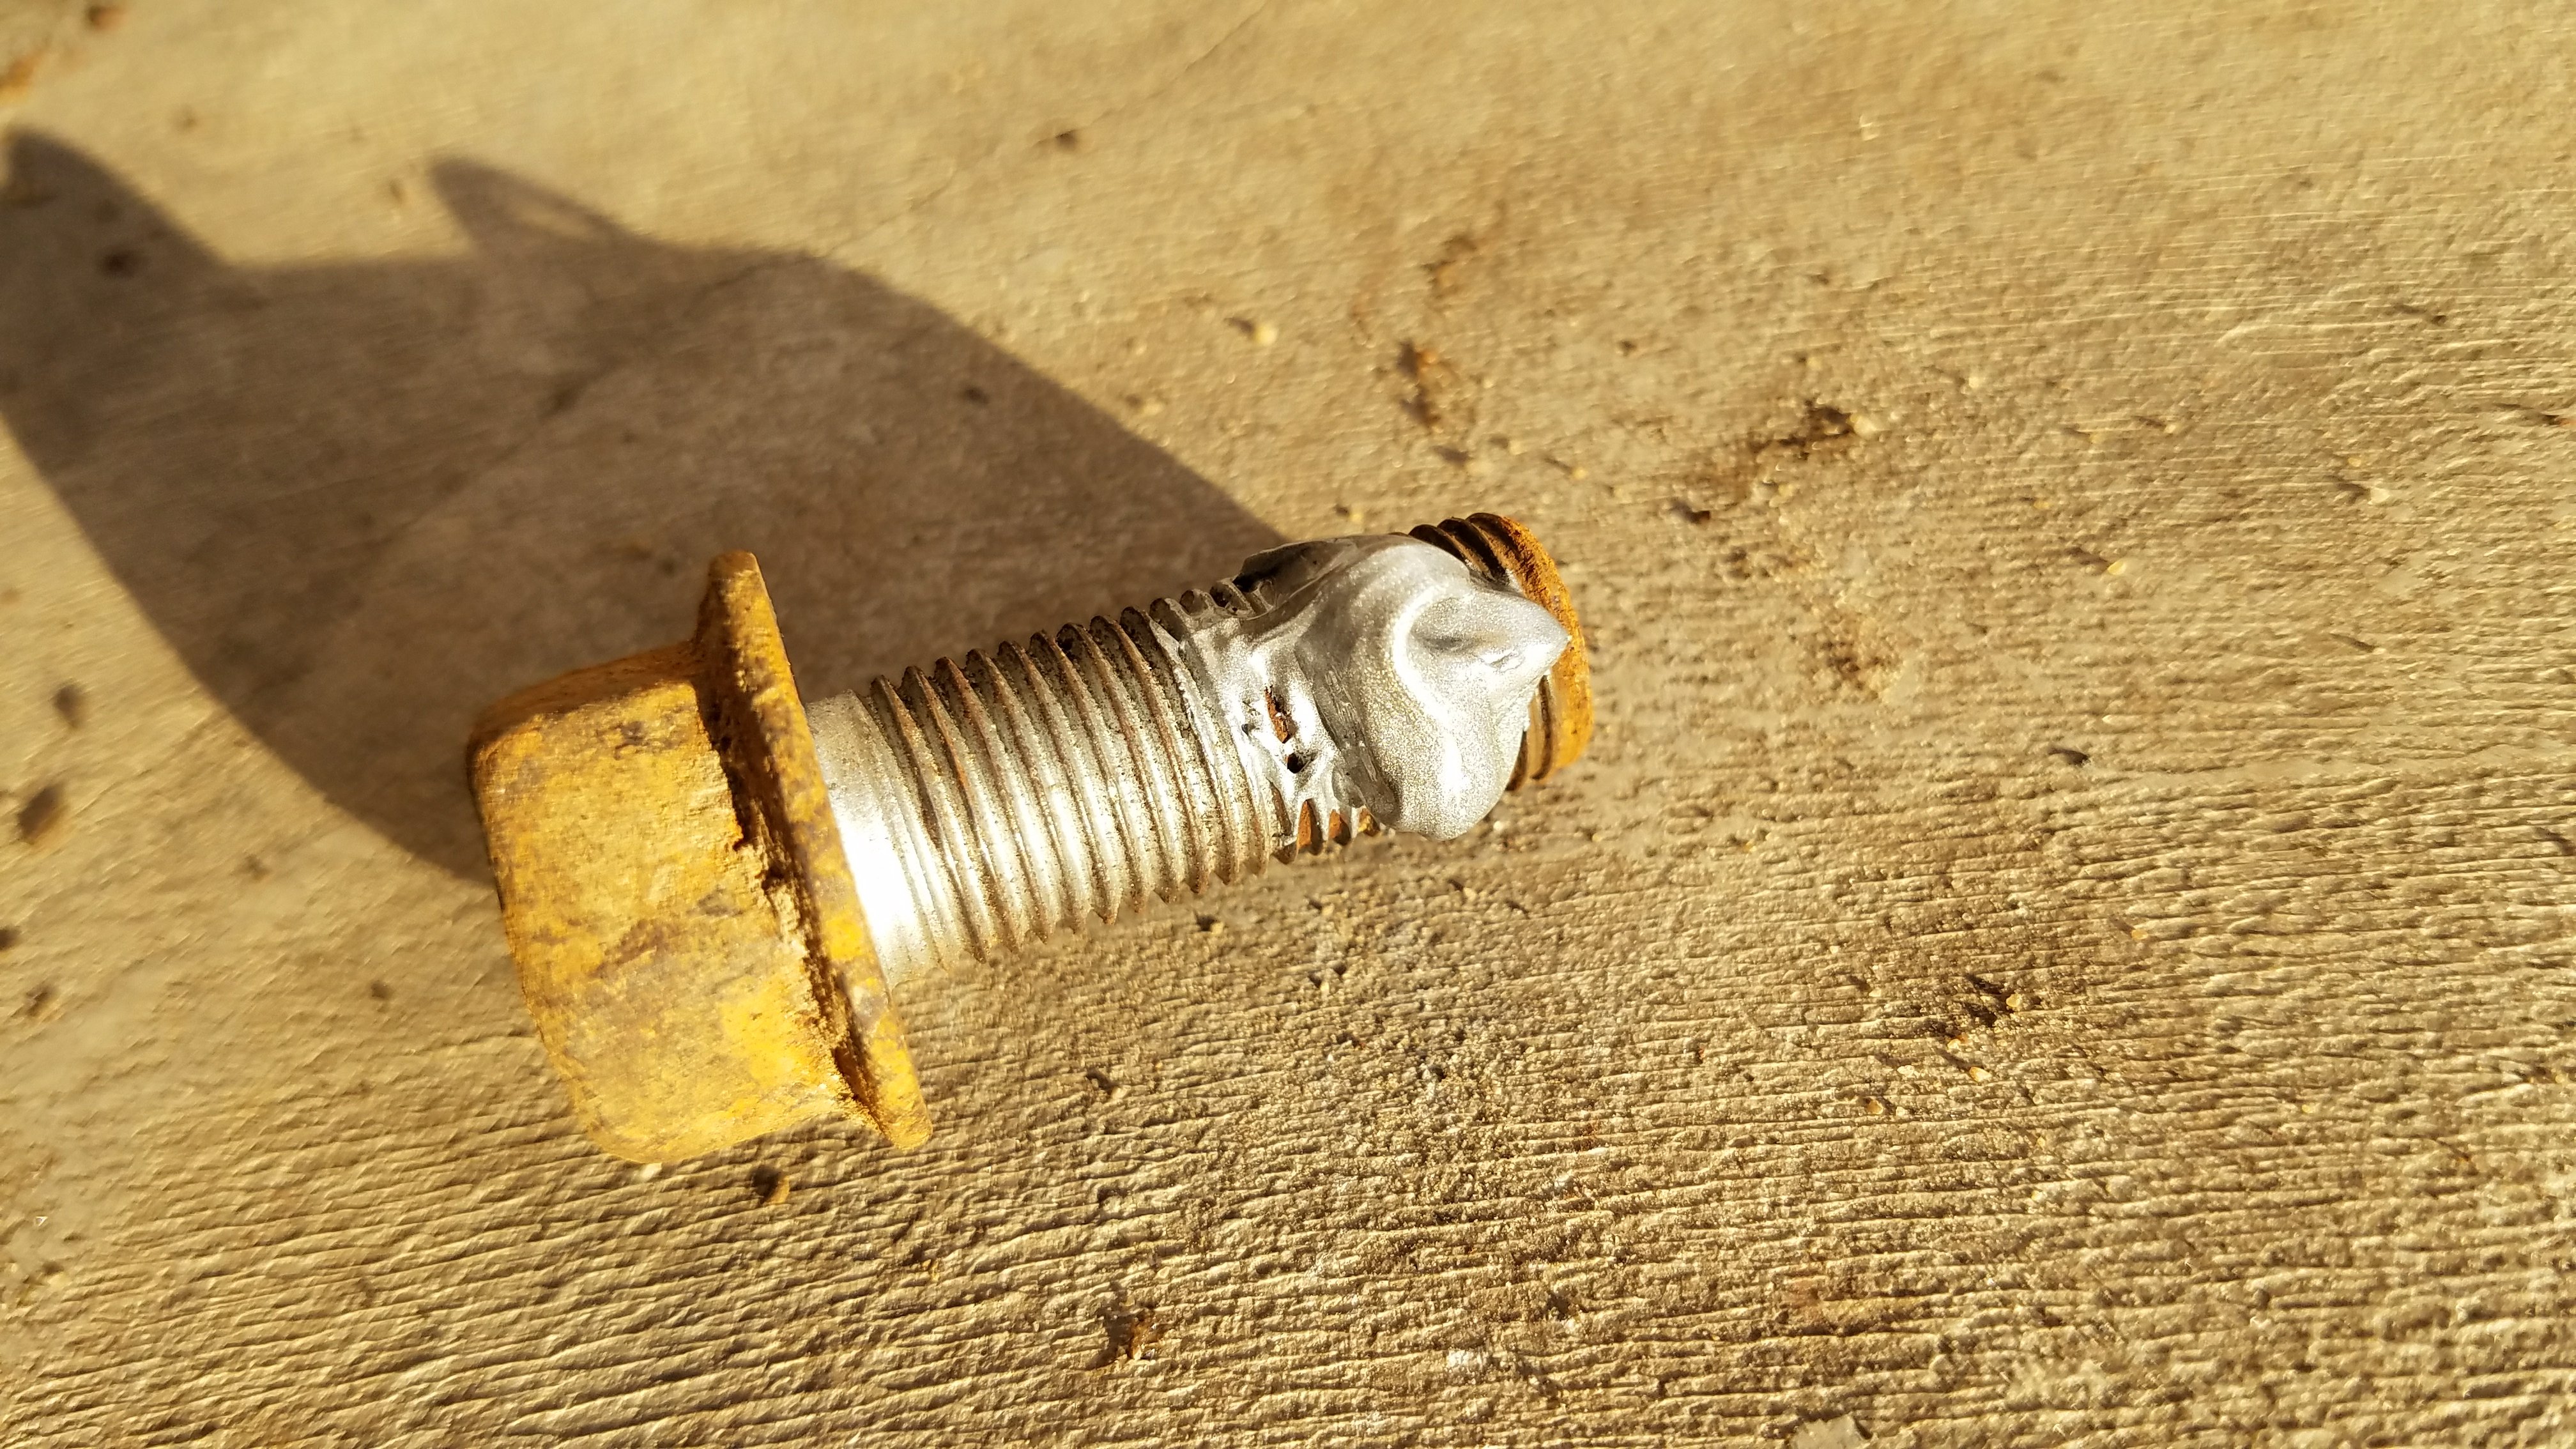
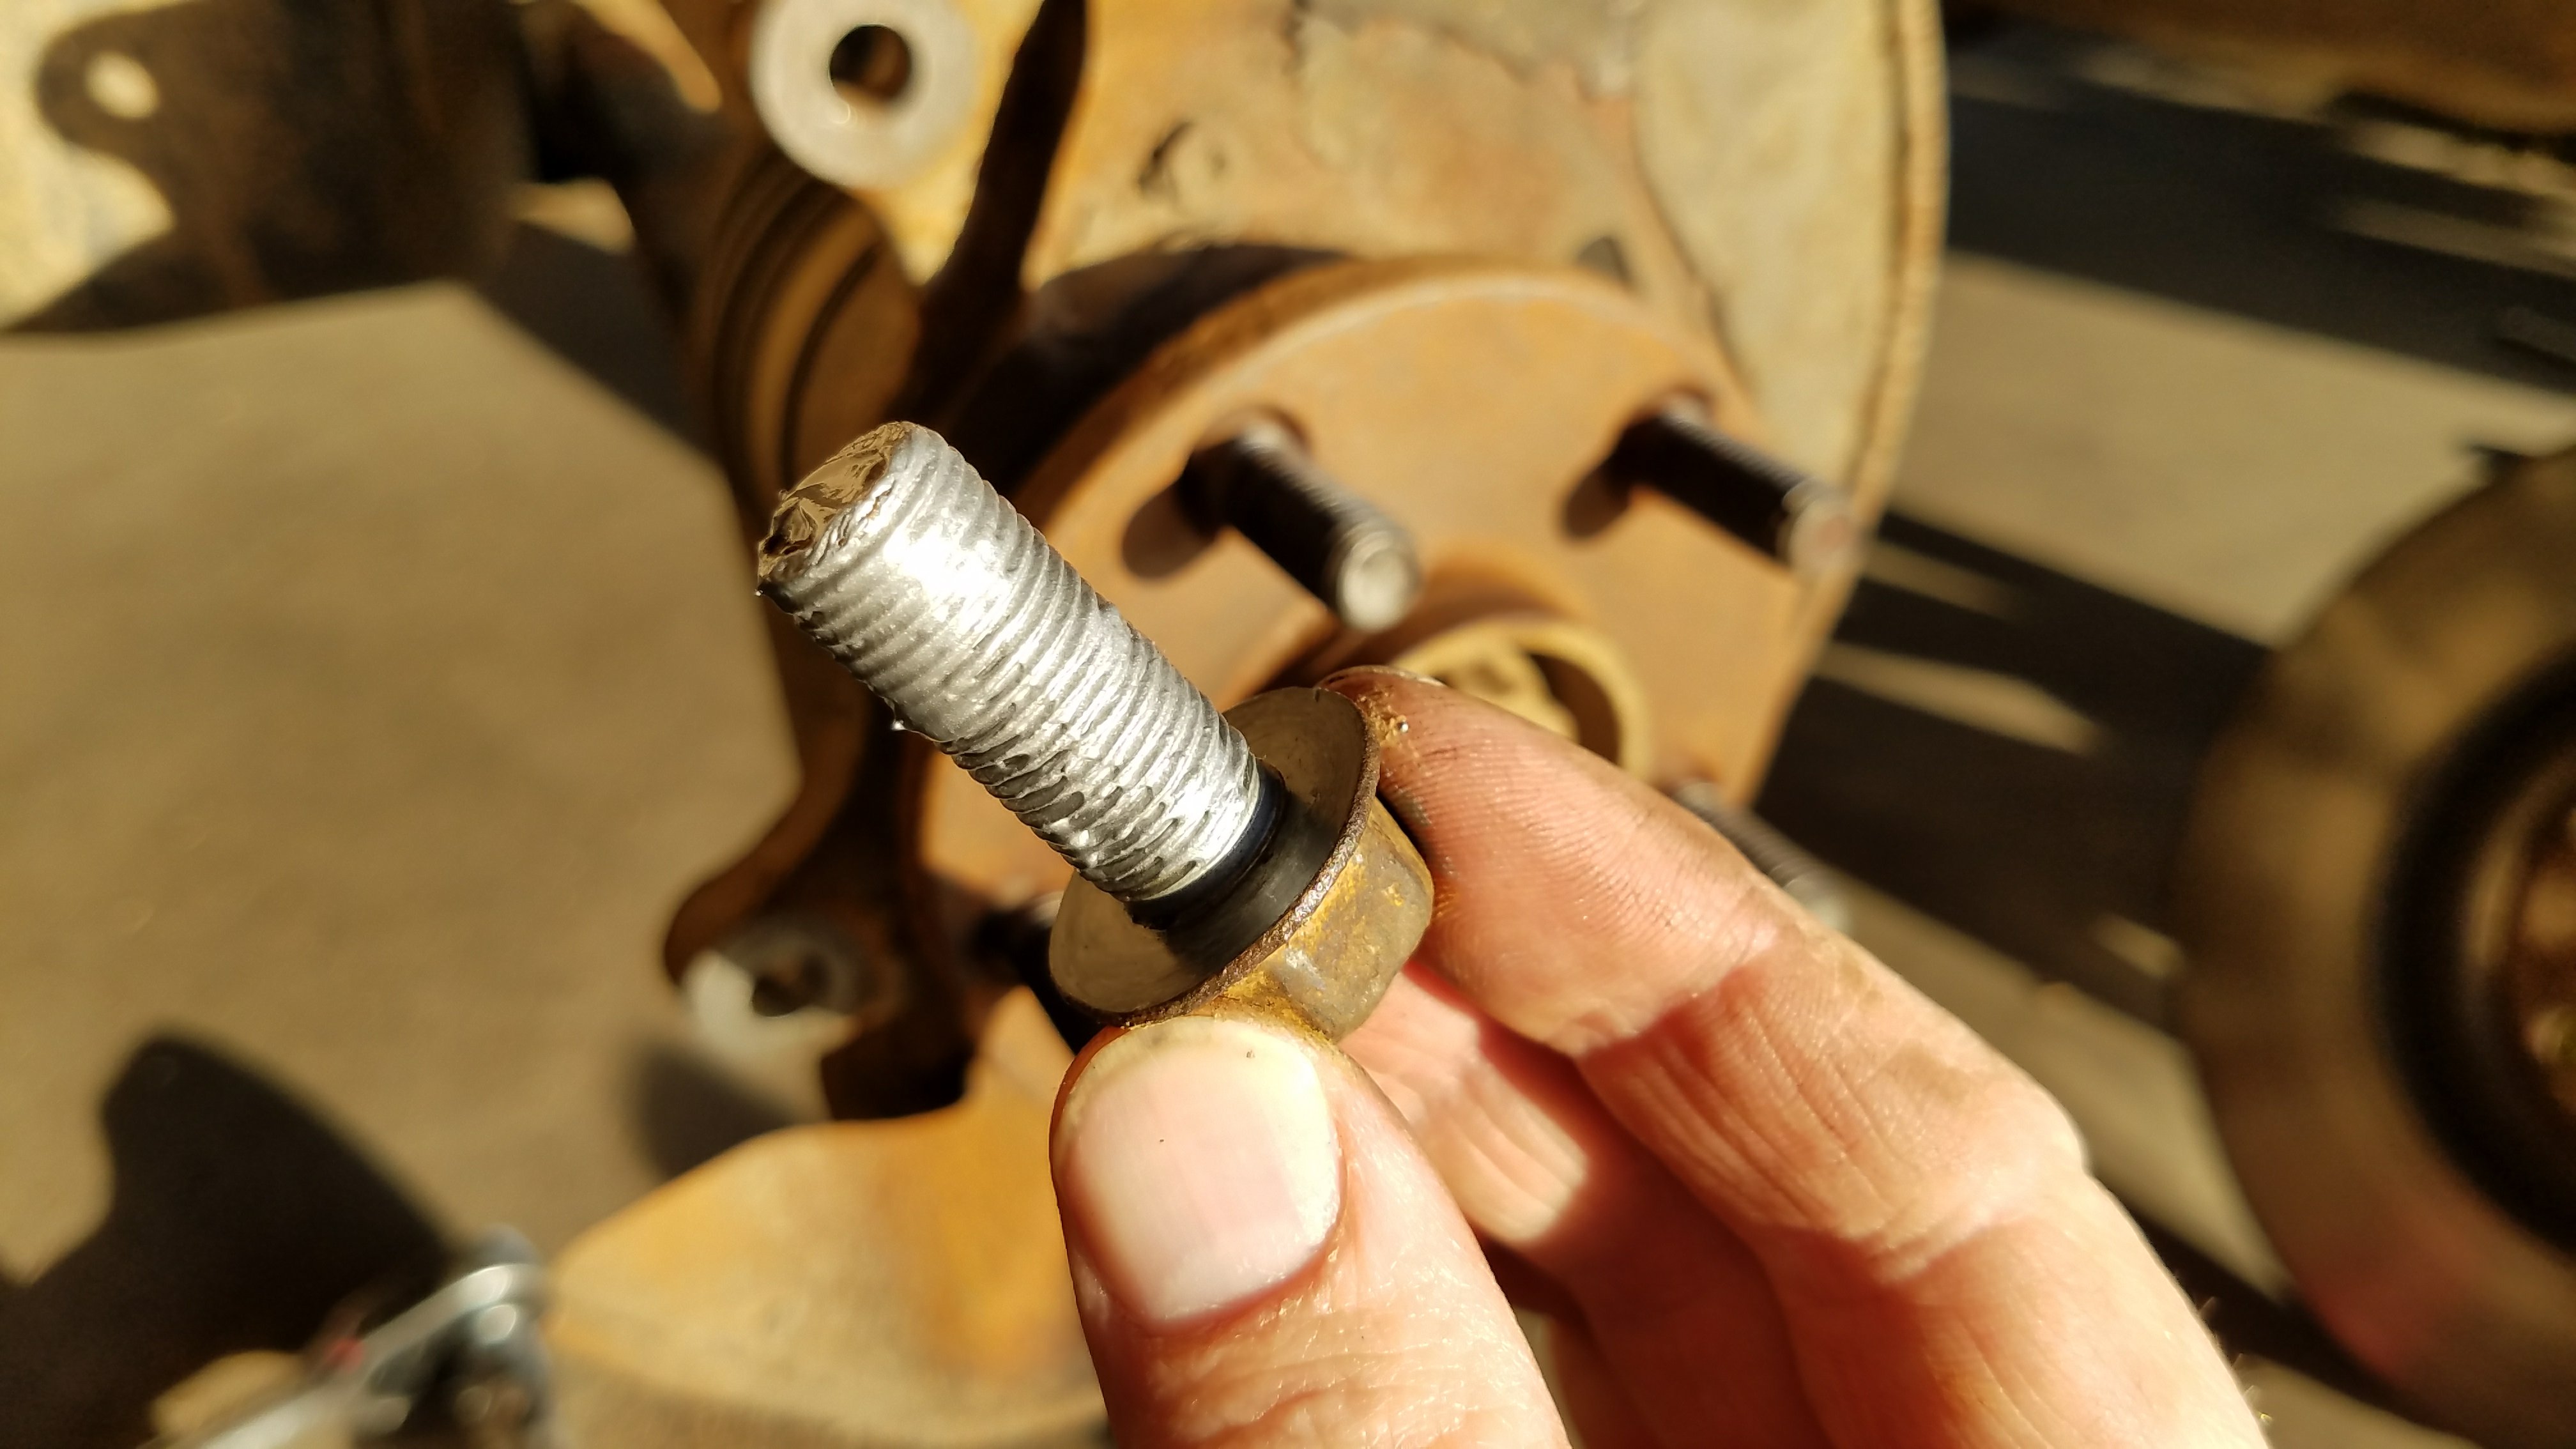
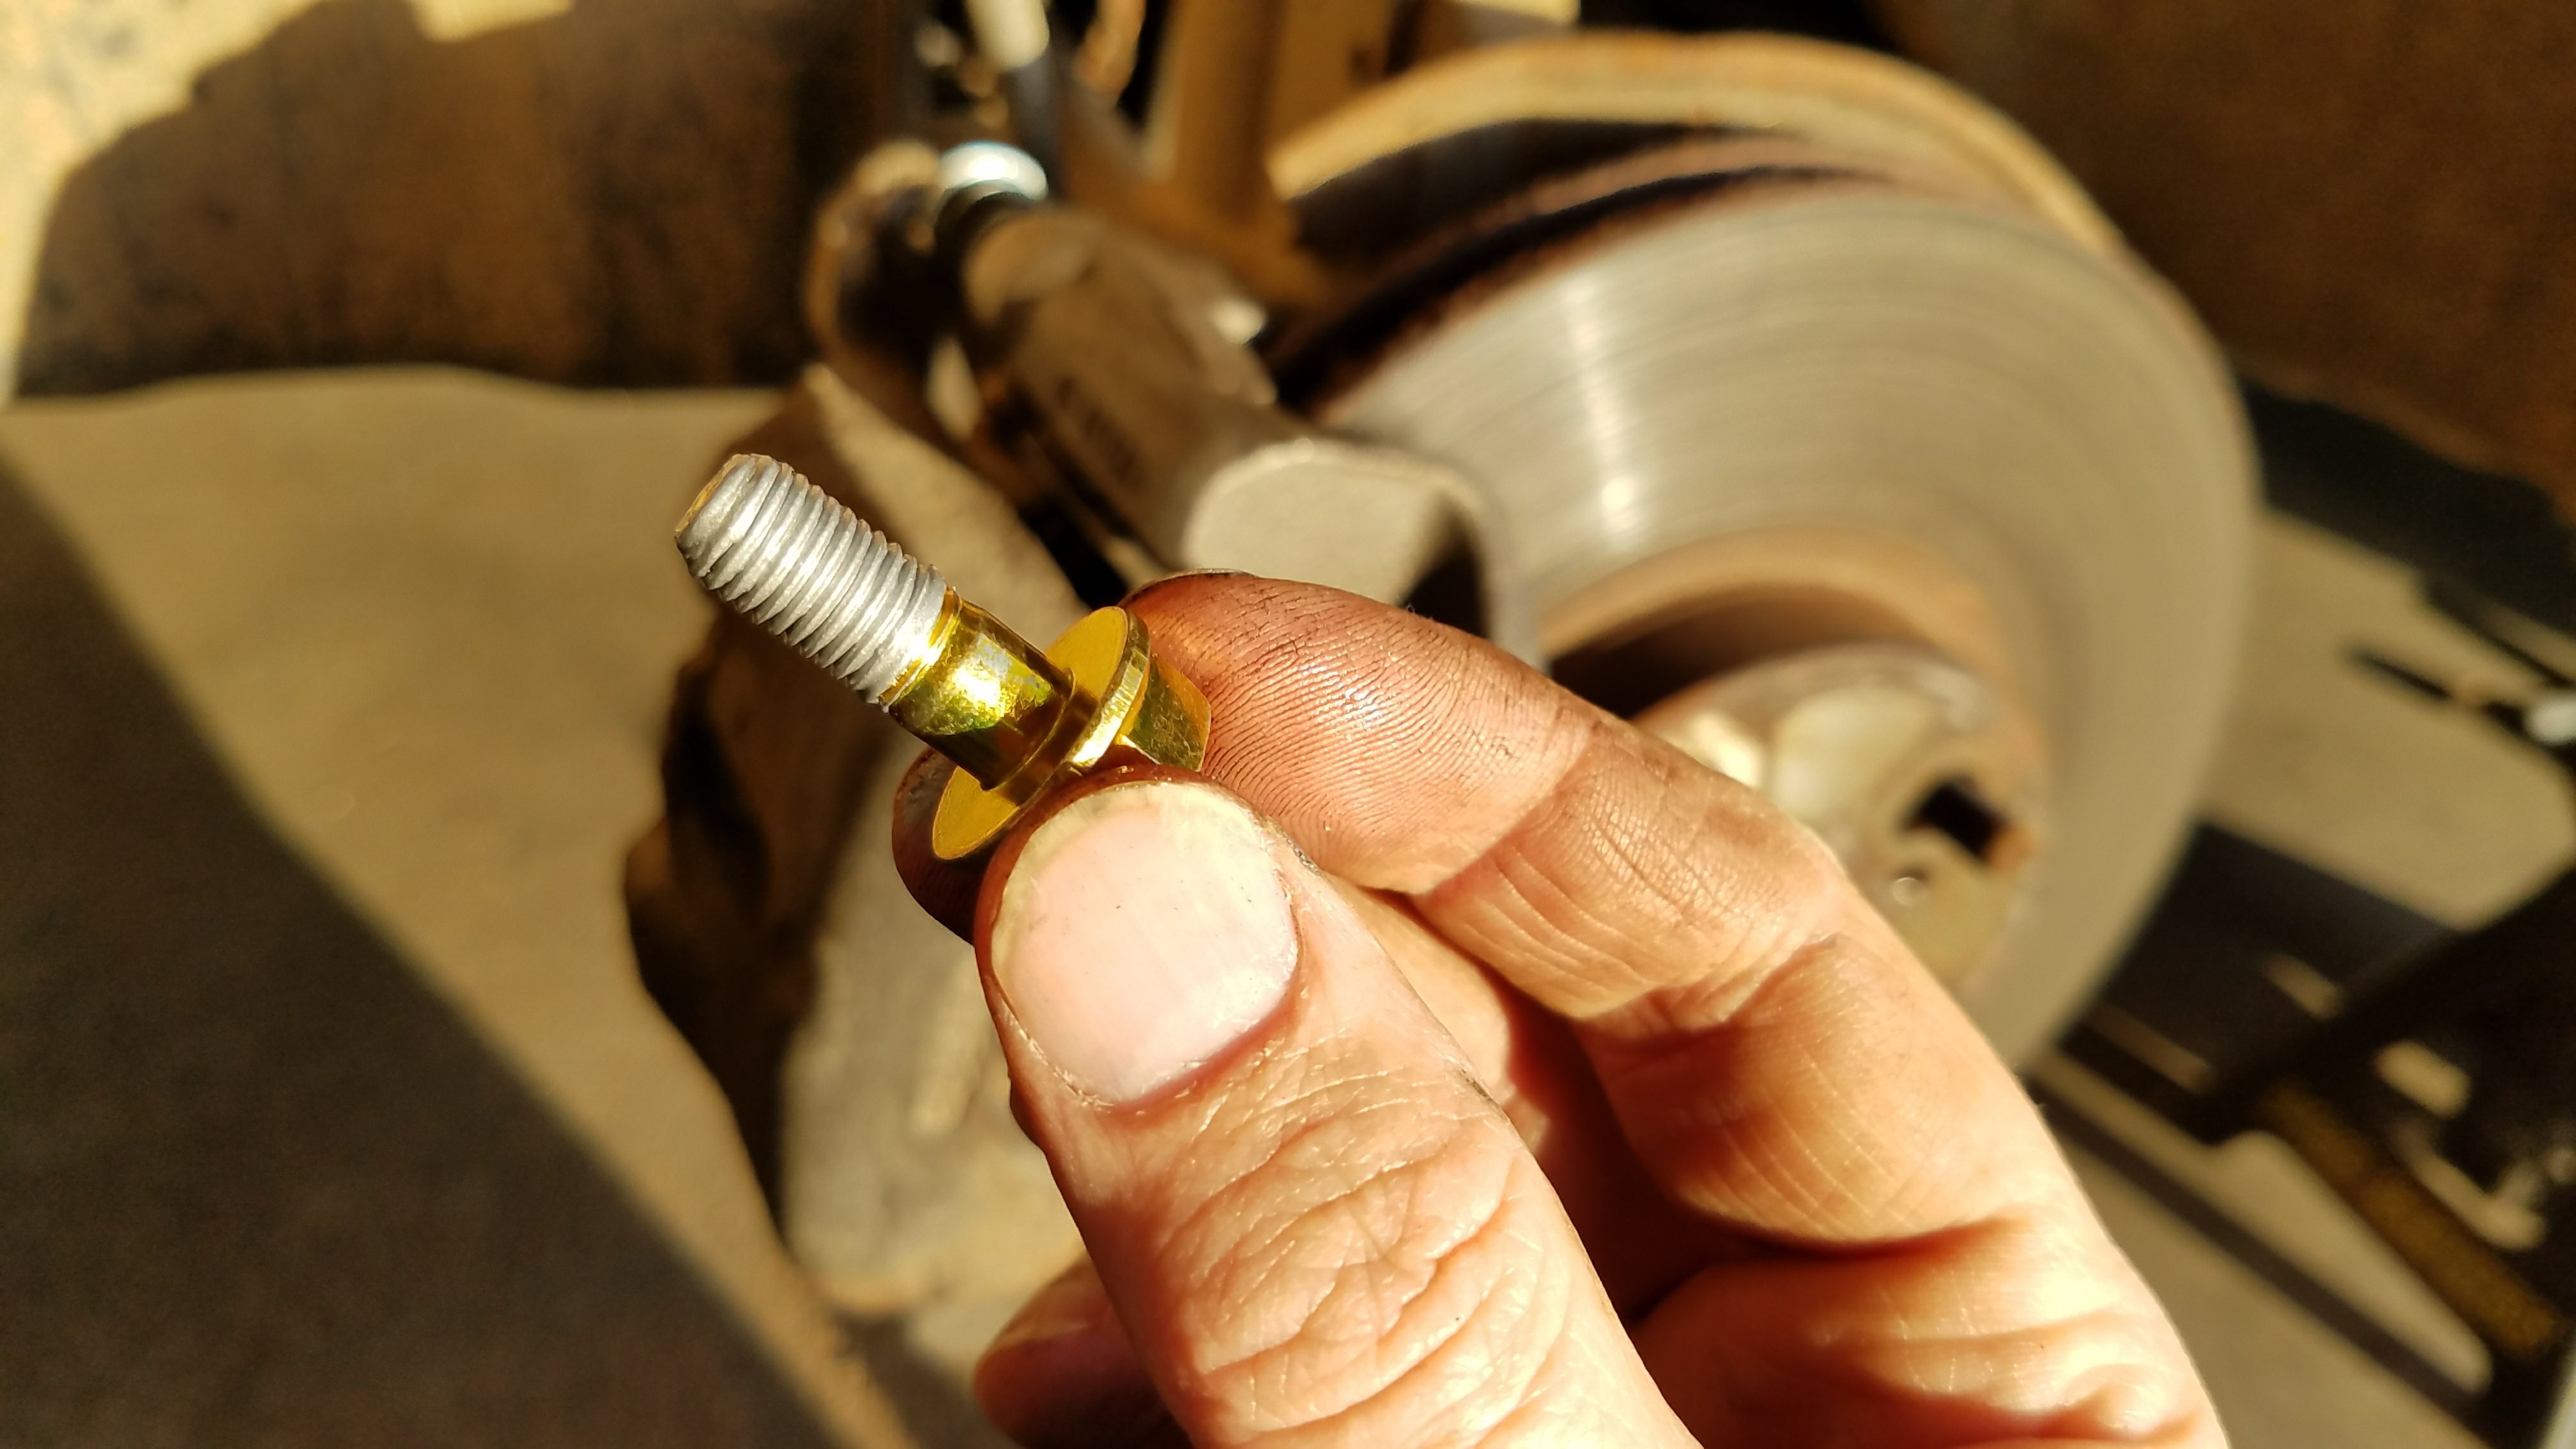
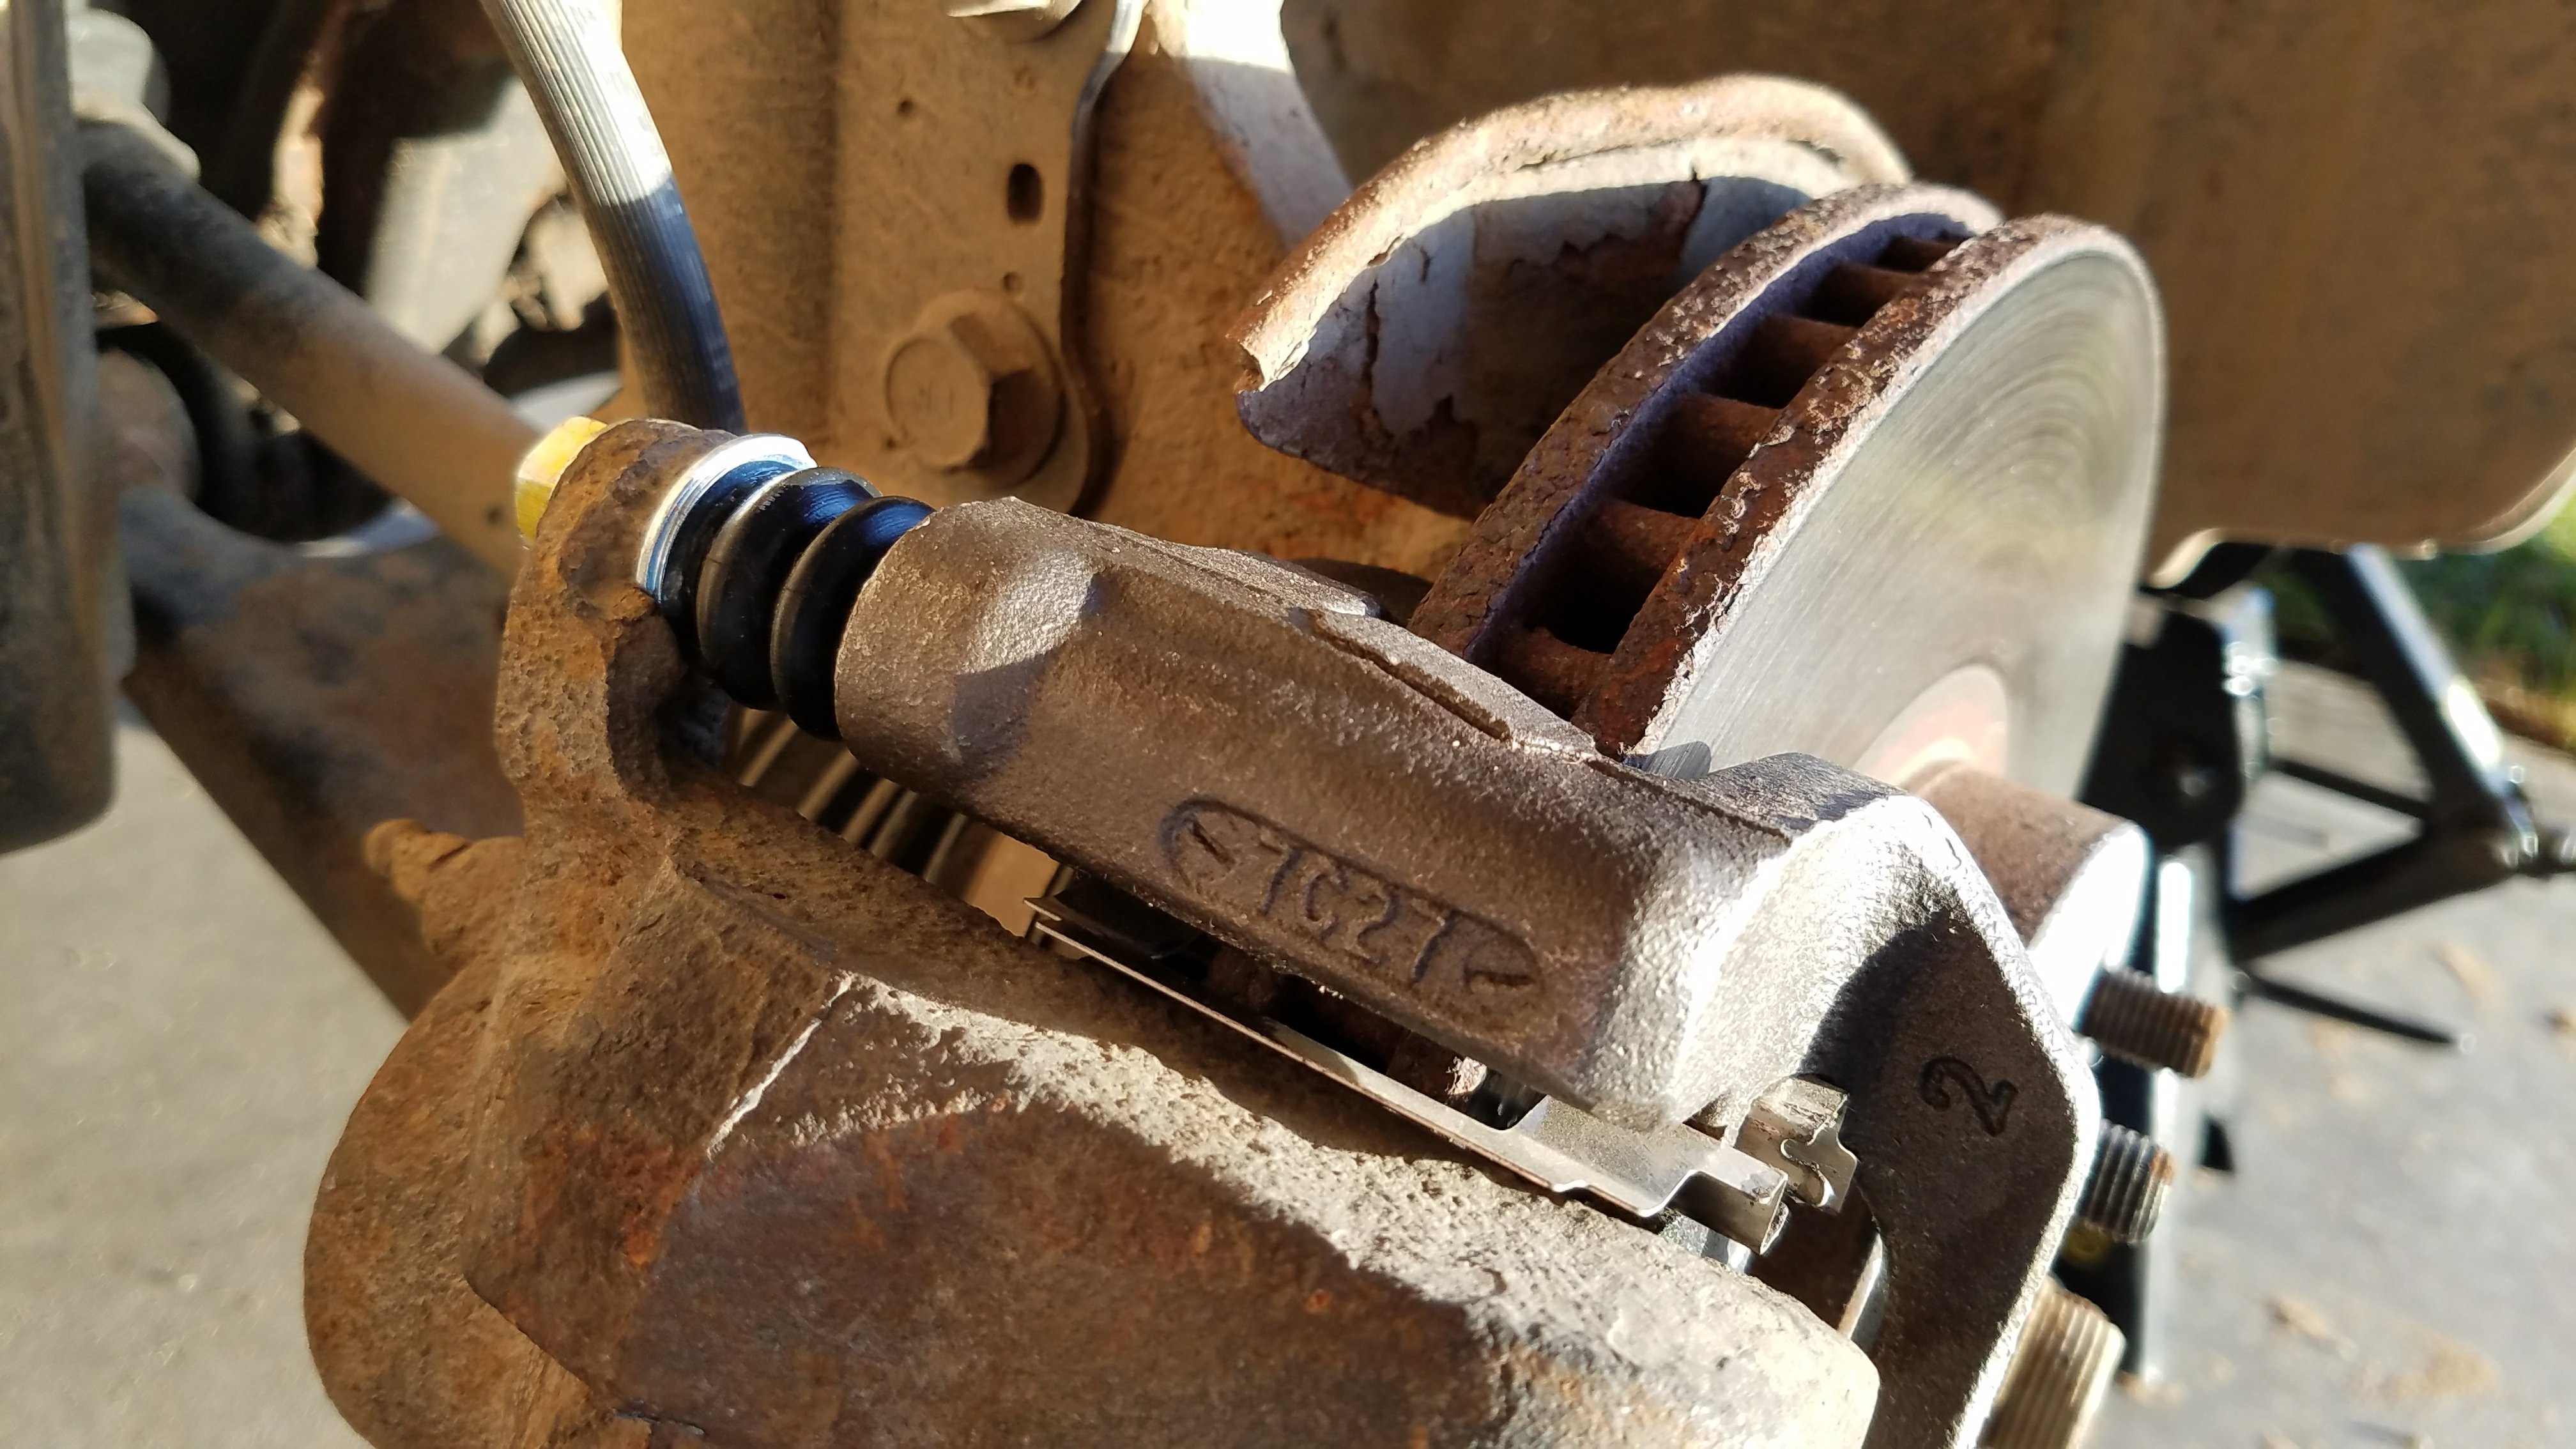
Initially I thought I just needed to change brake pads, possibly due to uneven wearing. So, I began the project. Indeed, the brake pads on the passenger side were very well worn, but on the driver’s side, they were barely worn. This was the second clue (the first being the heavy vibration when braking). Next, I went to the driver’s side and removed the caliper. The top caliper pin moved freely in and out, but when I went to move the bottom pin, it was very, very difficult to move. I eventually pulled it out and examined it. There was still grease on it, but it was very thick and beginning to harden. I cleaned as much of it off as possible and applied new caliper grease. Then re-assembled everything with the new pads. The problem still persisted. Upon disassembly, the bottom pin on the driver’s side was still very difficult to move. This prompted me to replace the caliper pins and caliper bracket.
This solved the heavy vibration problem, but by this time, the rotors were warped, probably as a result of the uneven braking… Eventually I replaced the rotors as well.
This post walks through the process of replacing the caliper bracket and caliper pins. I hope someone finds this helpful. If you get any benefit from this article, please leave a comment.
Tools and supplies needed:
- caliper bracket (part# 14-1340 – Left or Right is the same part)
- caliper pin kit (Dorman #HW5060)
- caliper pin protective boot kit (part#16090)
- anti-seize lube
- caliper hook hangers
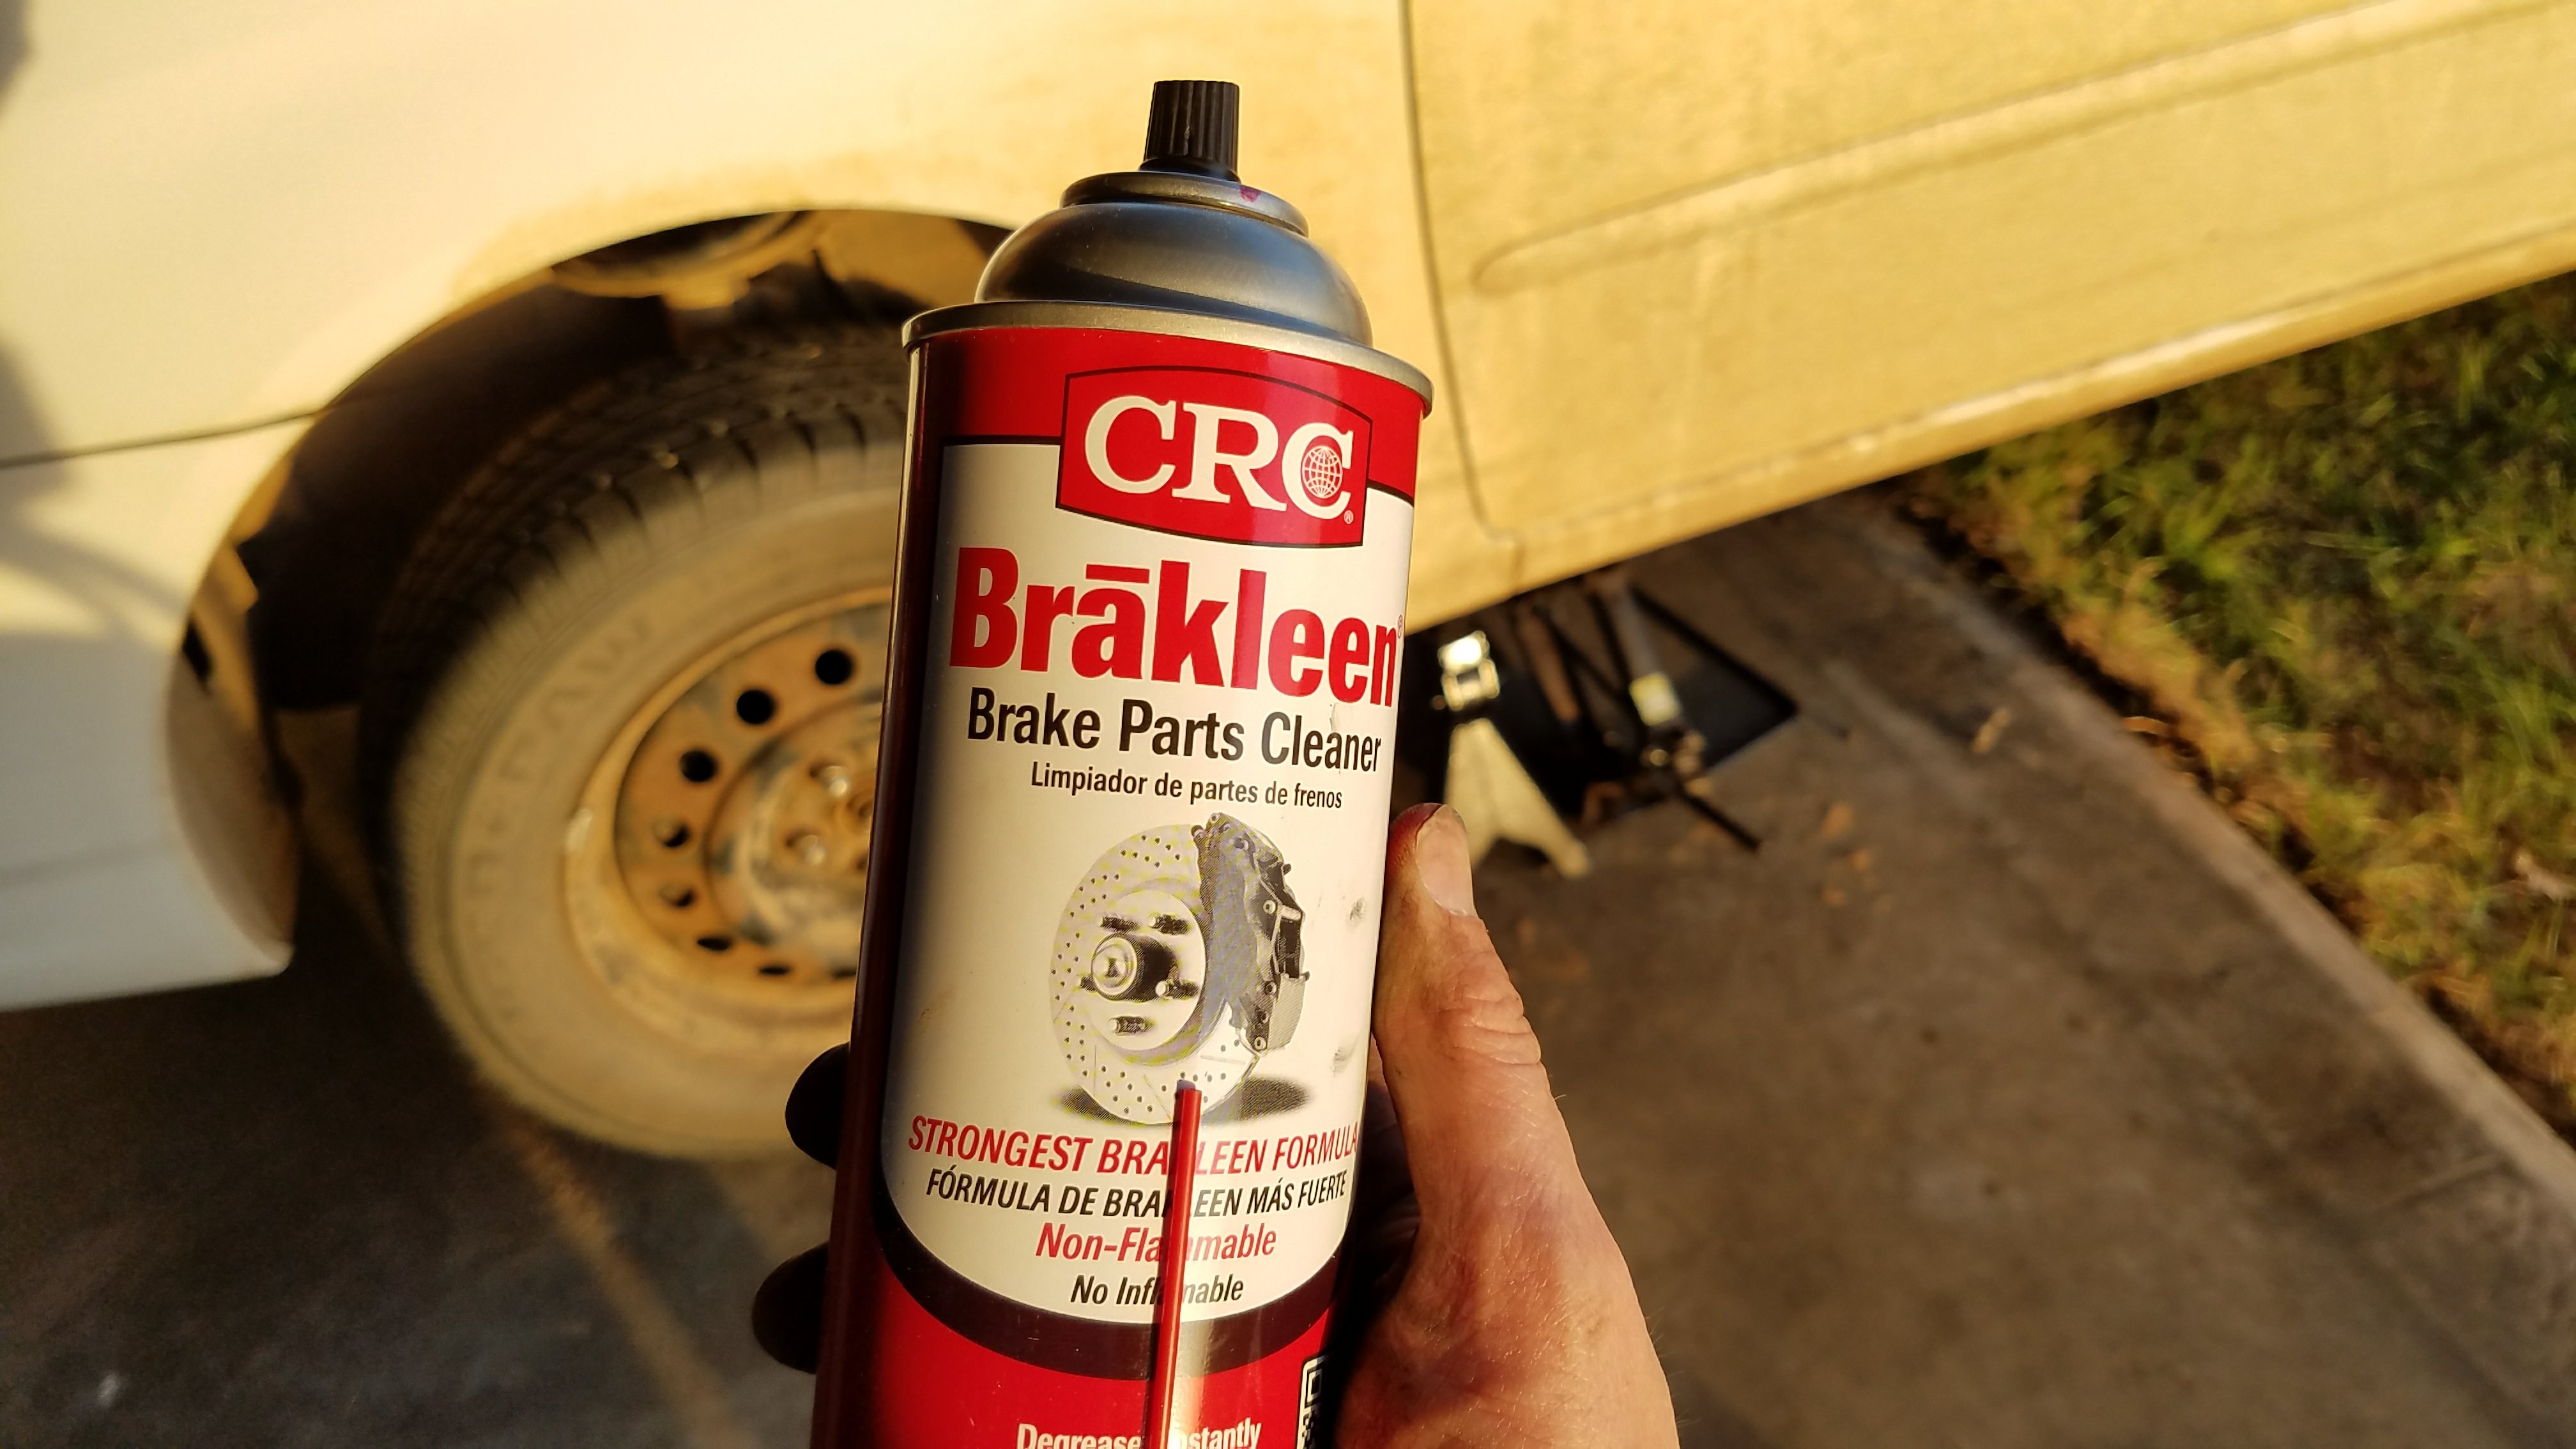
- brake cleaner spray
- torque wrench
- Metric Socket Set (1/2″ Drive)
- Jack stands
- wire brush
Step by Step Procedure:
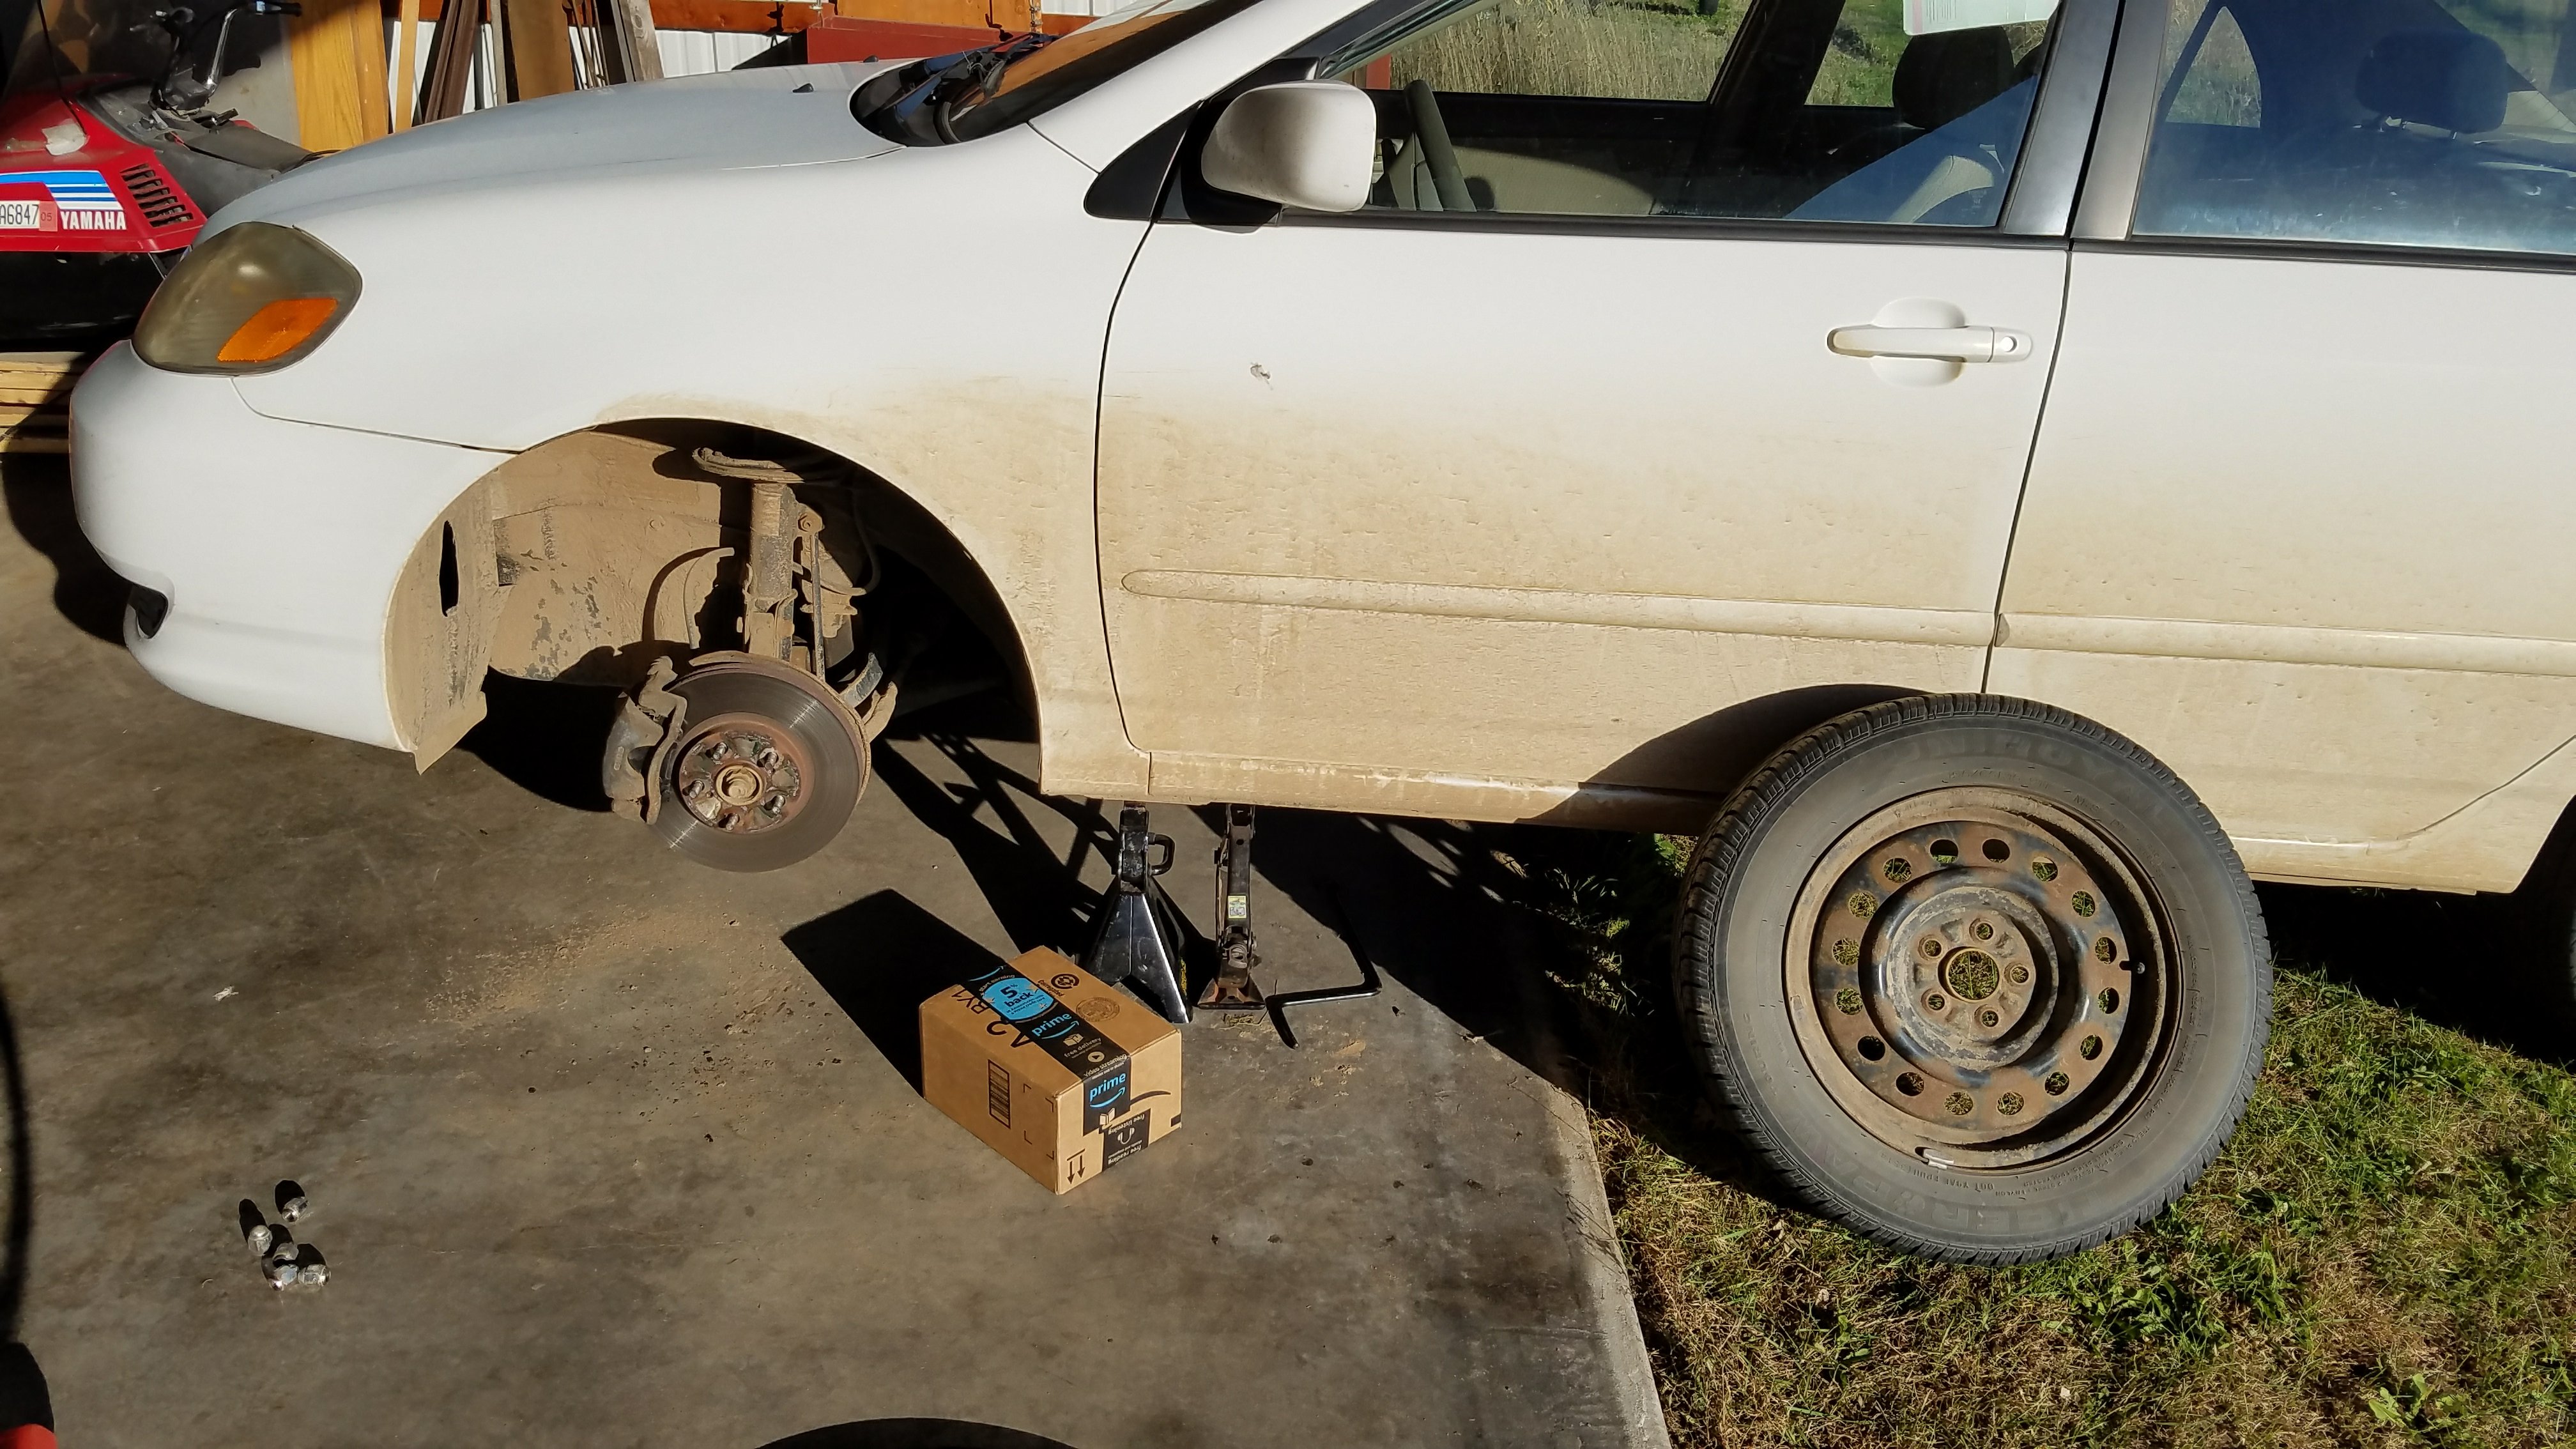
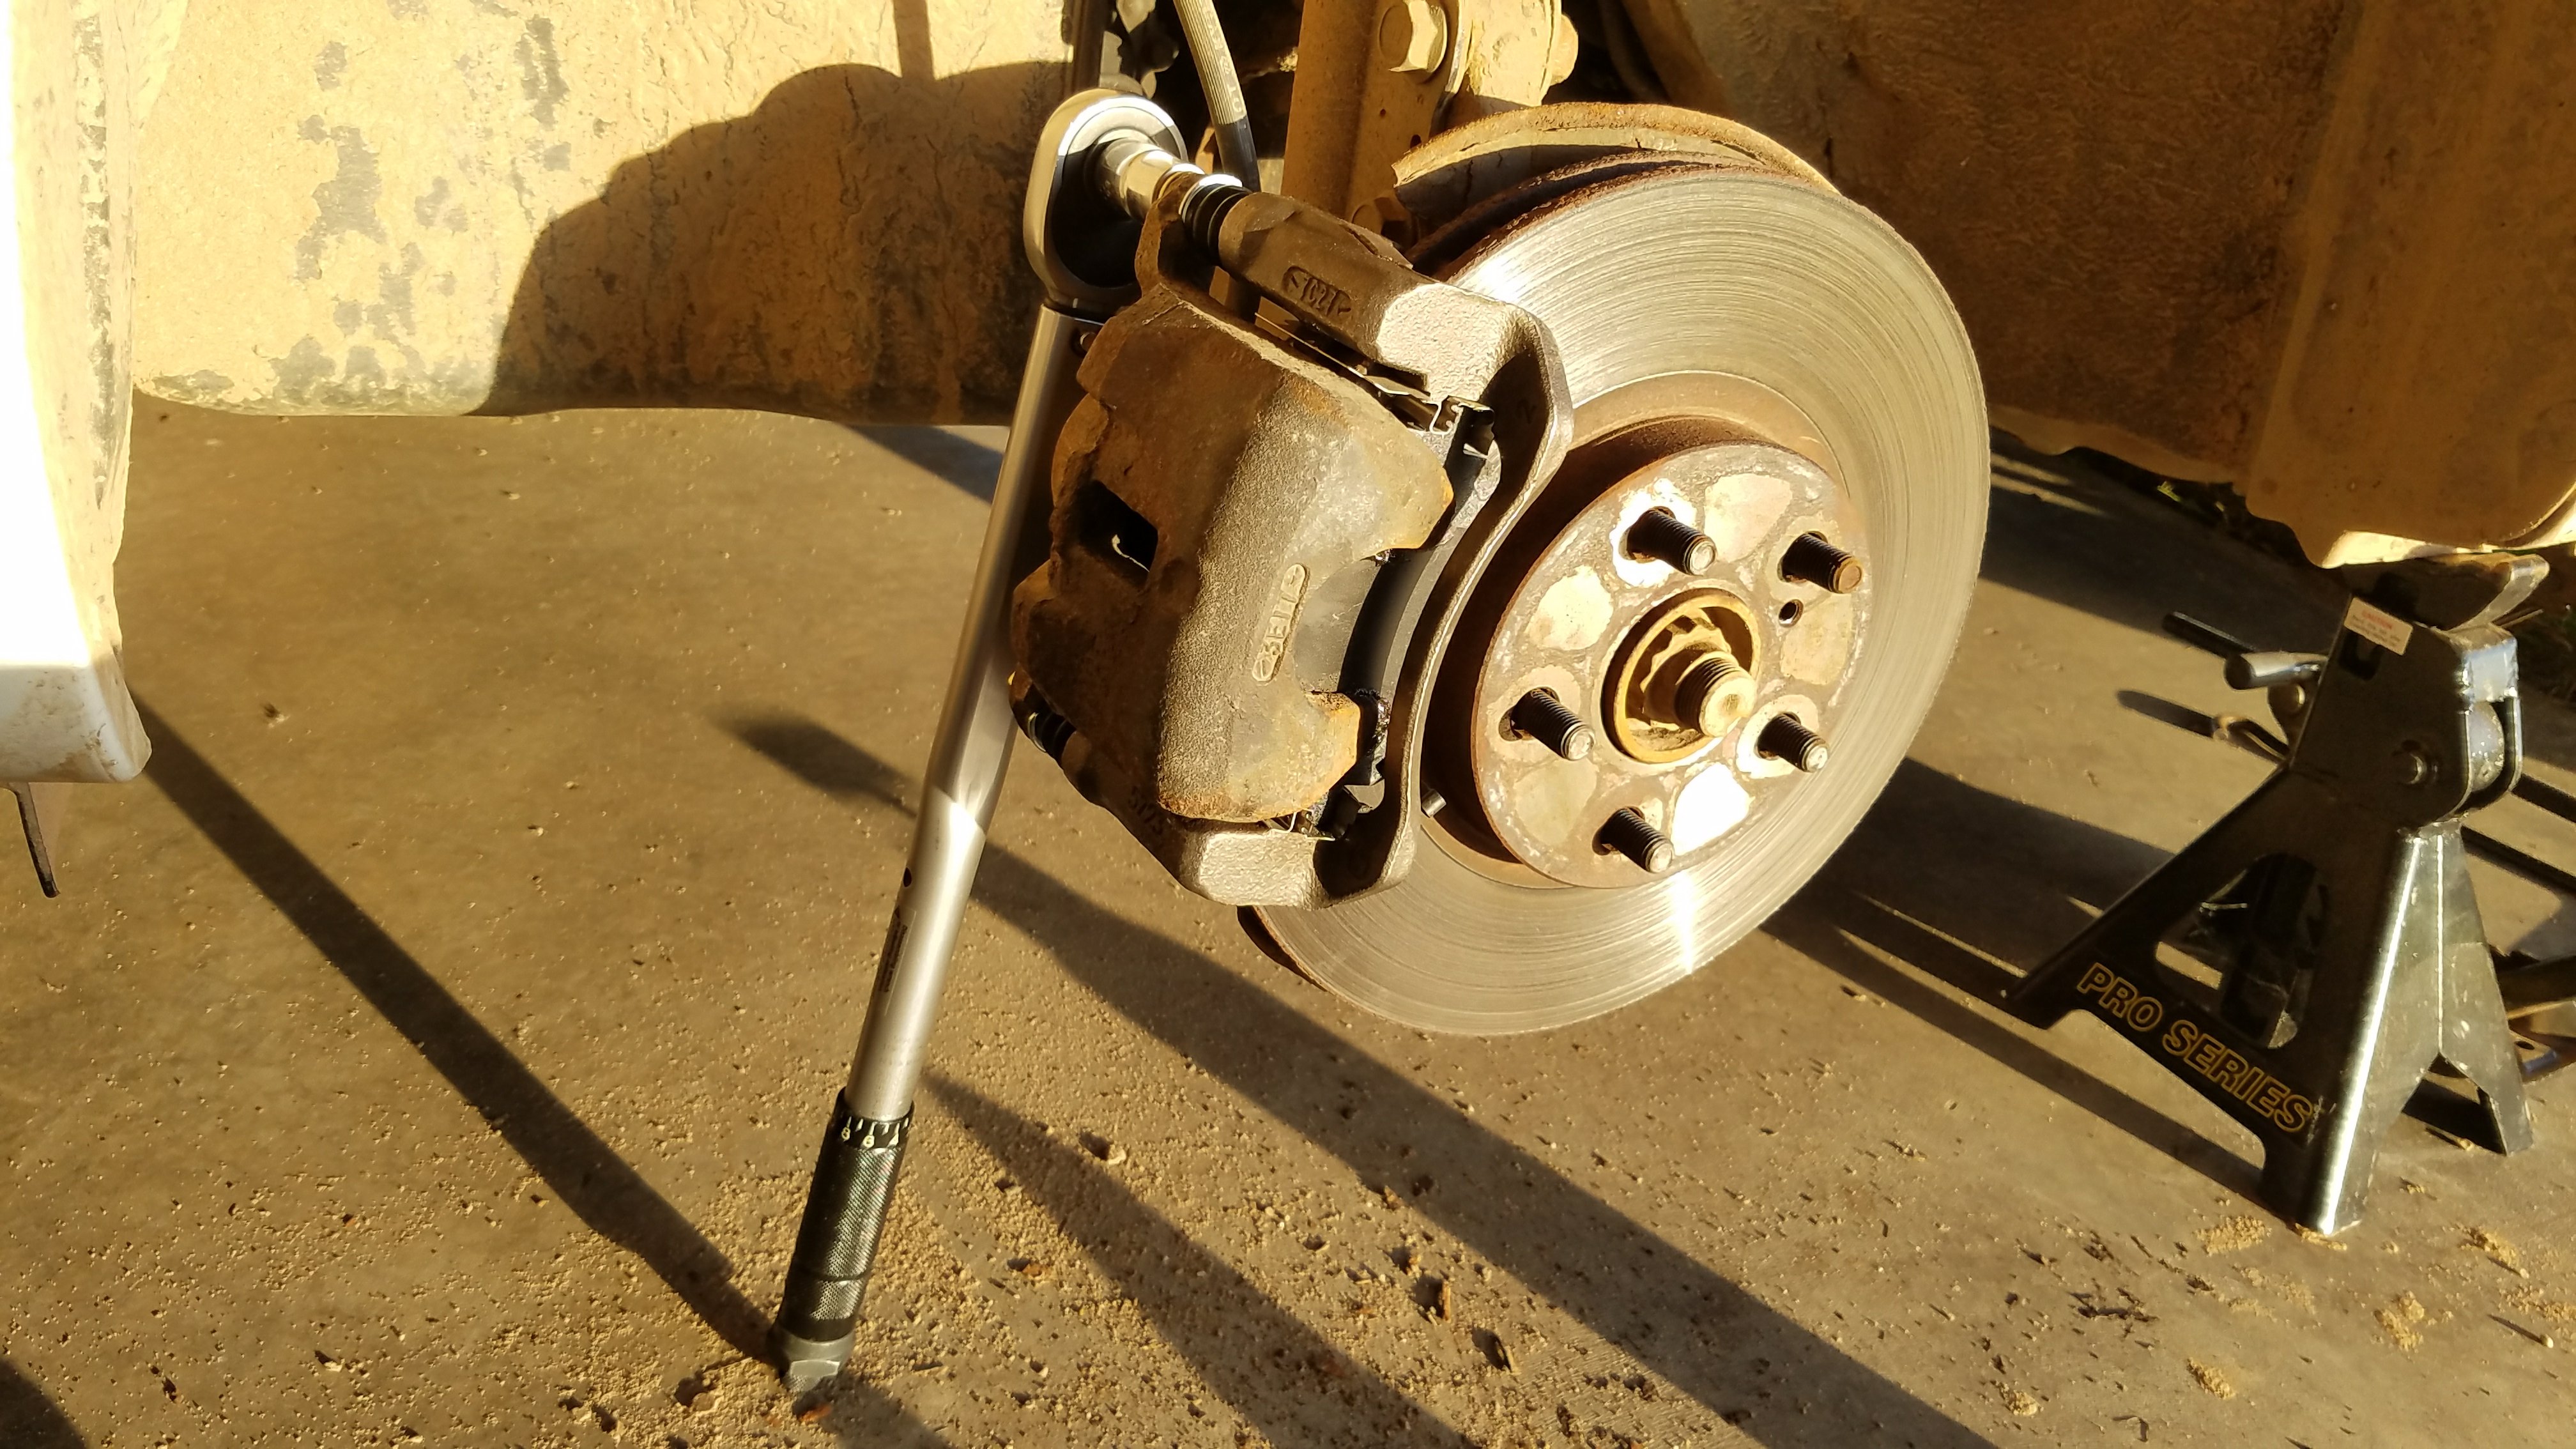
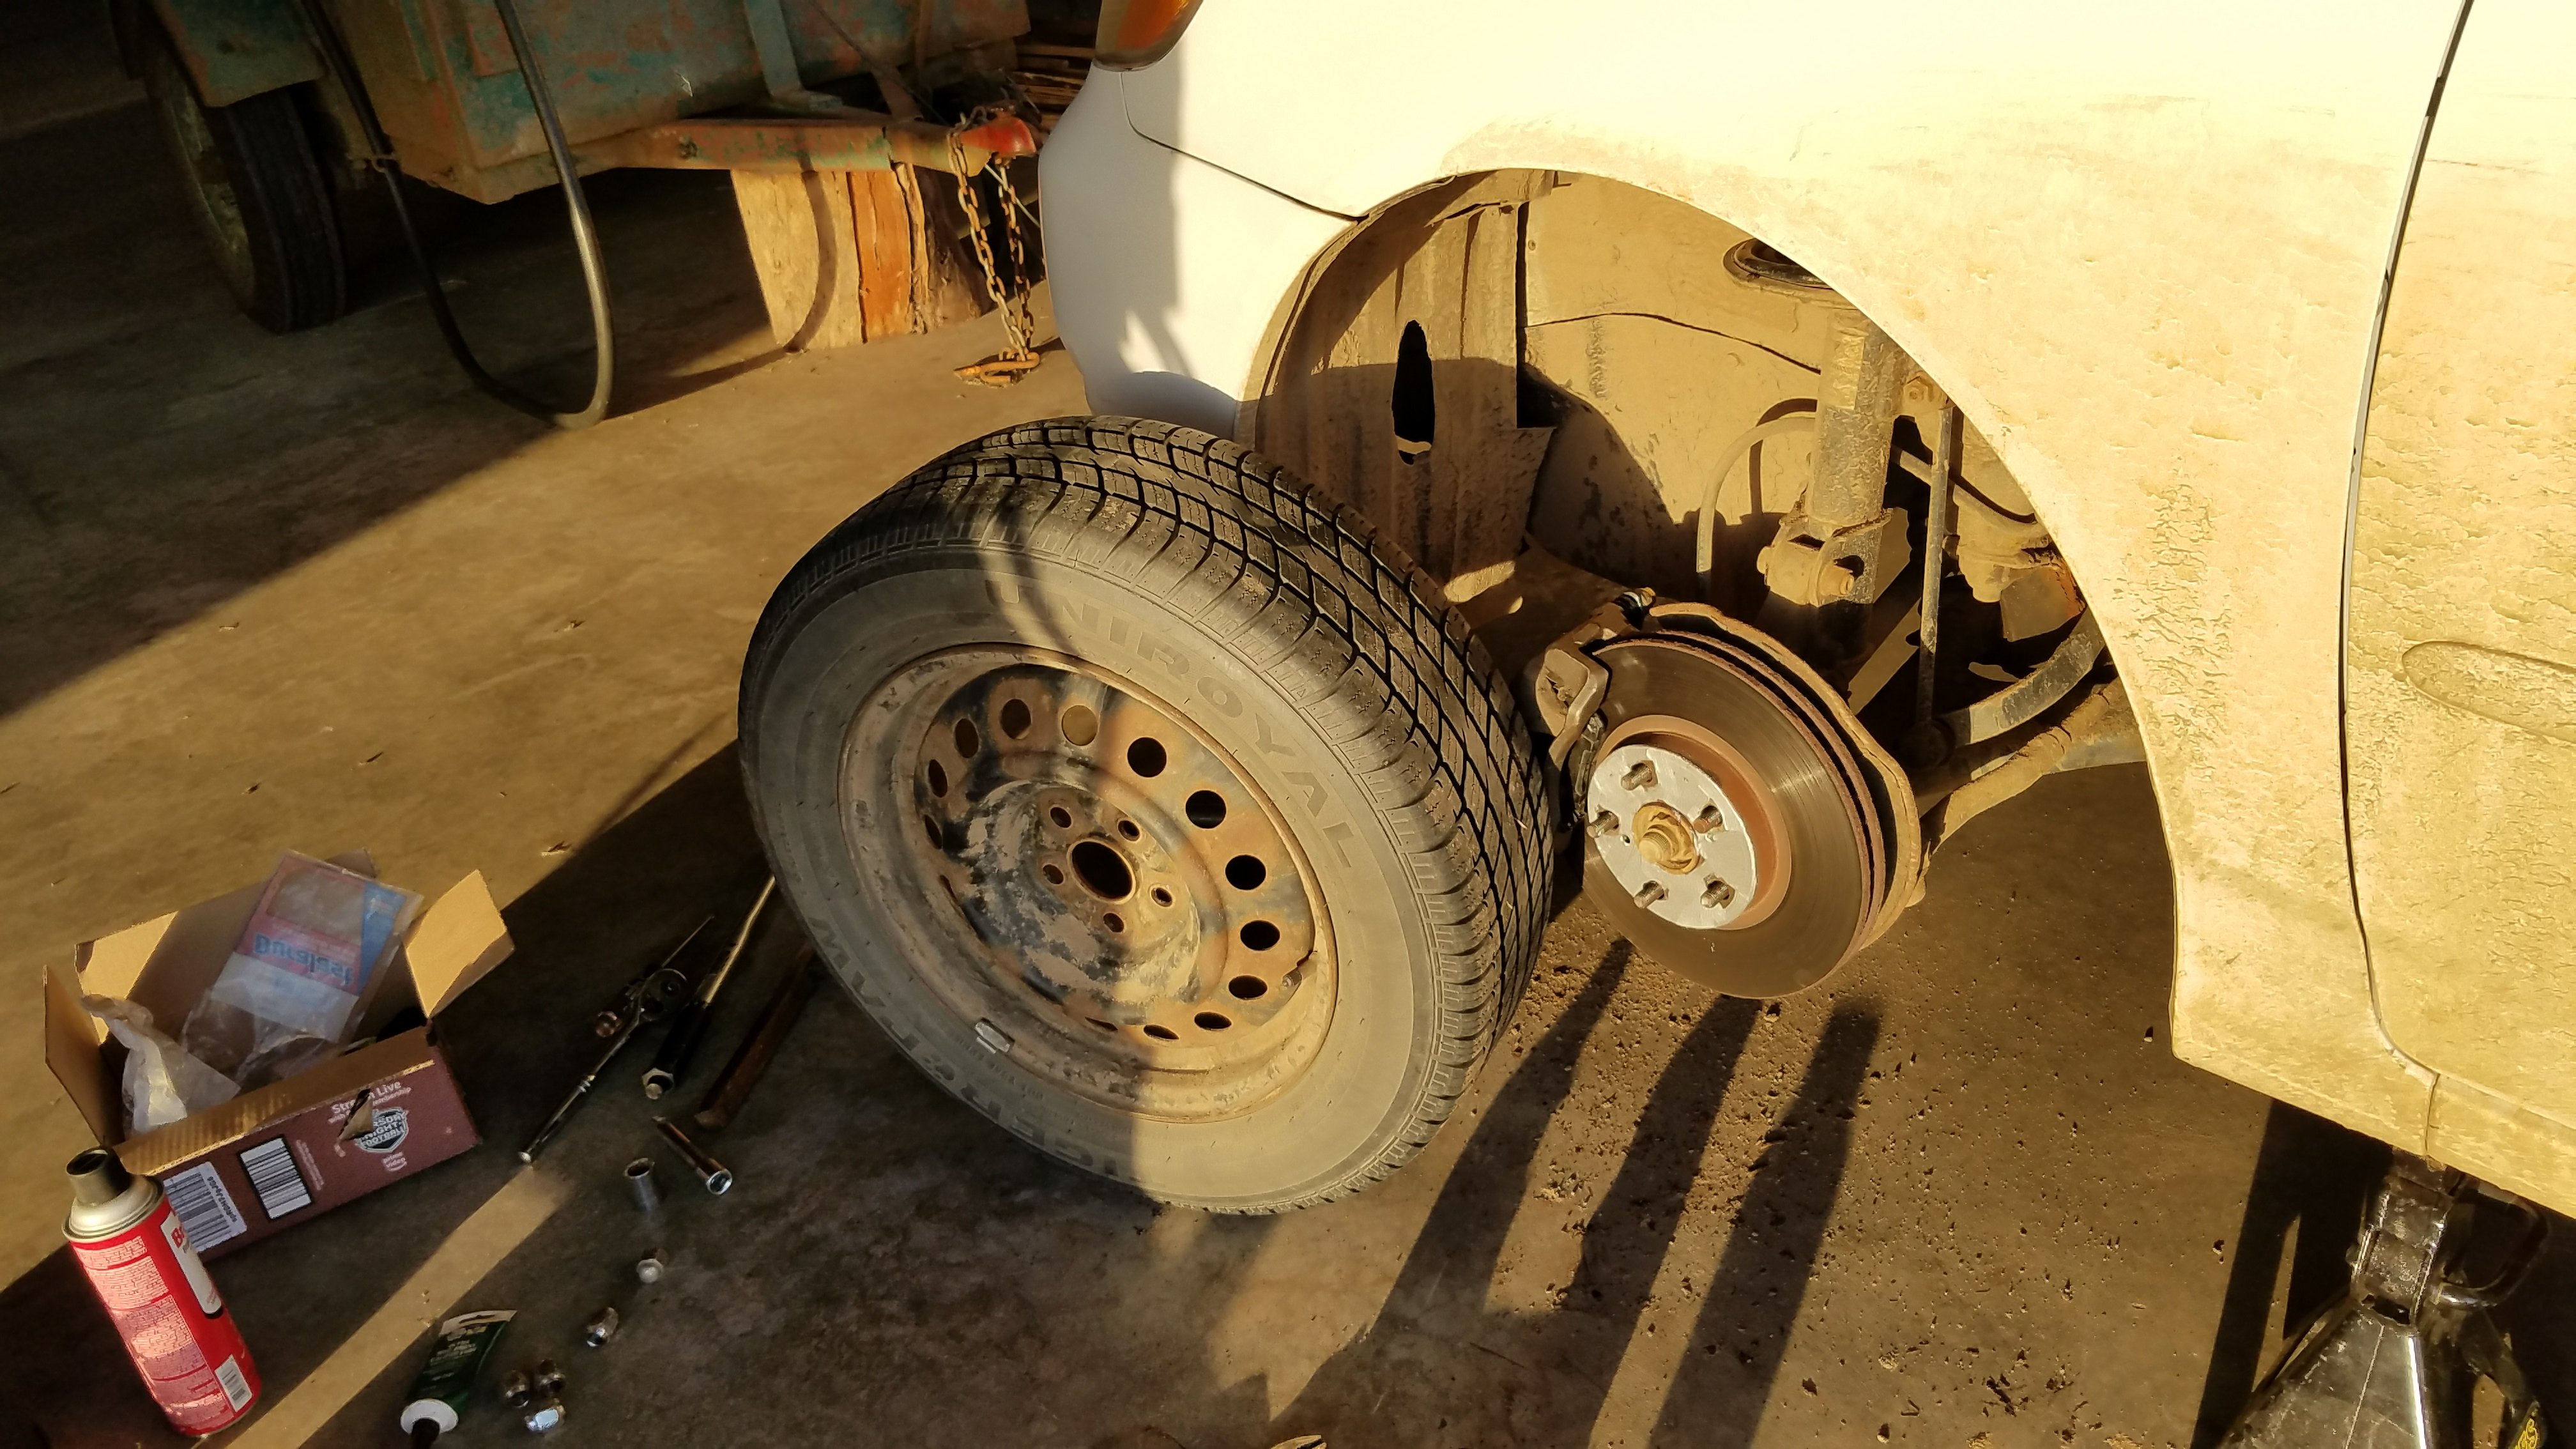
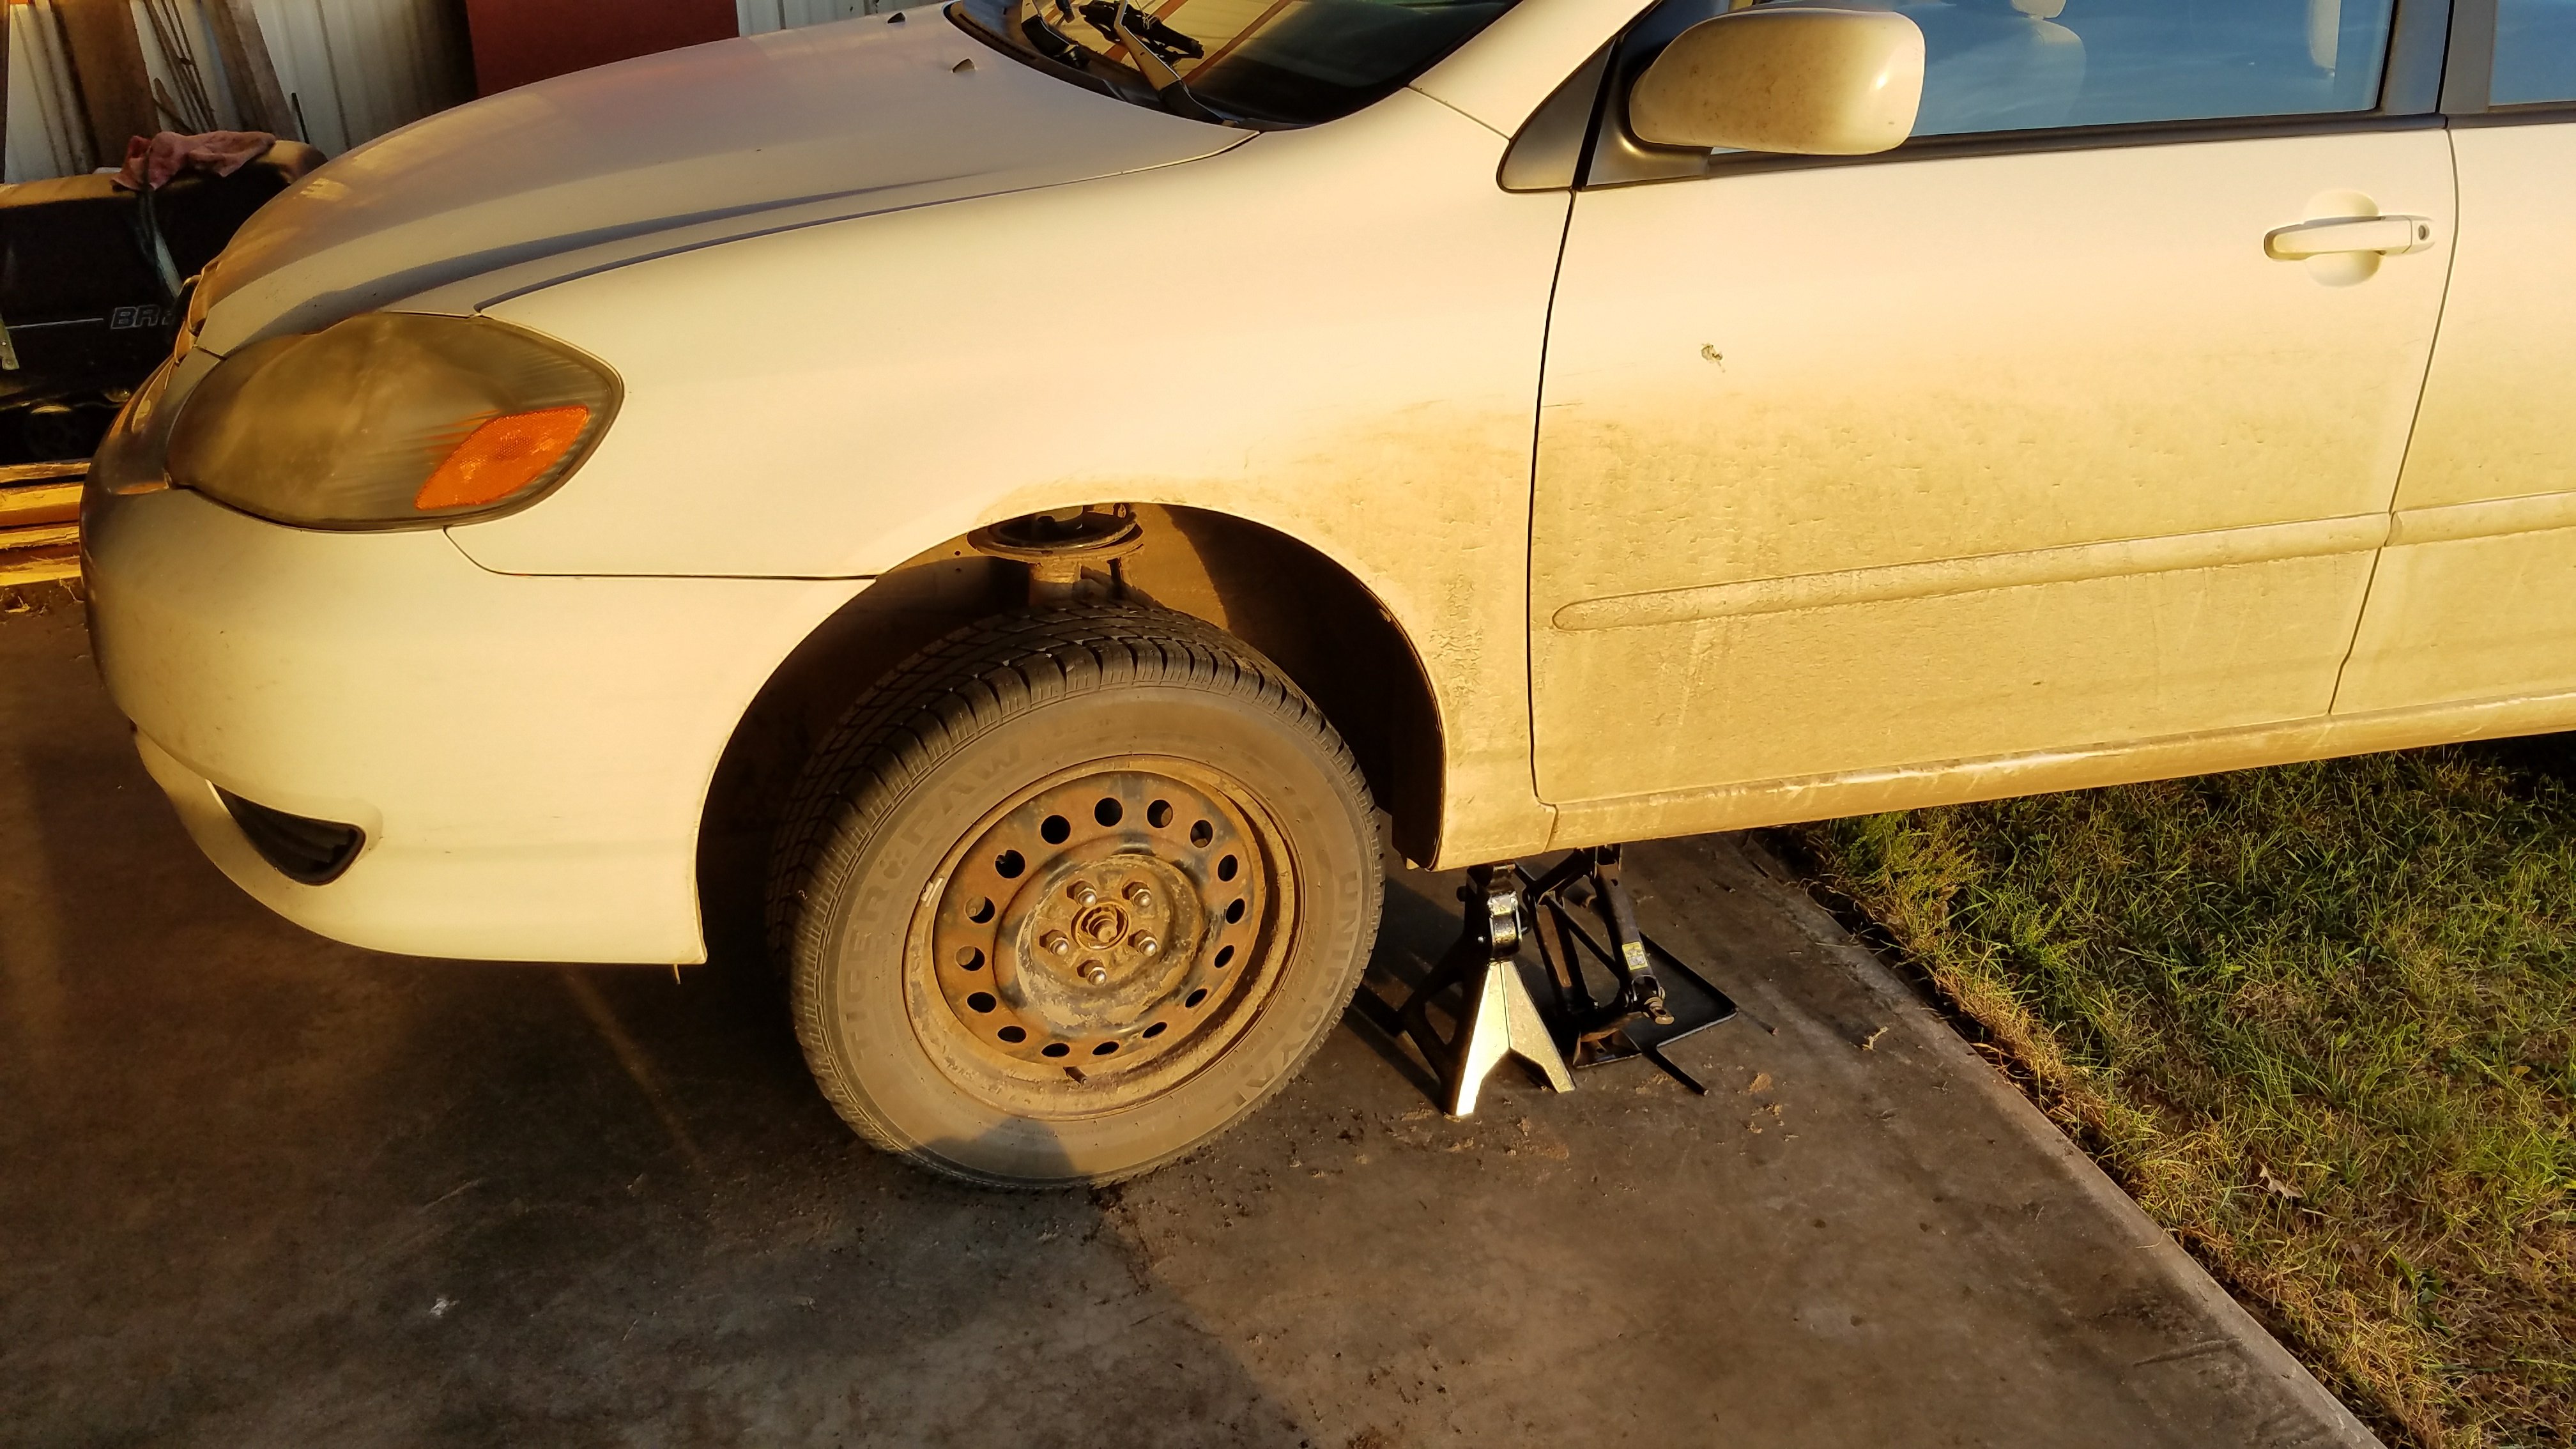
The first step is to jack up the vehicle. Then put a jack stand under there. Leave the Jack and the jack stand under the car for safety purposes.
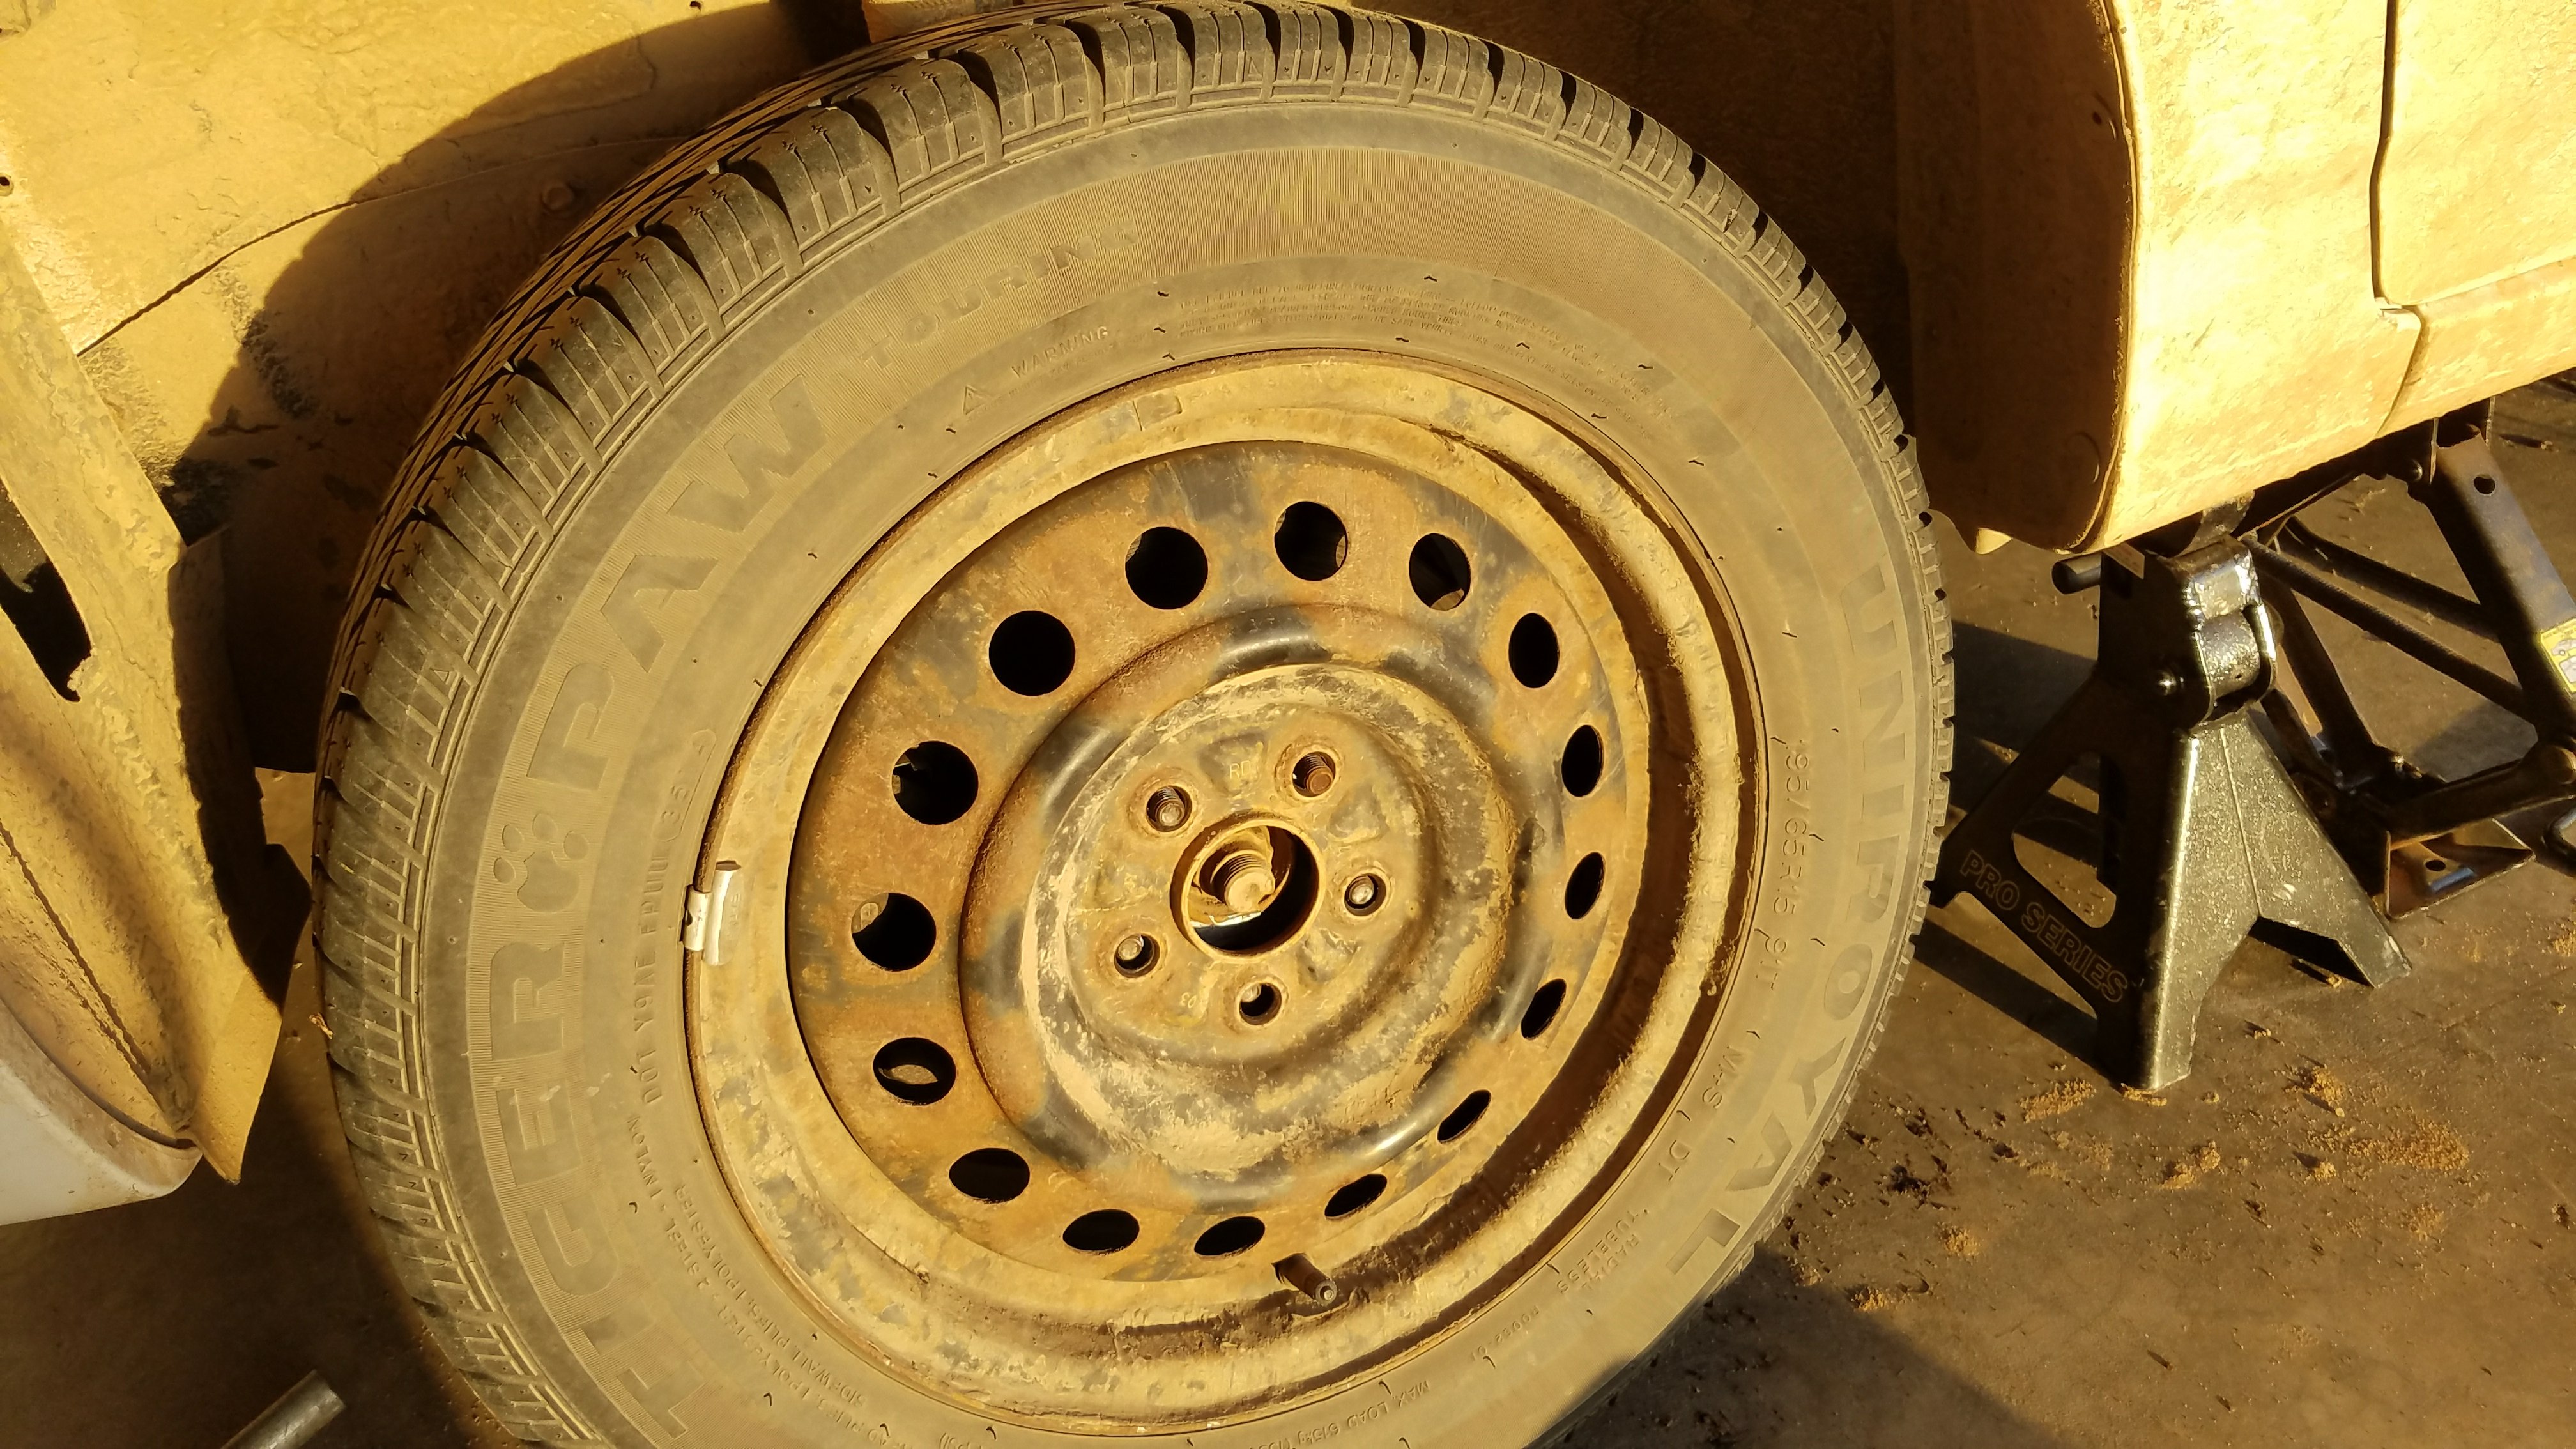
Remove the lug nuts (13/16″ socket), take off the wheel, and set it aside.
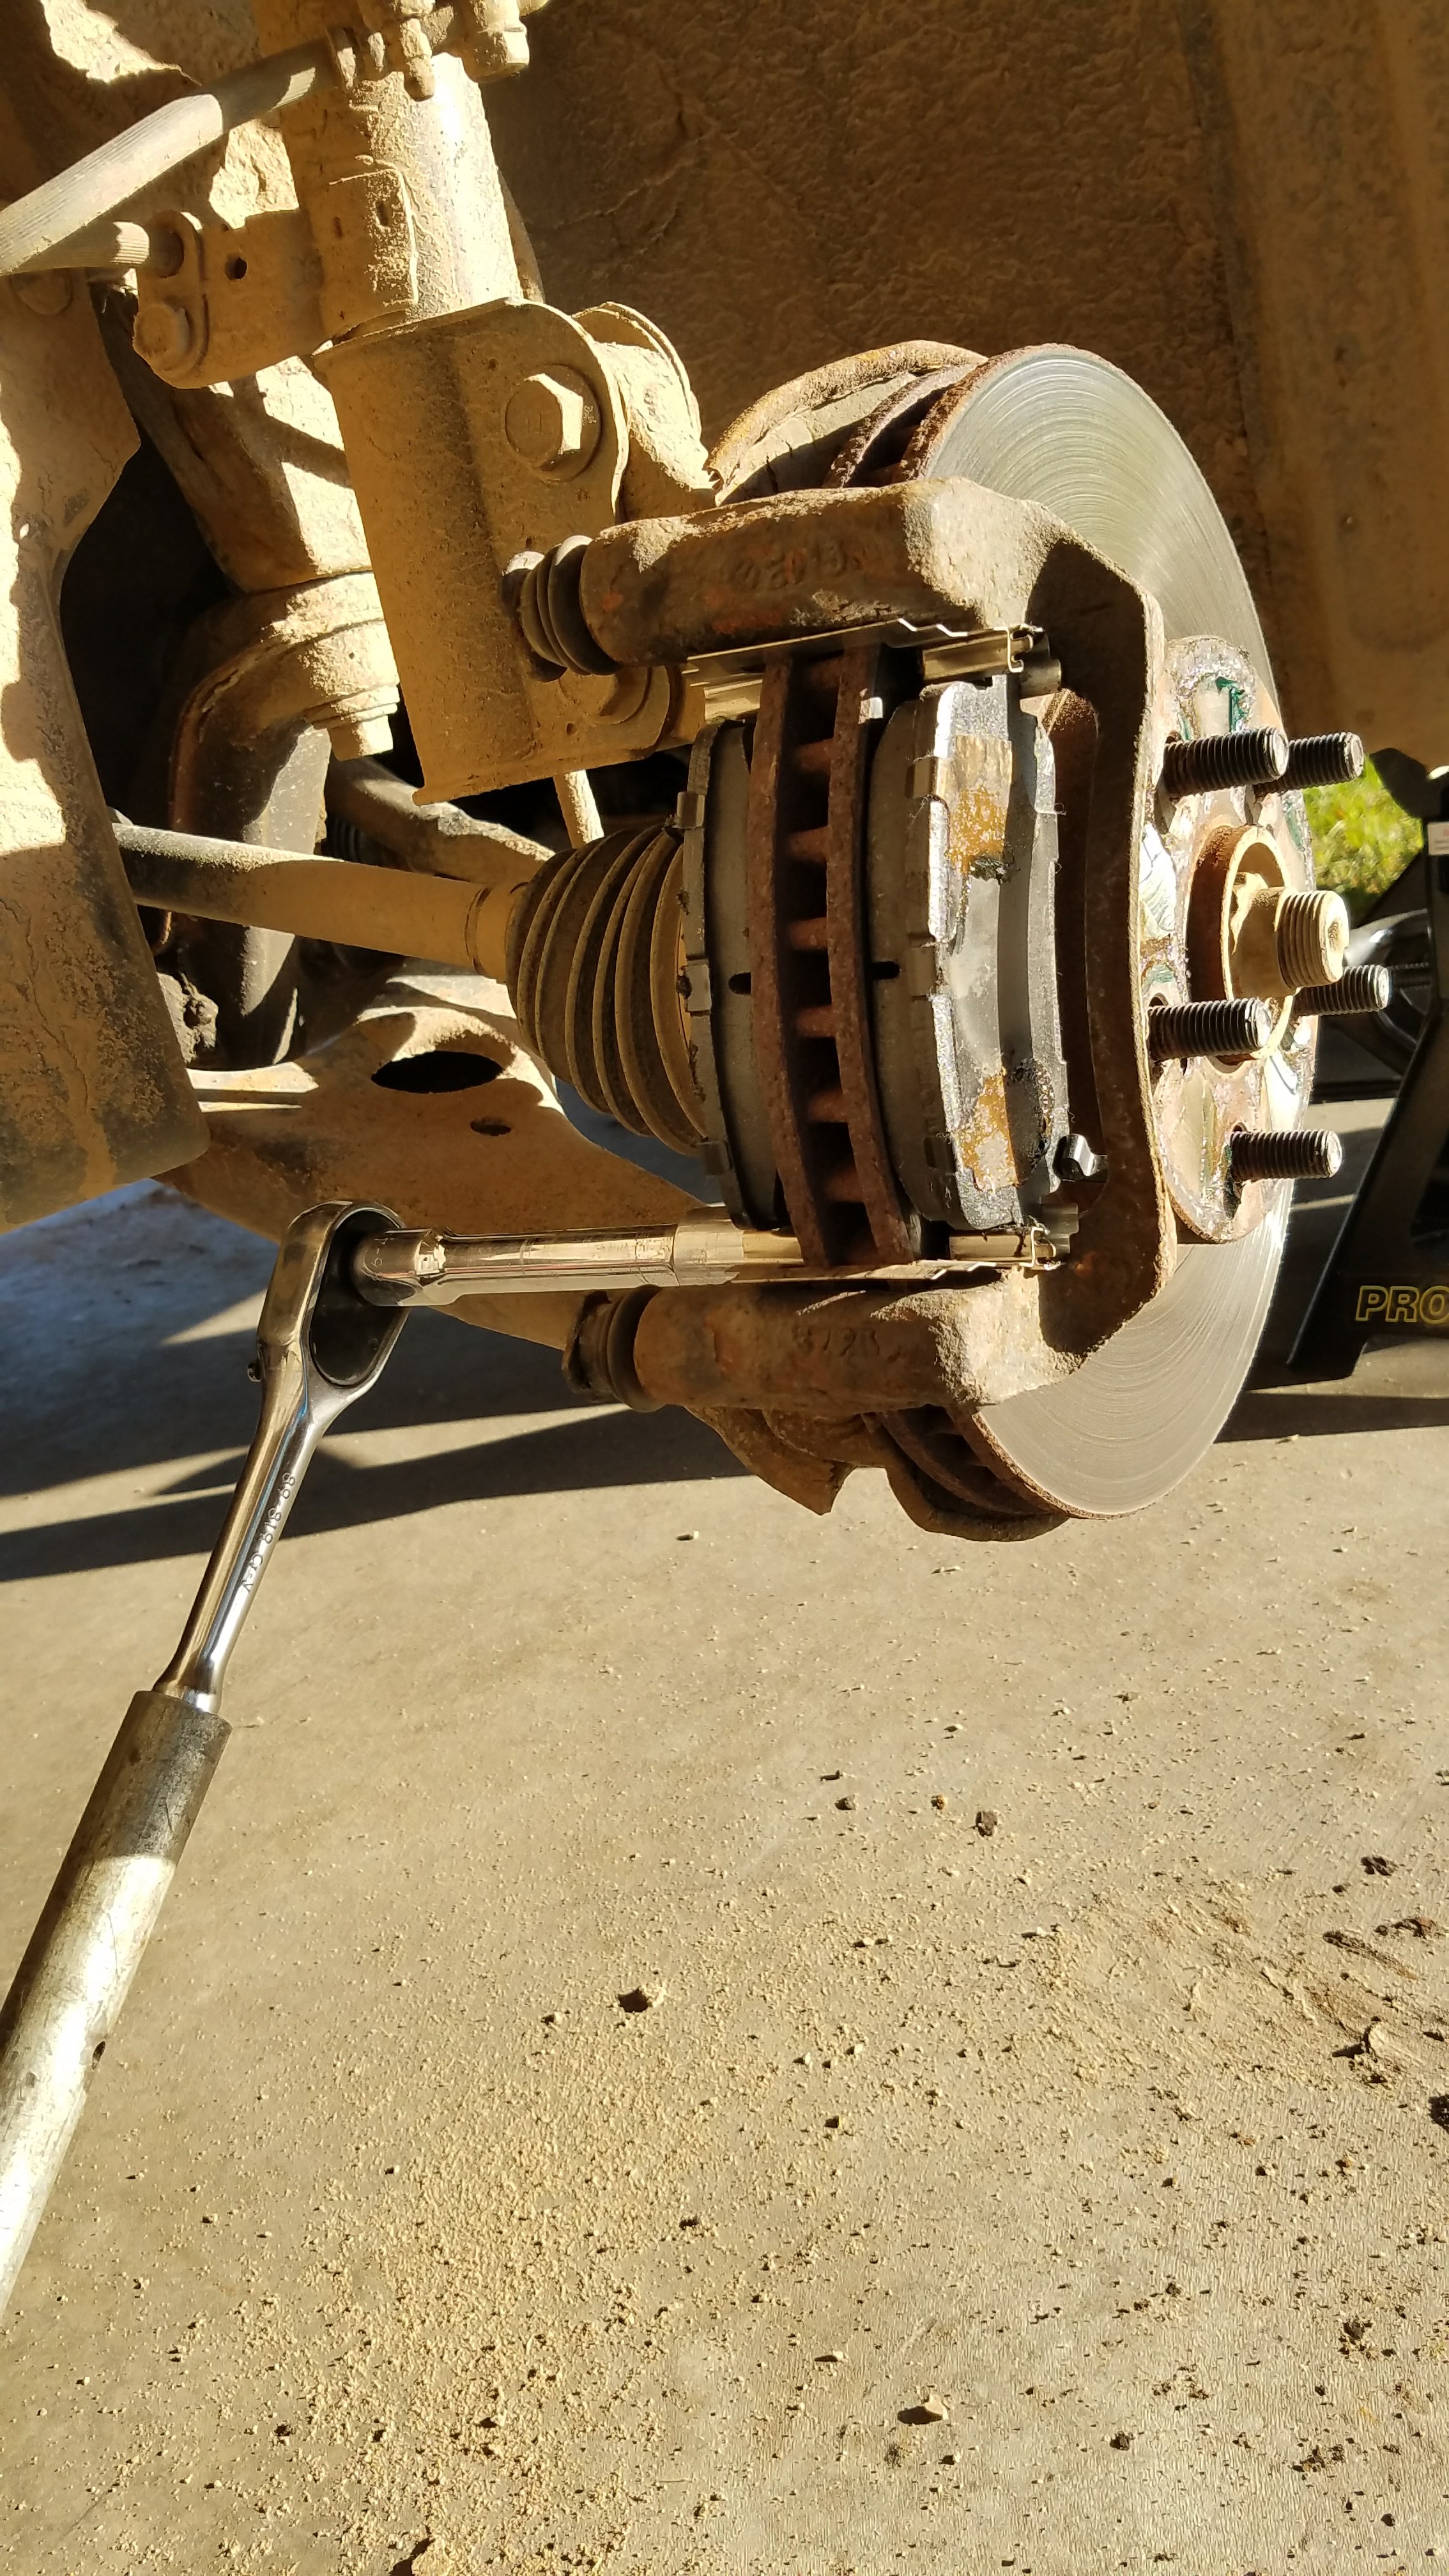
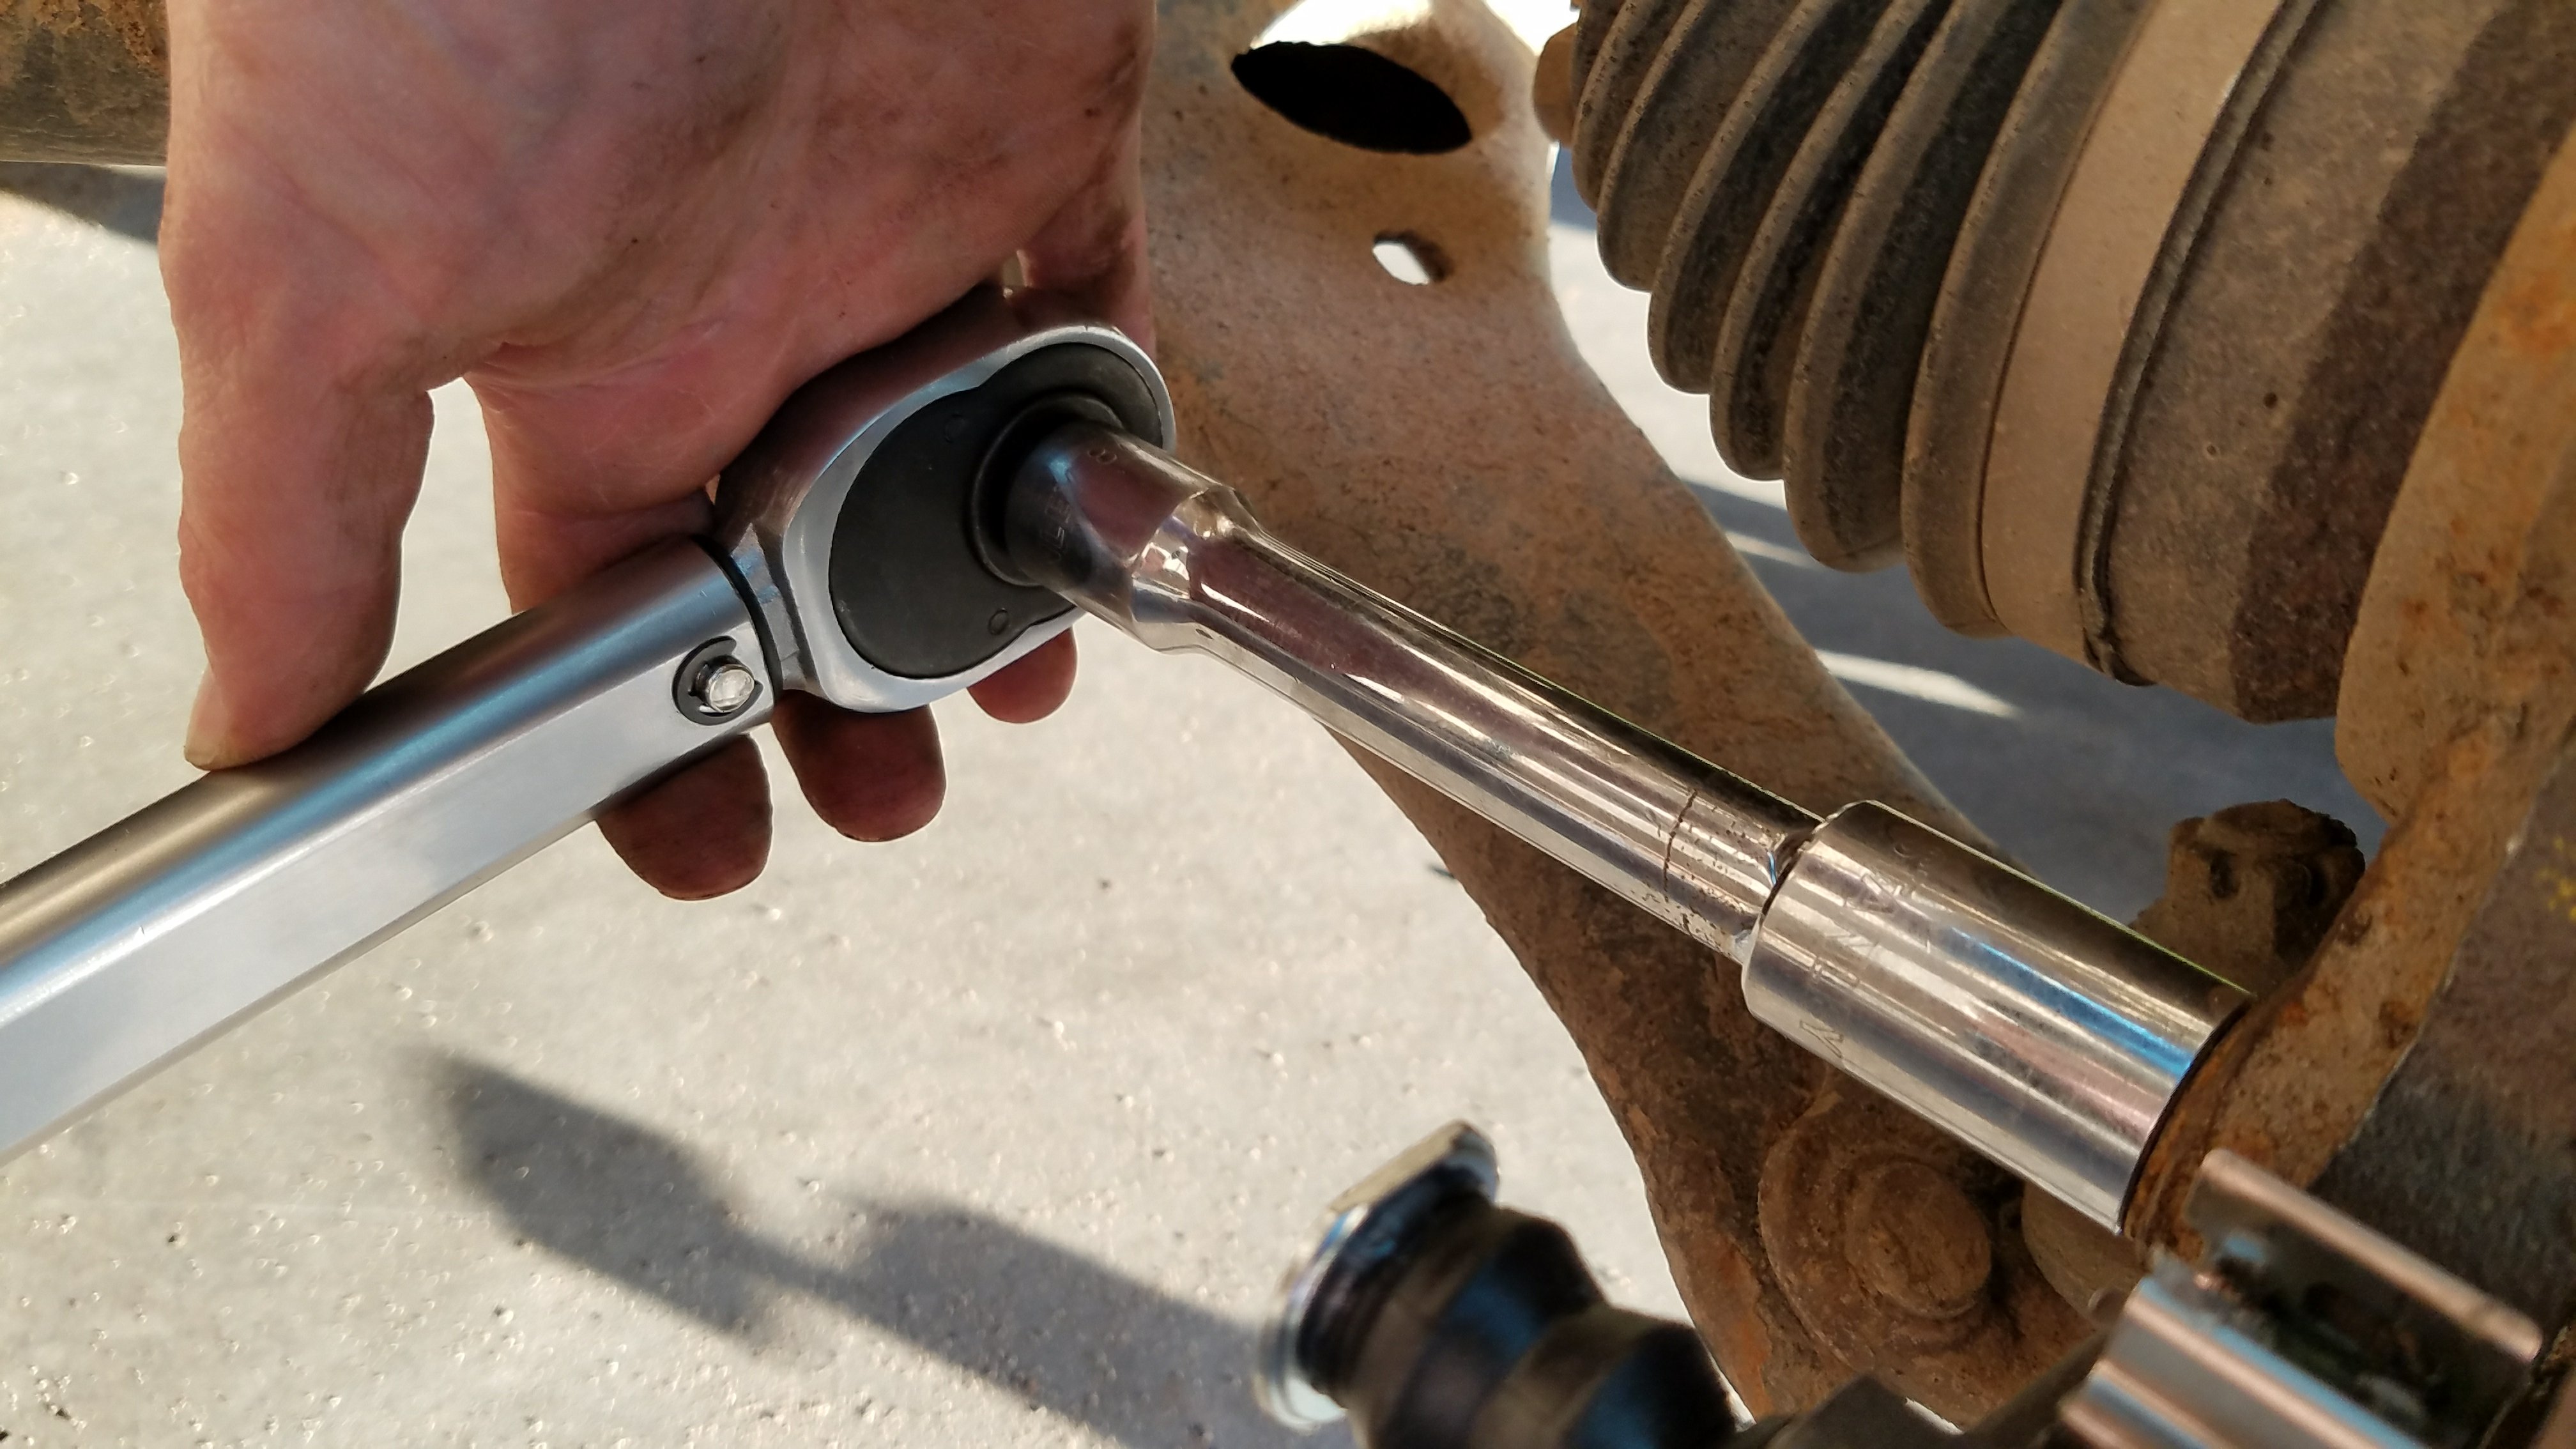
The next step is to remove the caliper. Use a 14 mm socket for this.
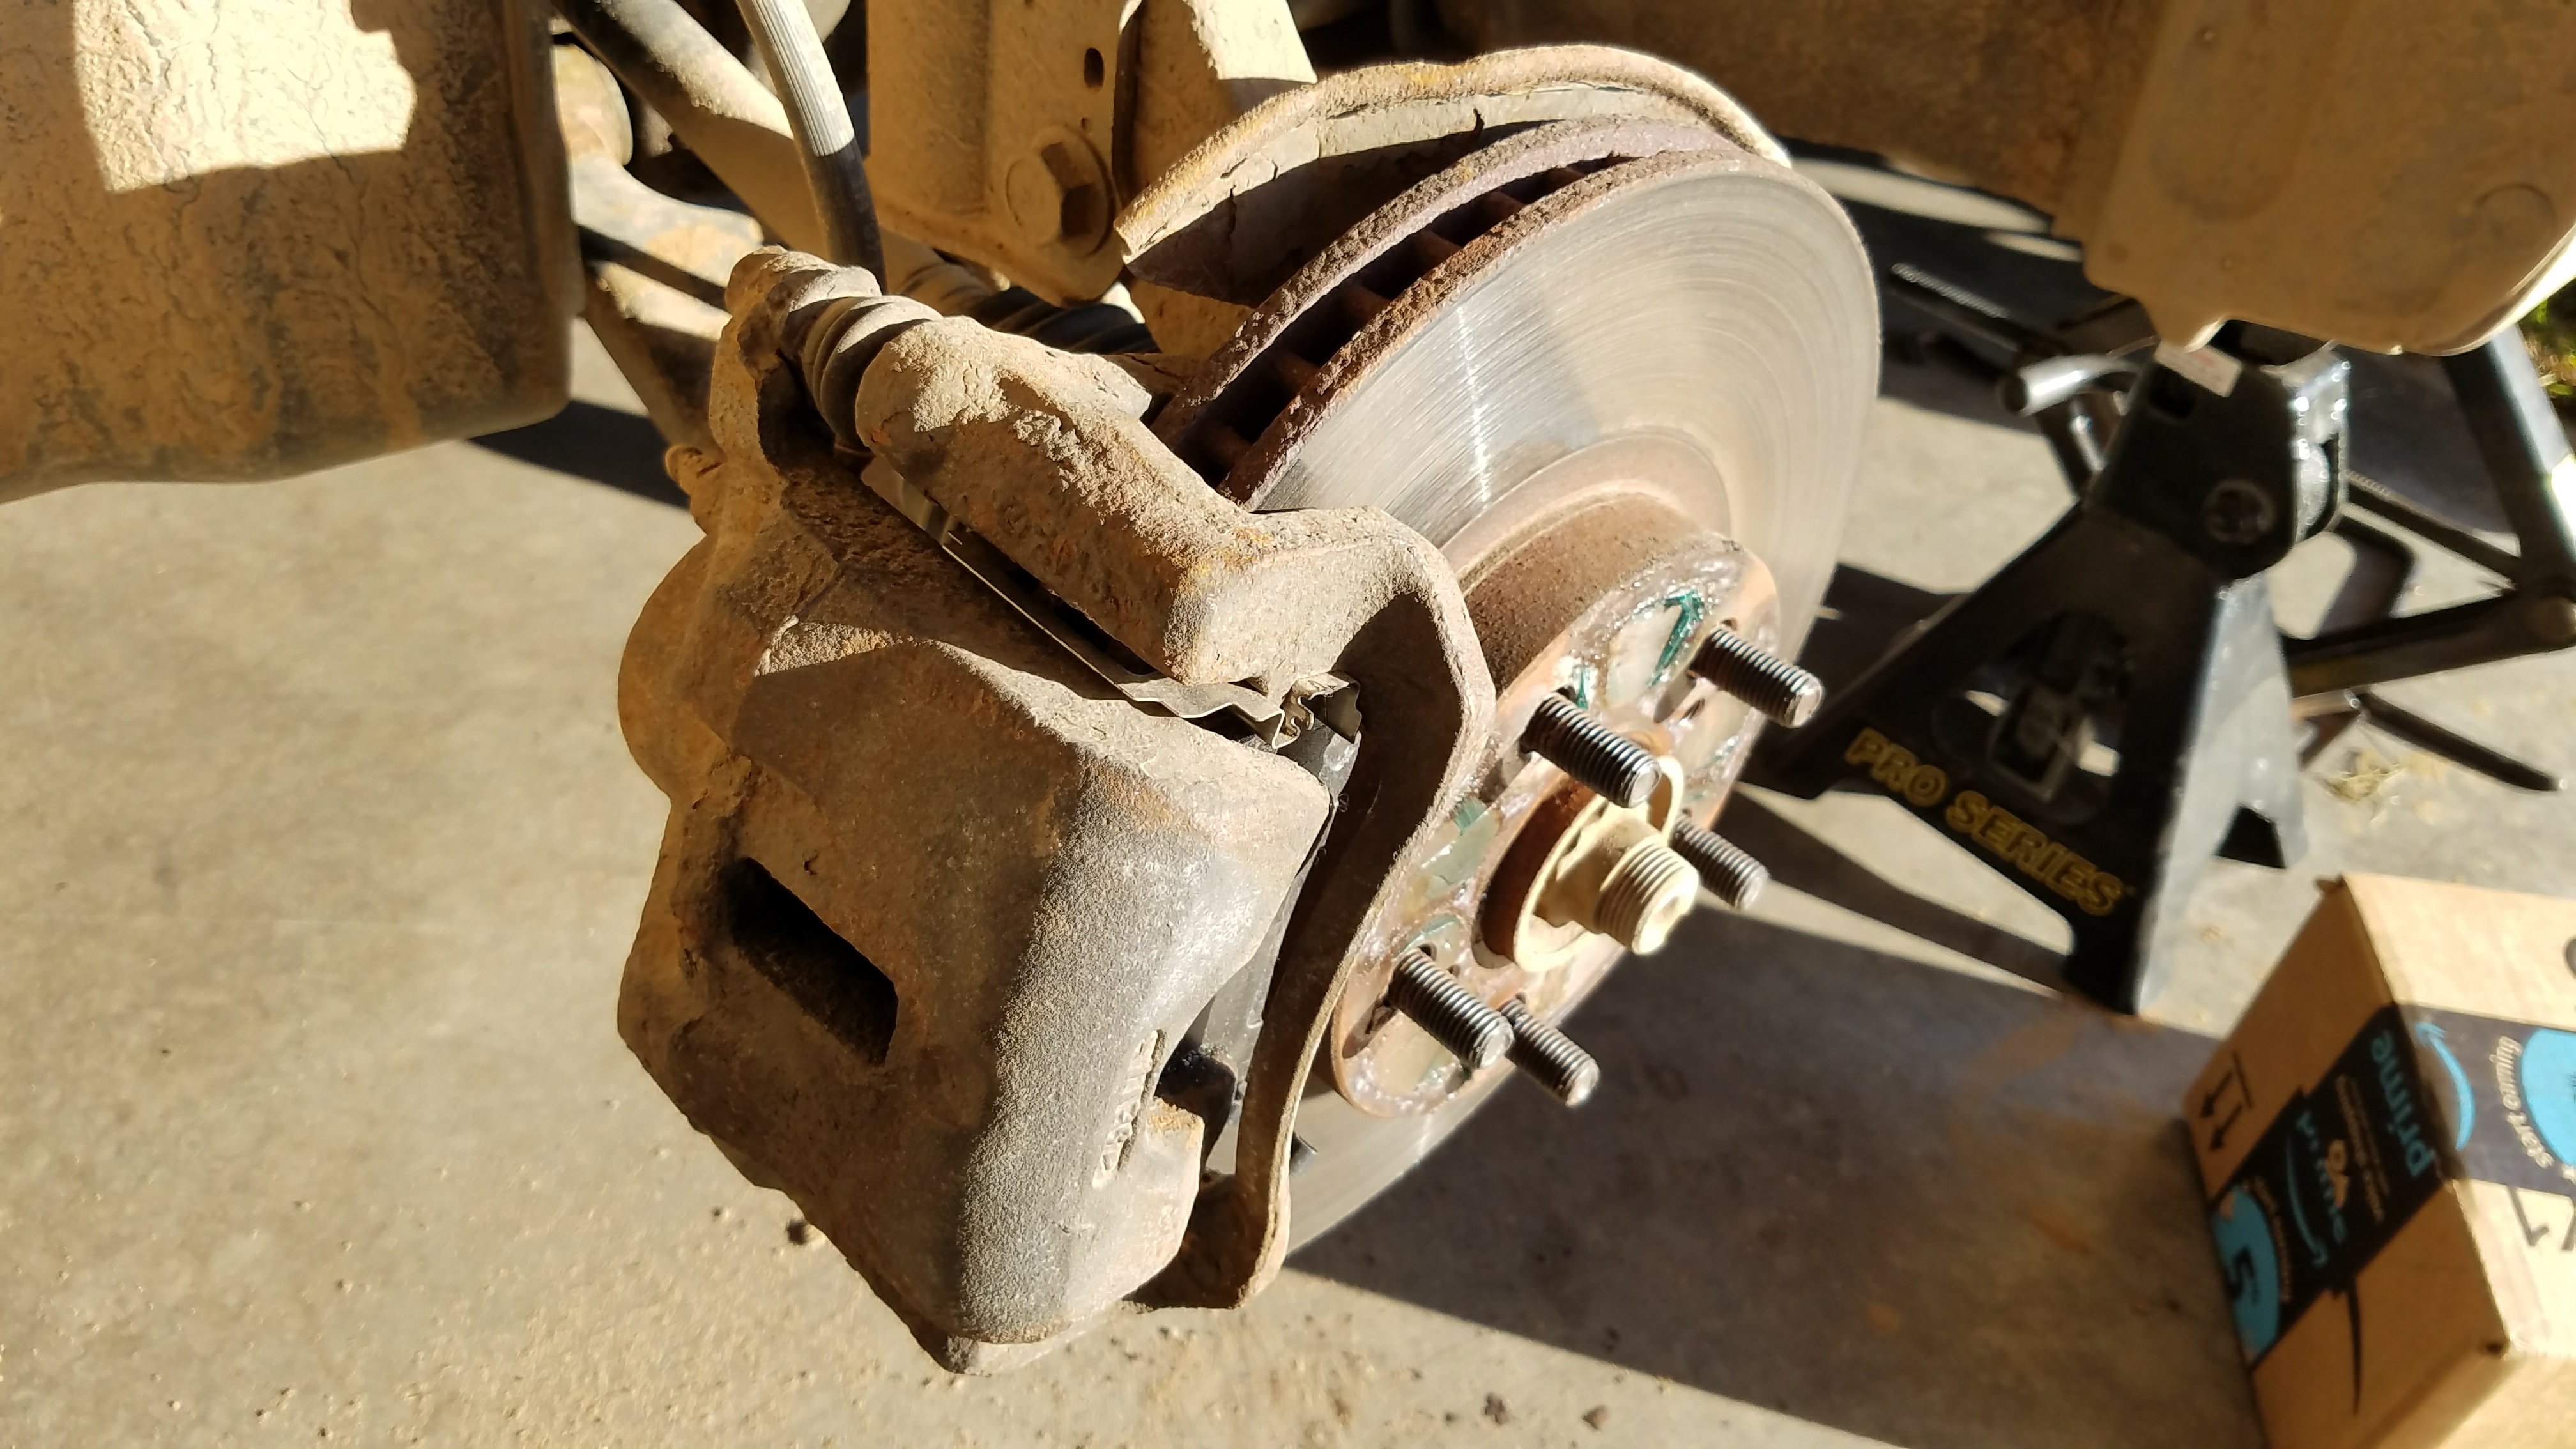
There are two bolts to remove. Remove the top and bottom bolt, as shown.
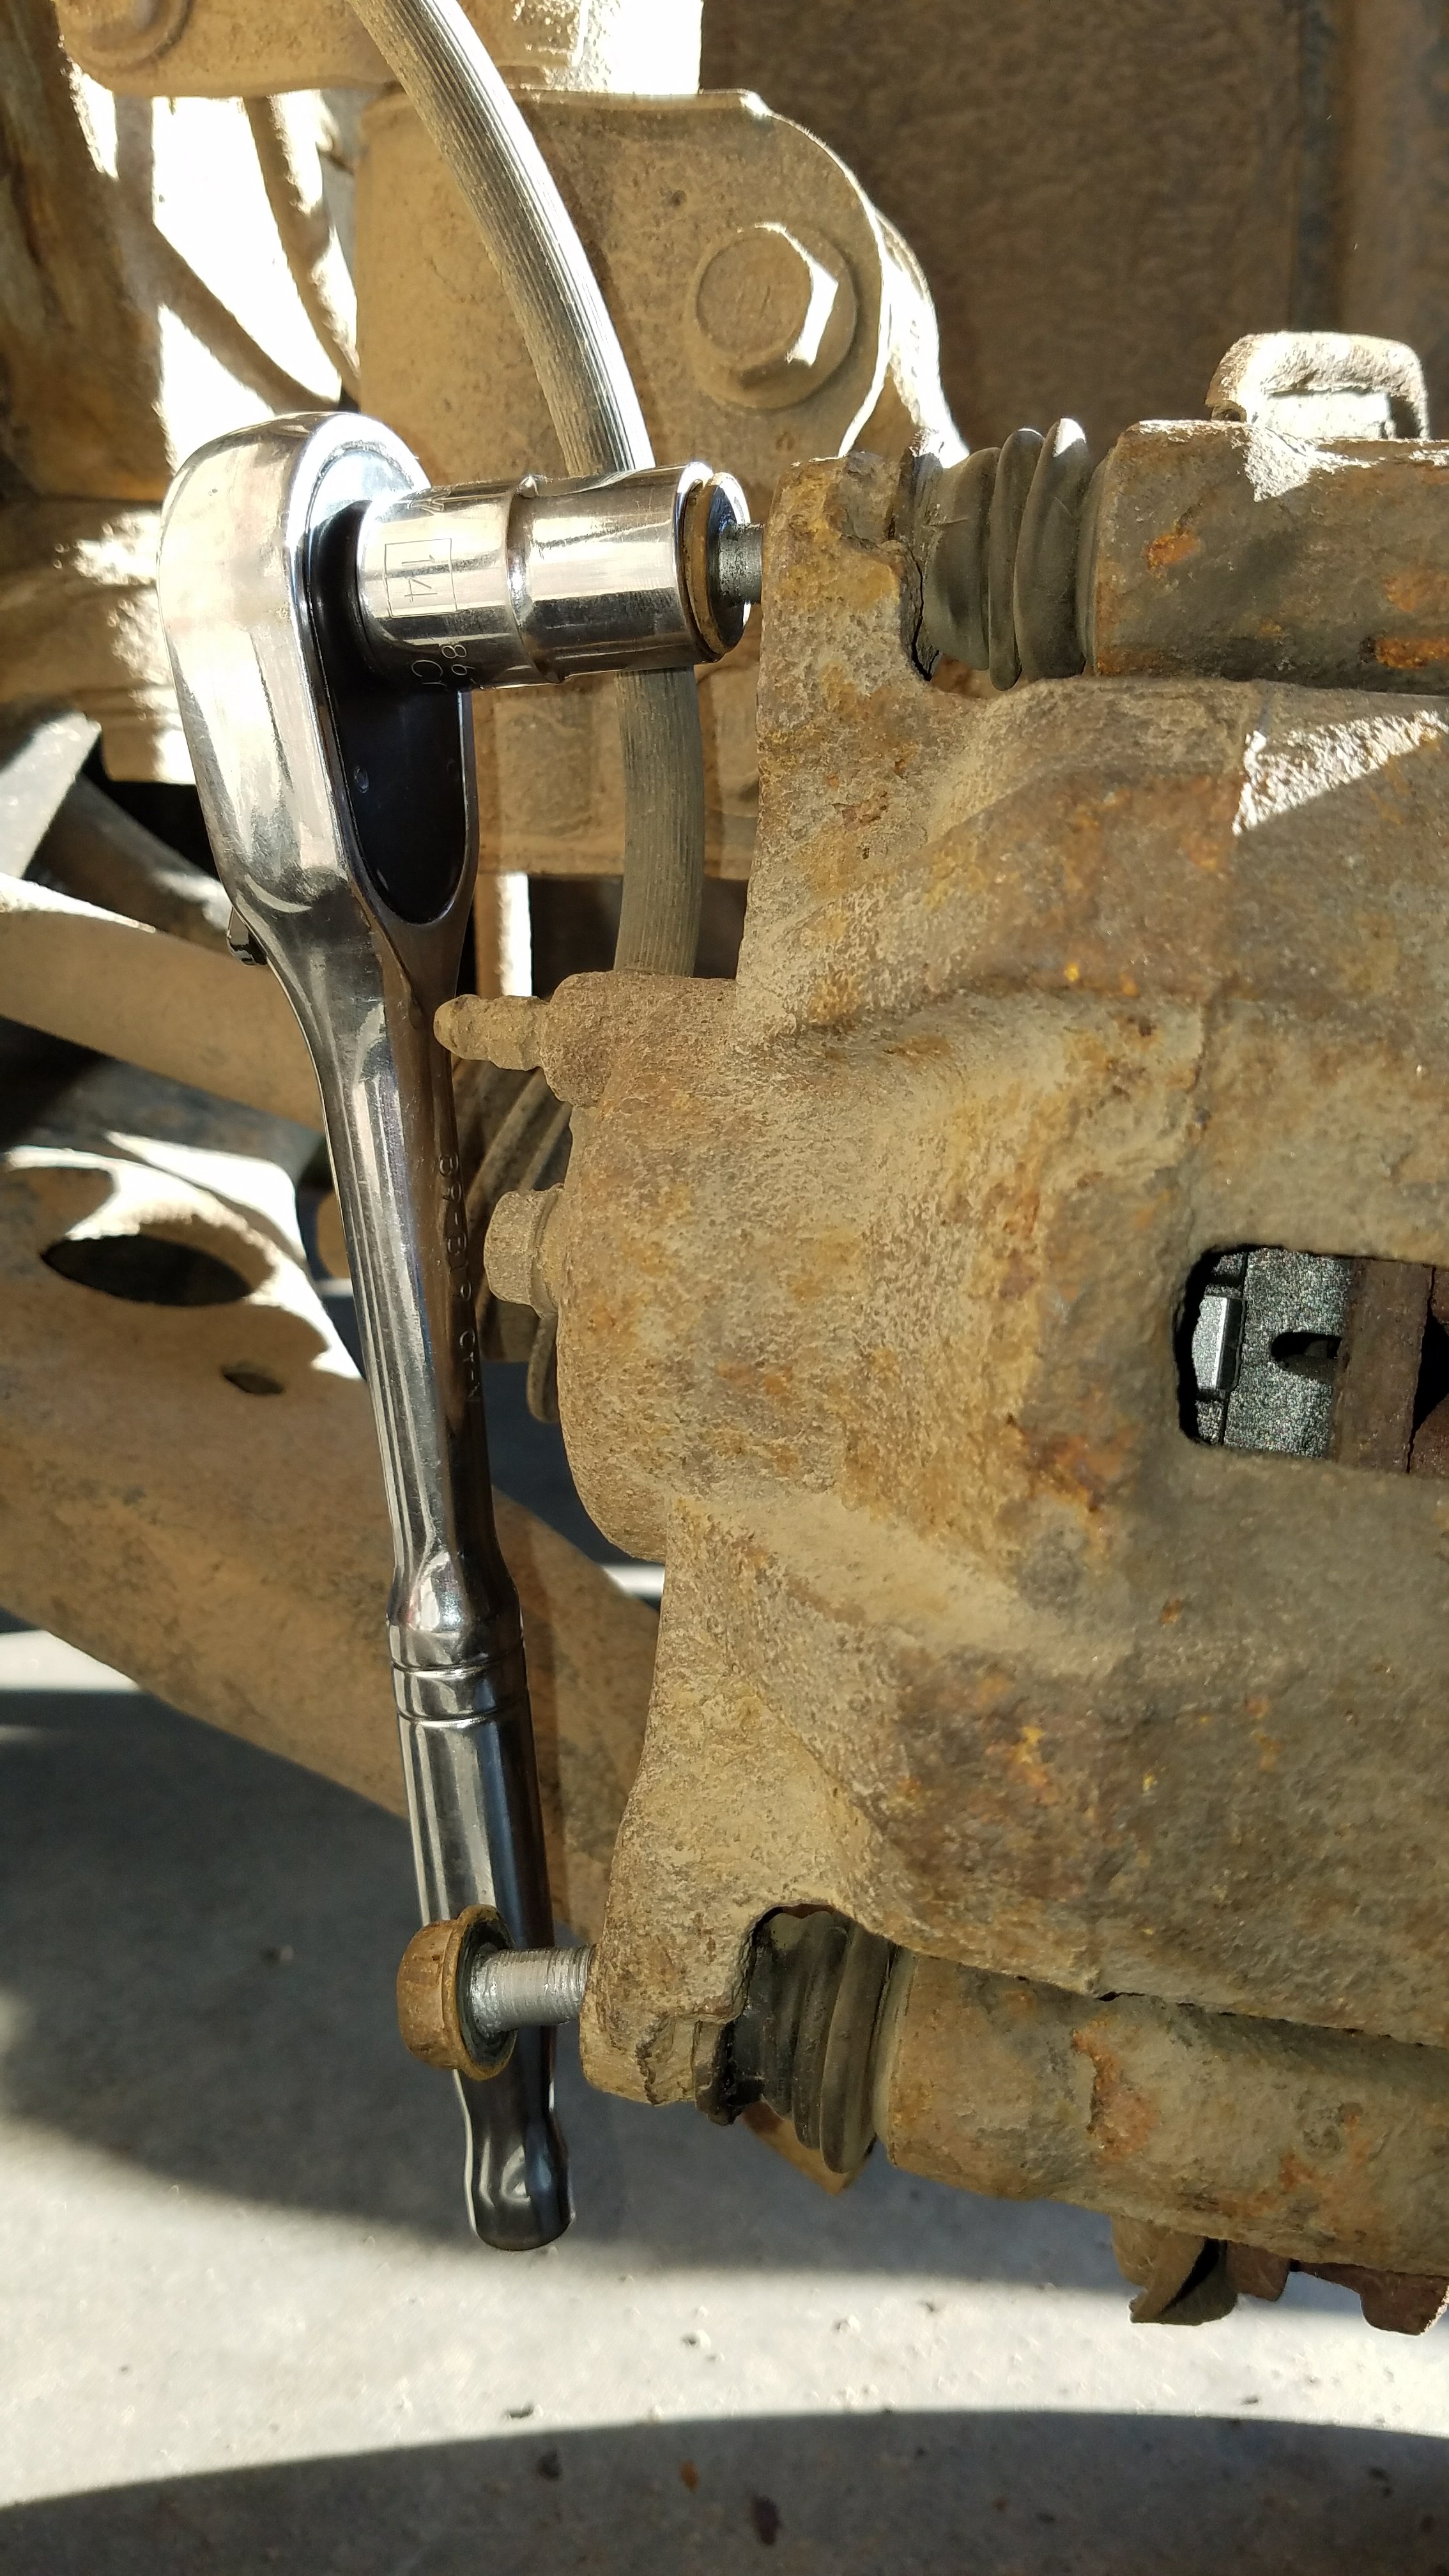
This next picture shows the top caliper bolt being removed with a 14mm socket and 1/2″ drive socket wrench, and the bottom caliper bolt already loosened.
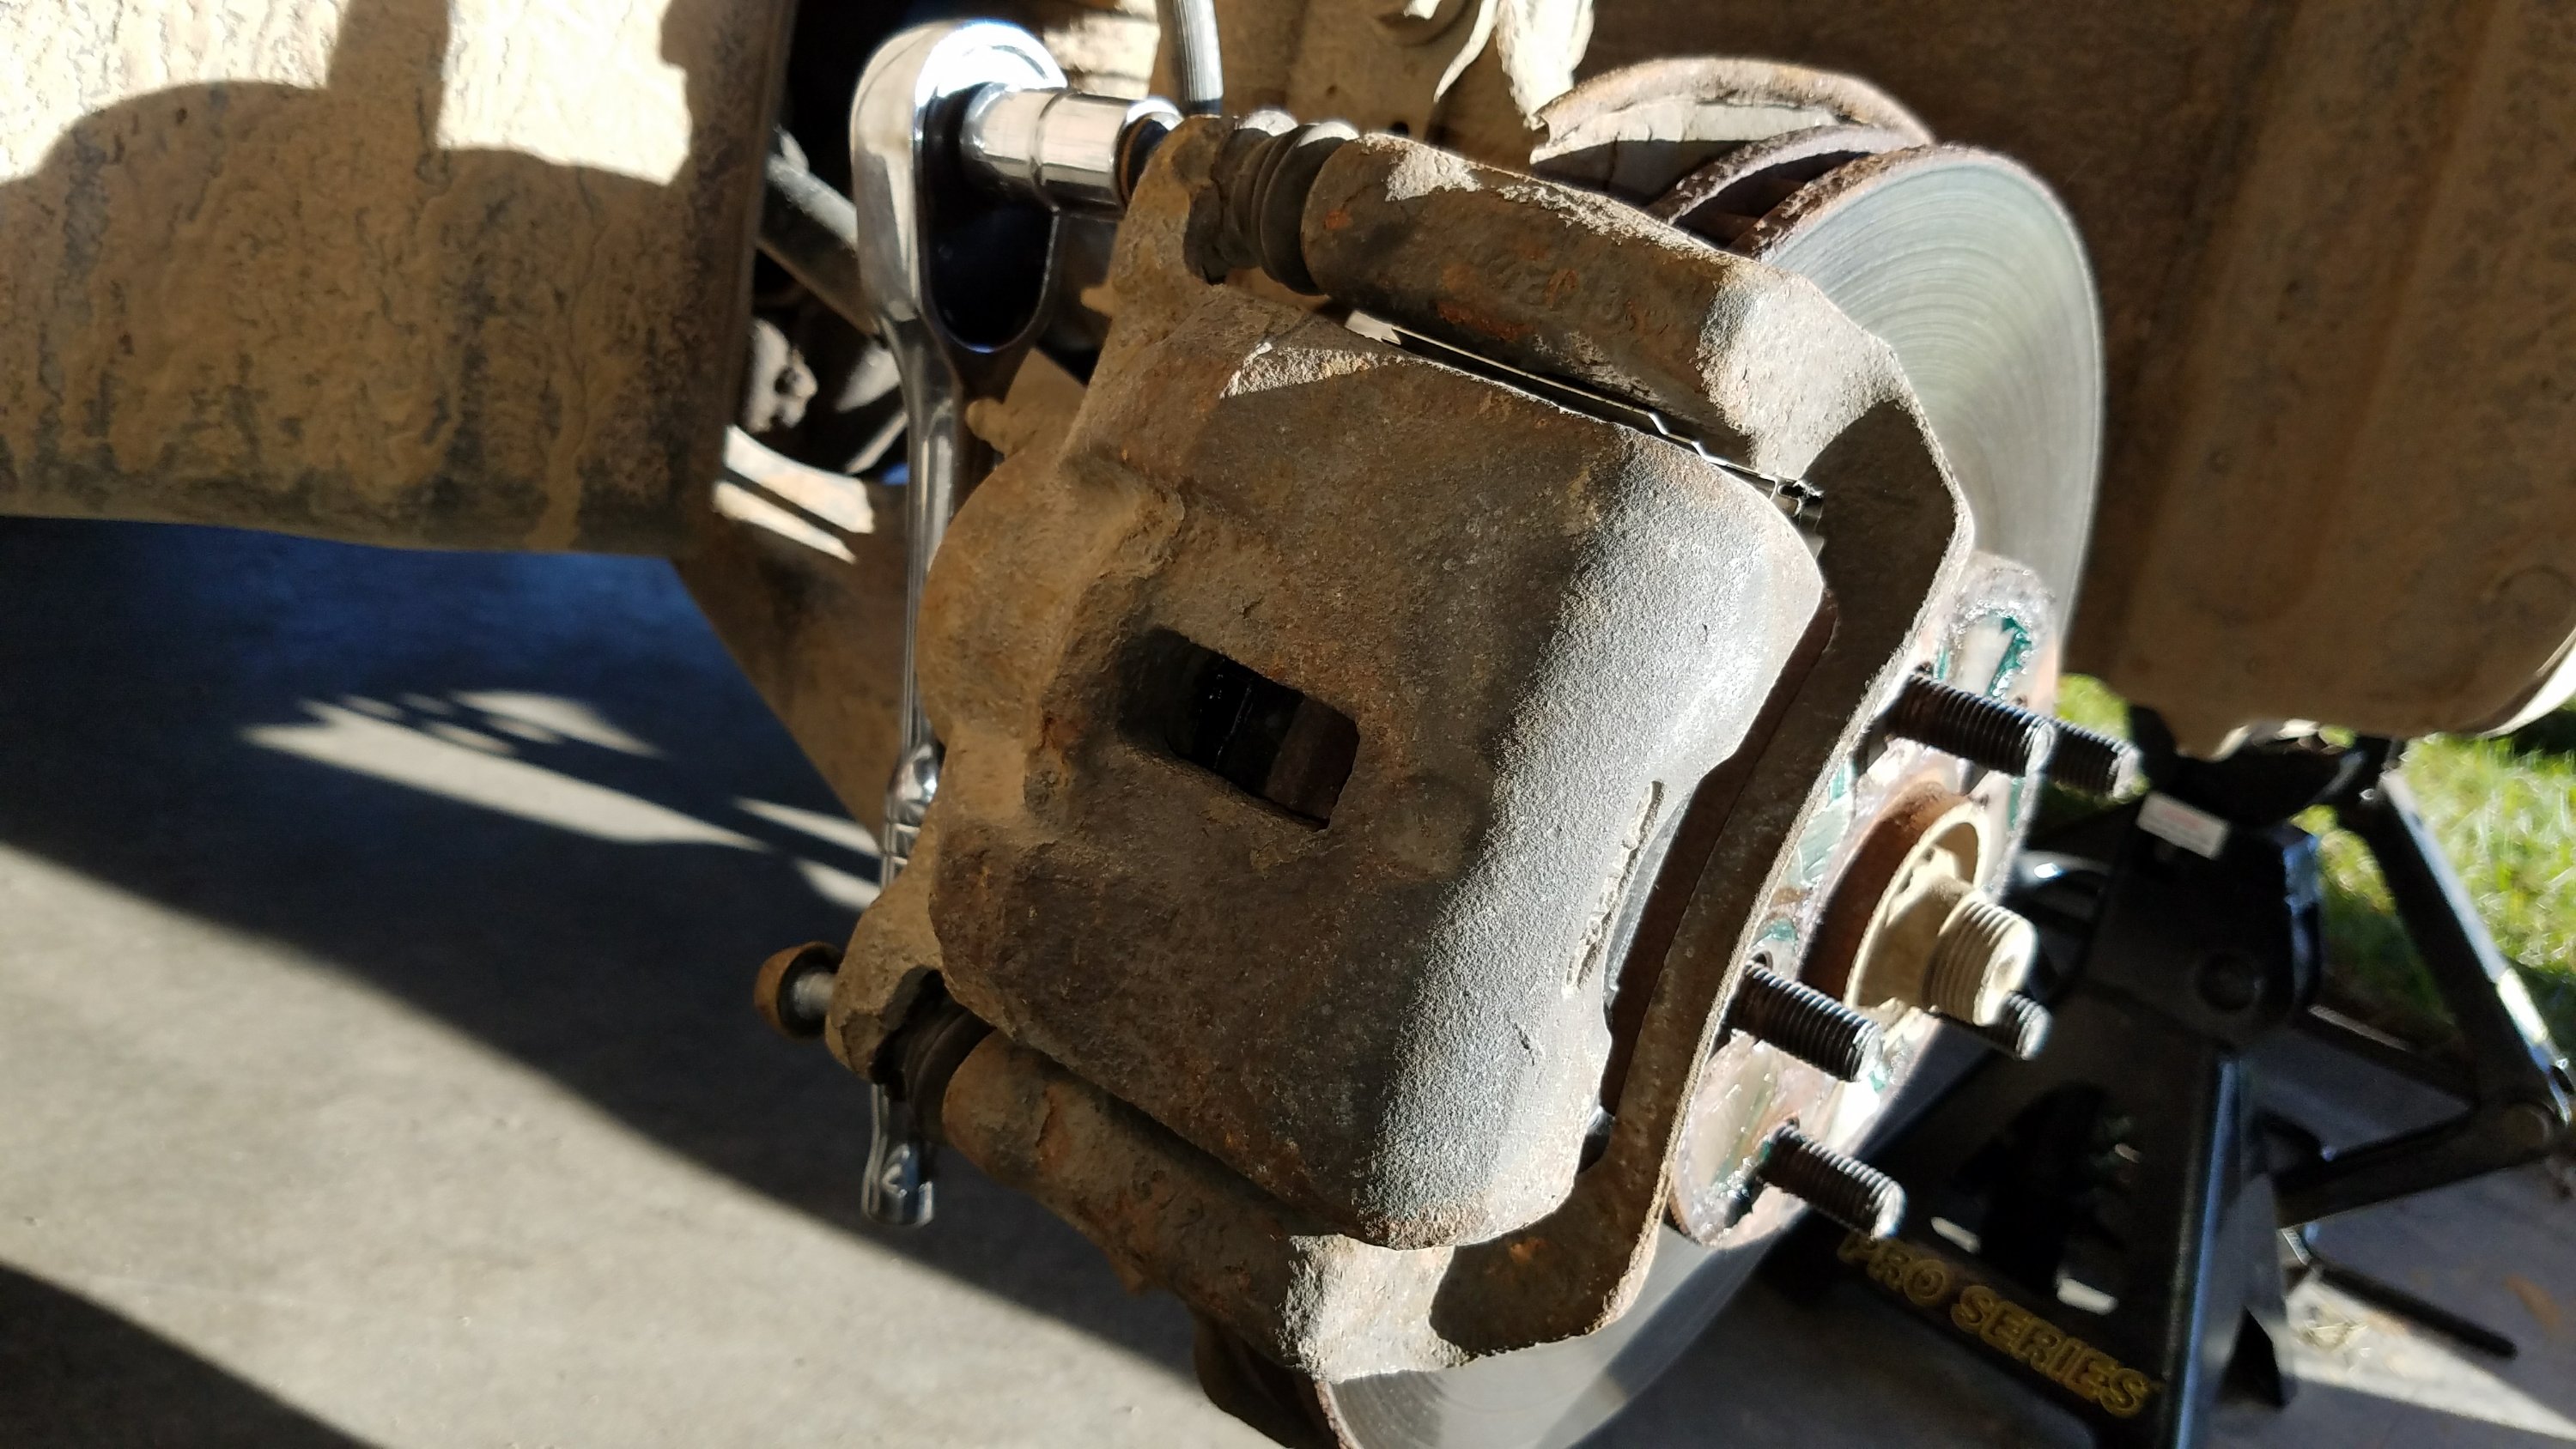
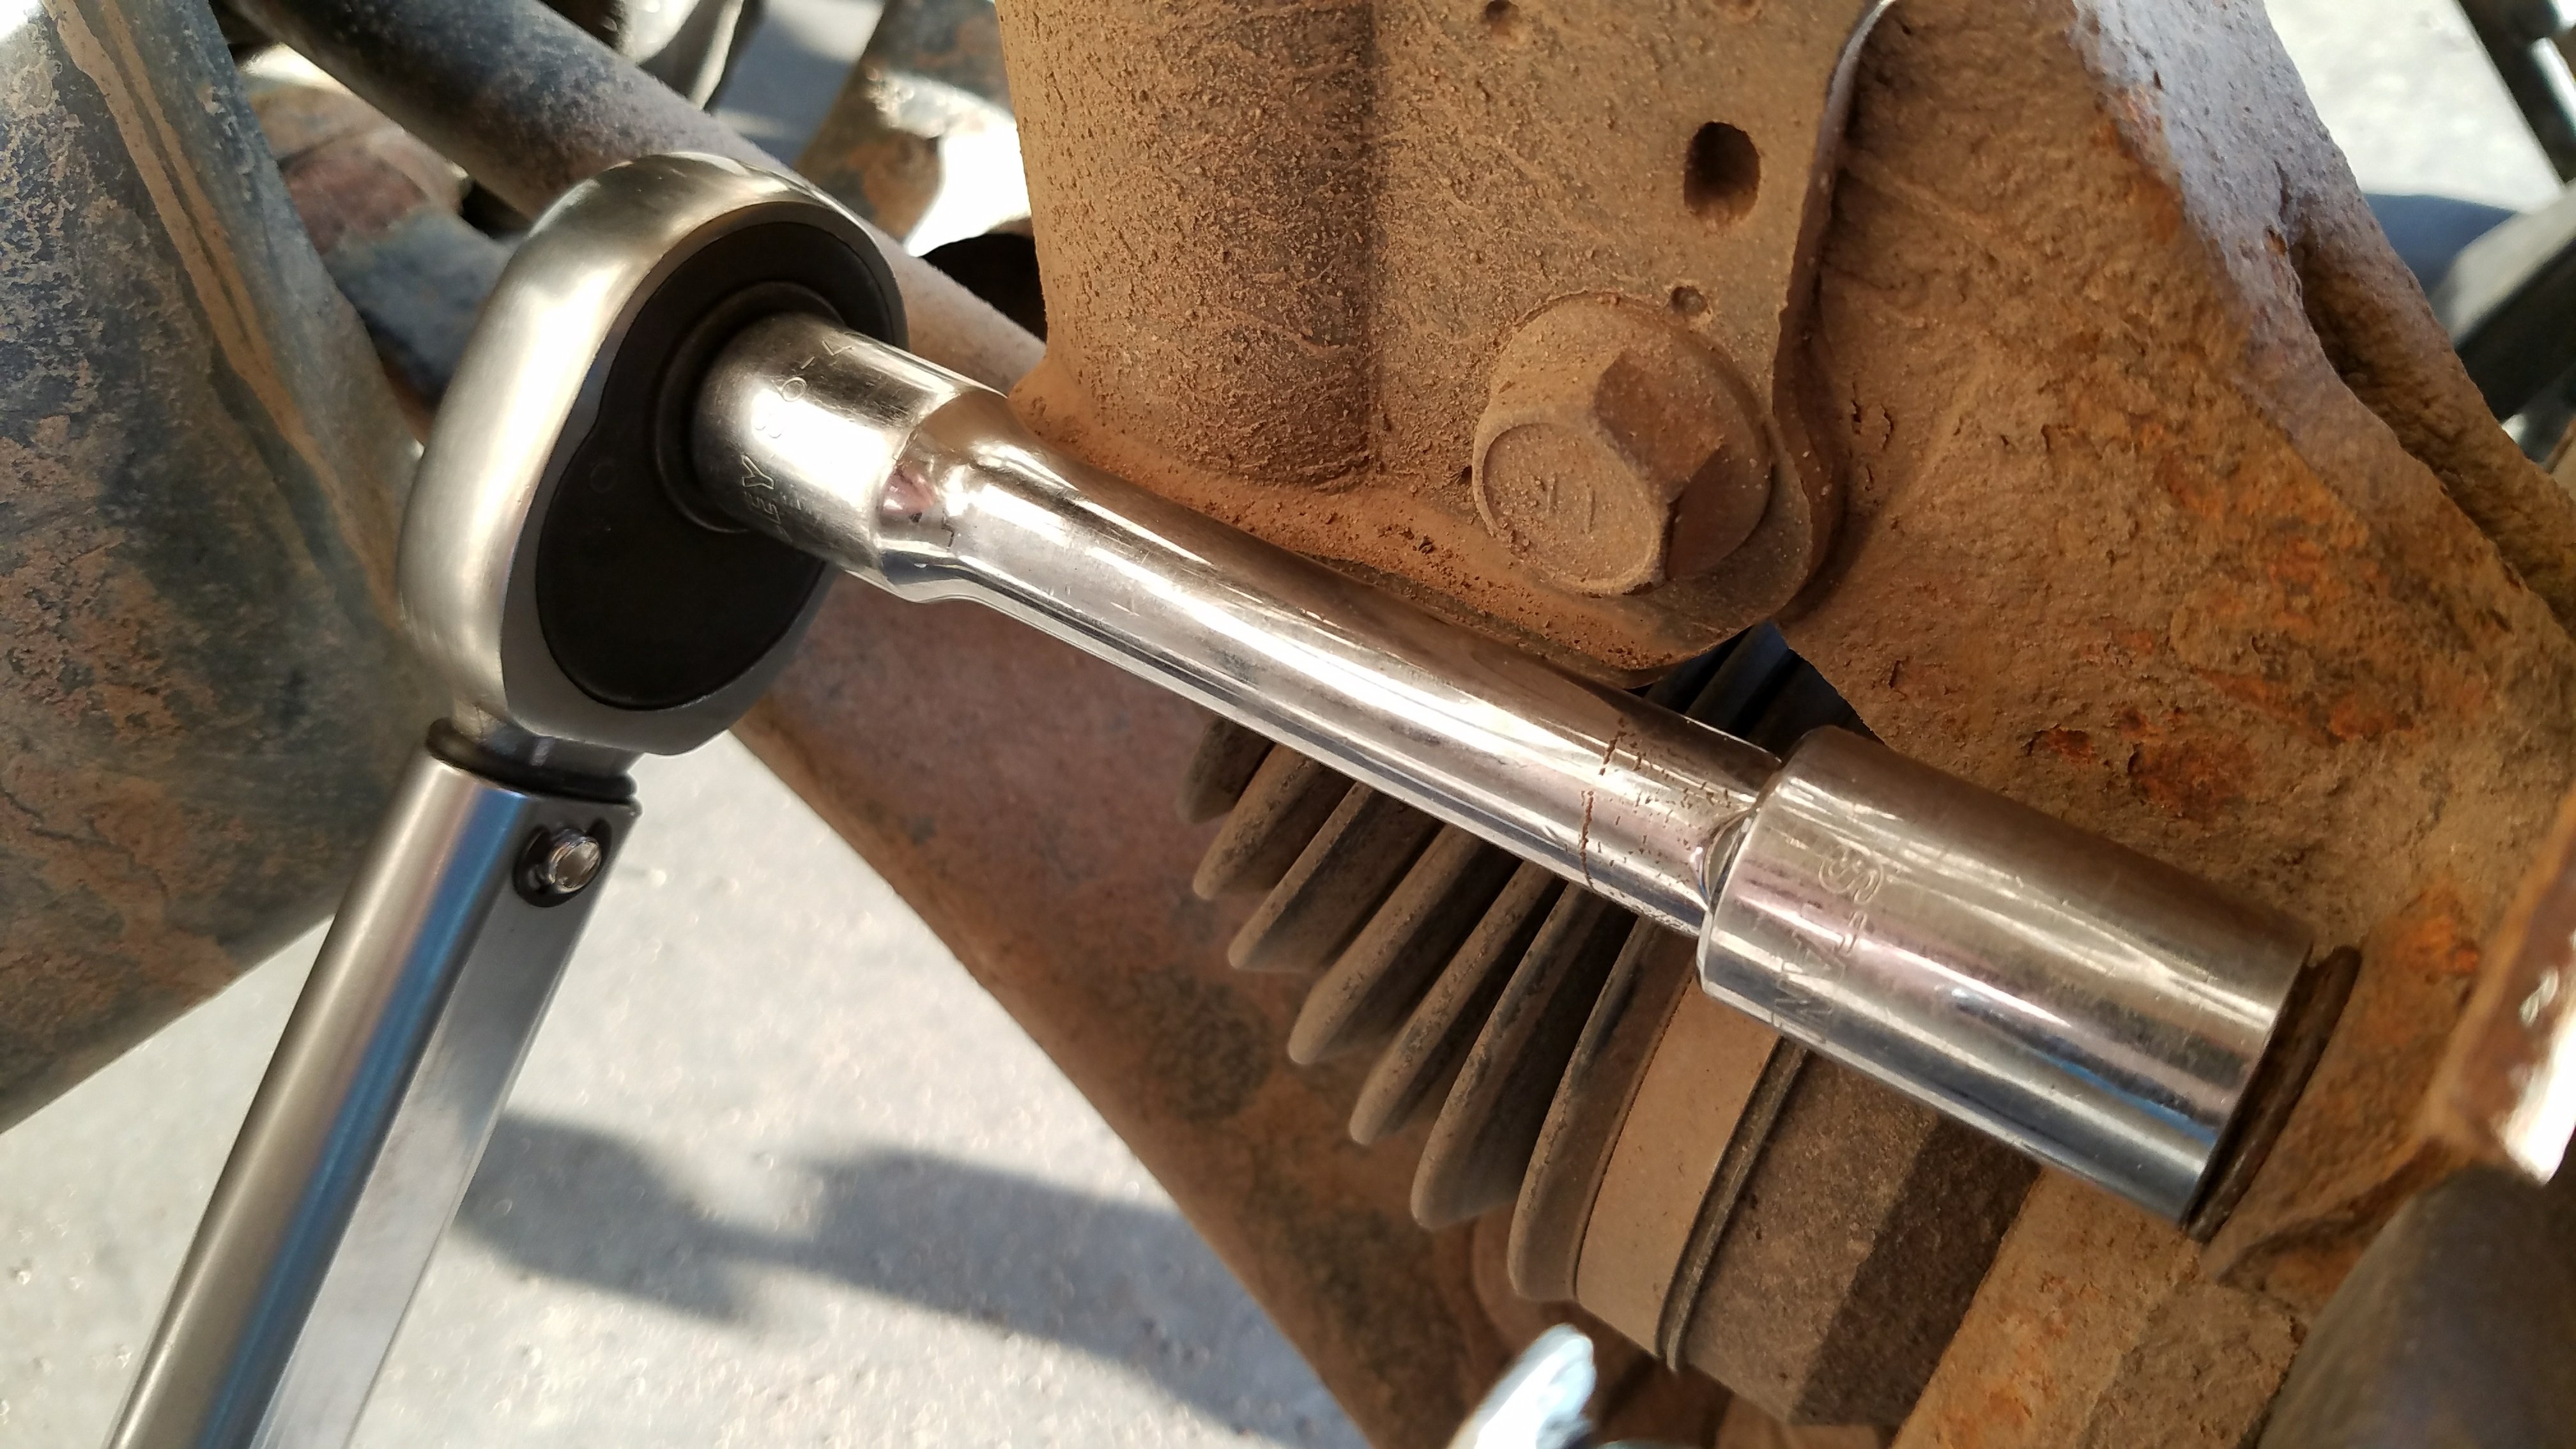
This shows another angle of removing the caliper bolts.
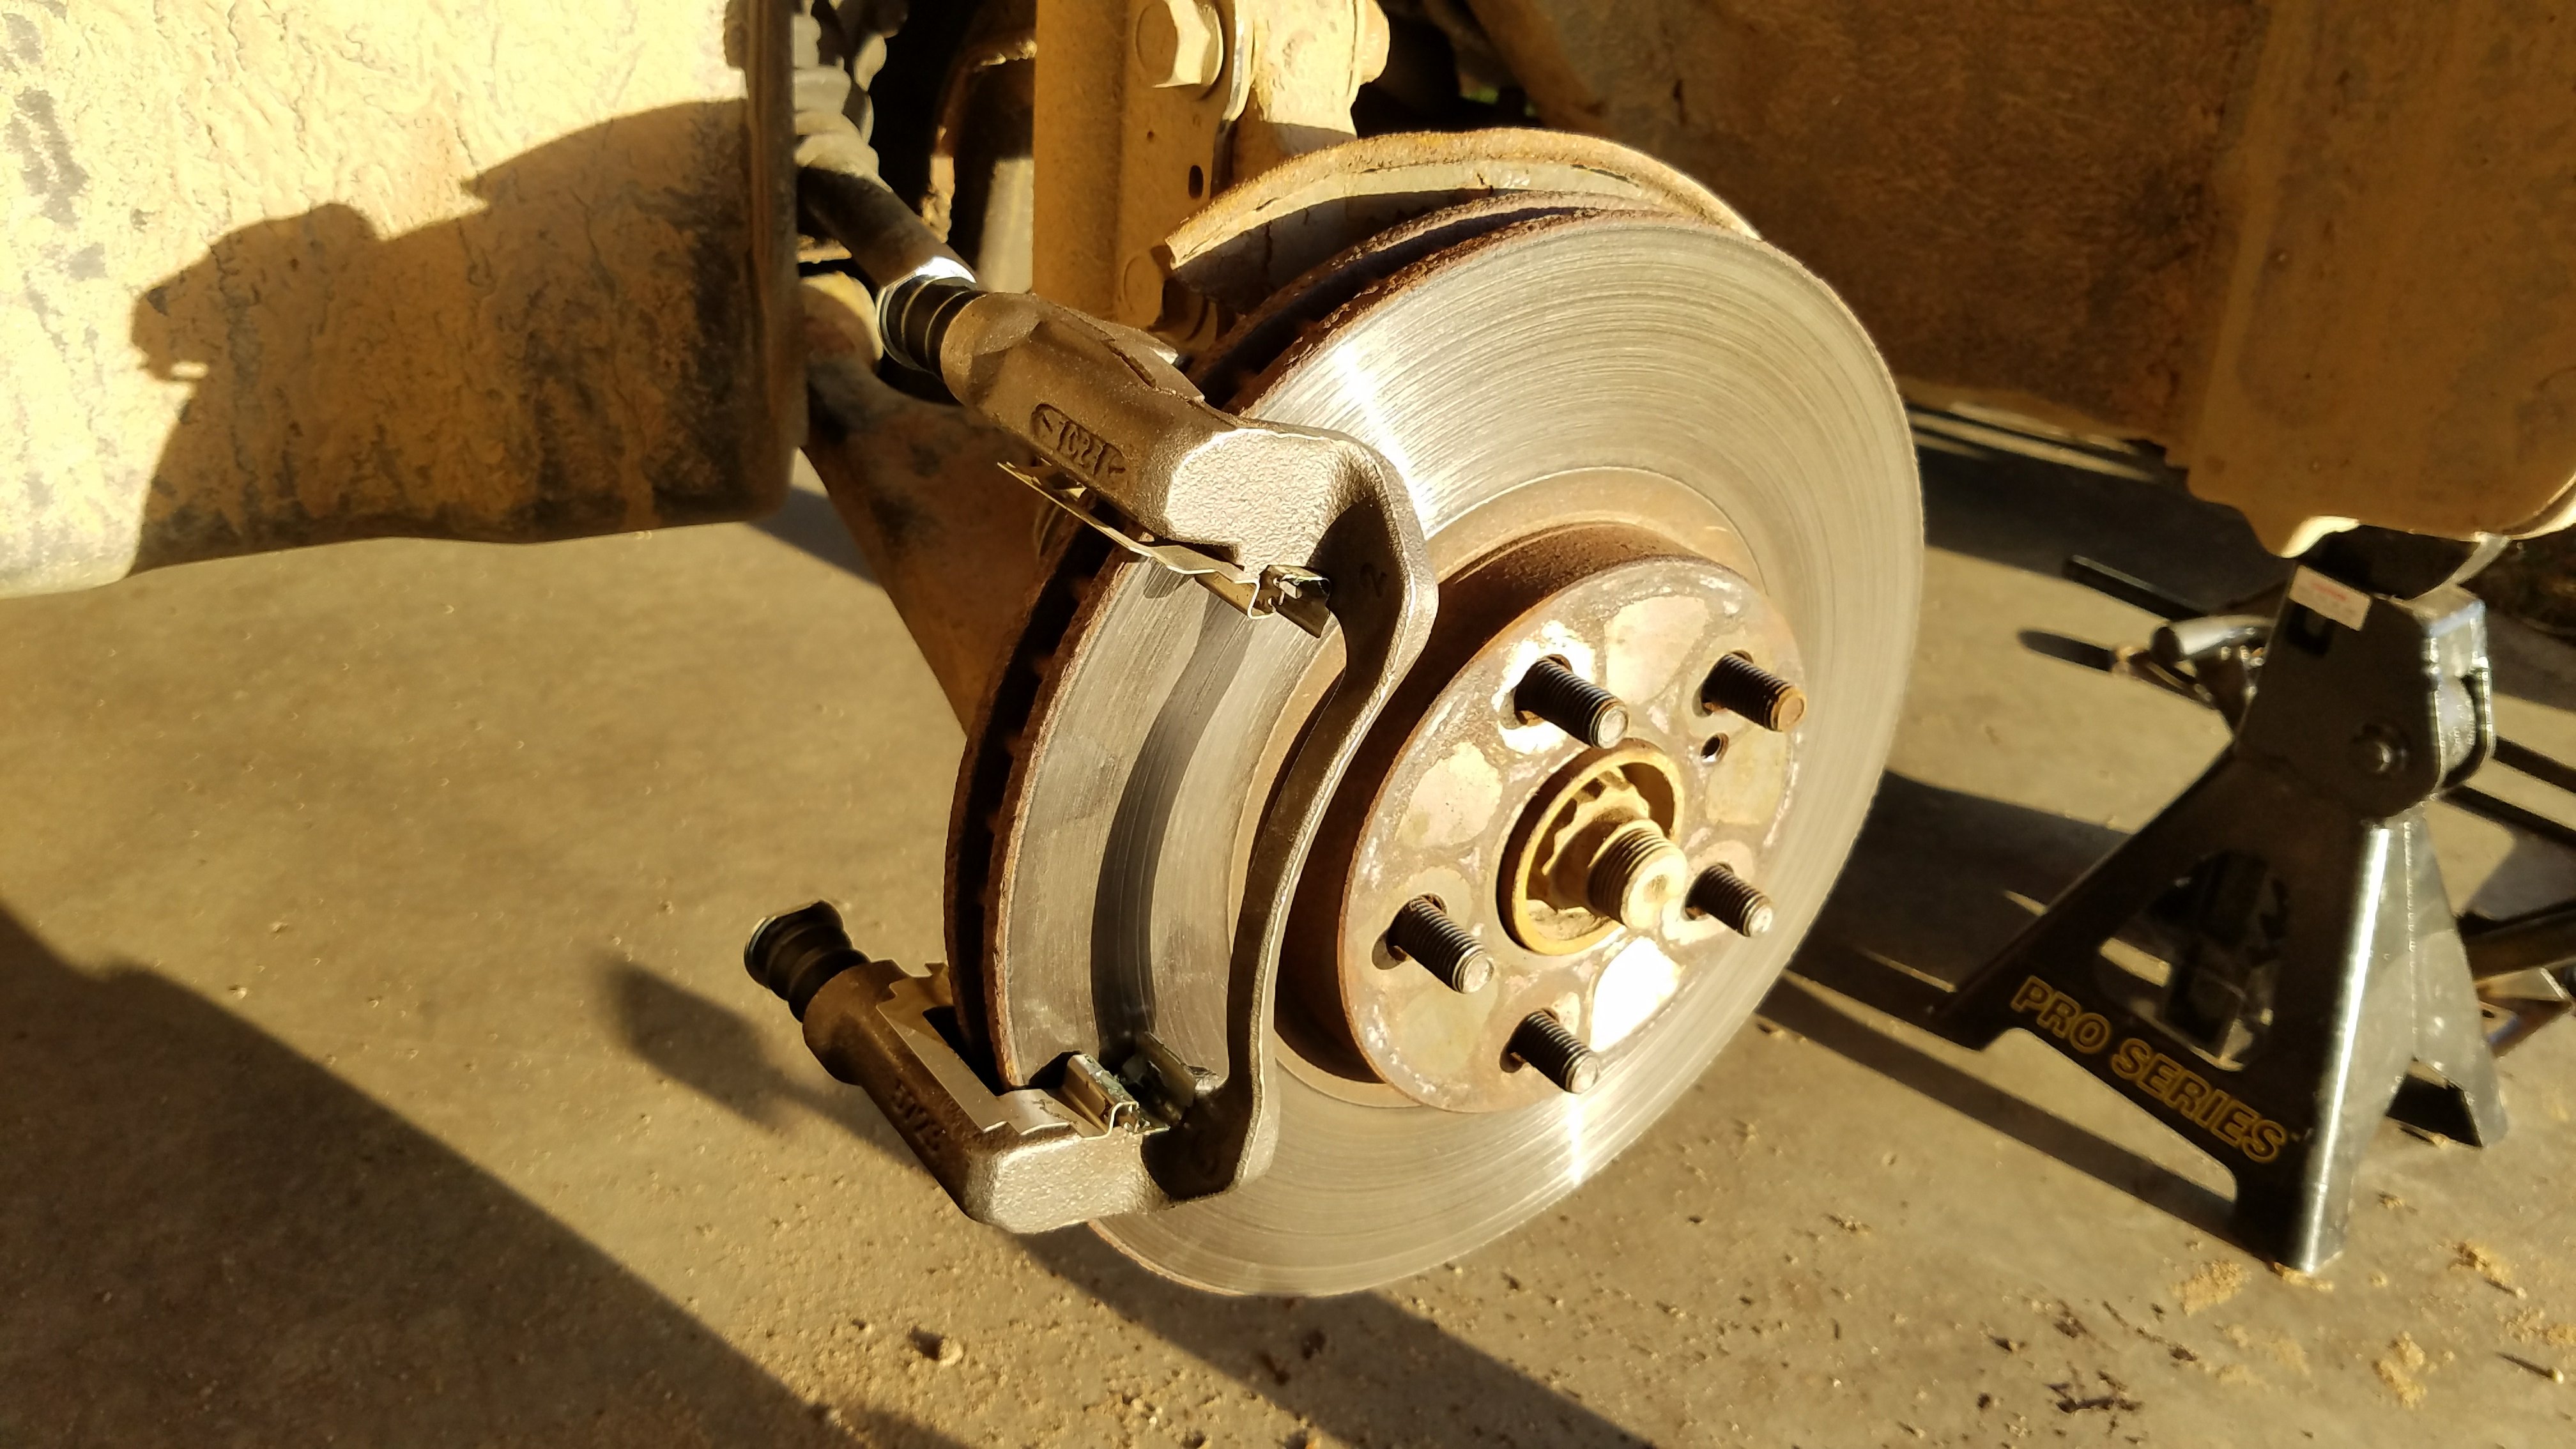
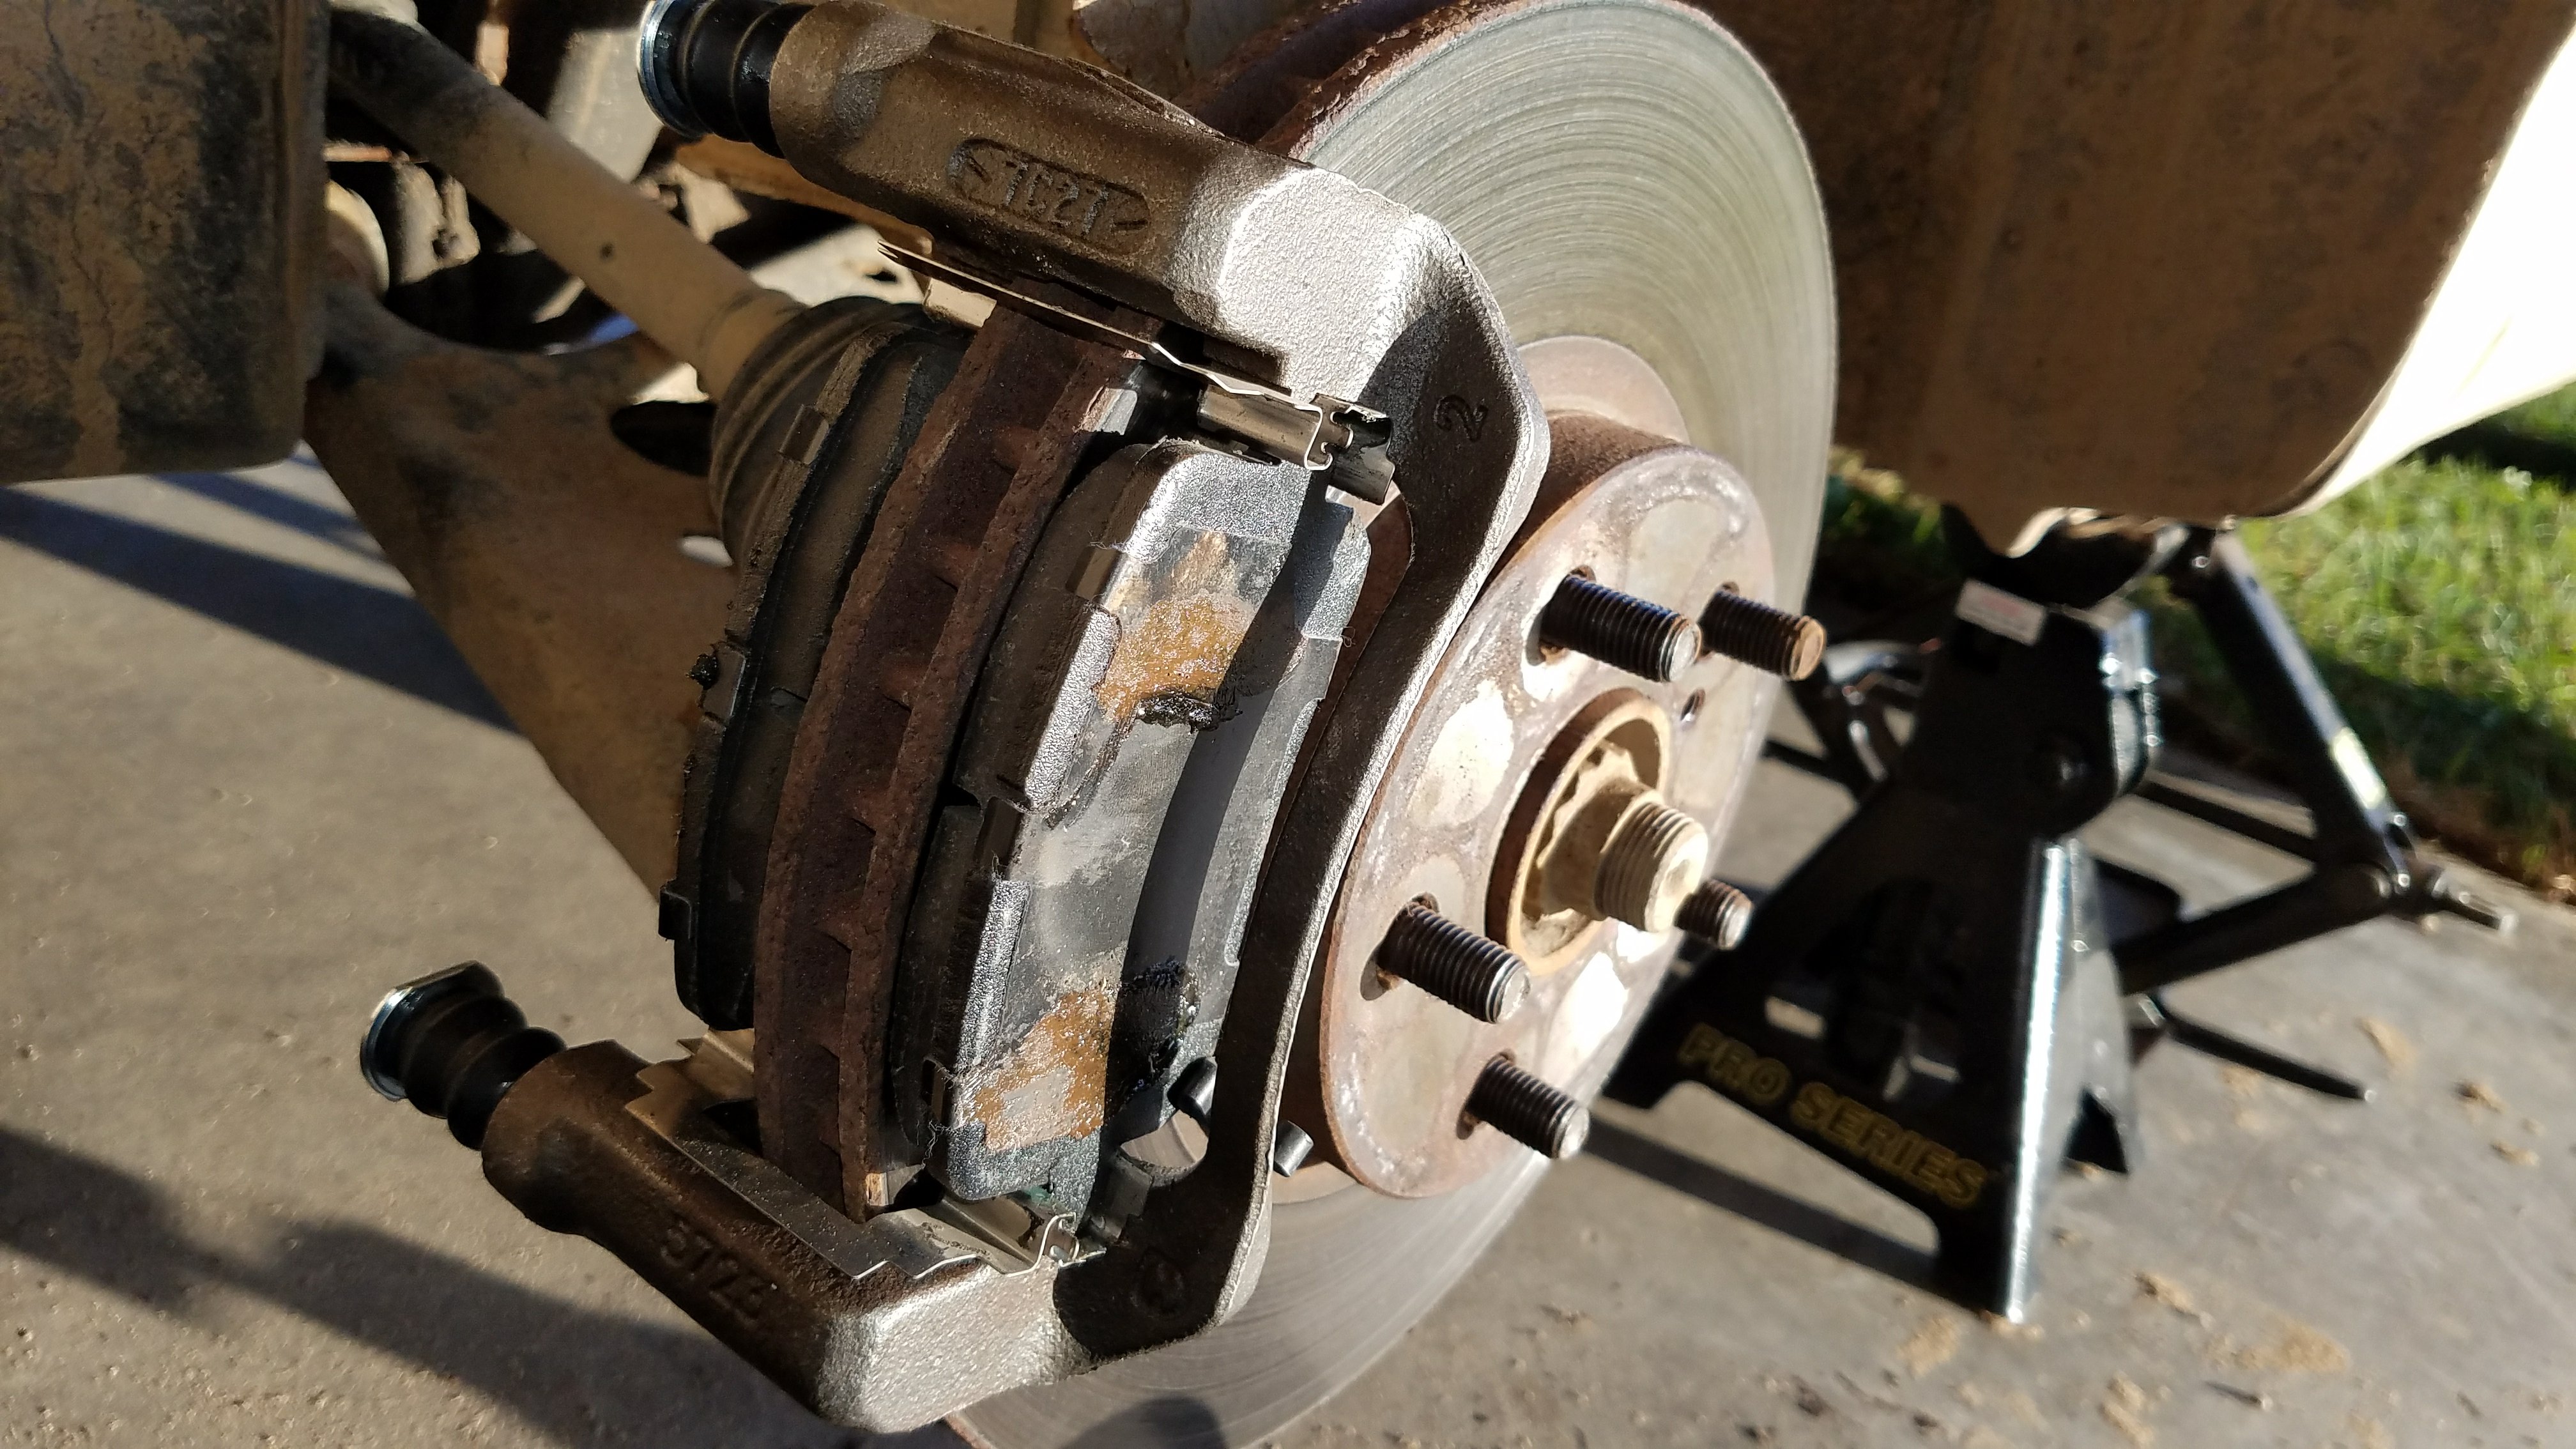
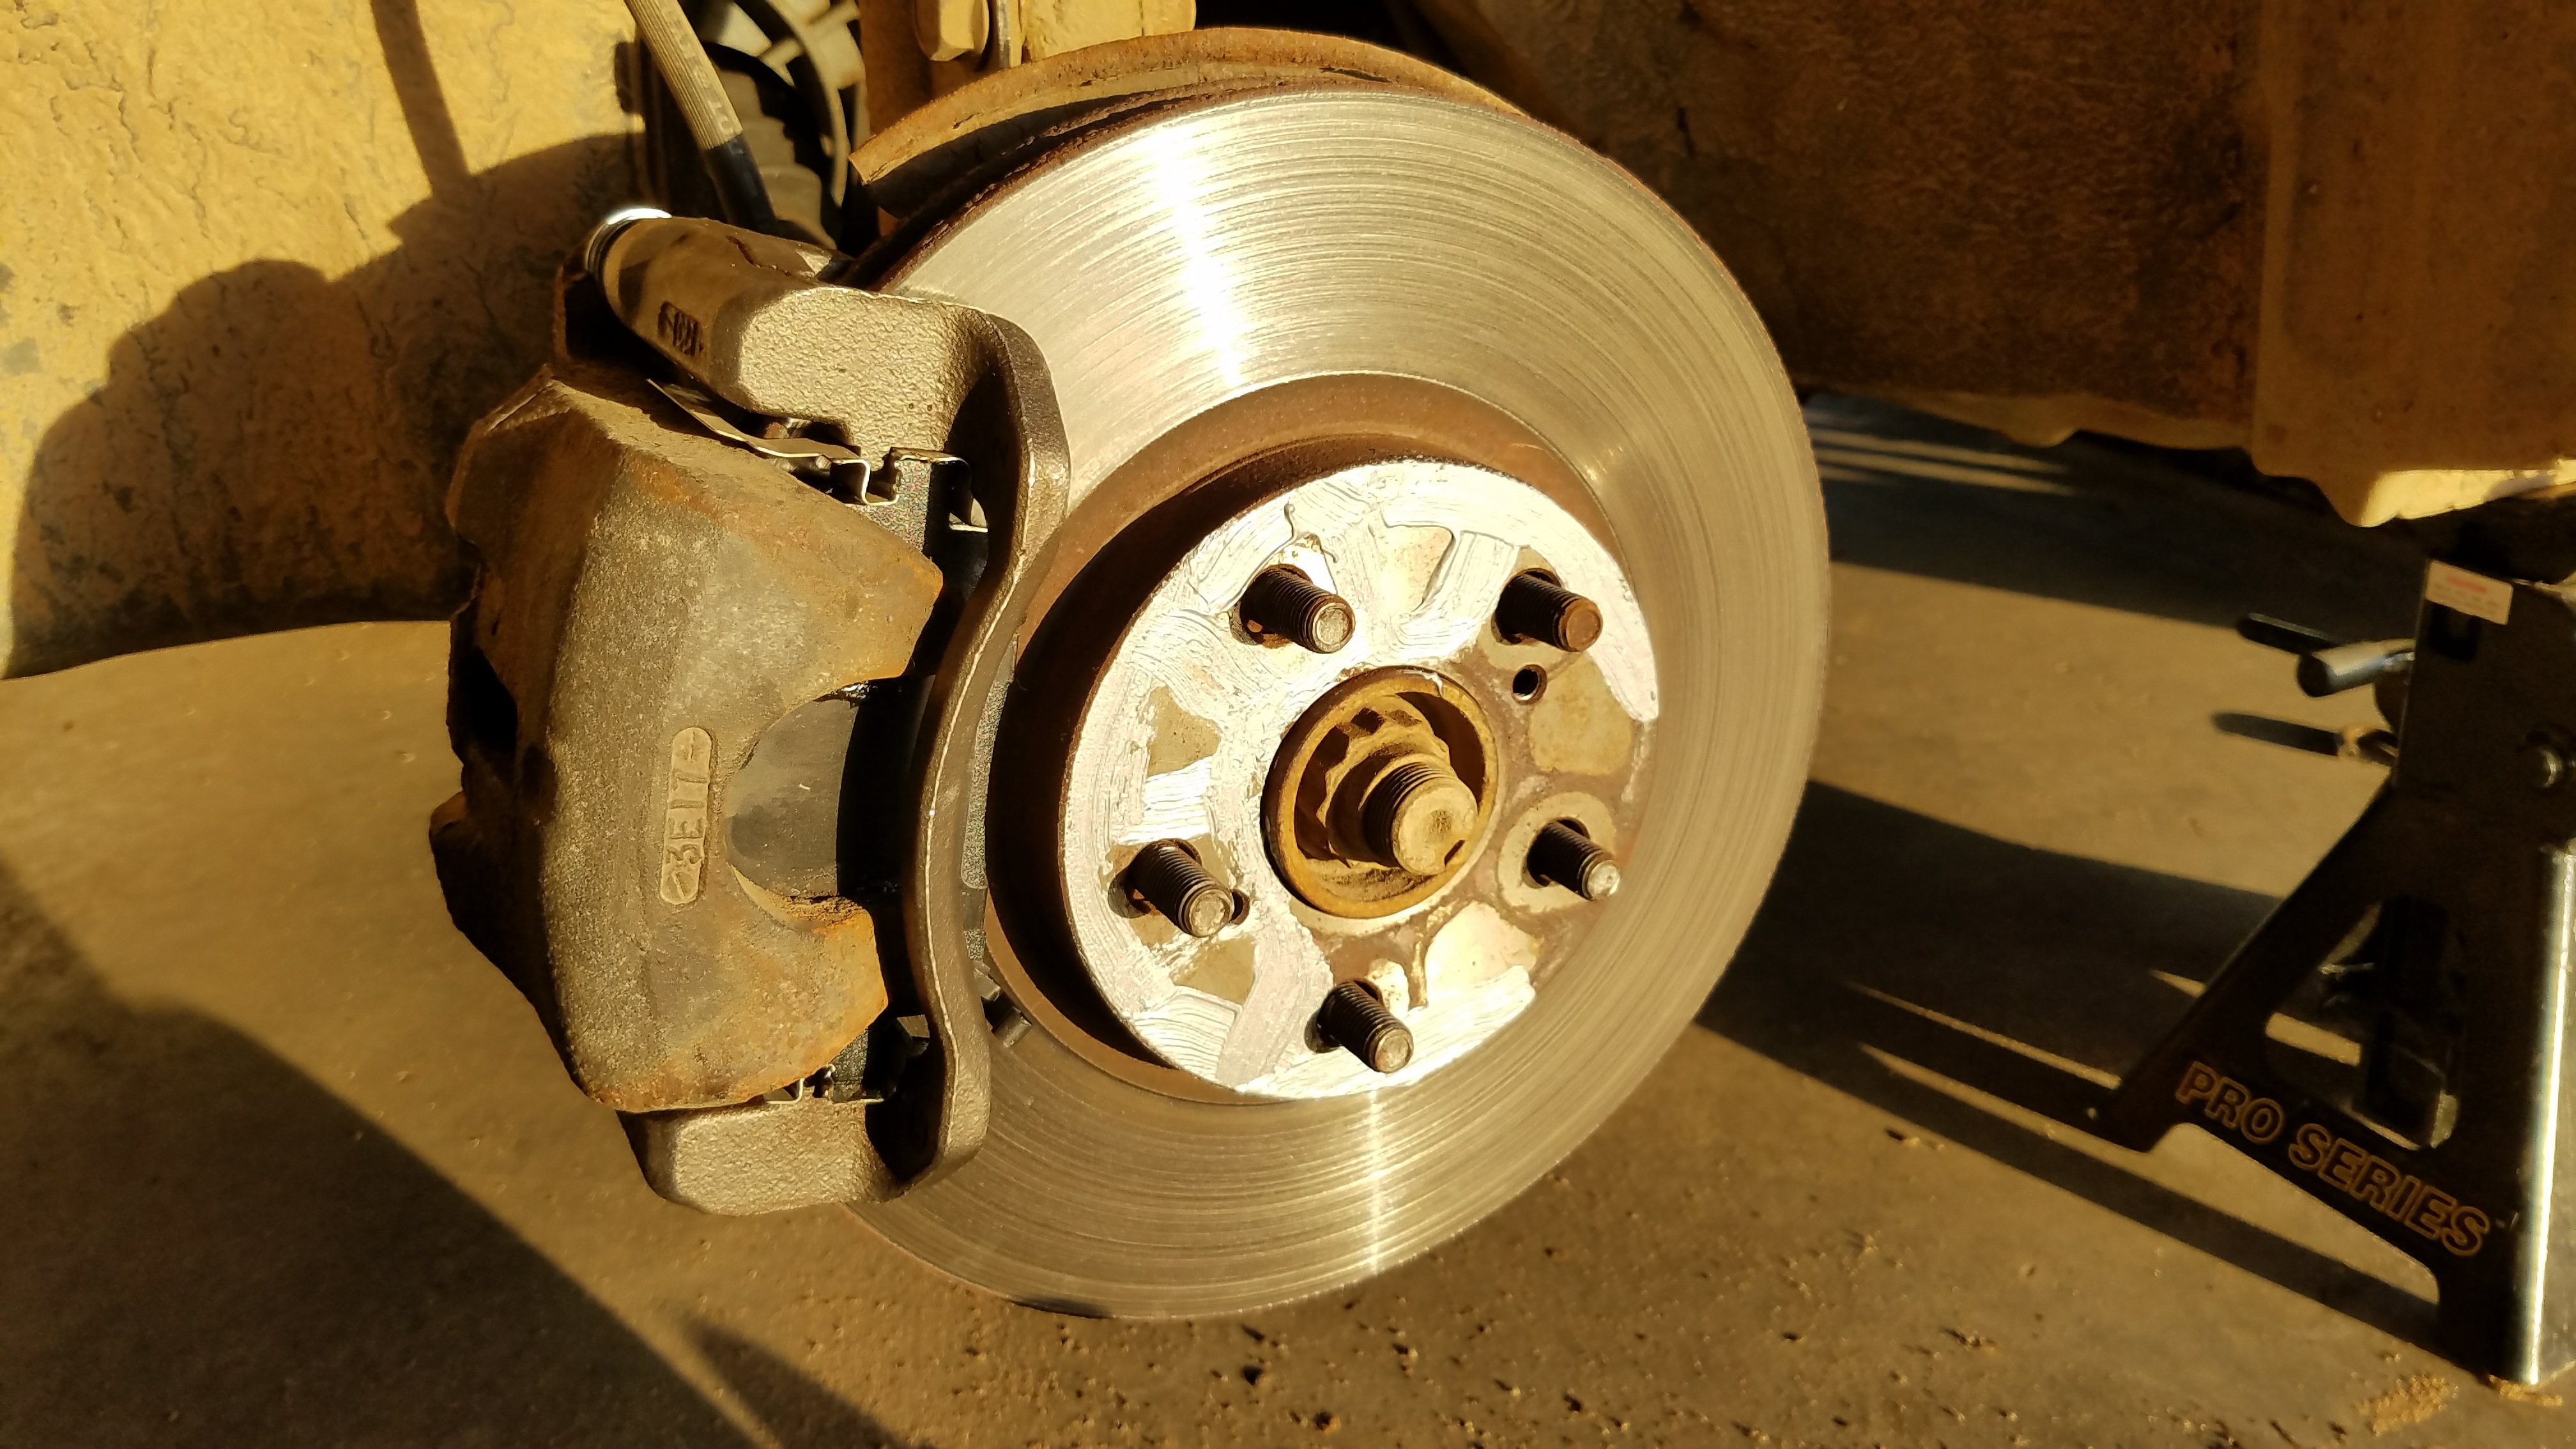
Carefully slide the caliper off of the pads.
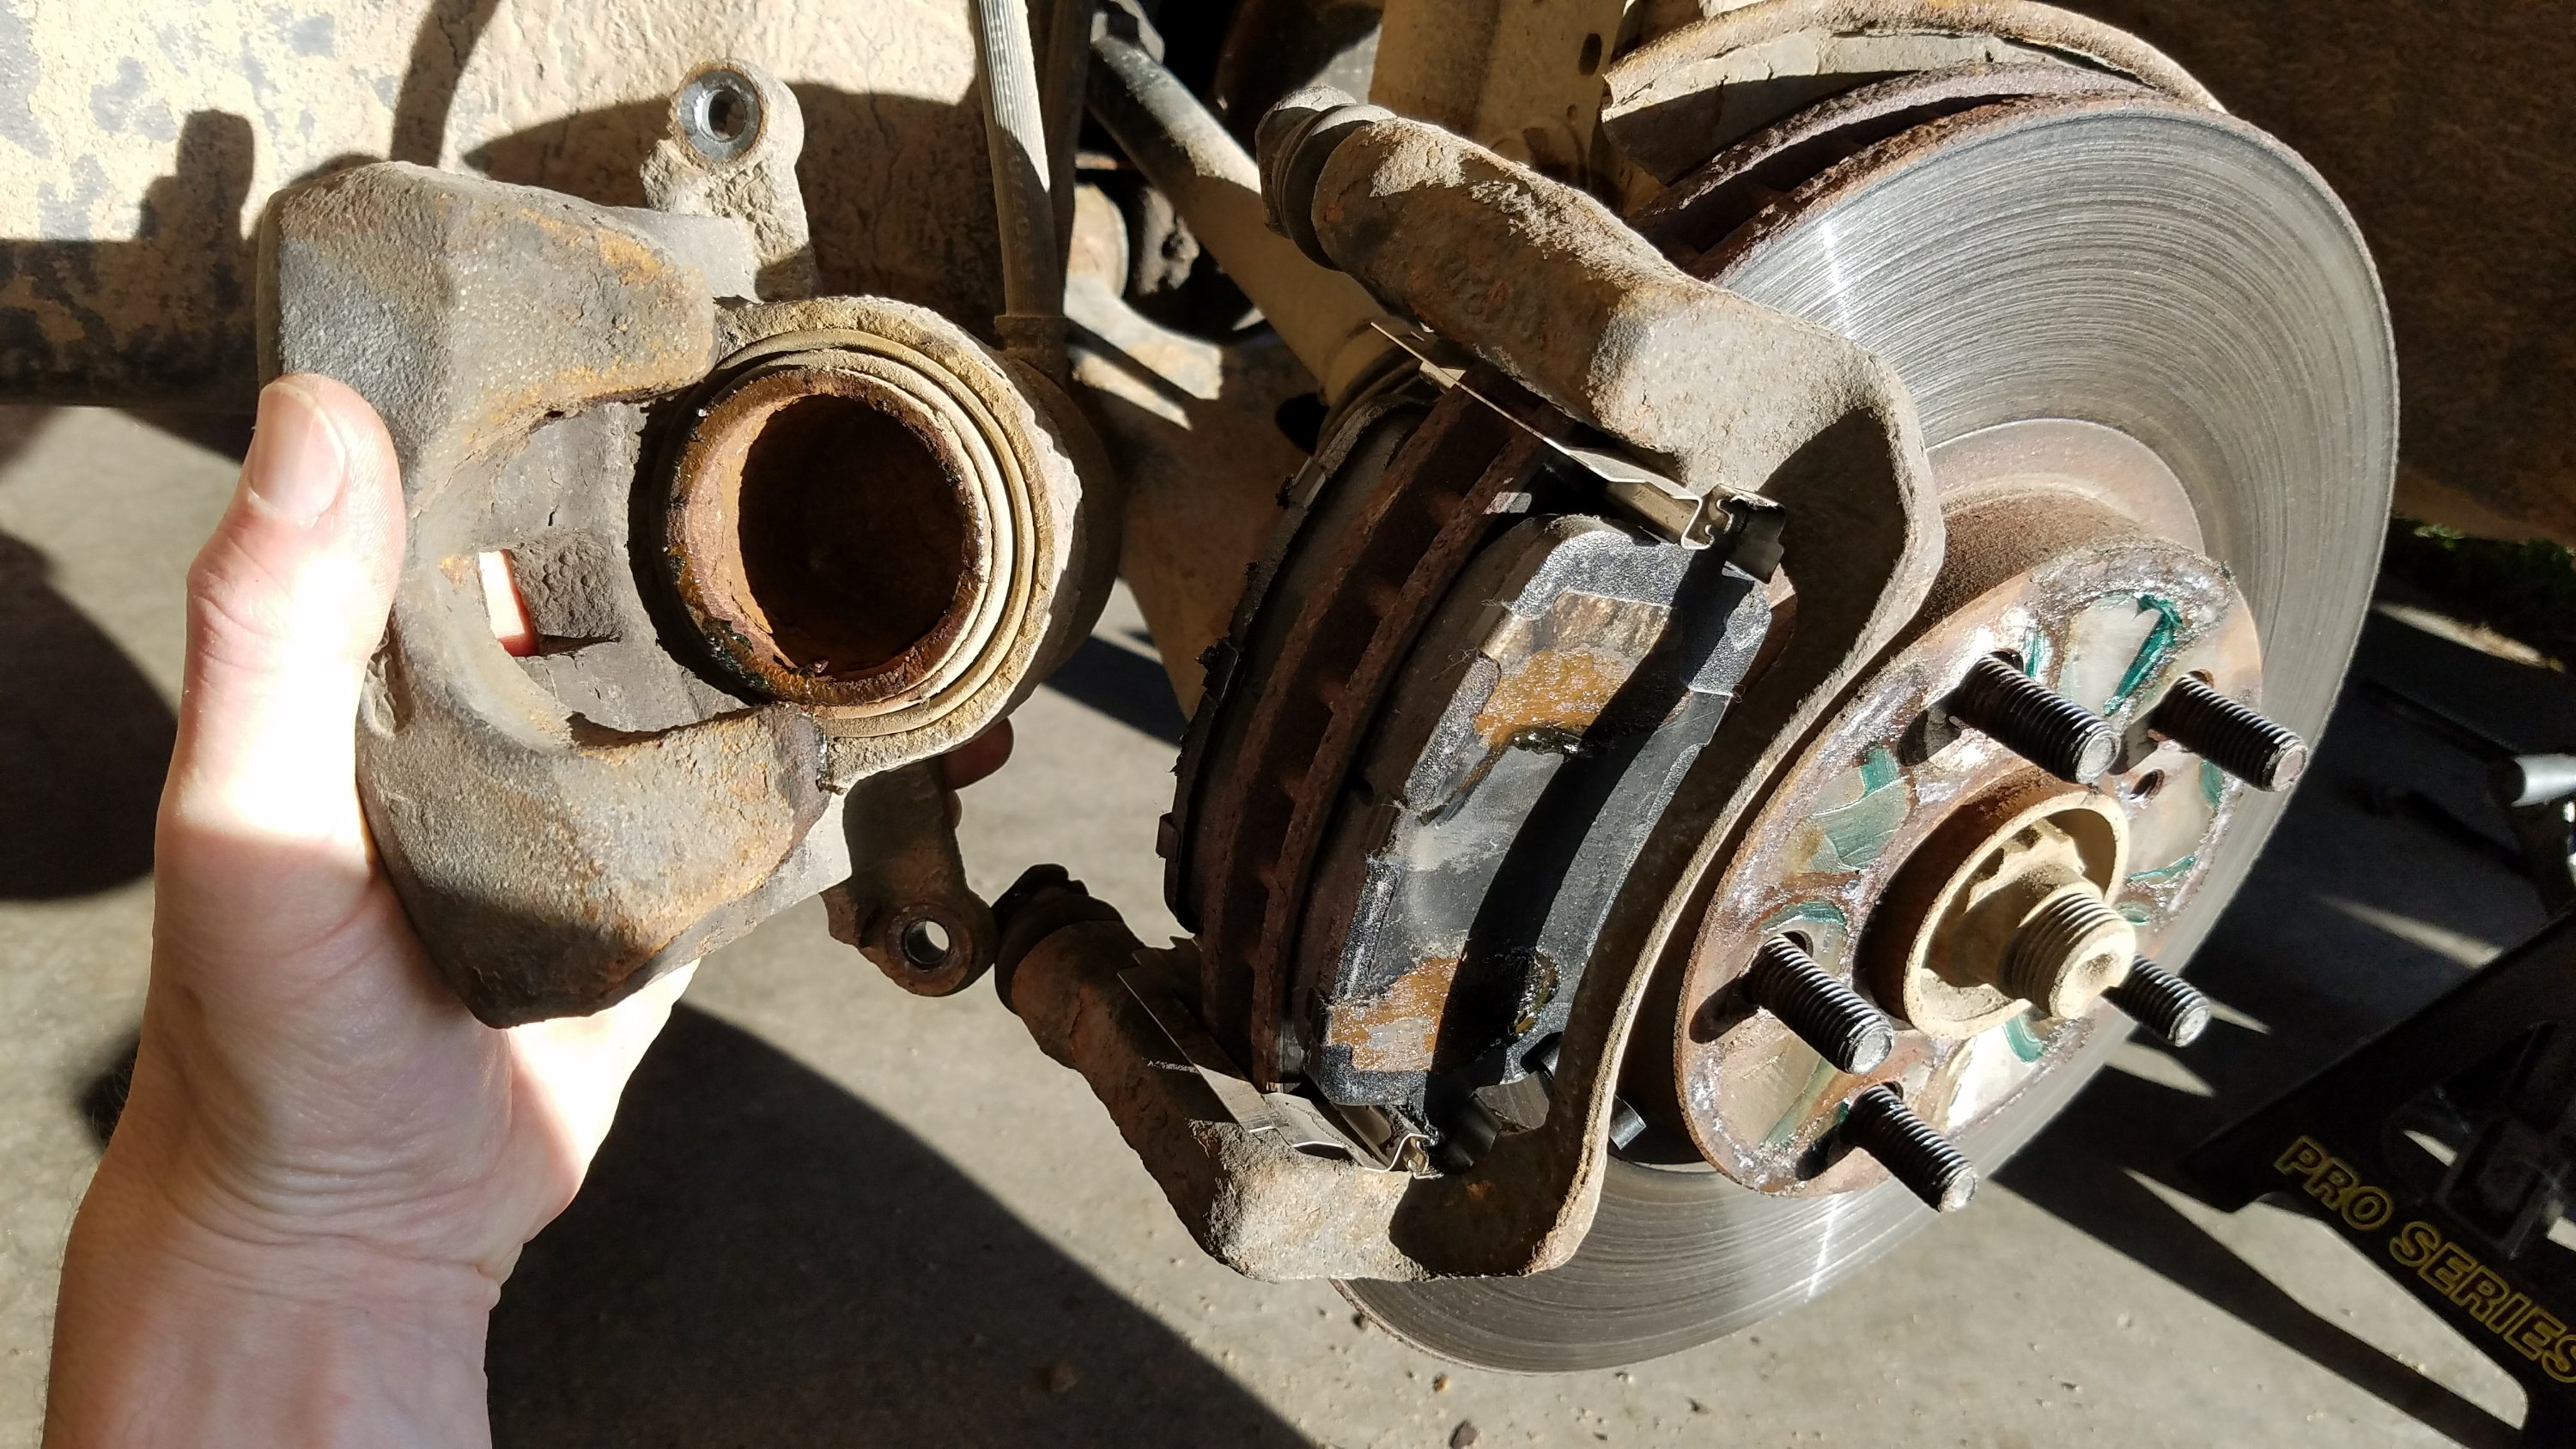
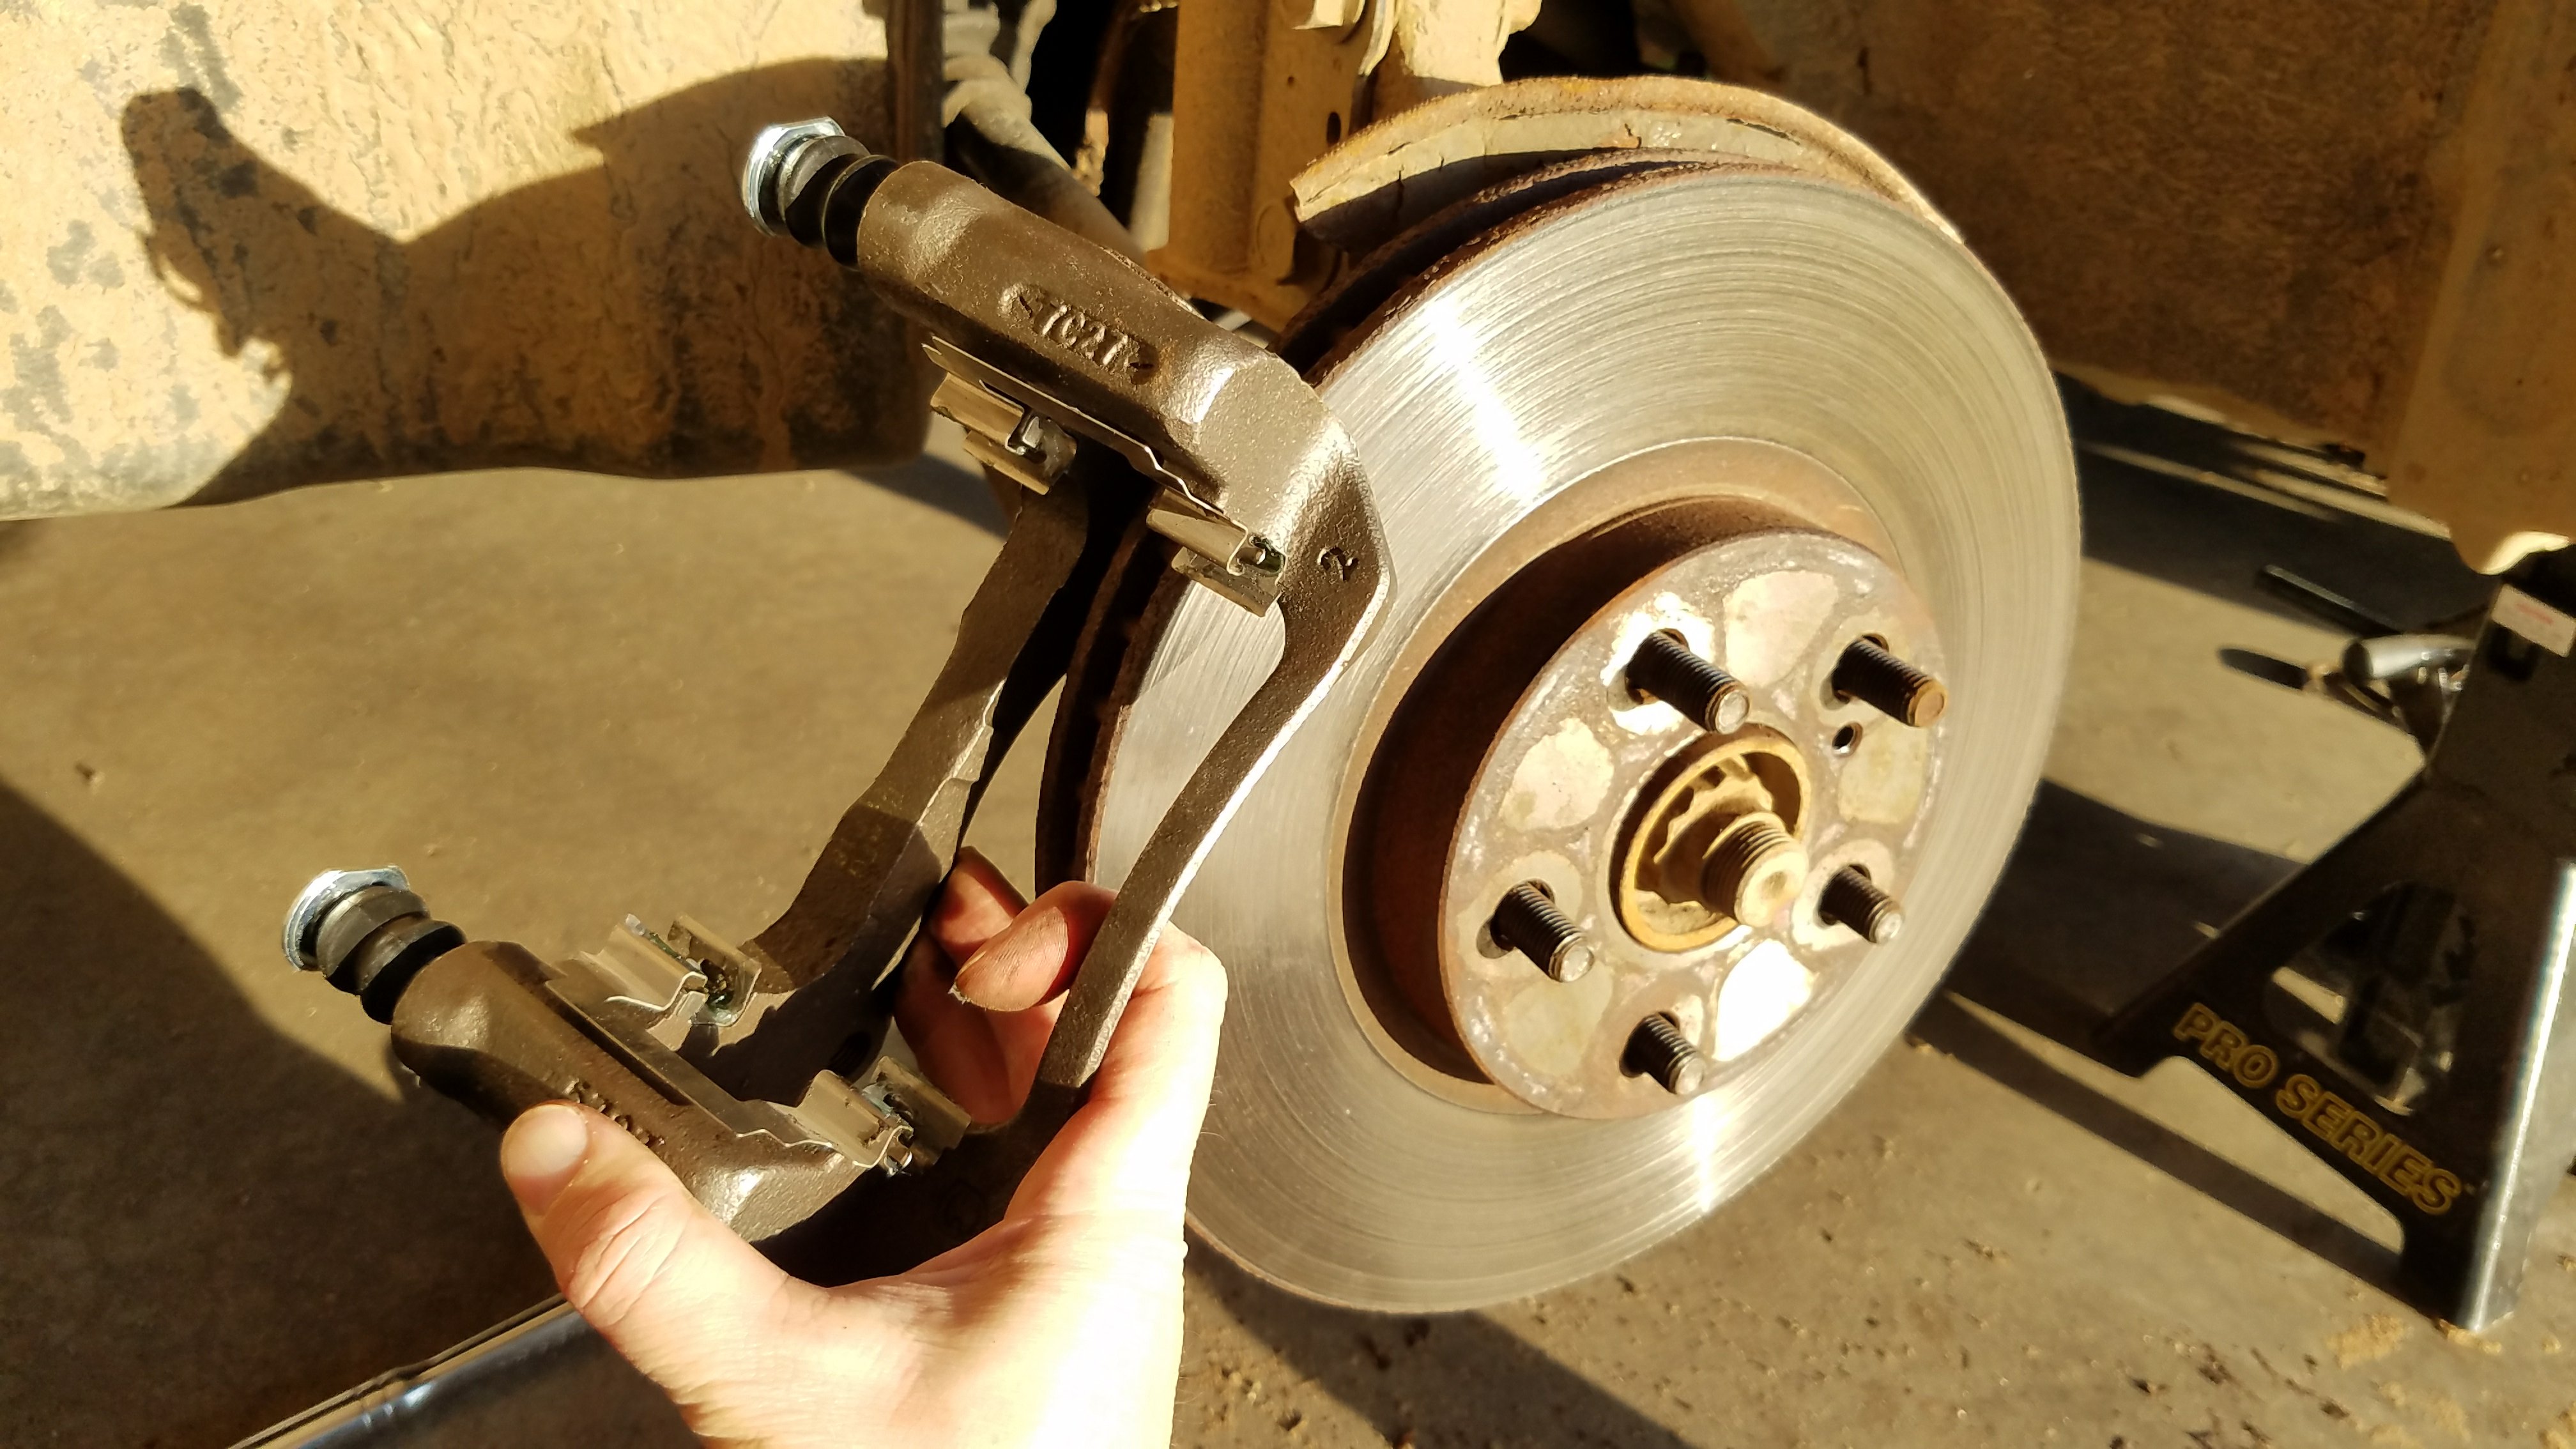
I like to hang the caliper from the strut spring. You don’t want to hang it from the brake line. So, if you can’t hang it from the strut spring, then use some wire to wire it up to something above, so that it is not pulling on the brake line. Ideally, you would use a set of caliper hook hangers to secure the caliper to the strut.
Note: I used to think caliper hooks were sort of idiotic, but I end up changing brakes on my fleet so frequently, and I ended up getting a set from an older friend of the family who unfortunately passed away. Now I use caliper hooks constantly, definitely worth the $10 or so if you change brakes with any degree of regularity.
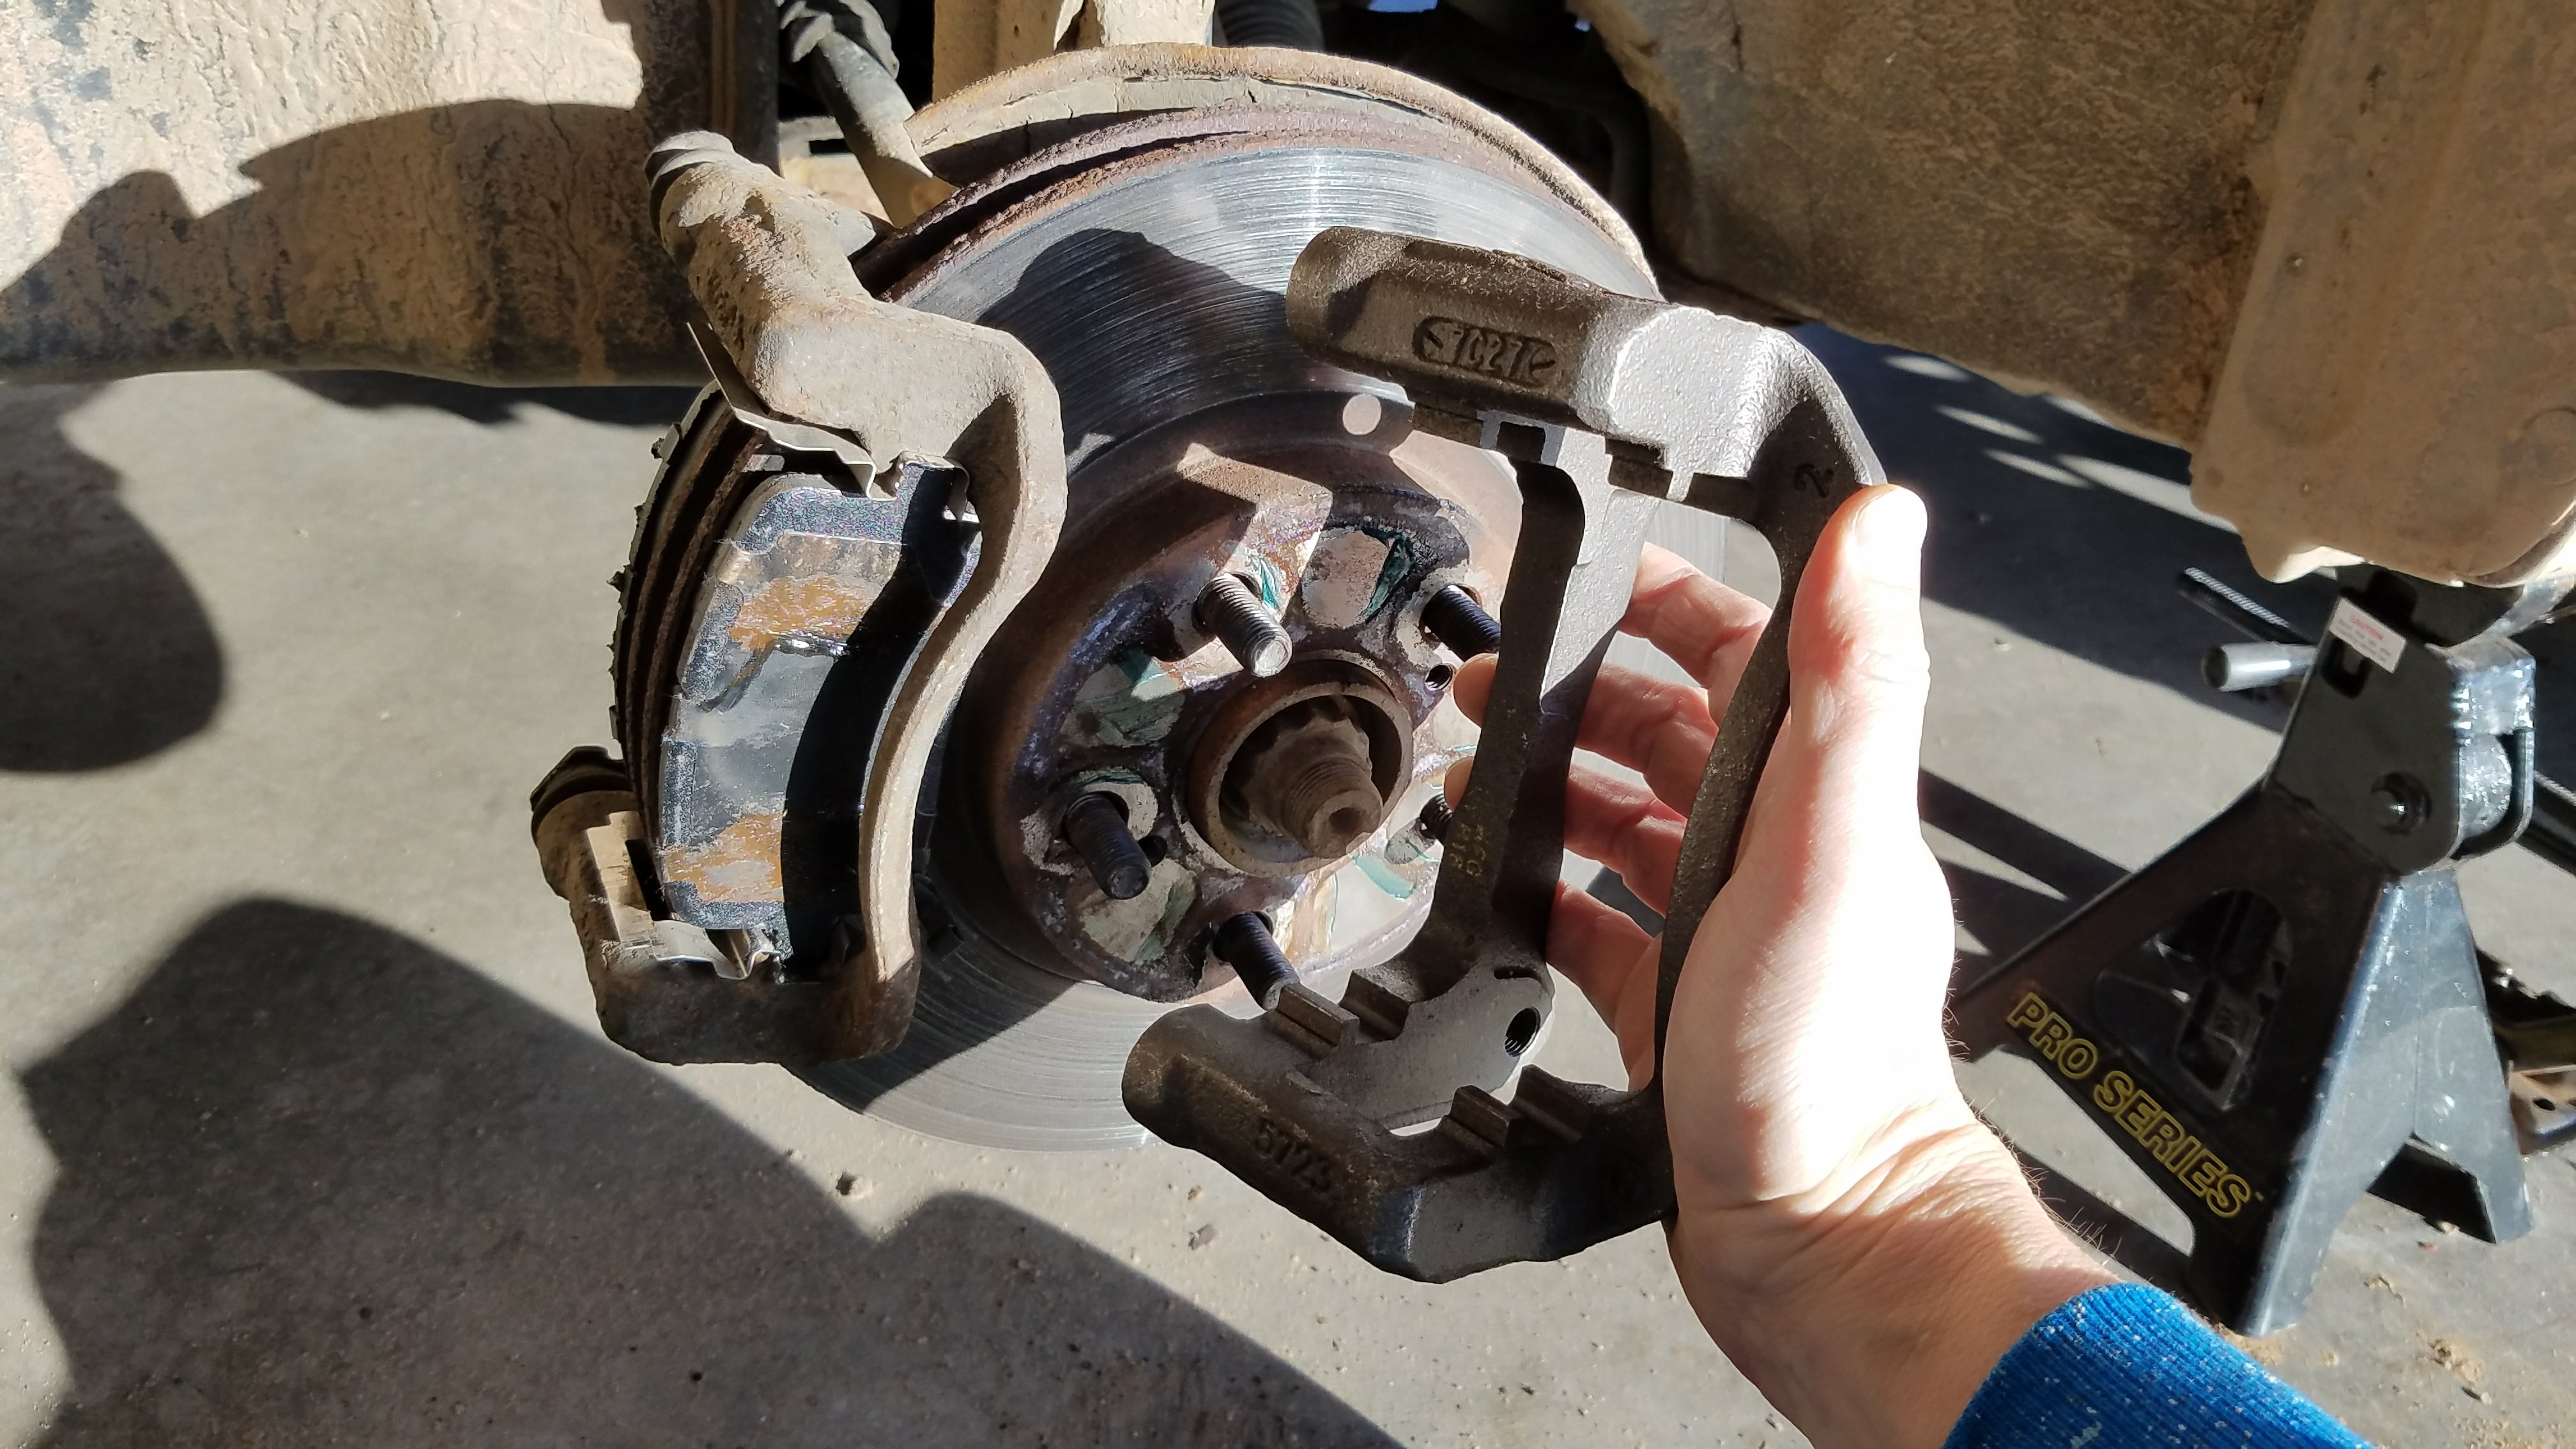
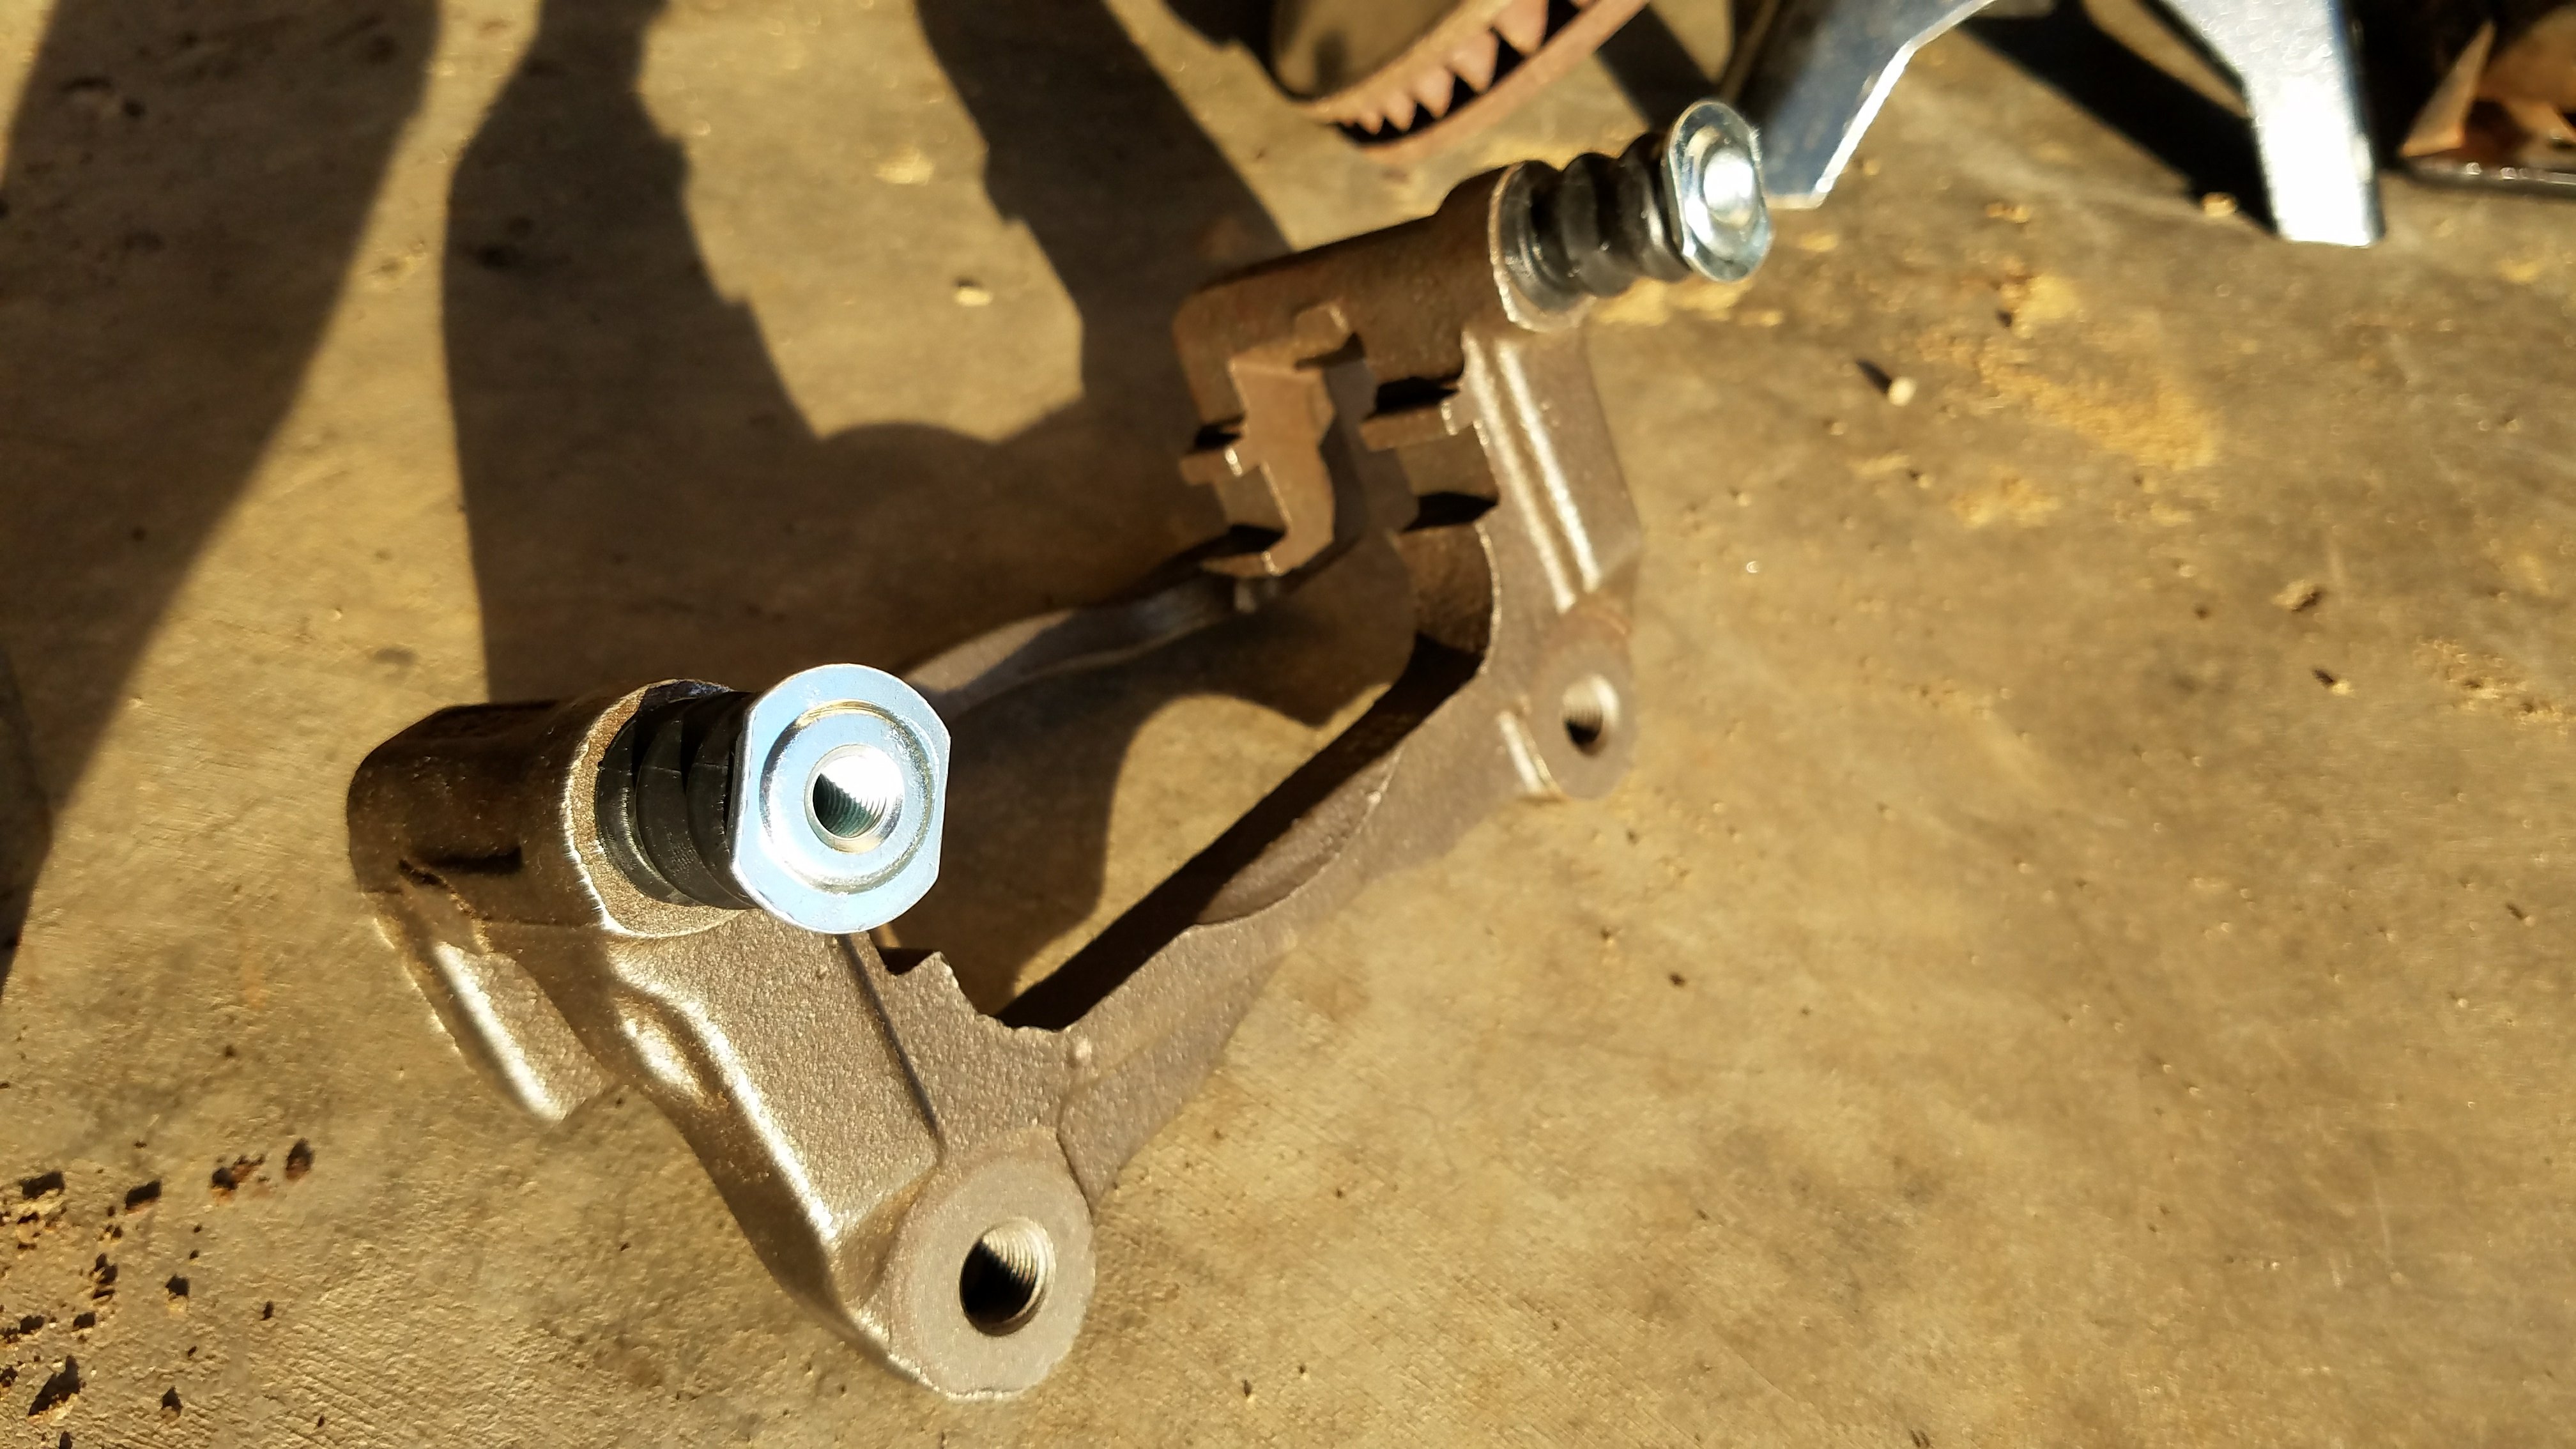
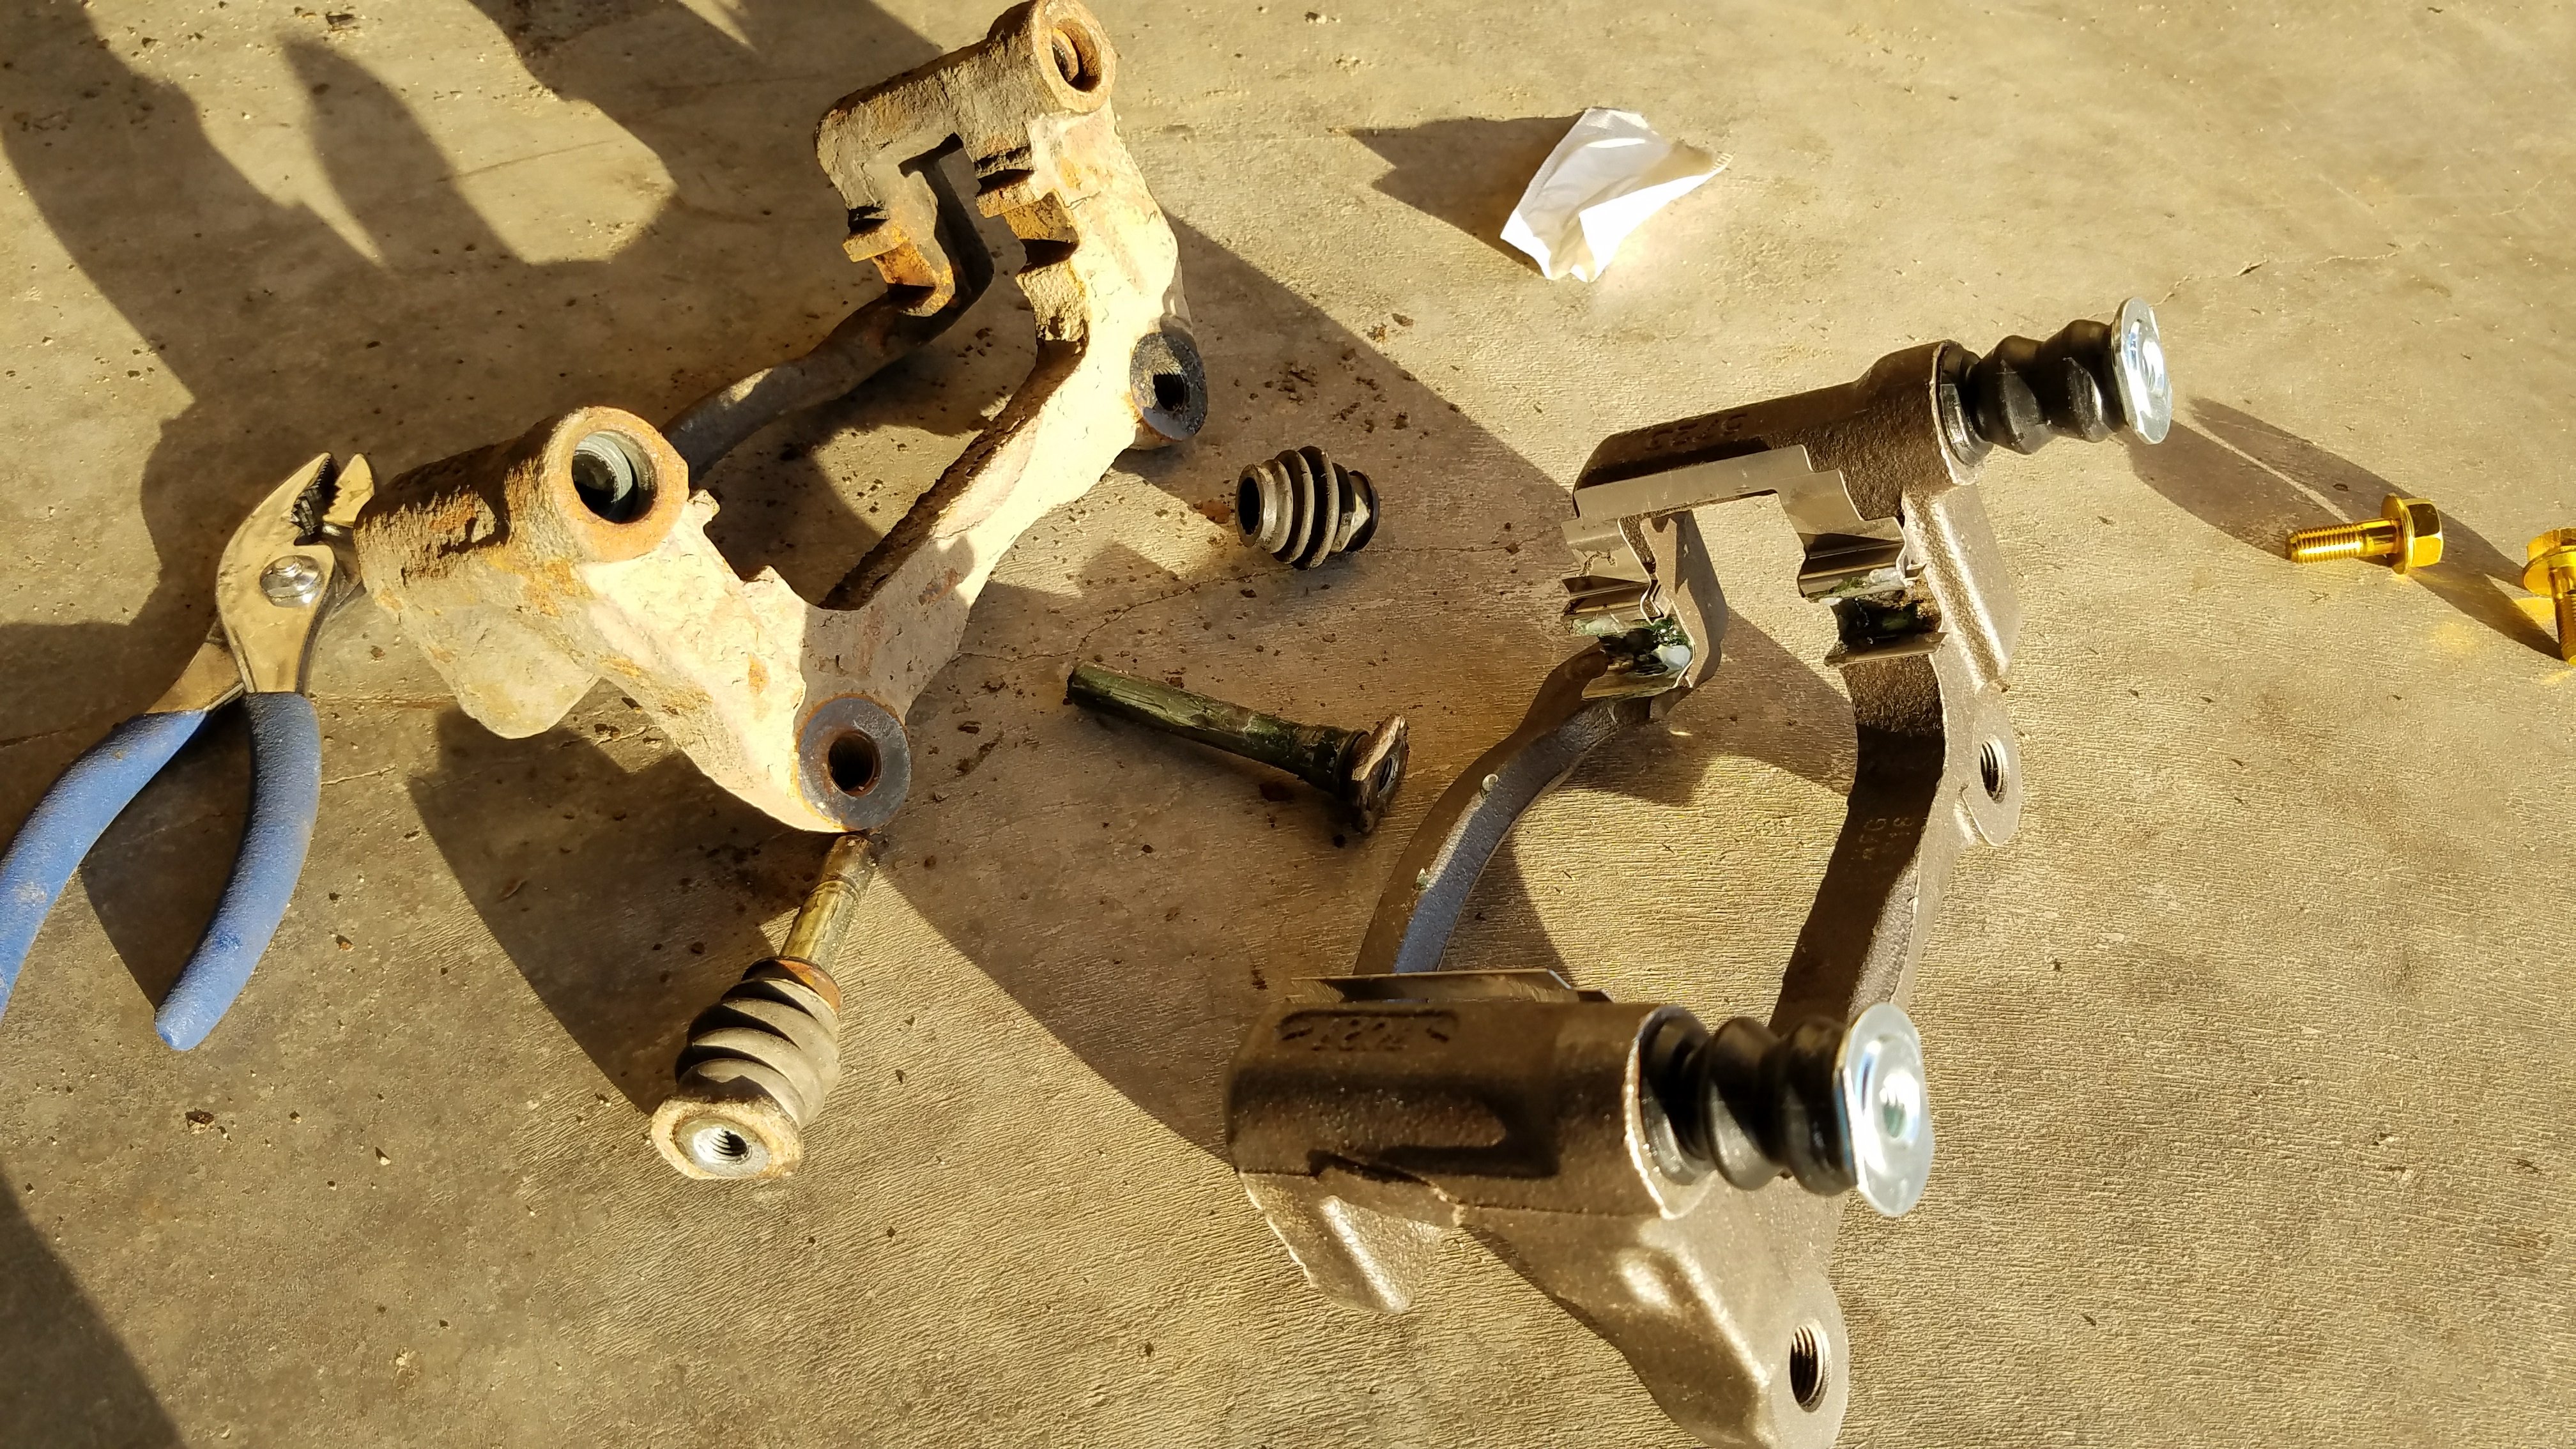
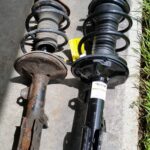
Here’s a shot showing of the new caliper bracket next to the old caliper bracket. This is what we are going to put on.
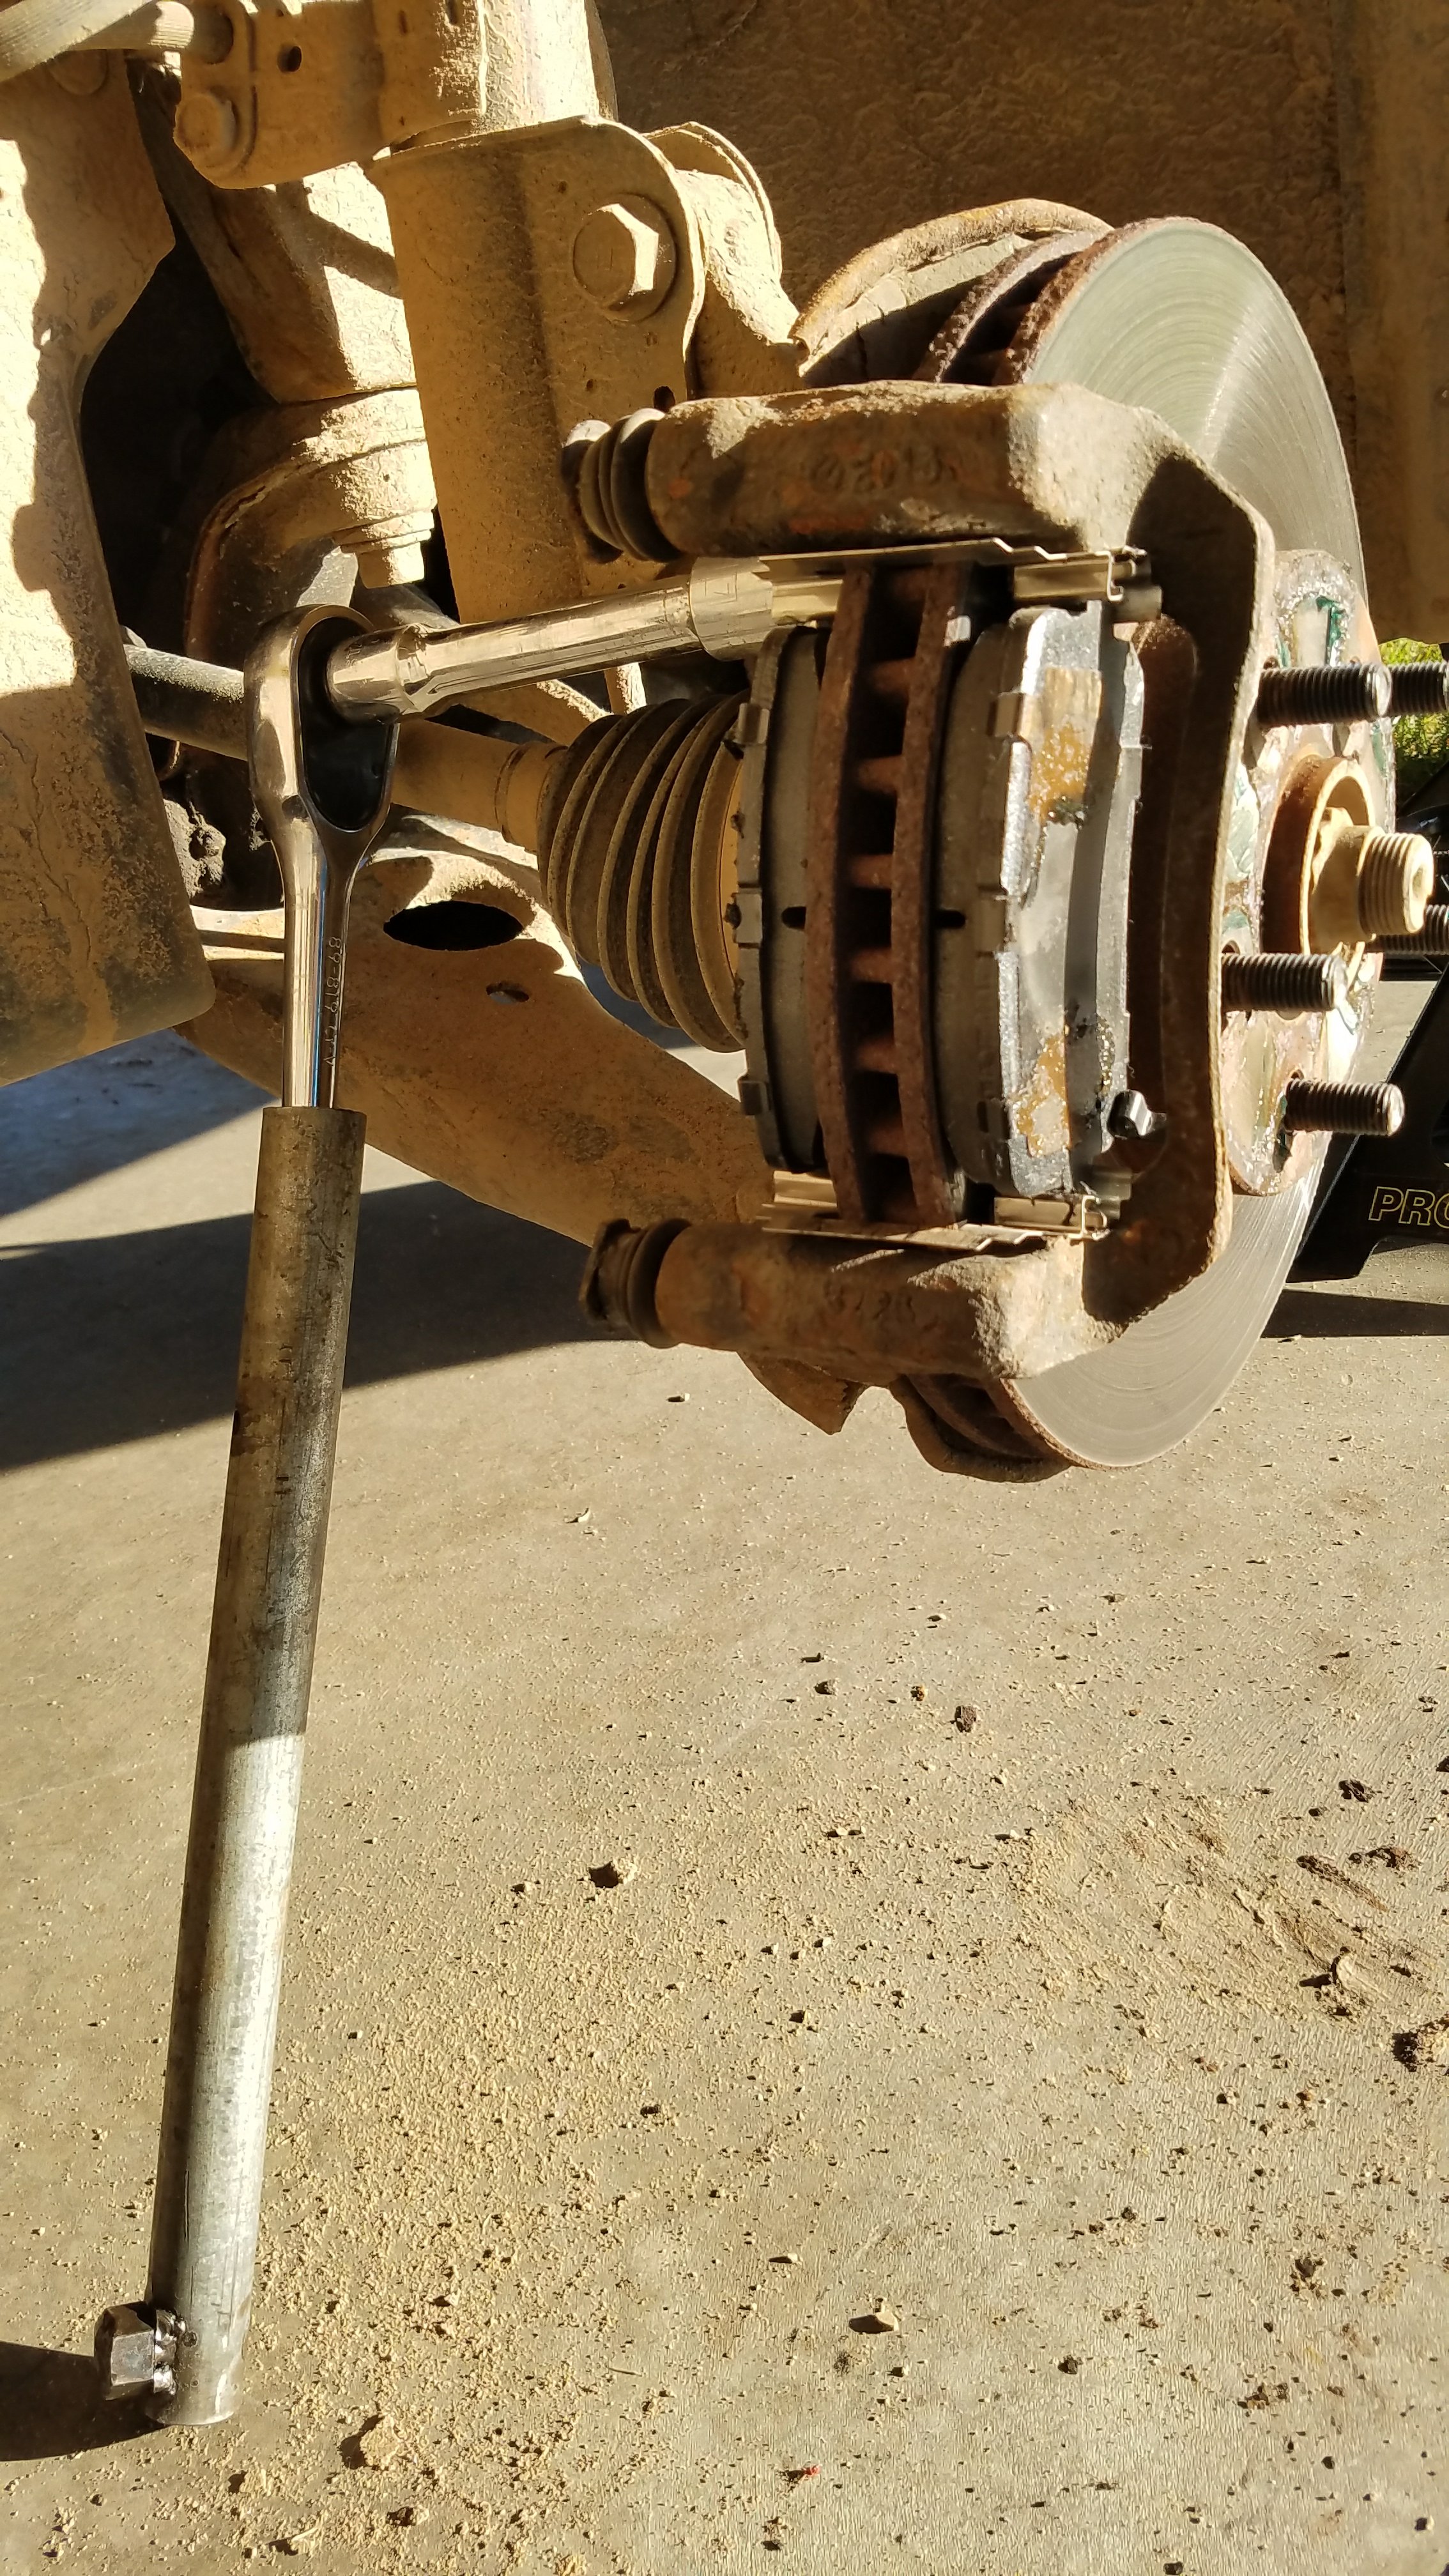
Loosen the bolts that are holding the caliper brackets on. These are 17 mm bolts. There are two of them, as shown in the following pictures. To get at the top one, Use a socket extension, as it is pretty tight against the strut, so having a little extra clearance is necessary.
Here is the bottom bolt being removed.
Carefully remove the brake pads. Set these aside, being careful not to contaminate the surface that touches the rotor.
Incidentally, this would be an excellent time to change the brake pads. Click the link to go to the article on changing front brake pads.
Remove the old caliper bracket.
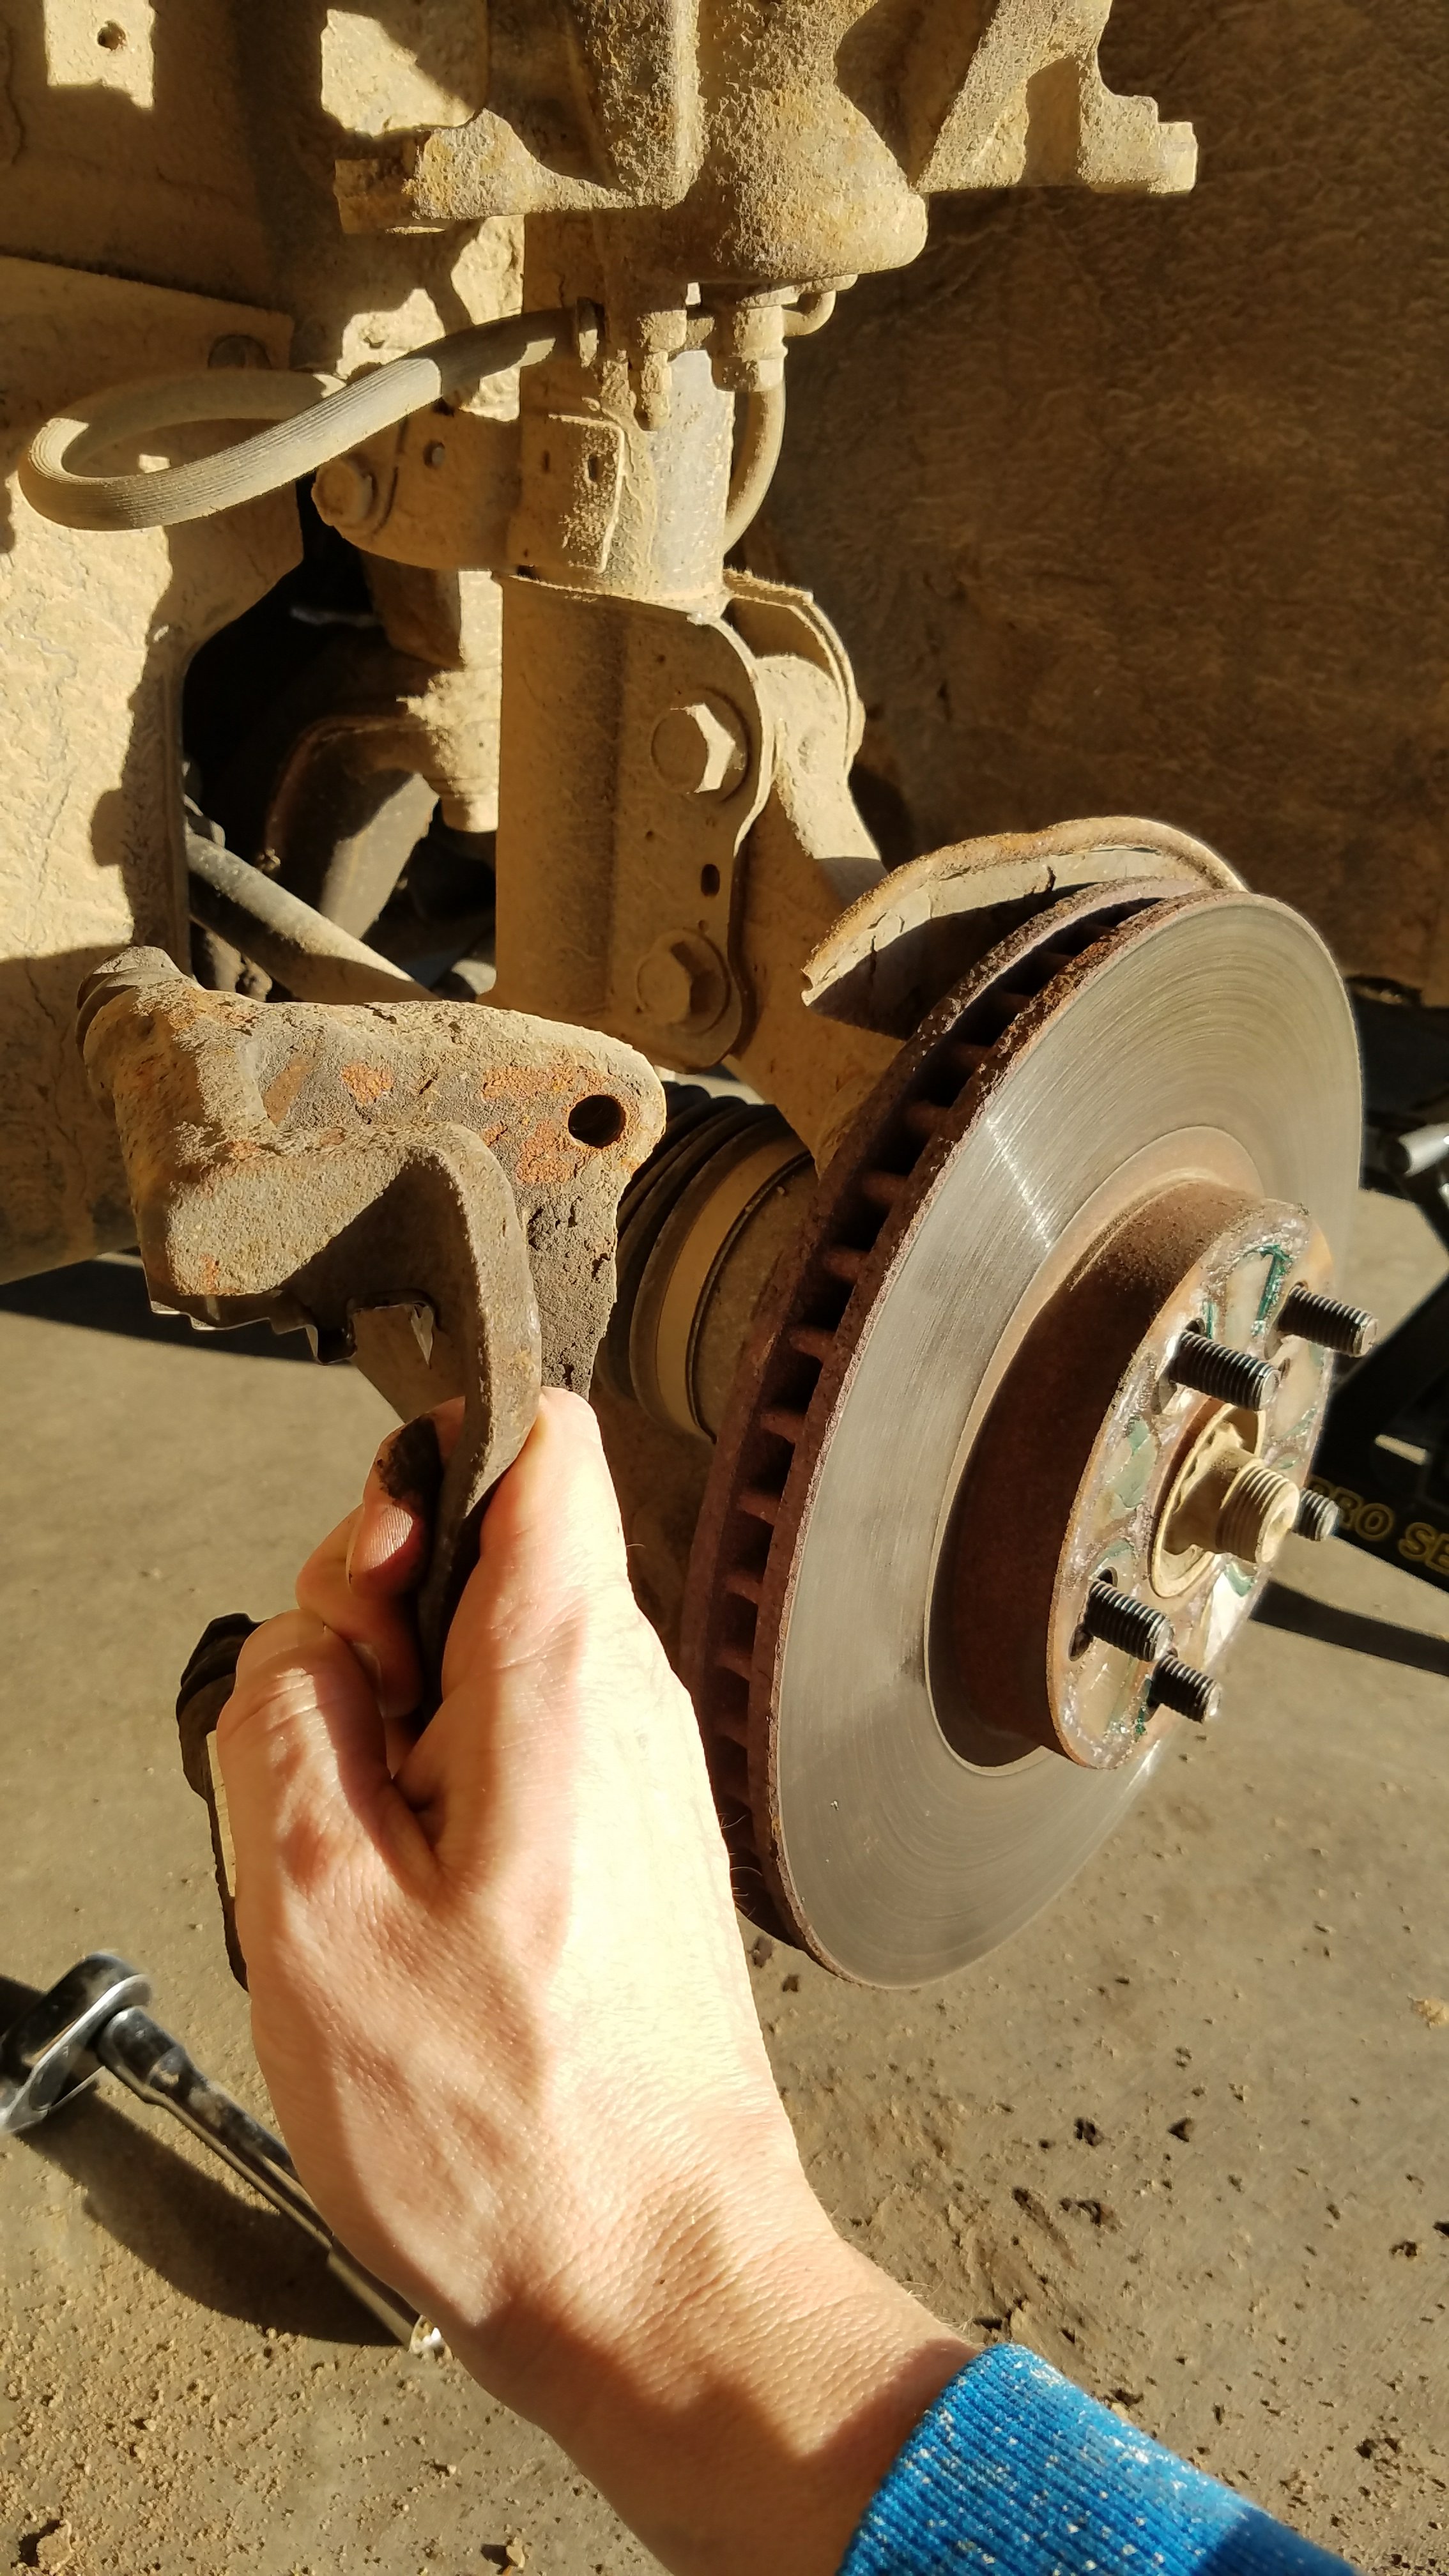
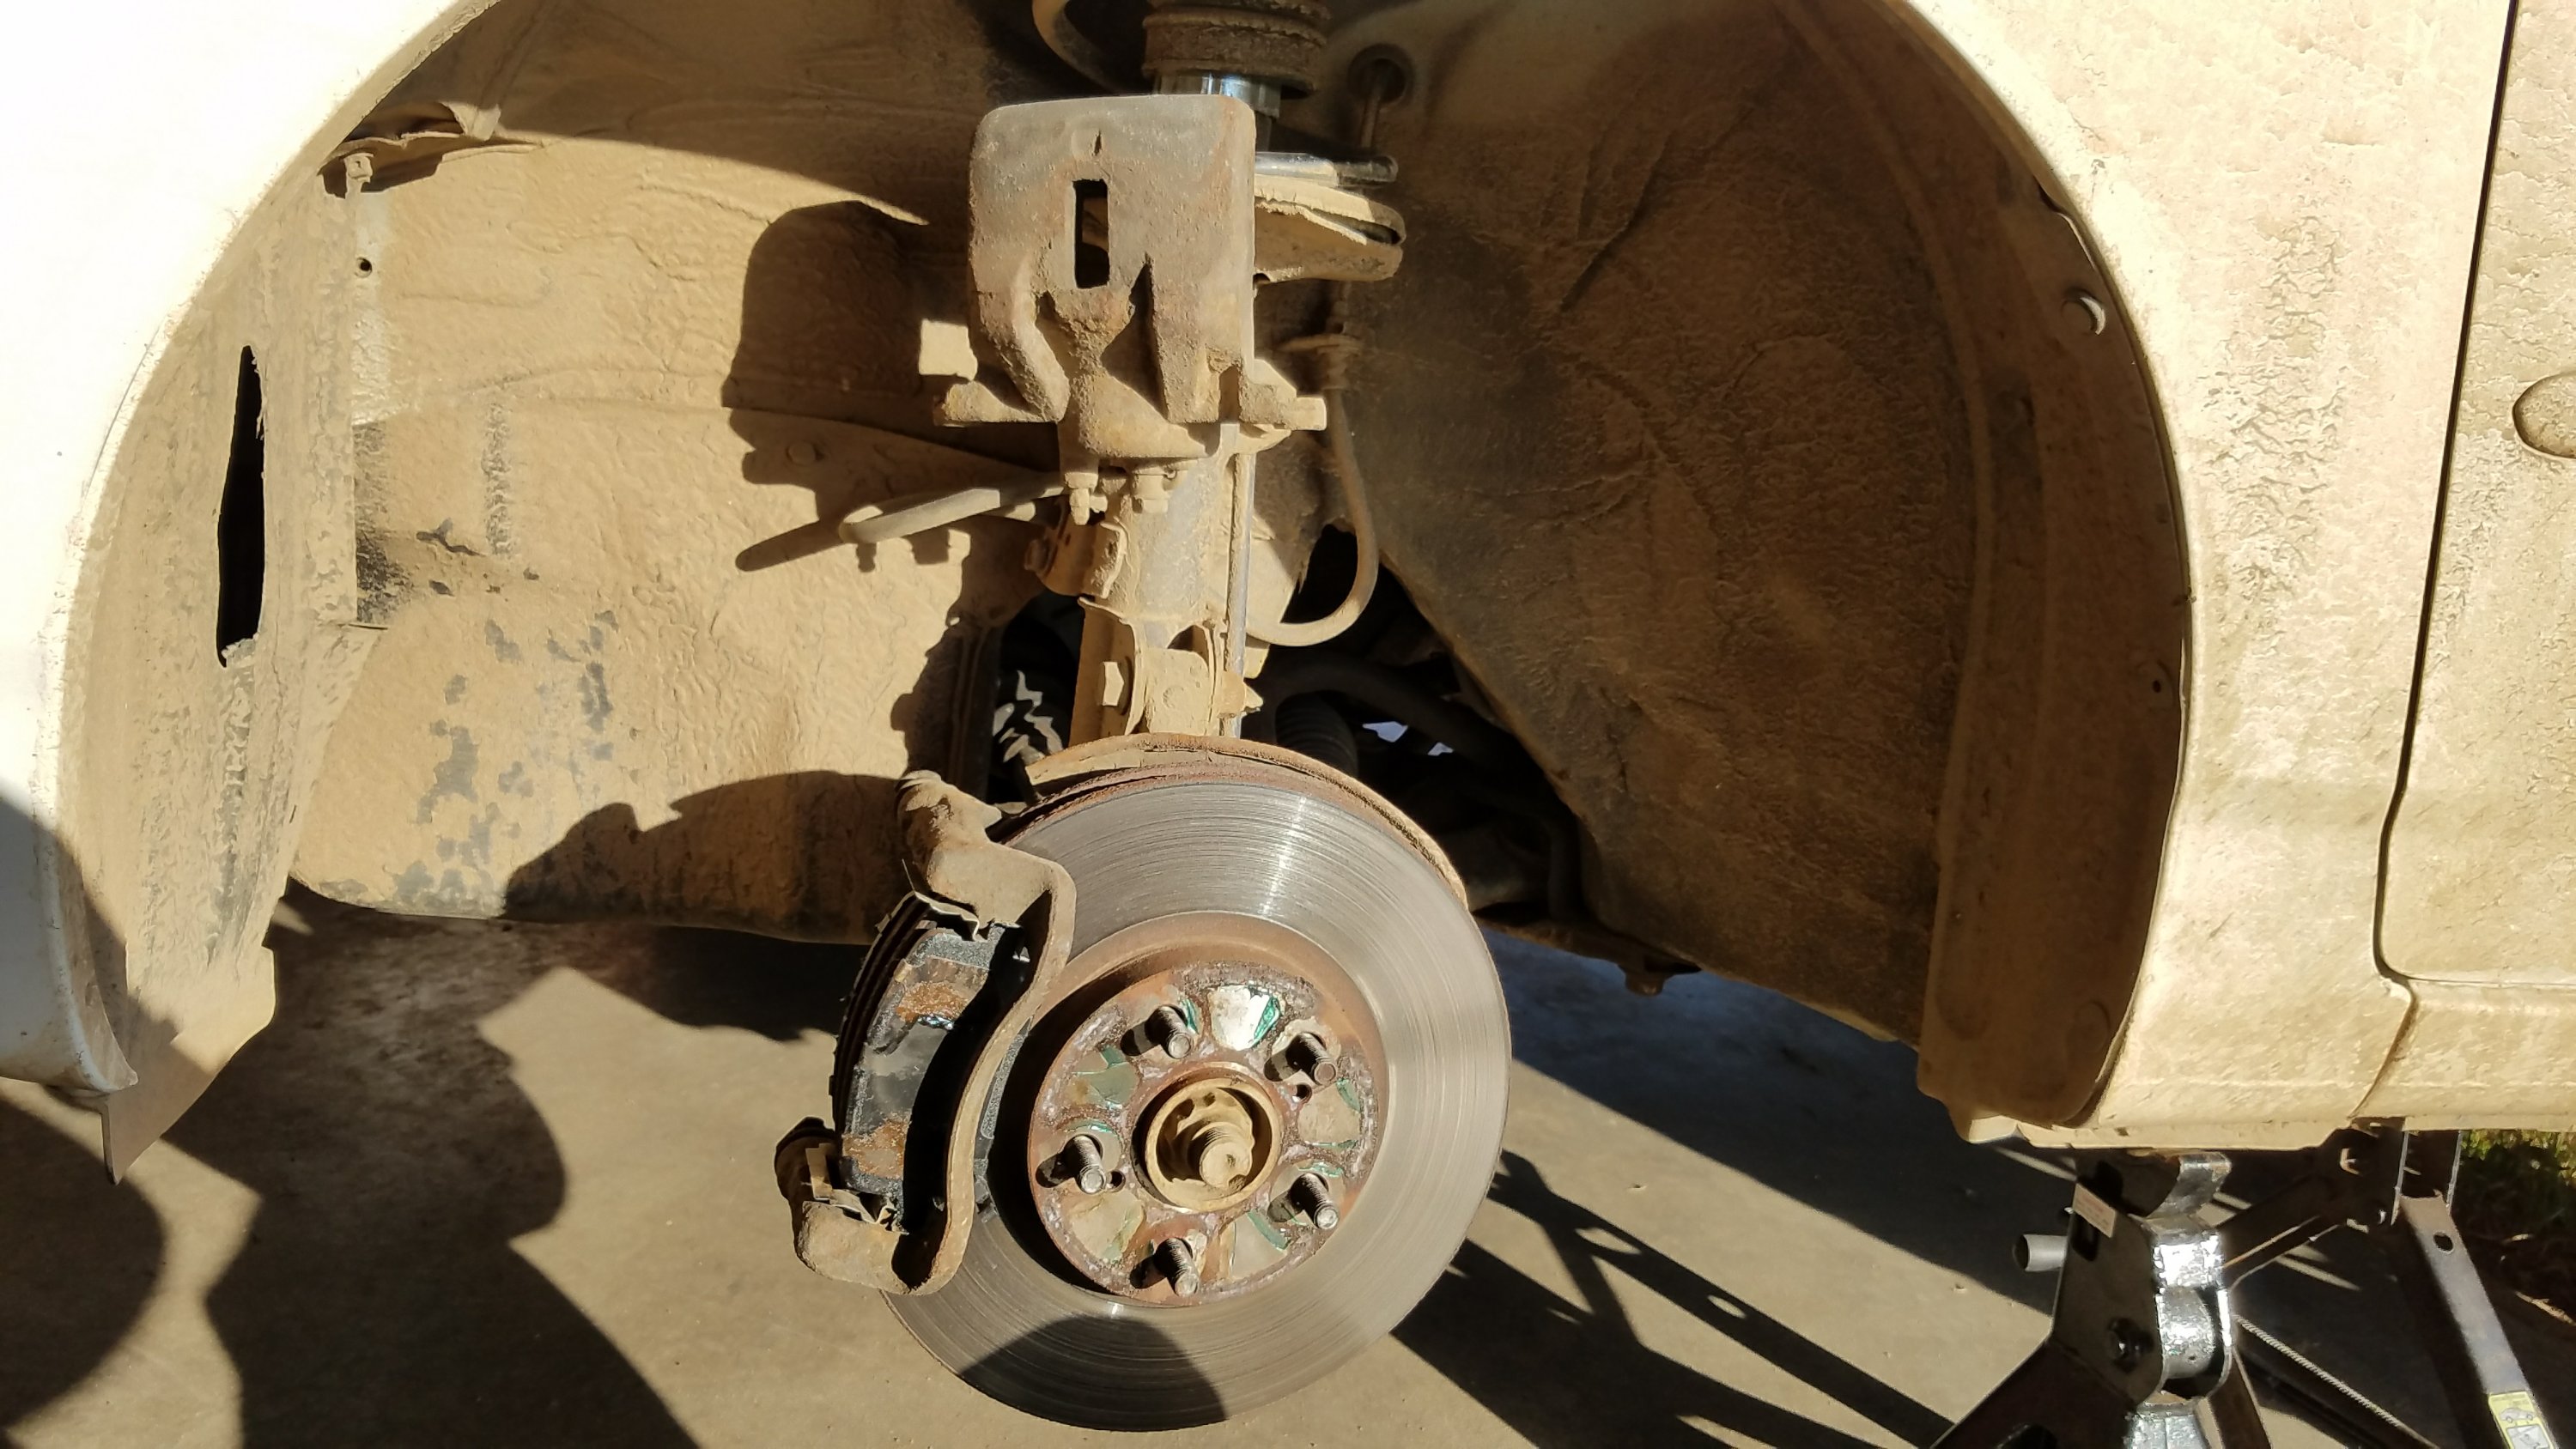
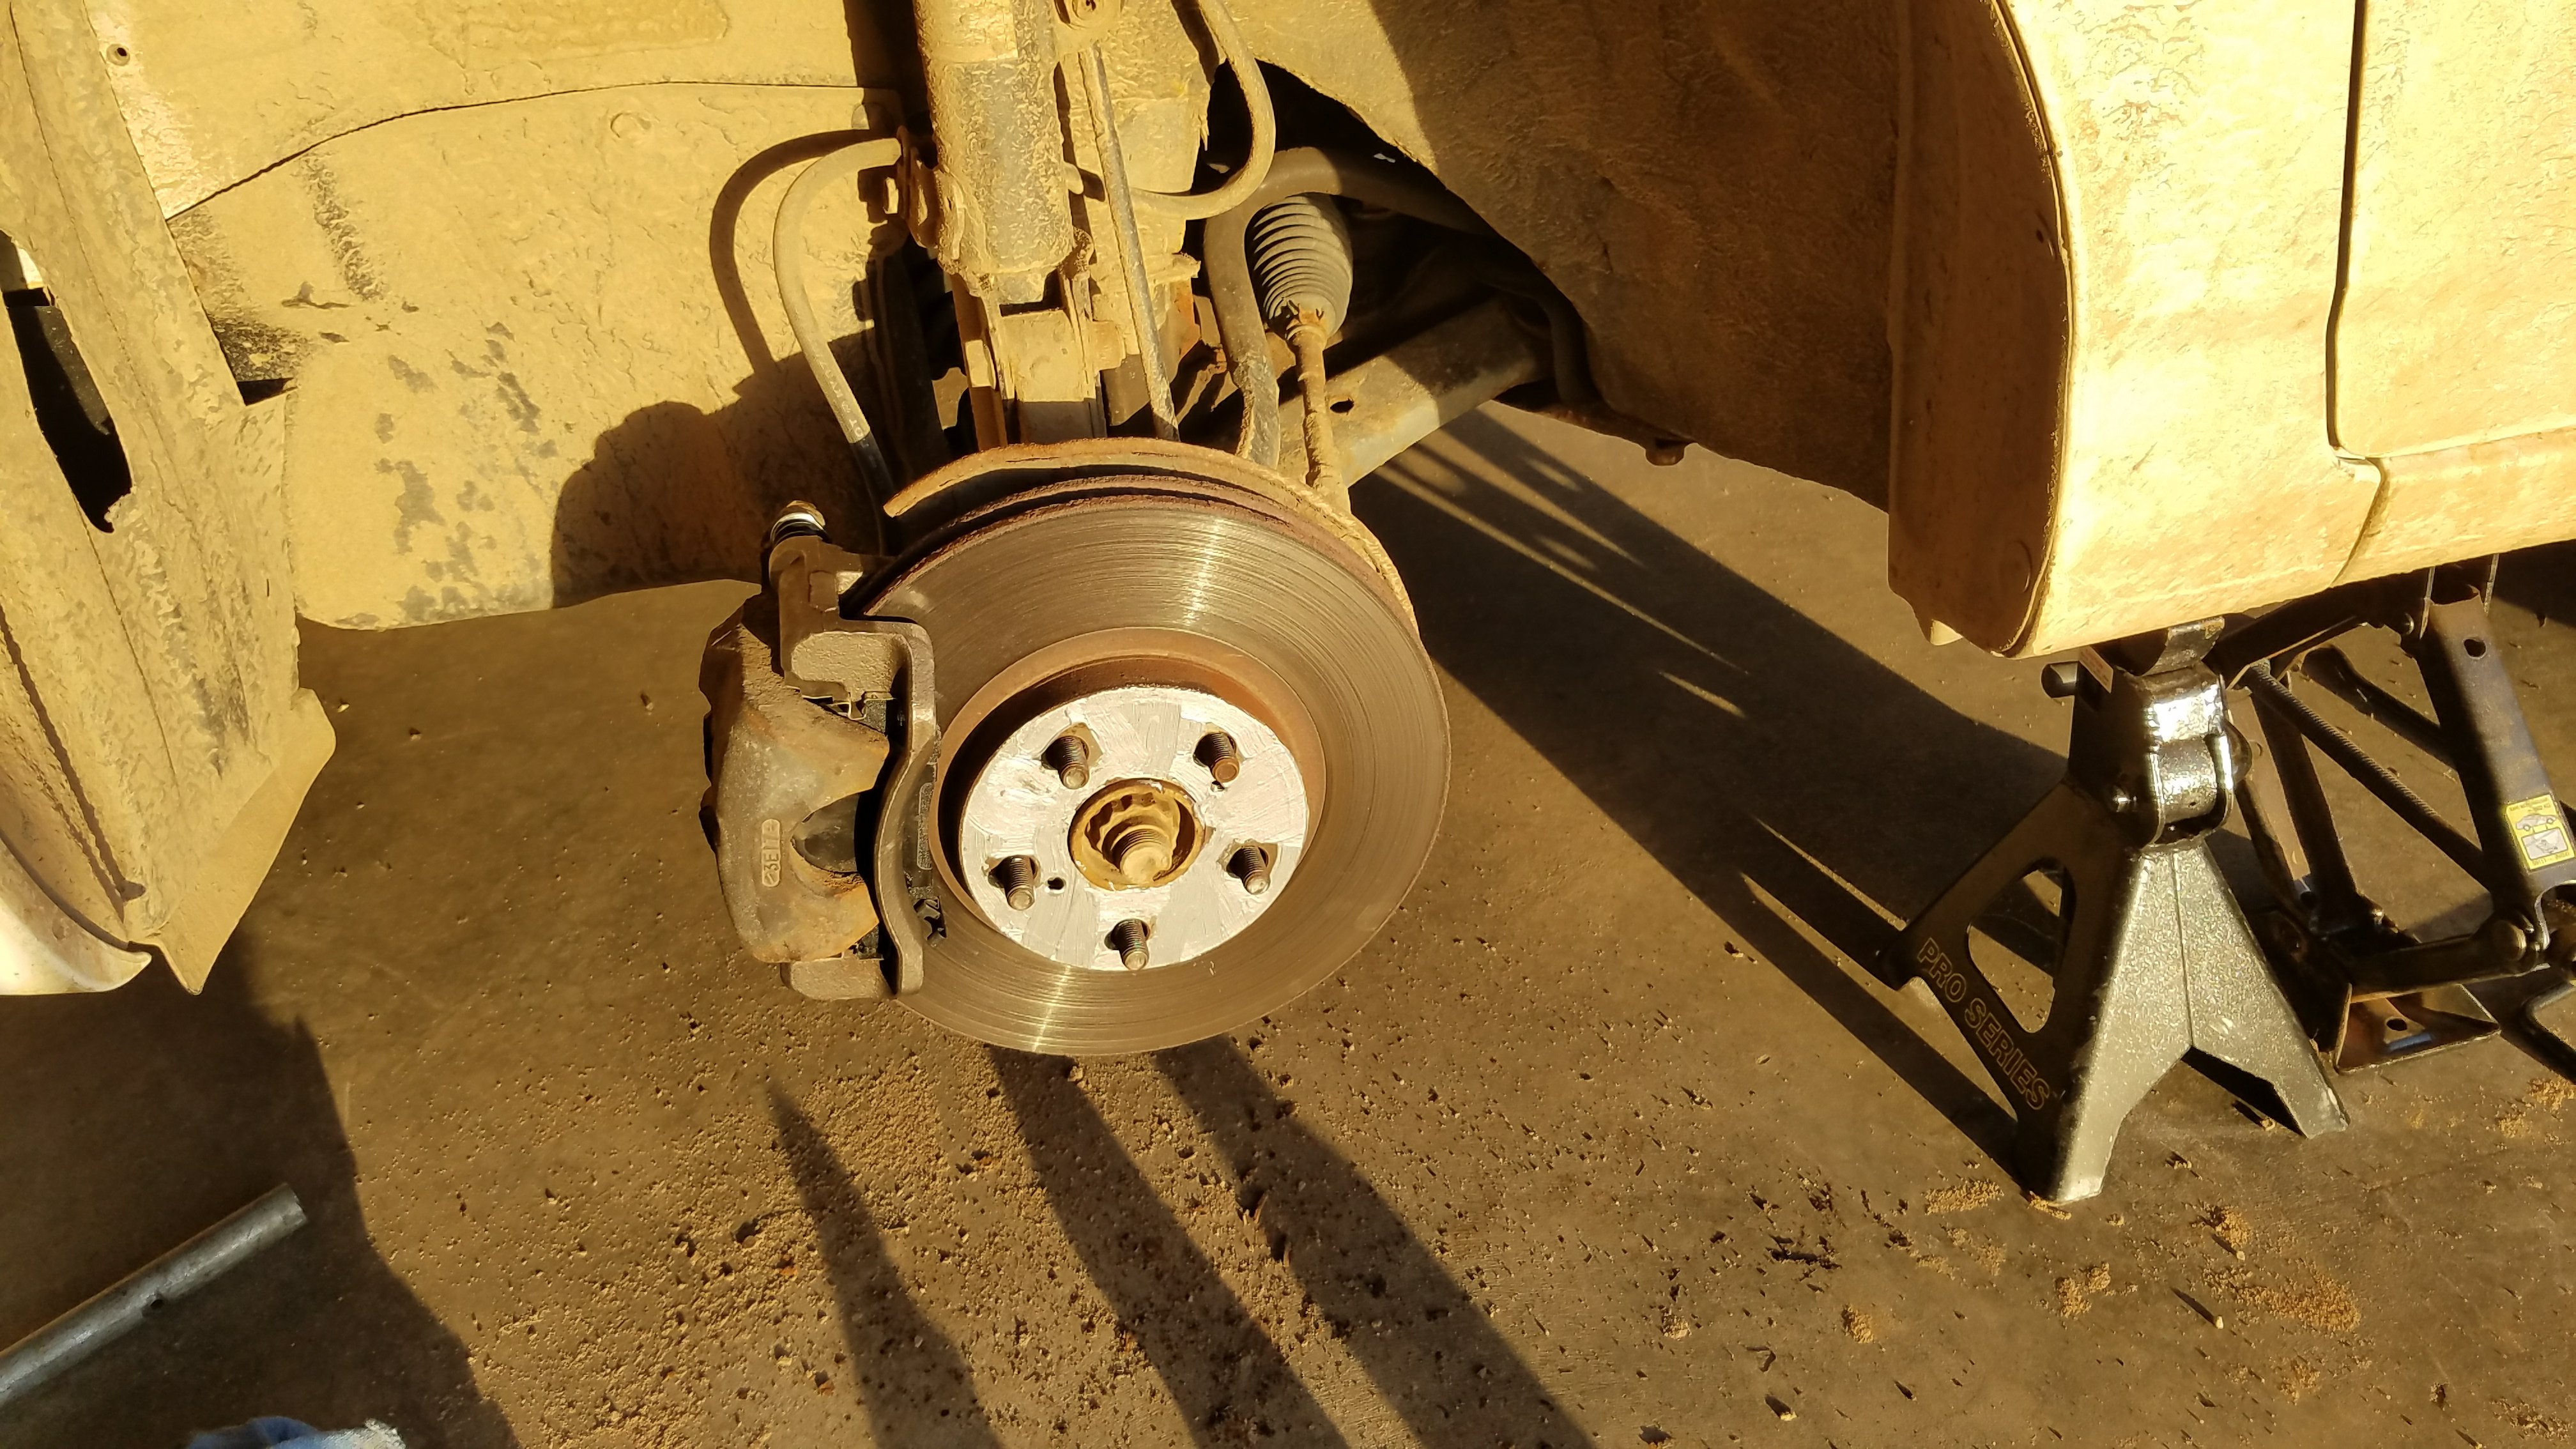
Remove the rotor as well, and carefully set it aside. Be careful not to get excessive amounts of grease on to the rotor. You want to keep the rotor wearing surface pristine.
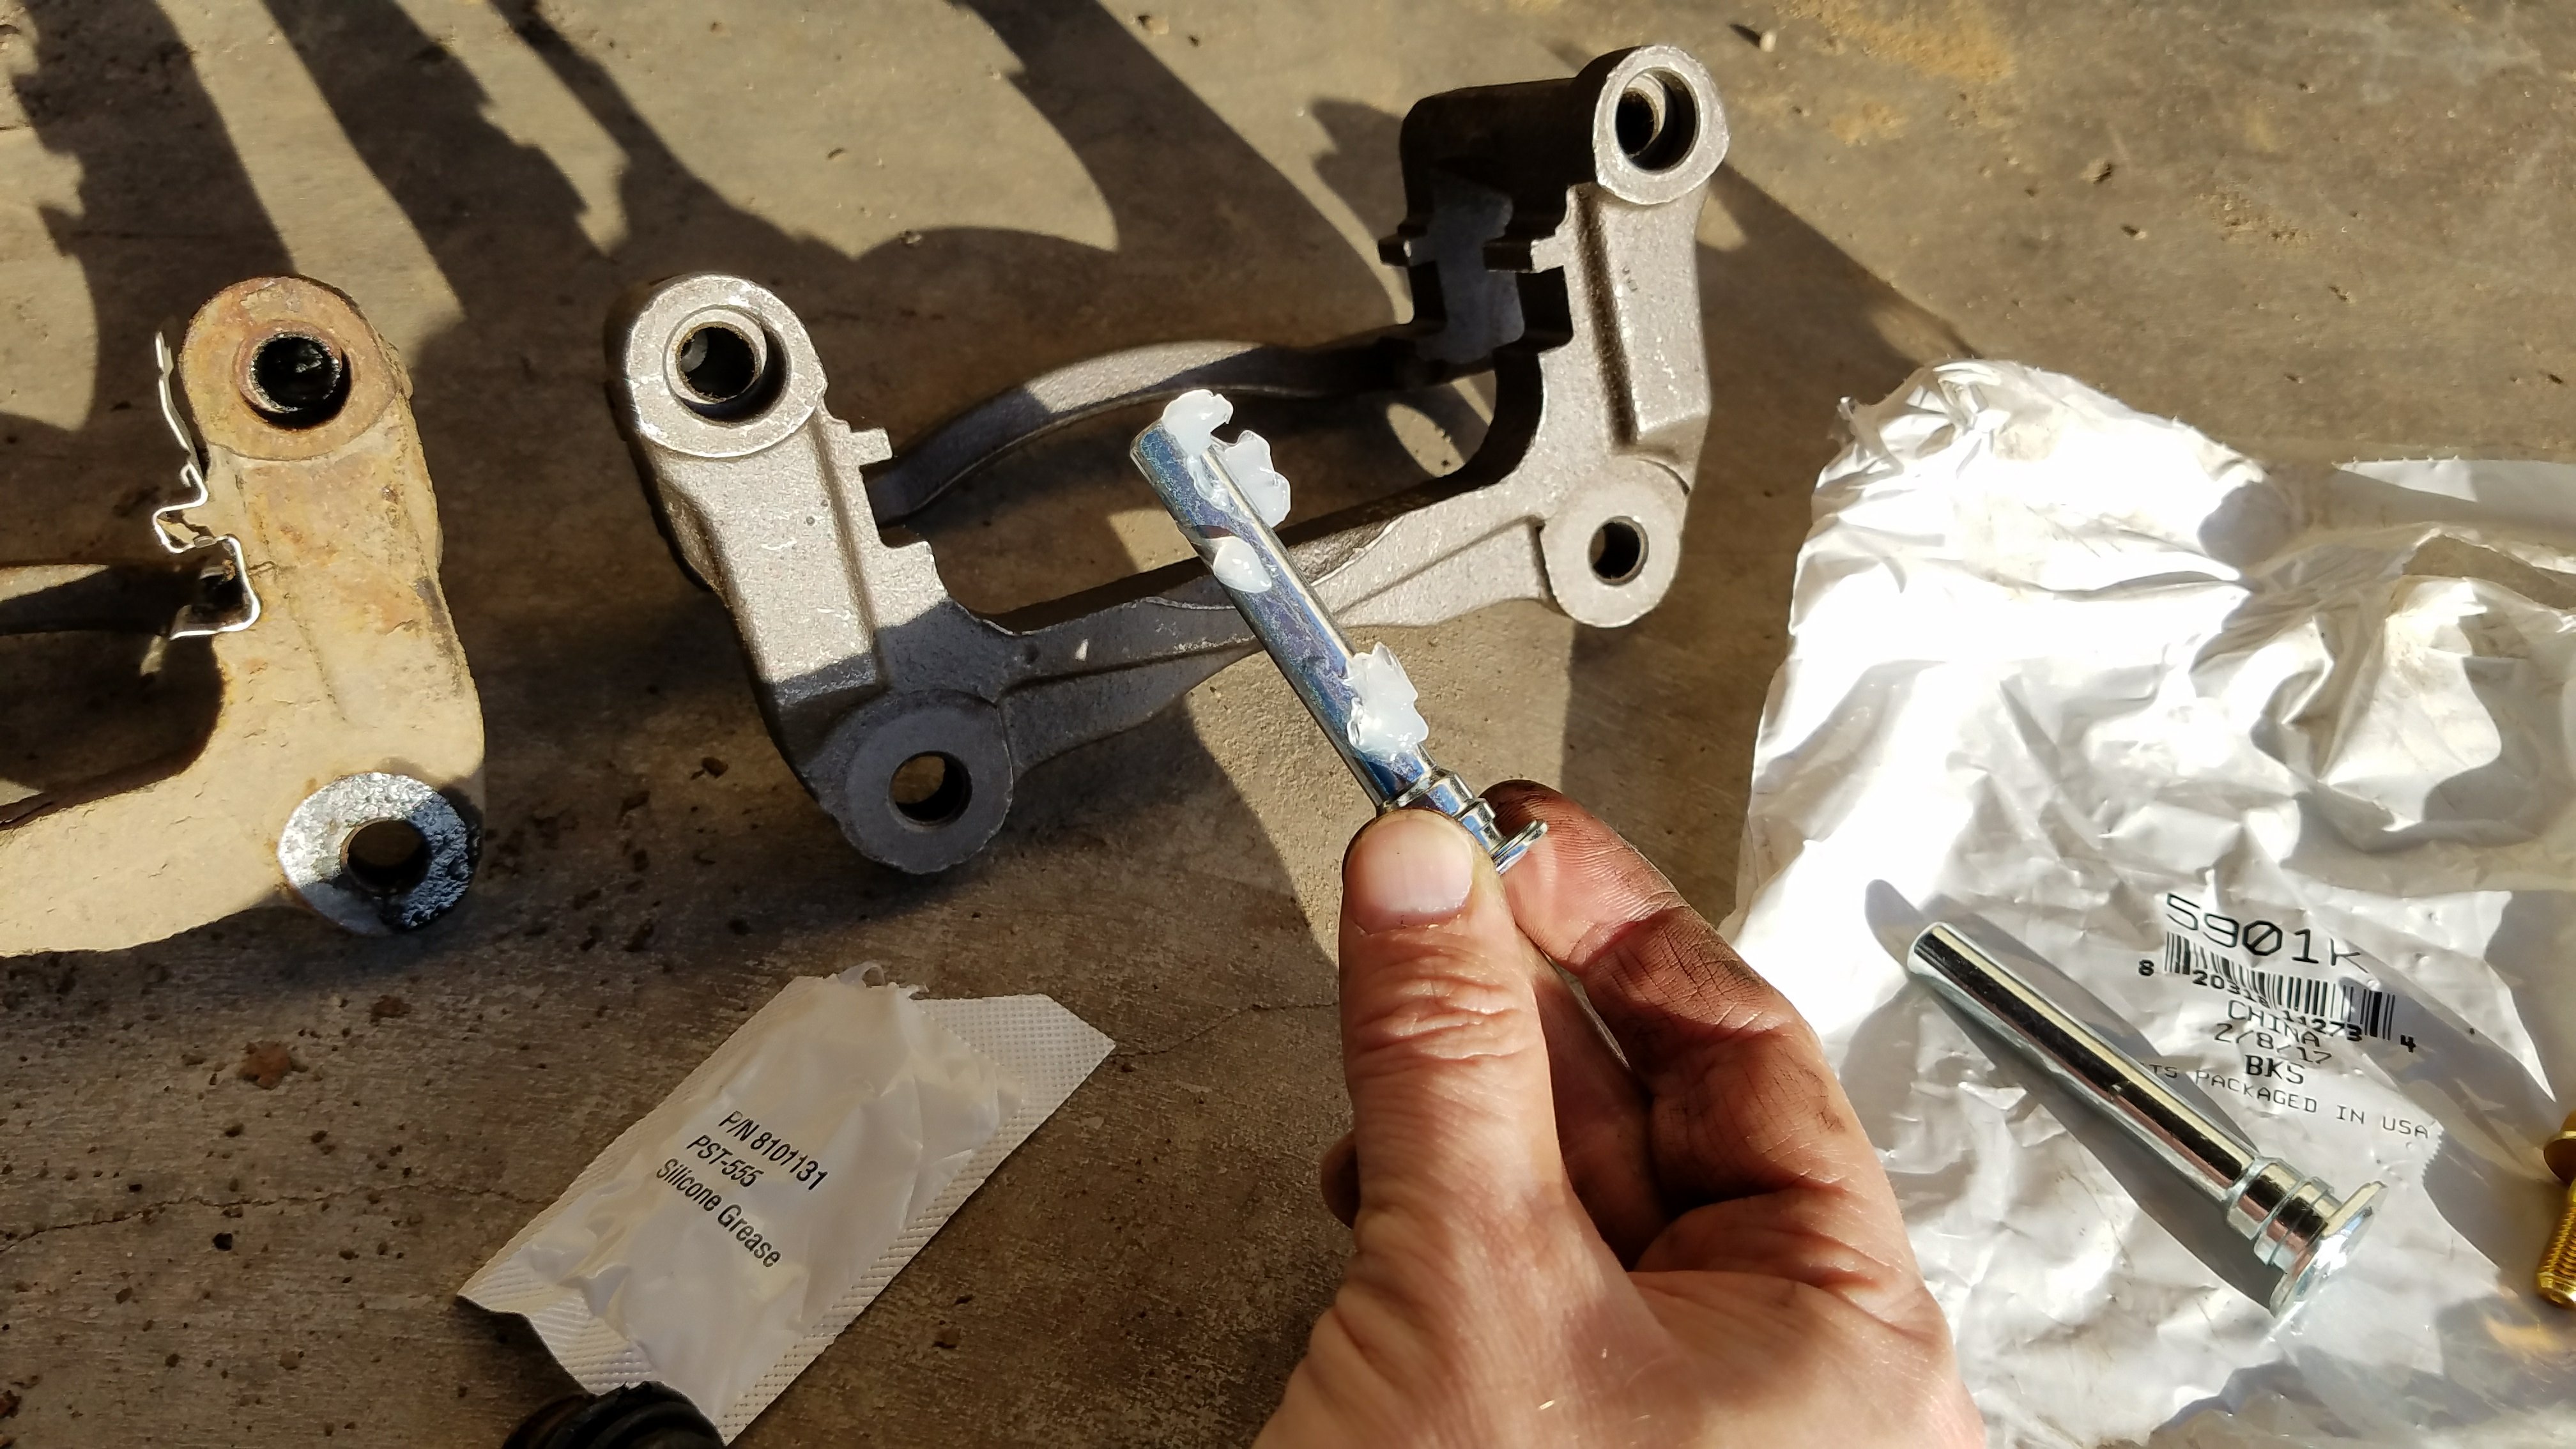
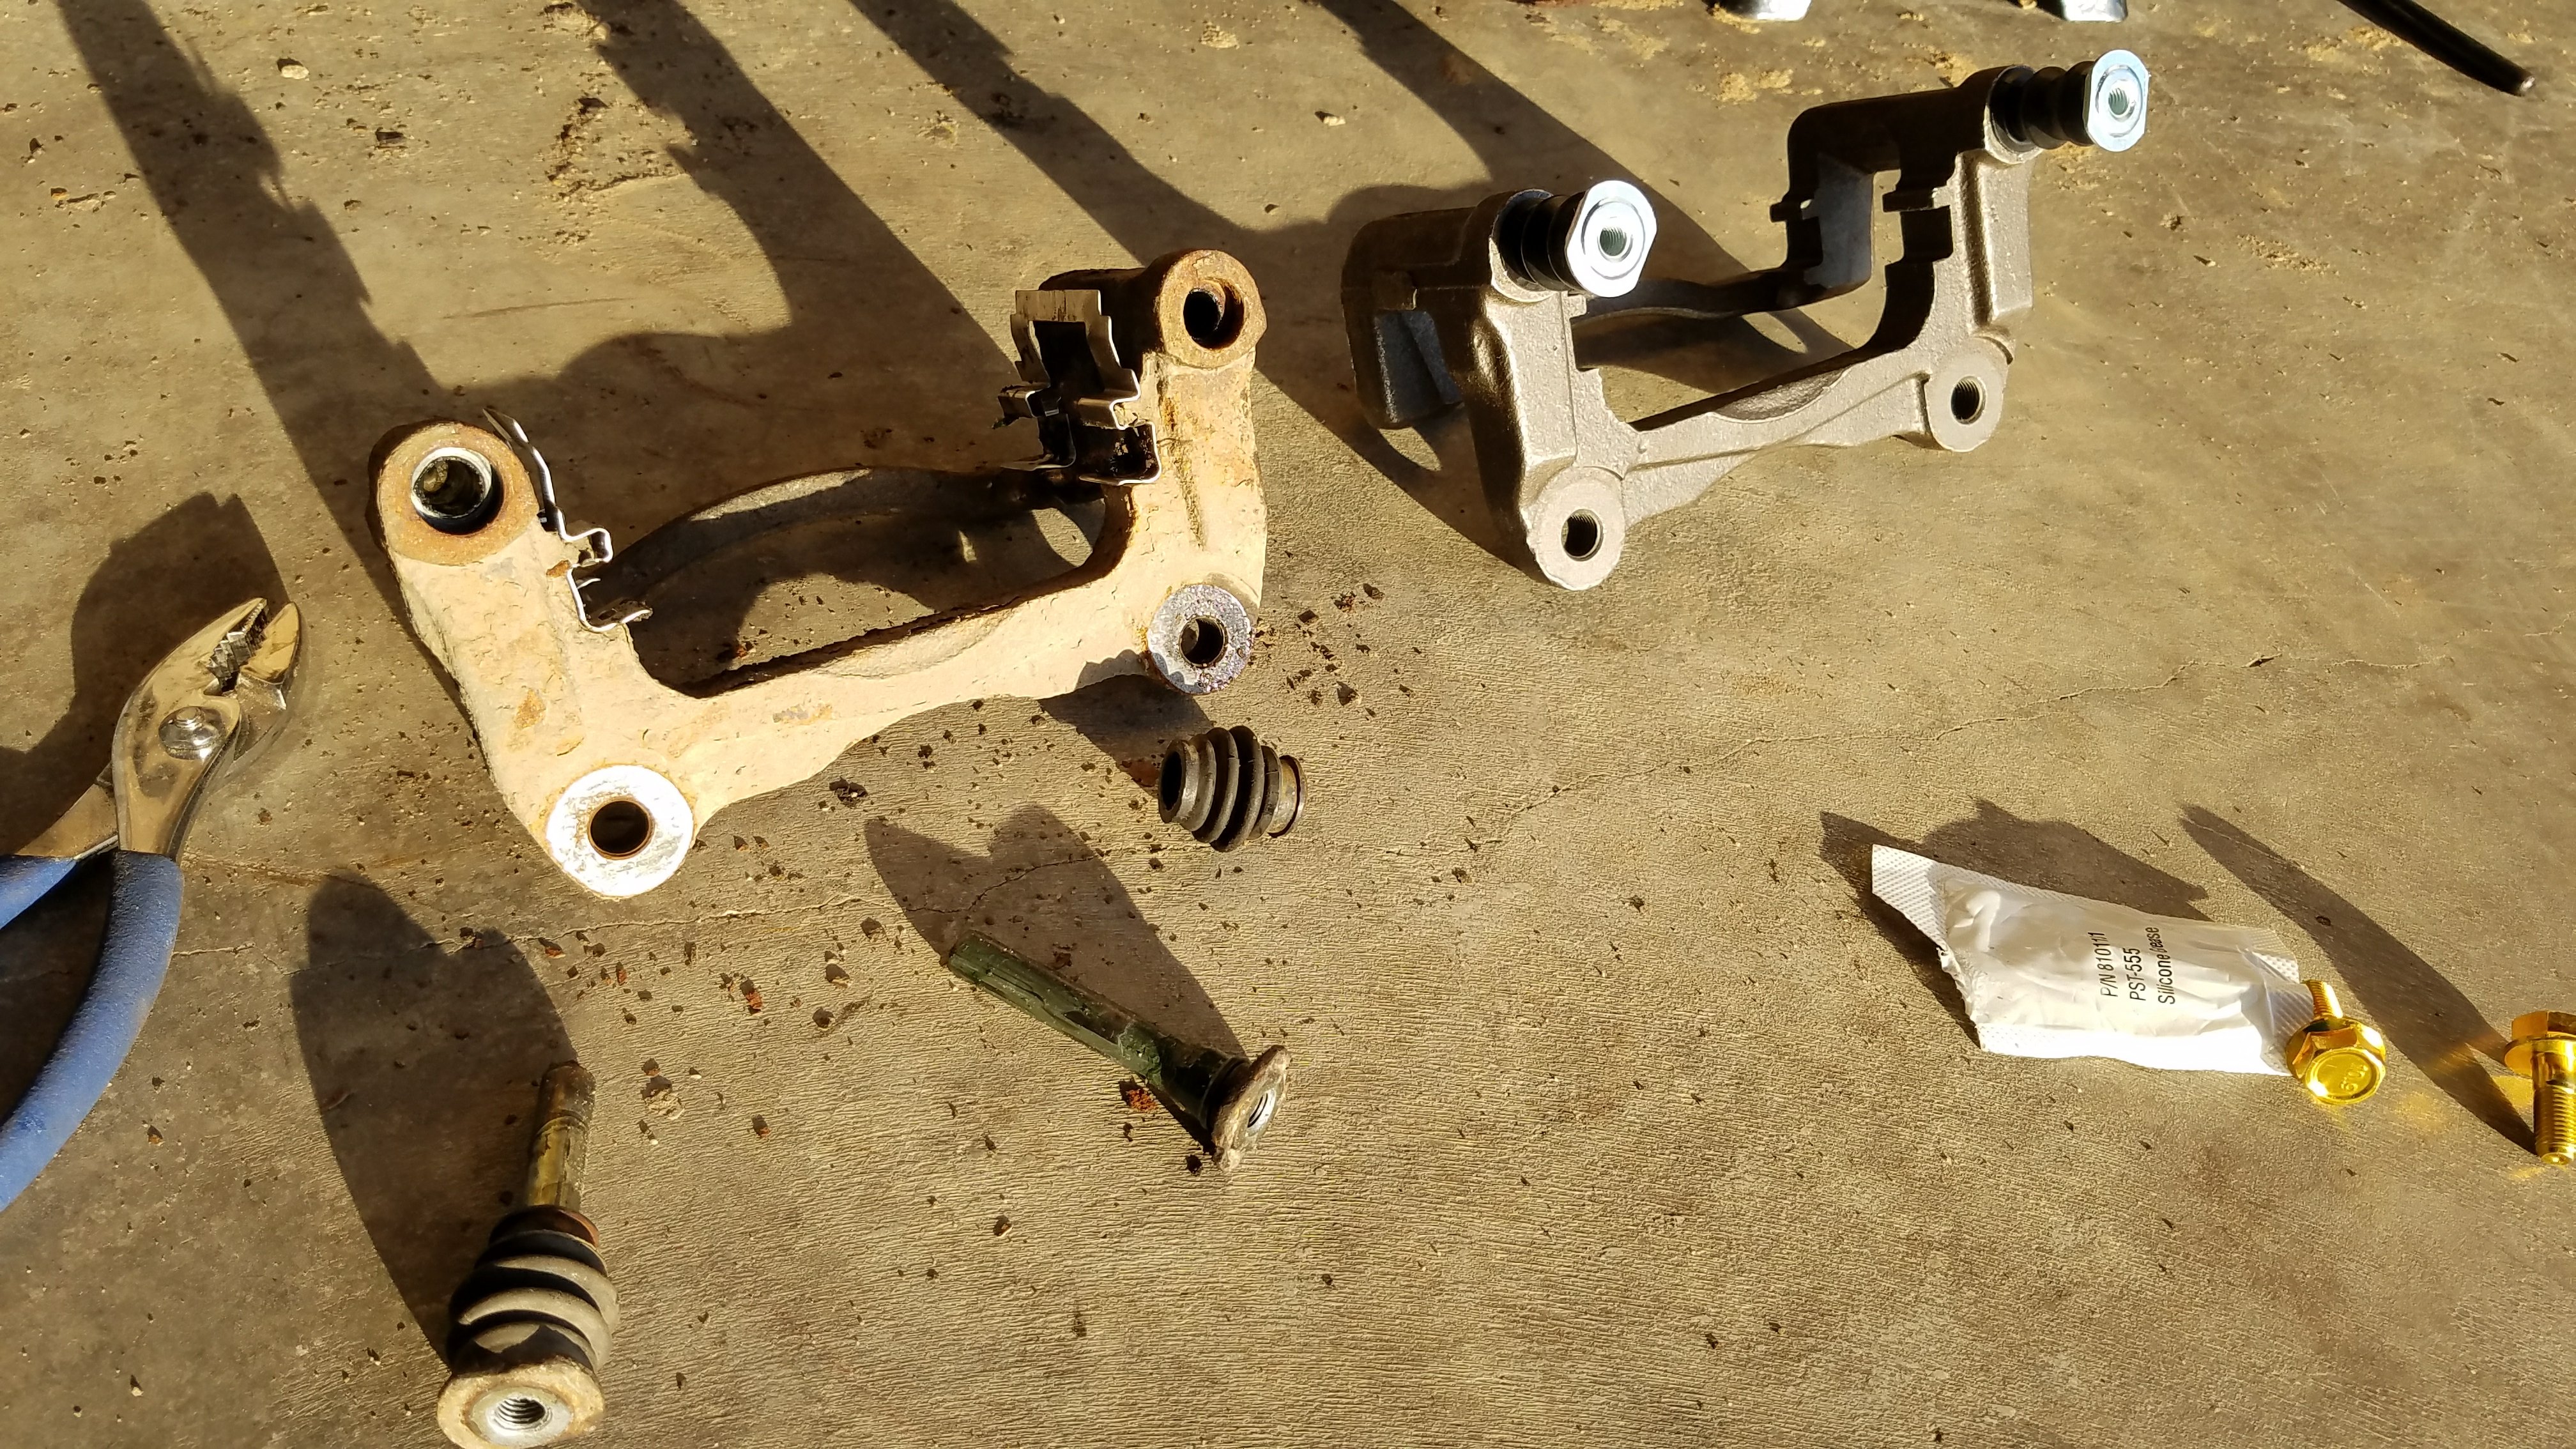
Here is a shot of the old caliper bracket, and the new one, side by side. The old caliper pins have been removed. I ended up buying the new caliper bracket and caliper pins off of Amazon.com.
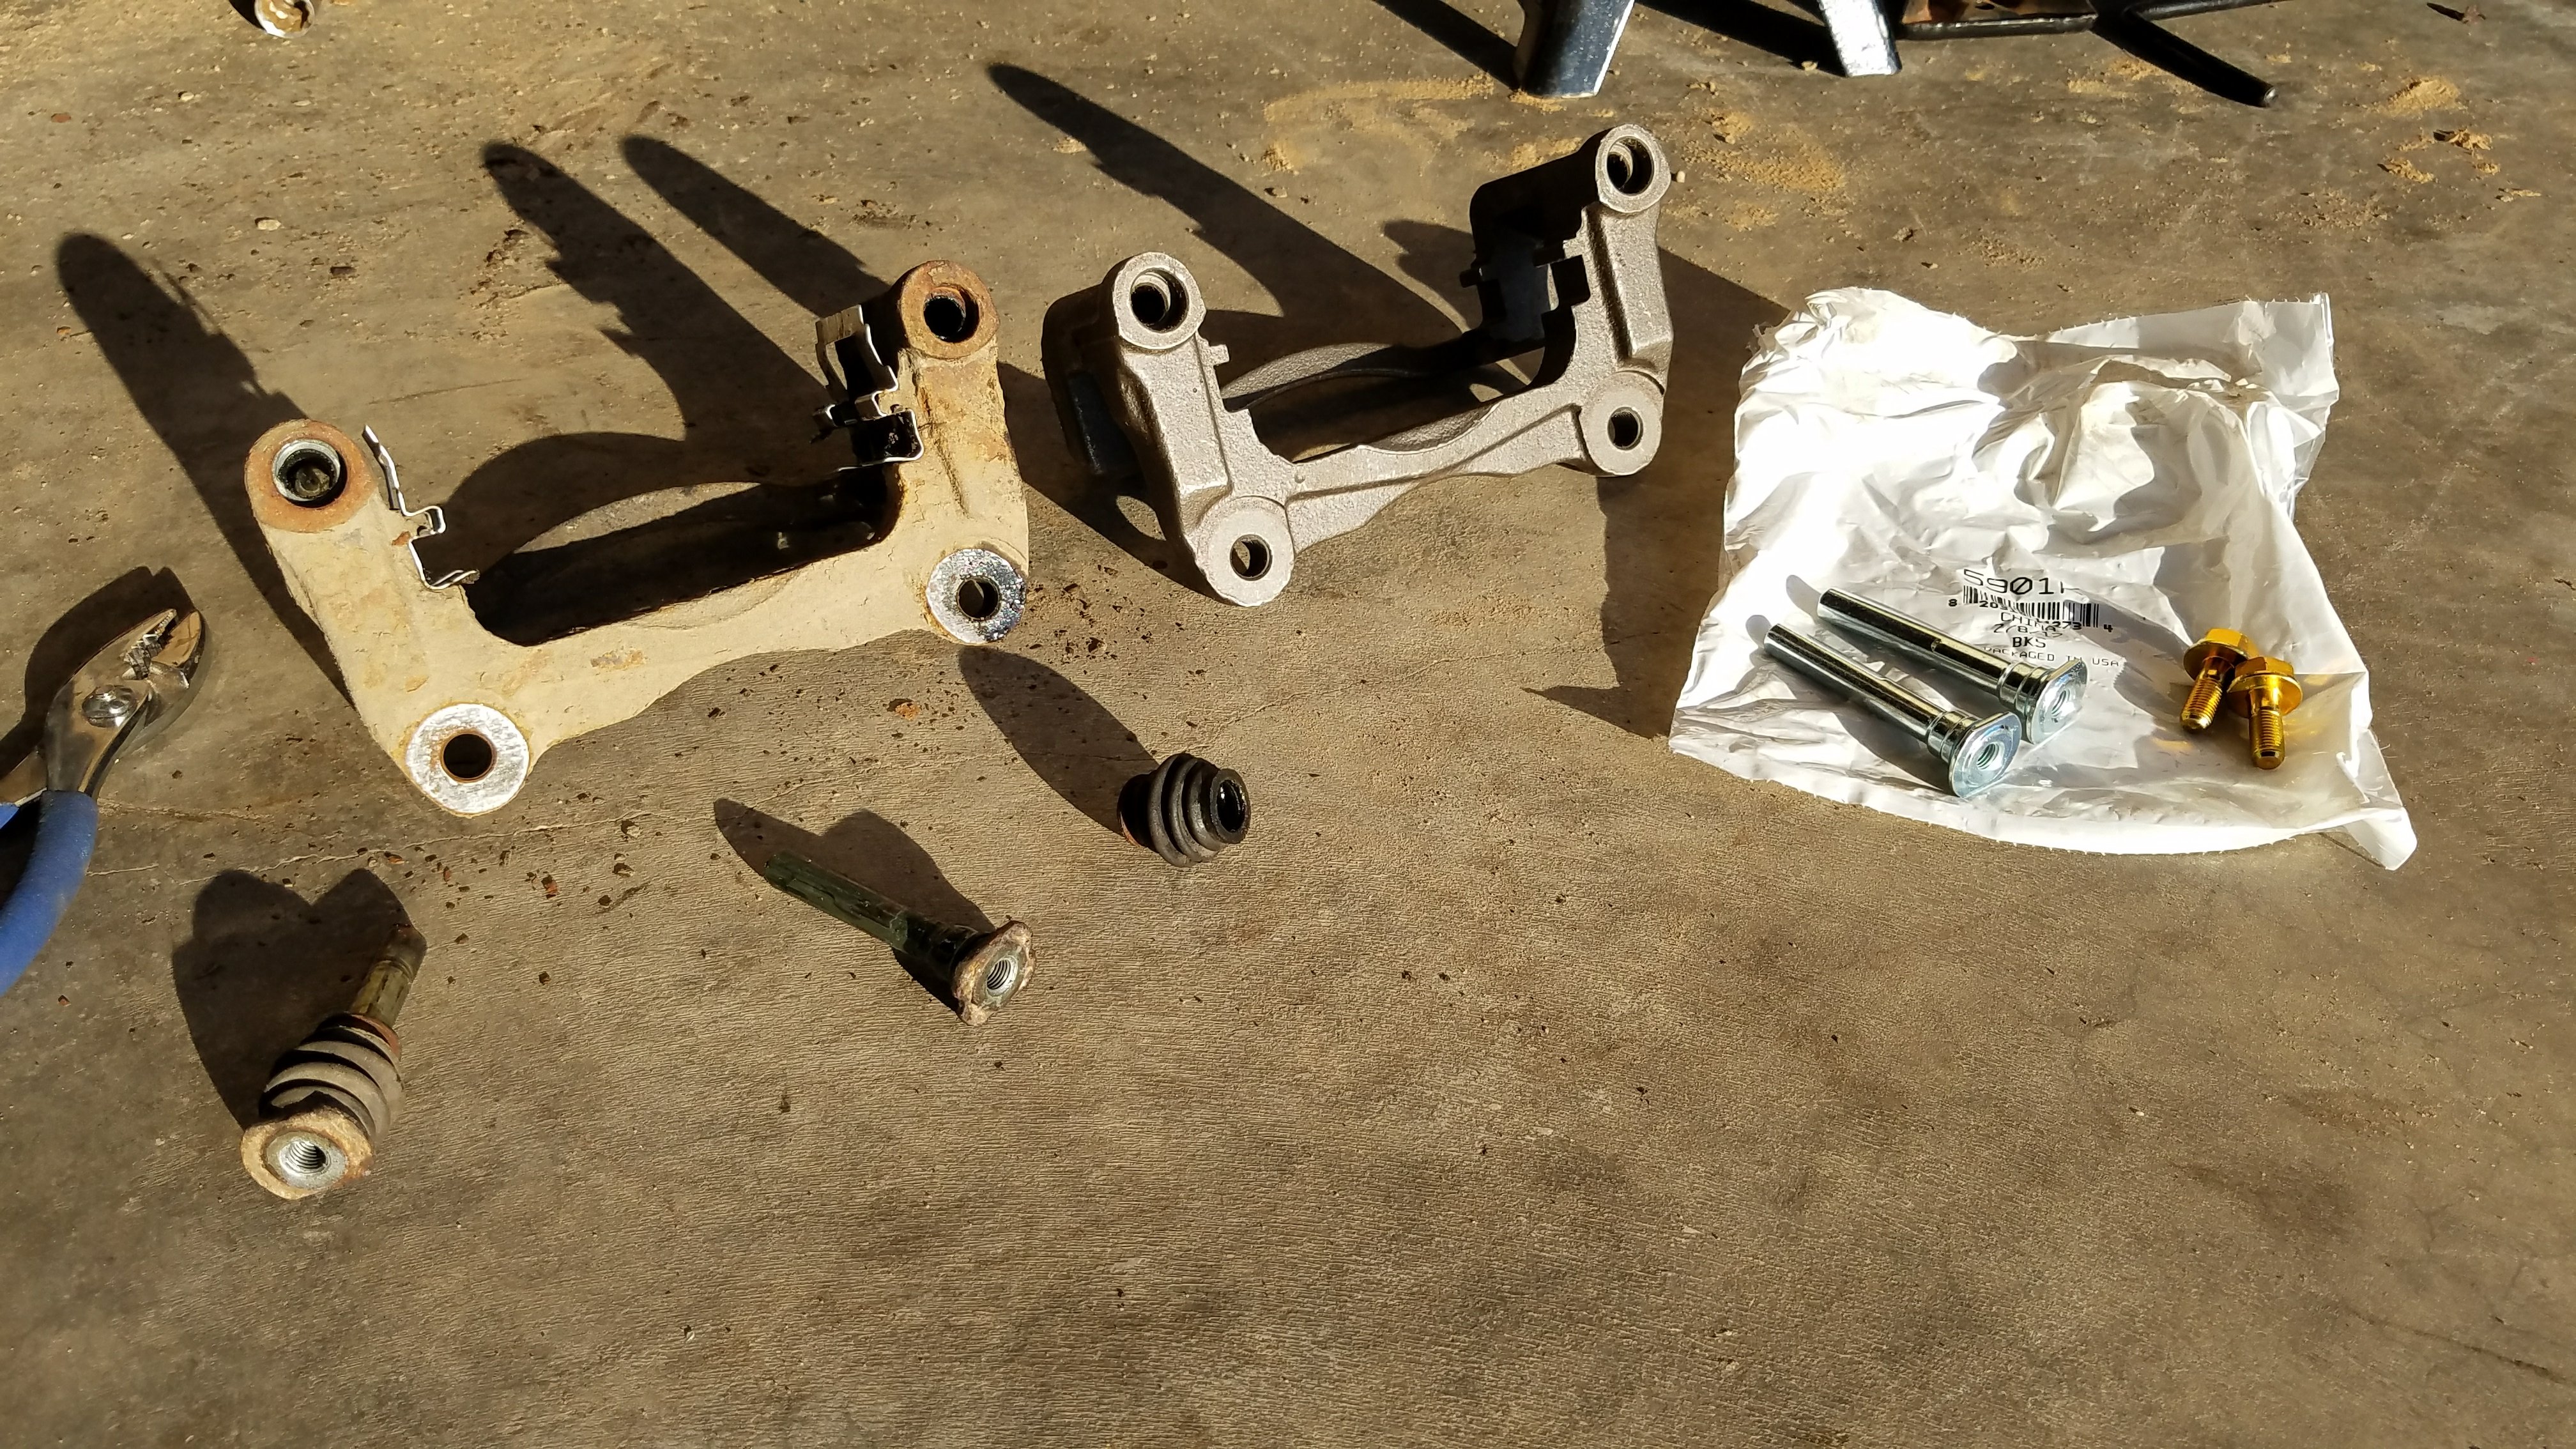
A small packet of silicon grease came with the caliper bracket. Put some silicone grease on to the new caliper pins and spread it around evenly. Insert the pins into the guide slots on the bracket as well. The key here is to get grease on all parts of the pin so that it will slide freely. Be generous, but don’t go overboard. There shouldn’t be excessive grease on parts exterior to the pins and guide slots.
Insert the caliper pins into the caliper bracket. You want to insert the pins and twist them around, so that the grease is evenly distributed on the pin and onto the inside of the caliper bracket where the pin rests. It is also a good idea to get some grease on the inside of the rubber boots.
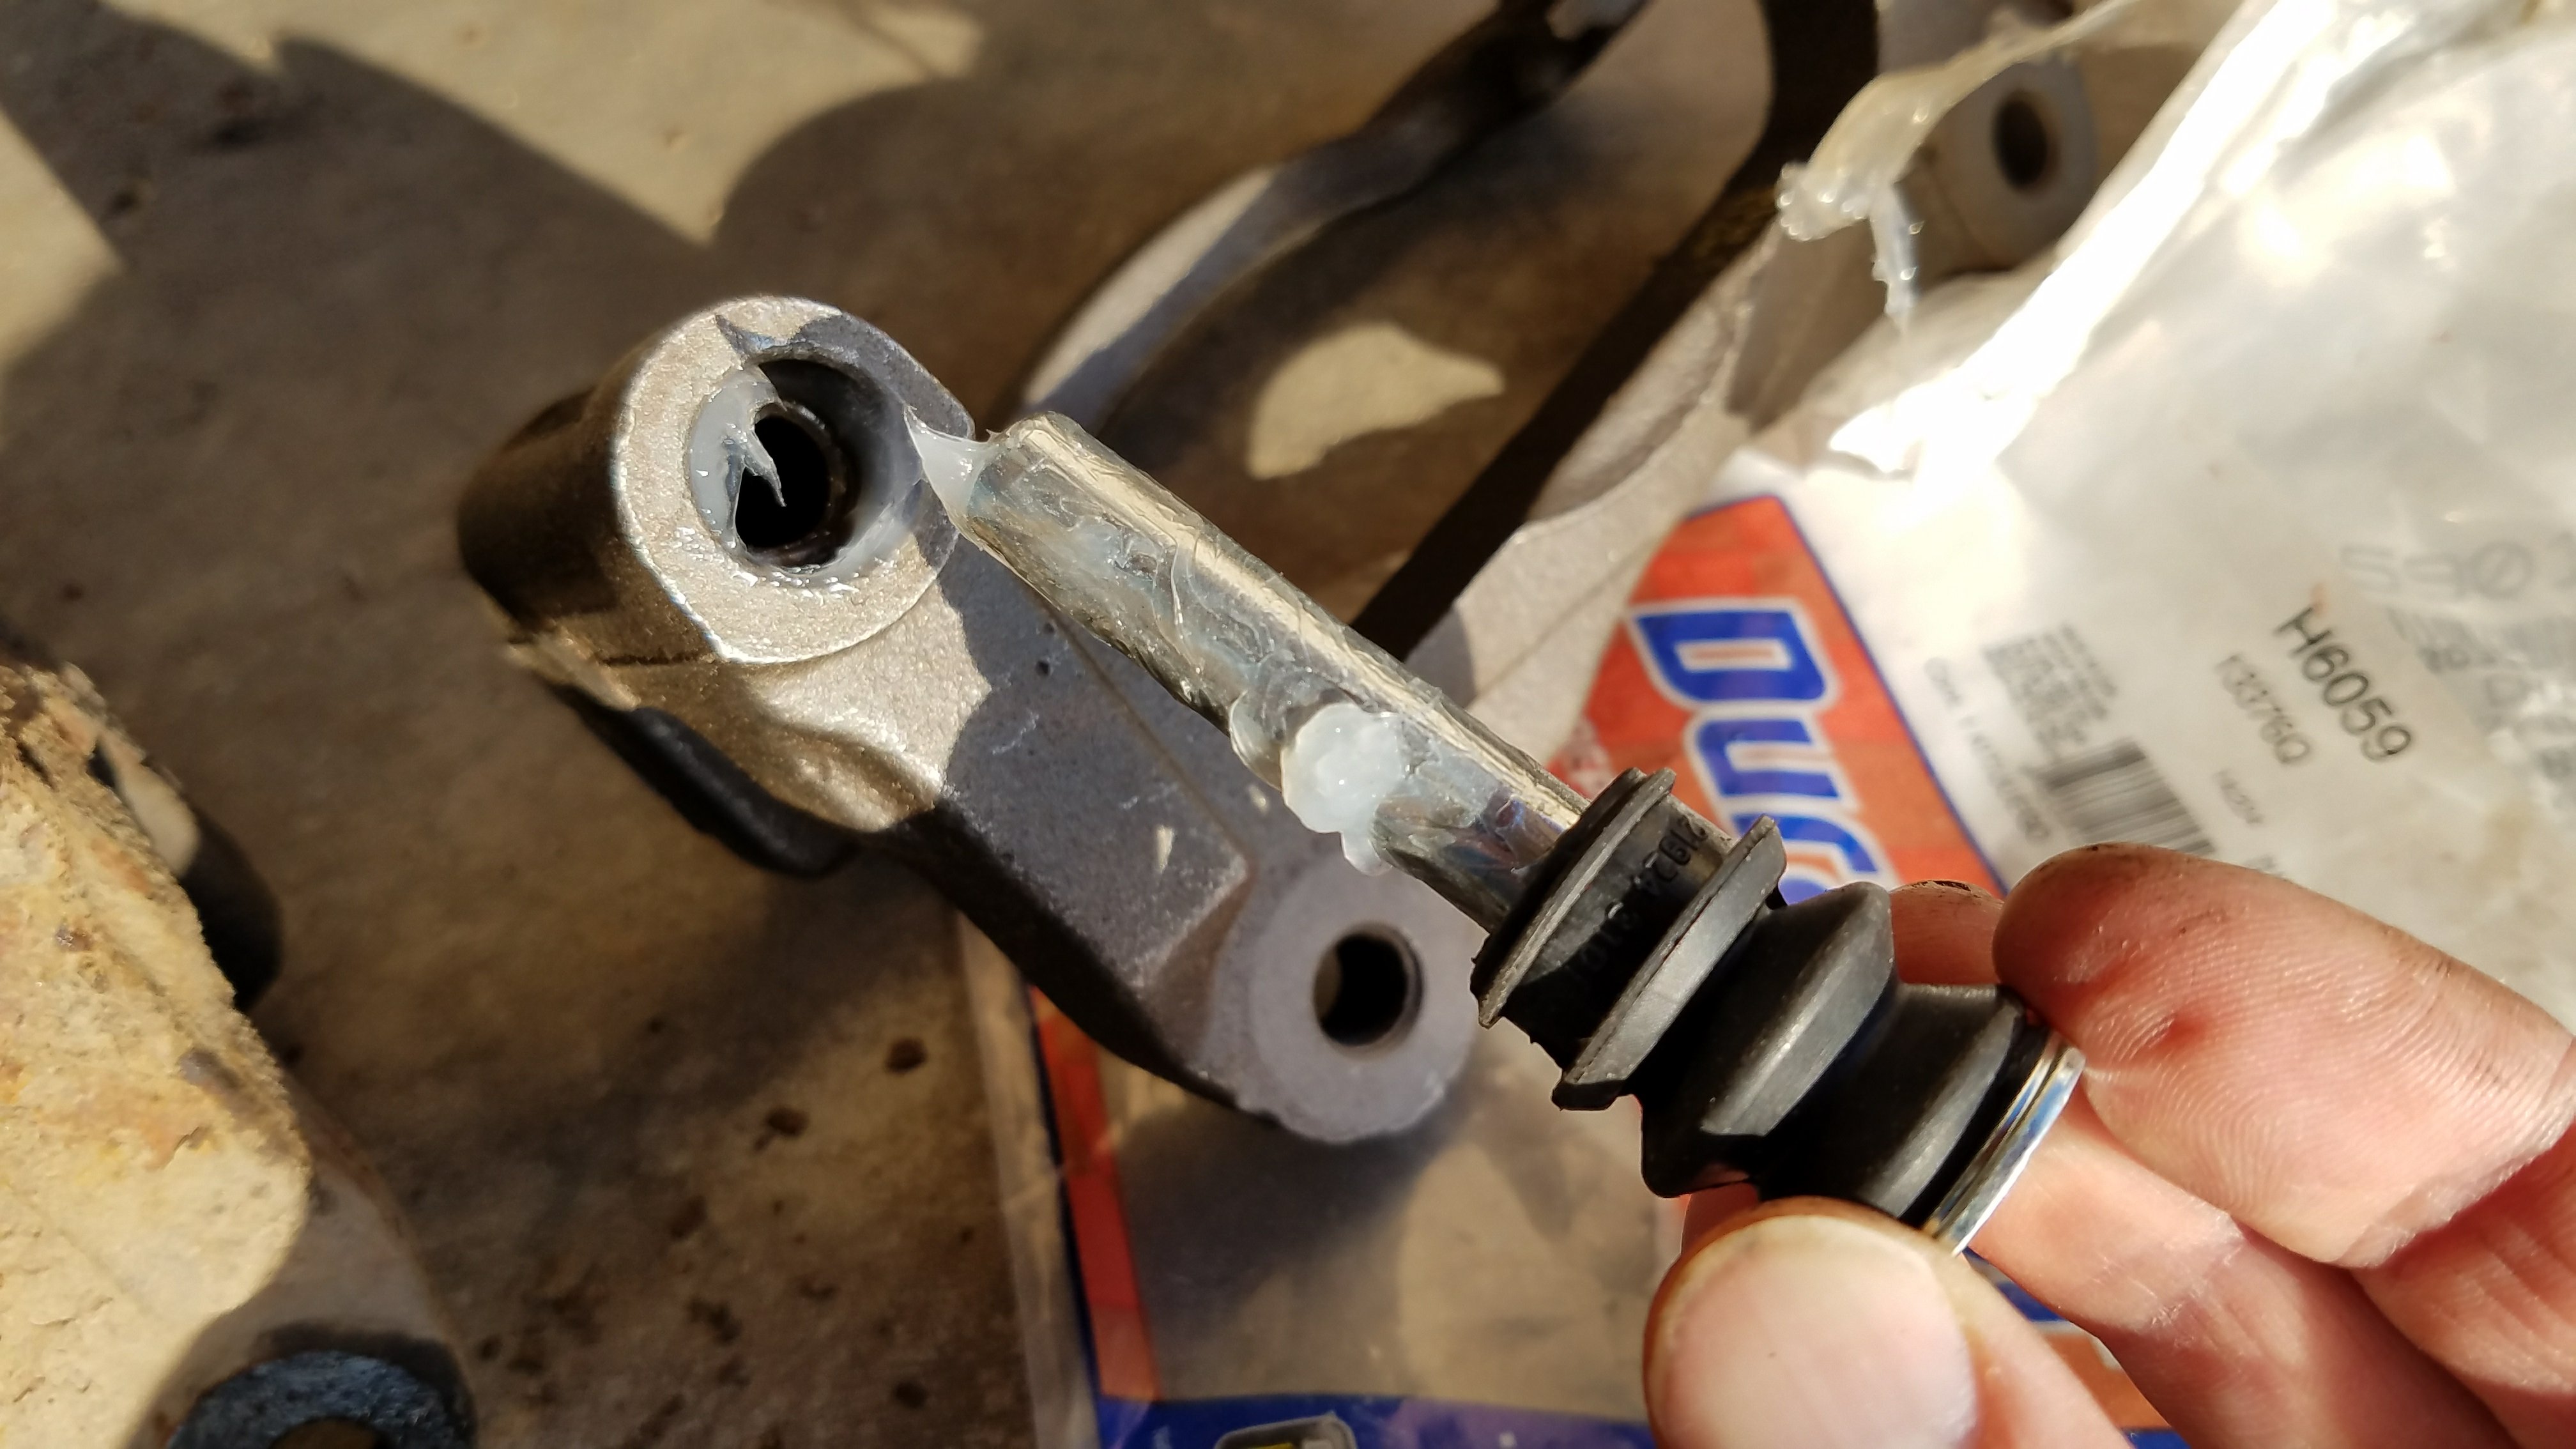
Remove the rubber boots from the caliper pin, and then press them into the caliper bracket. It is much easier to put the boots into the bracket without the pins in them.
The protective boot should fit nicely in side the caliper bracket. This is shown in the next photo.
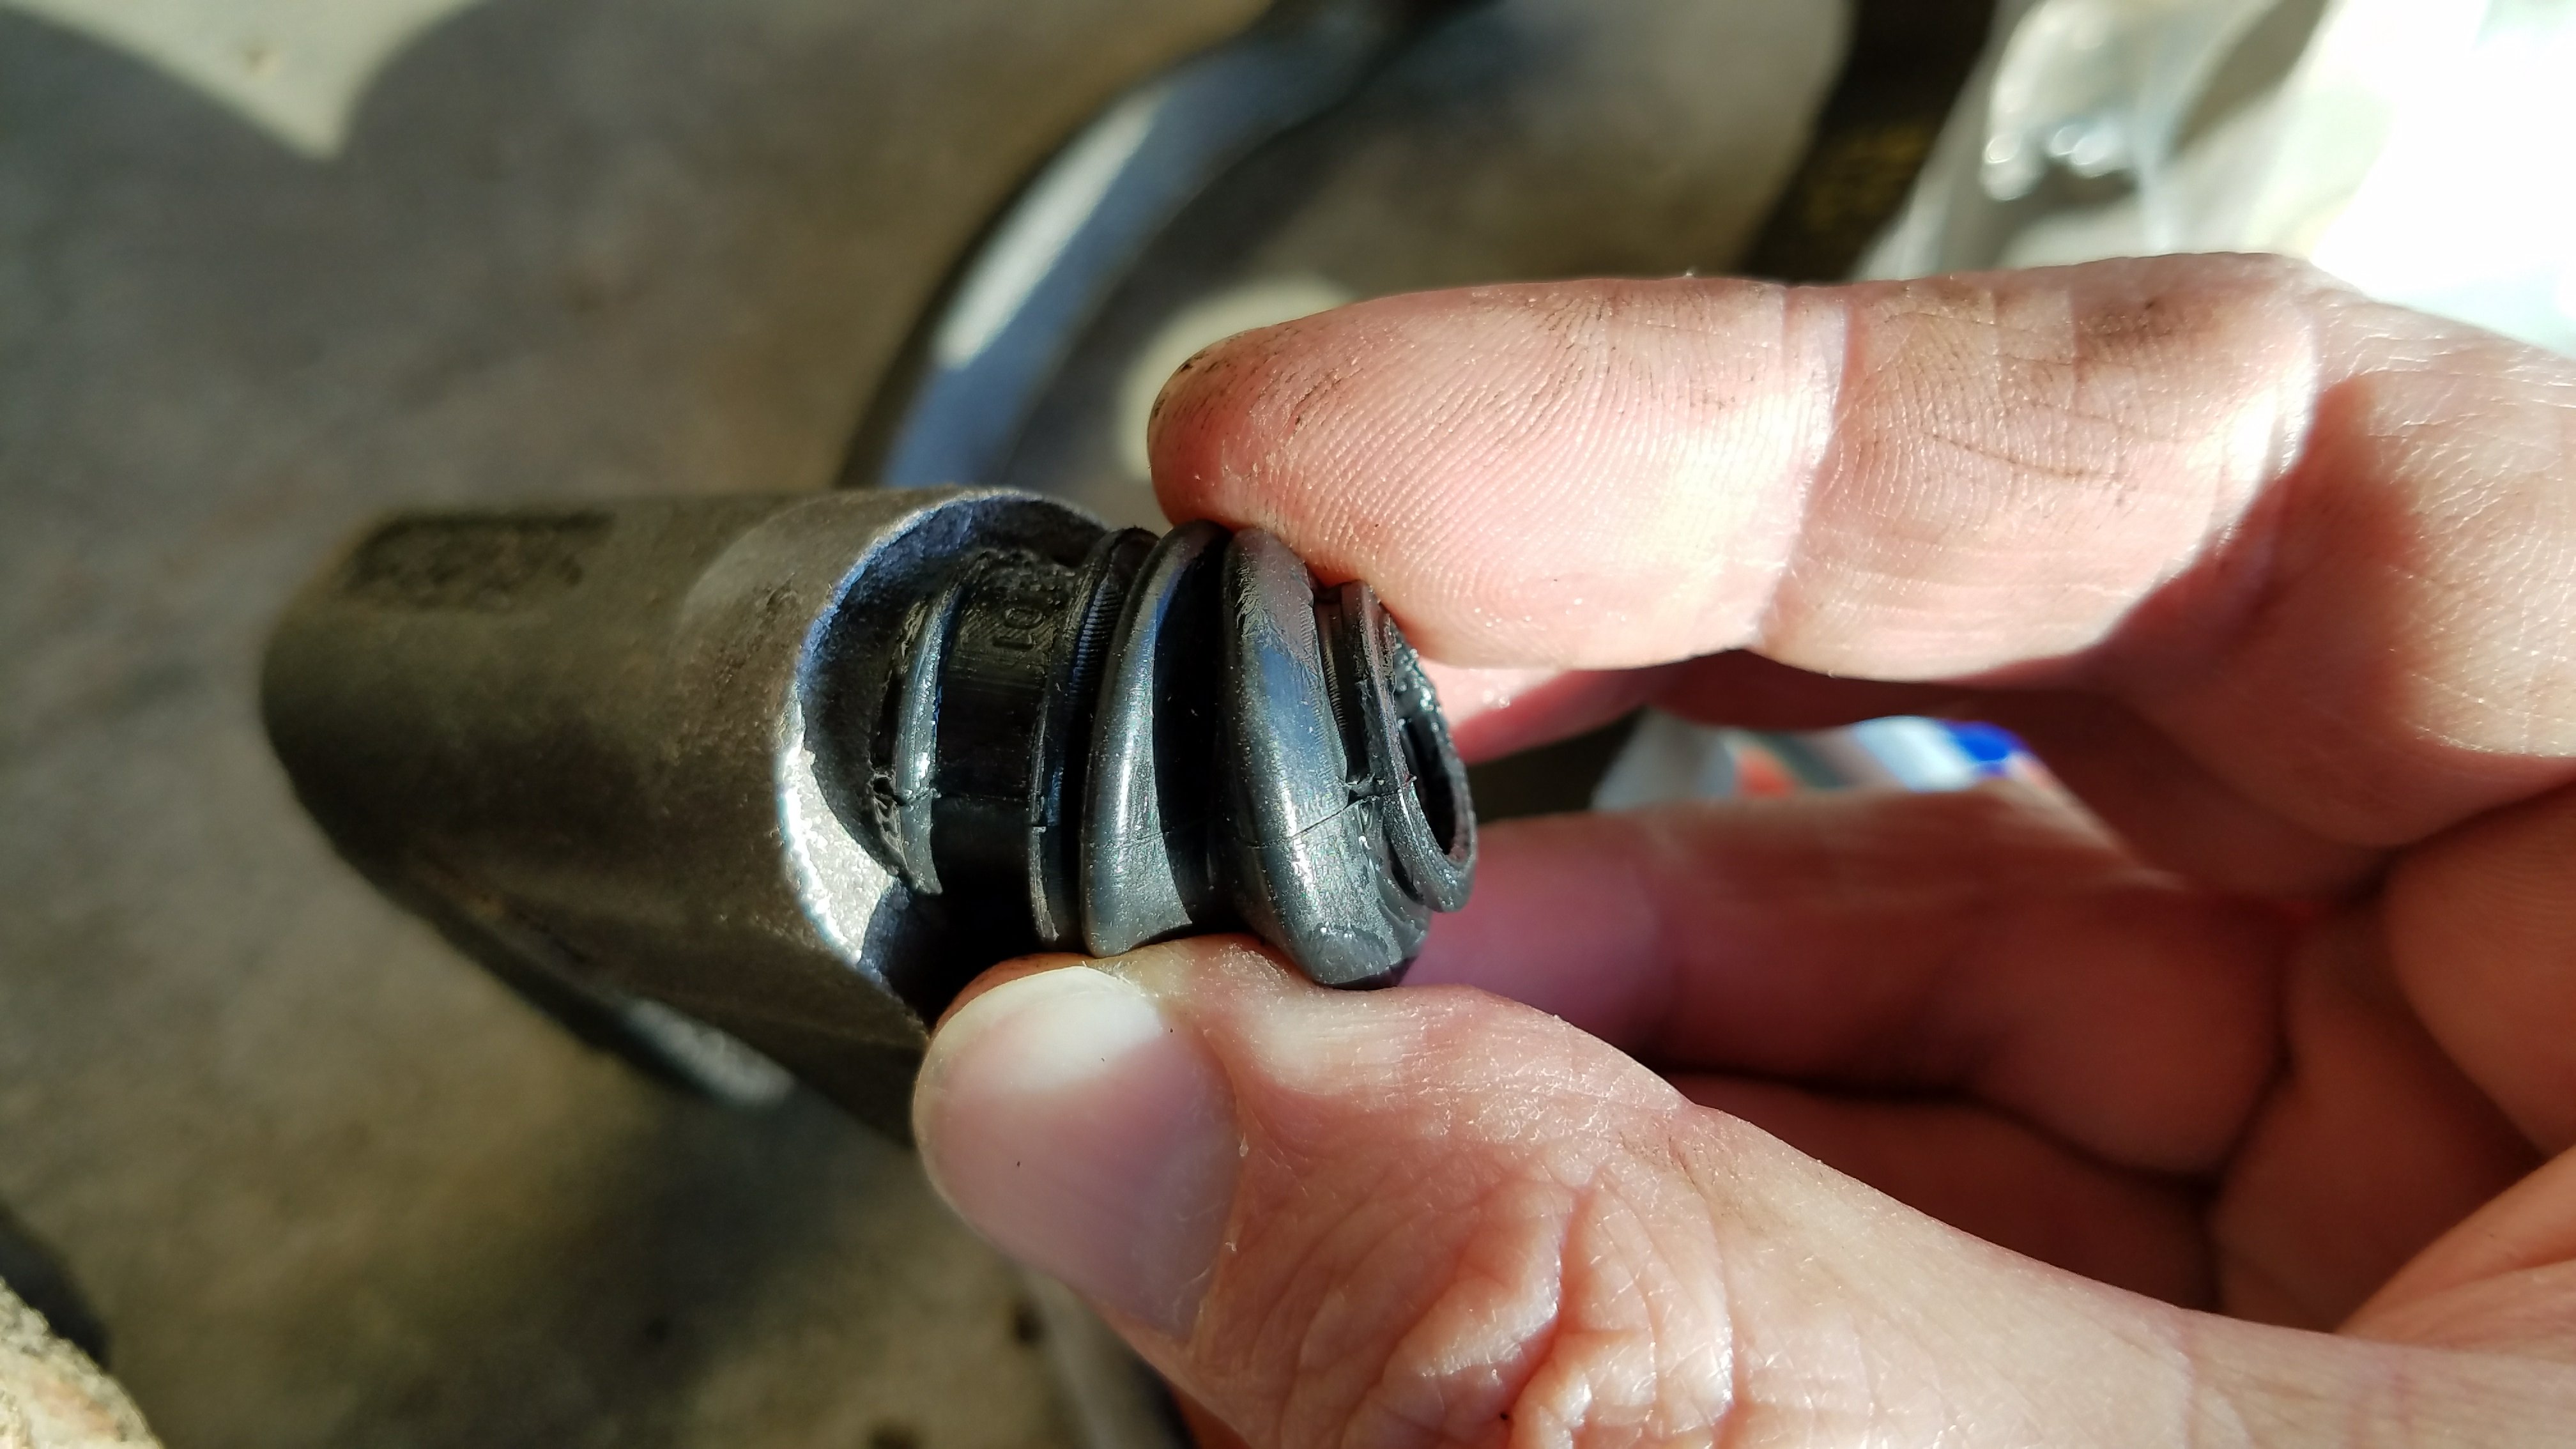
Repeat this for both of the pins. Be sure to get plenty of grease on to both of the pins. Also make sure that the rubber boots are seated properly. It often works best to put the rubber boot into the caliper bracket first, and then insert the pin.
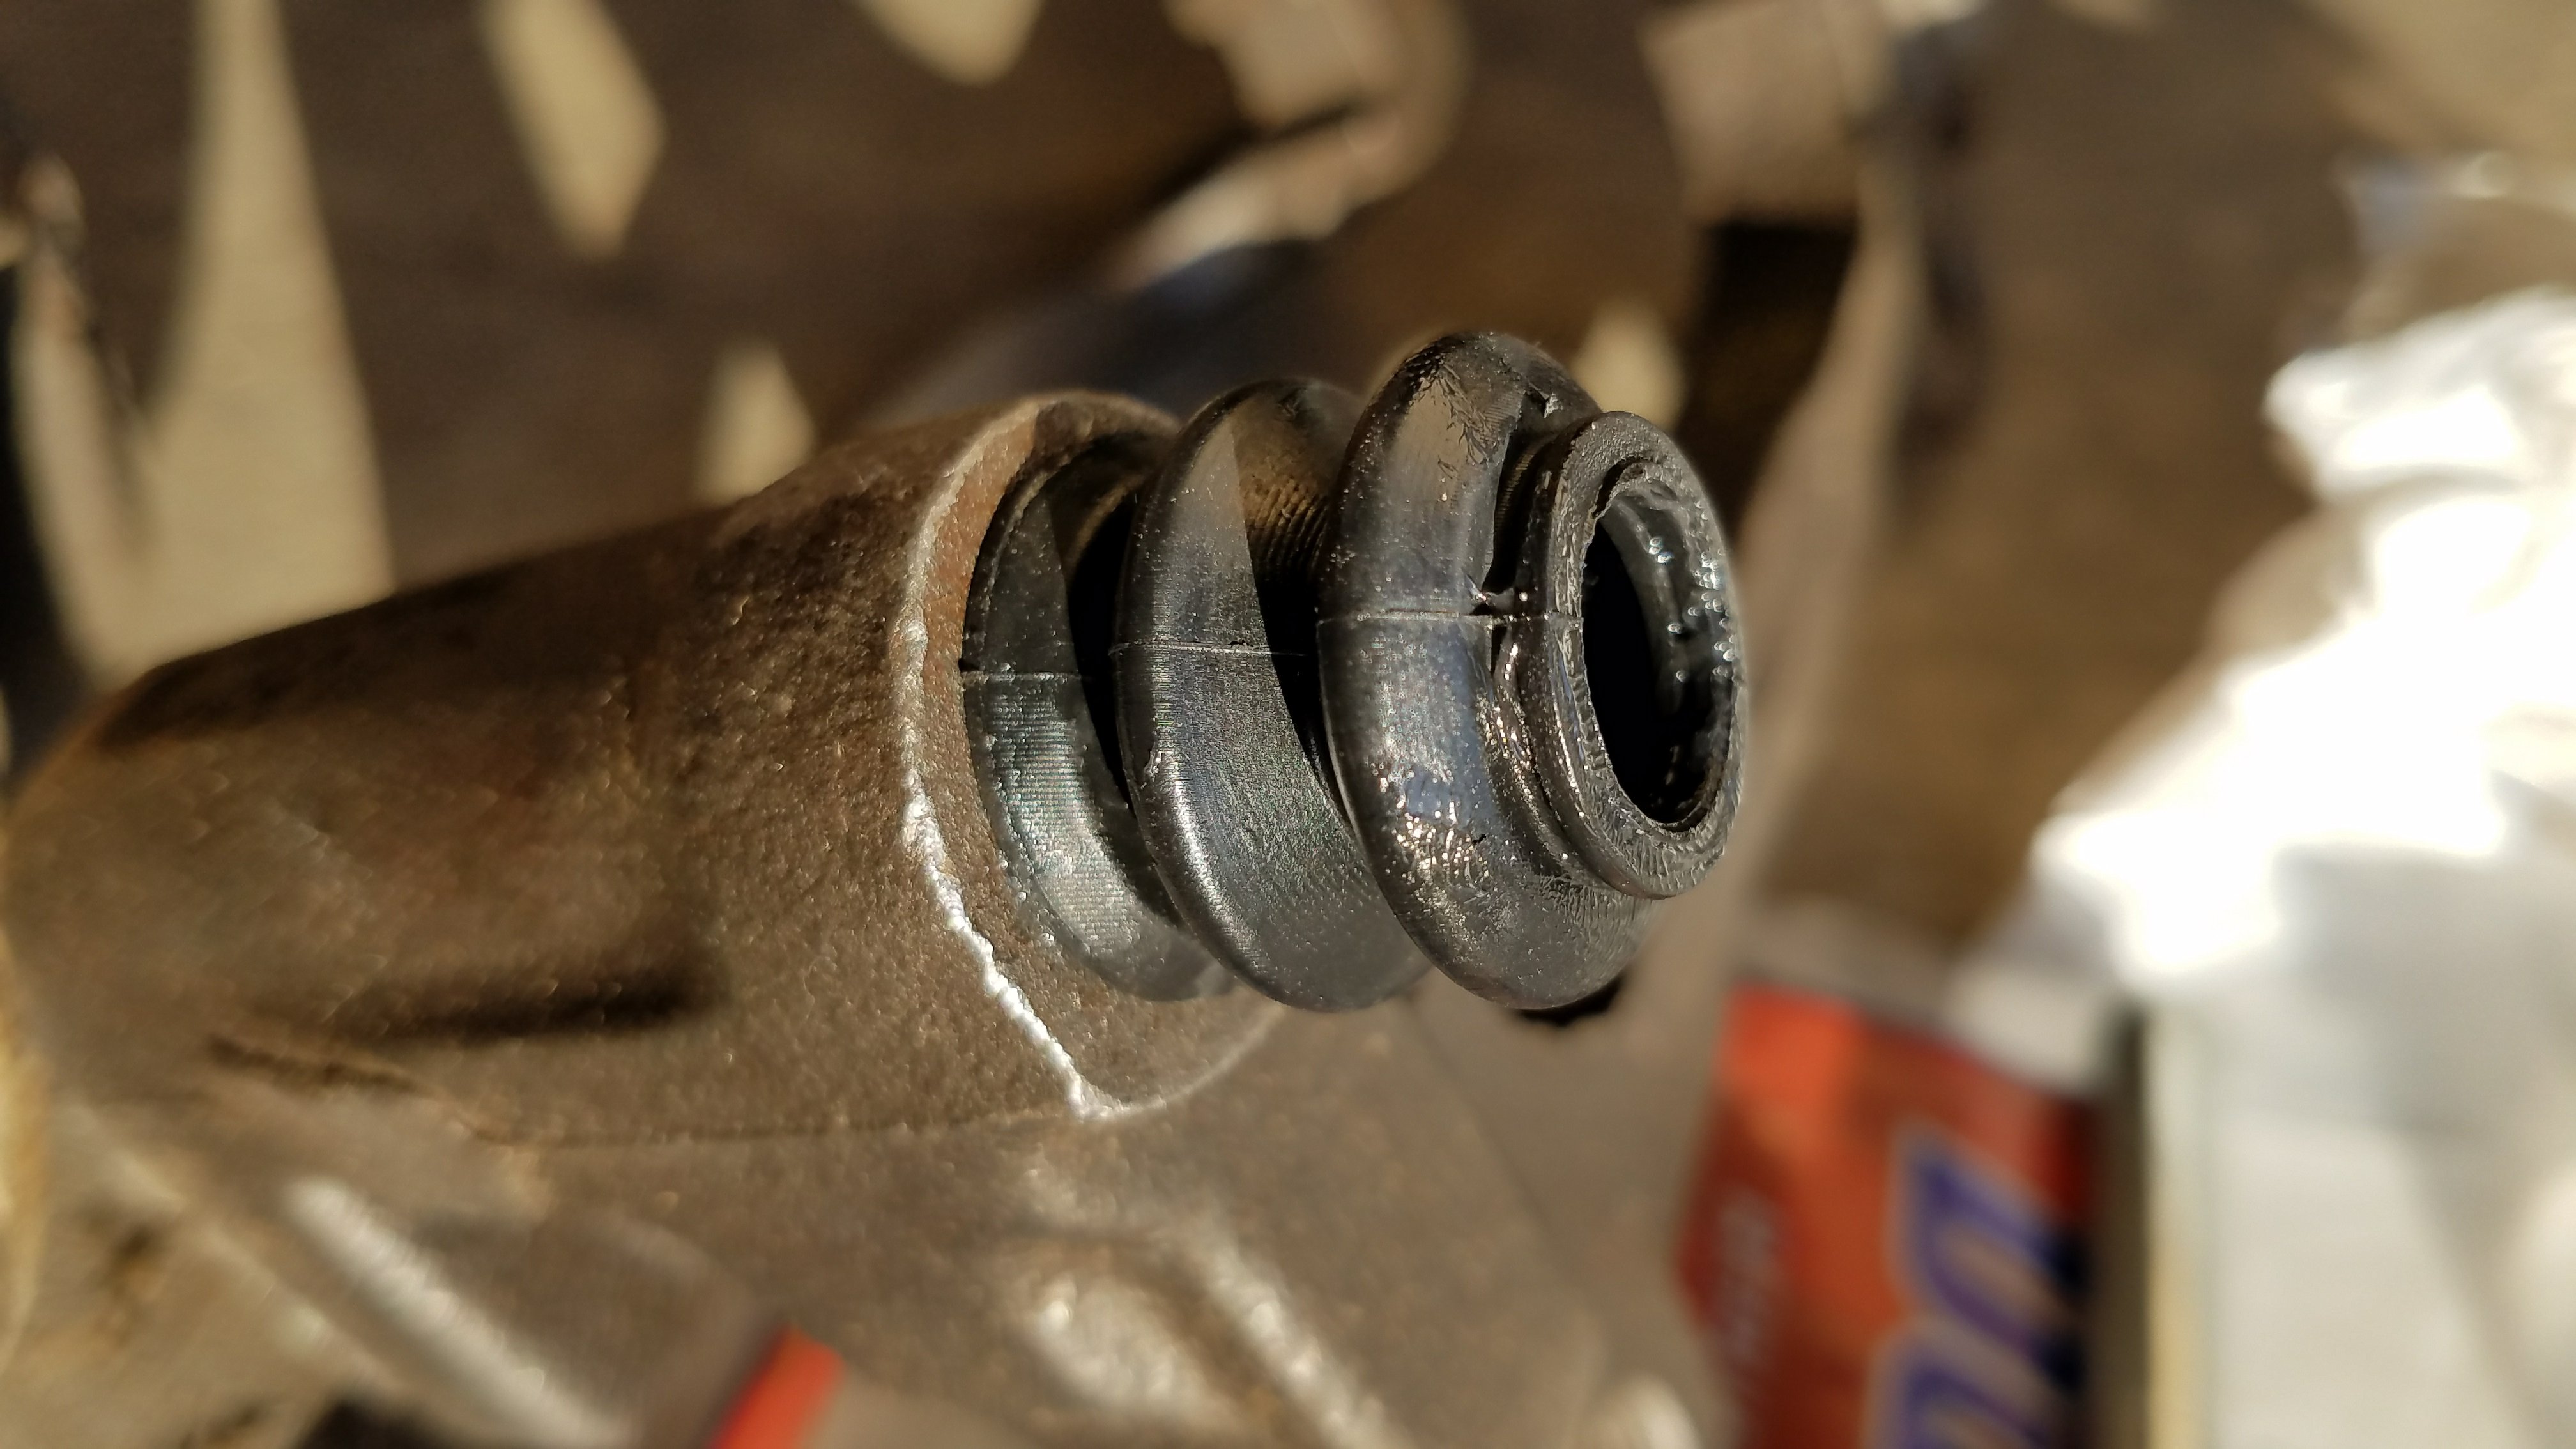
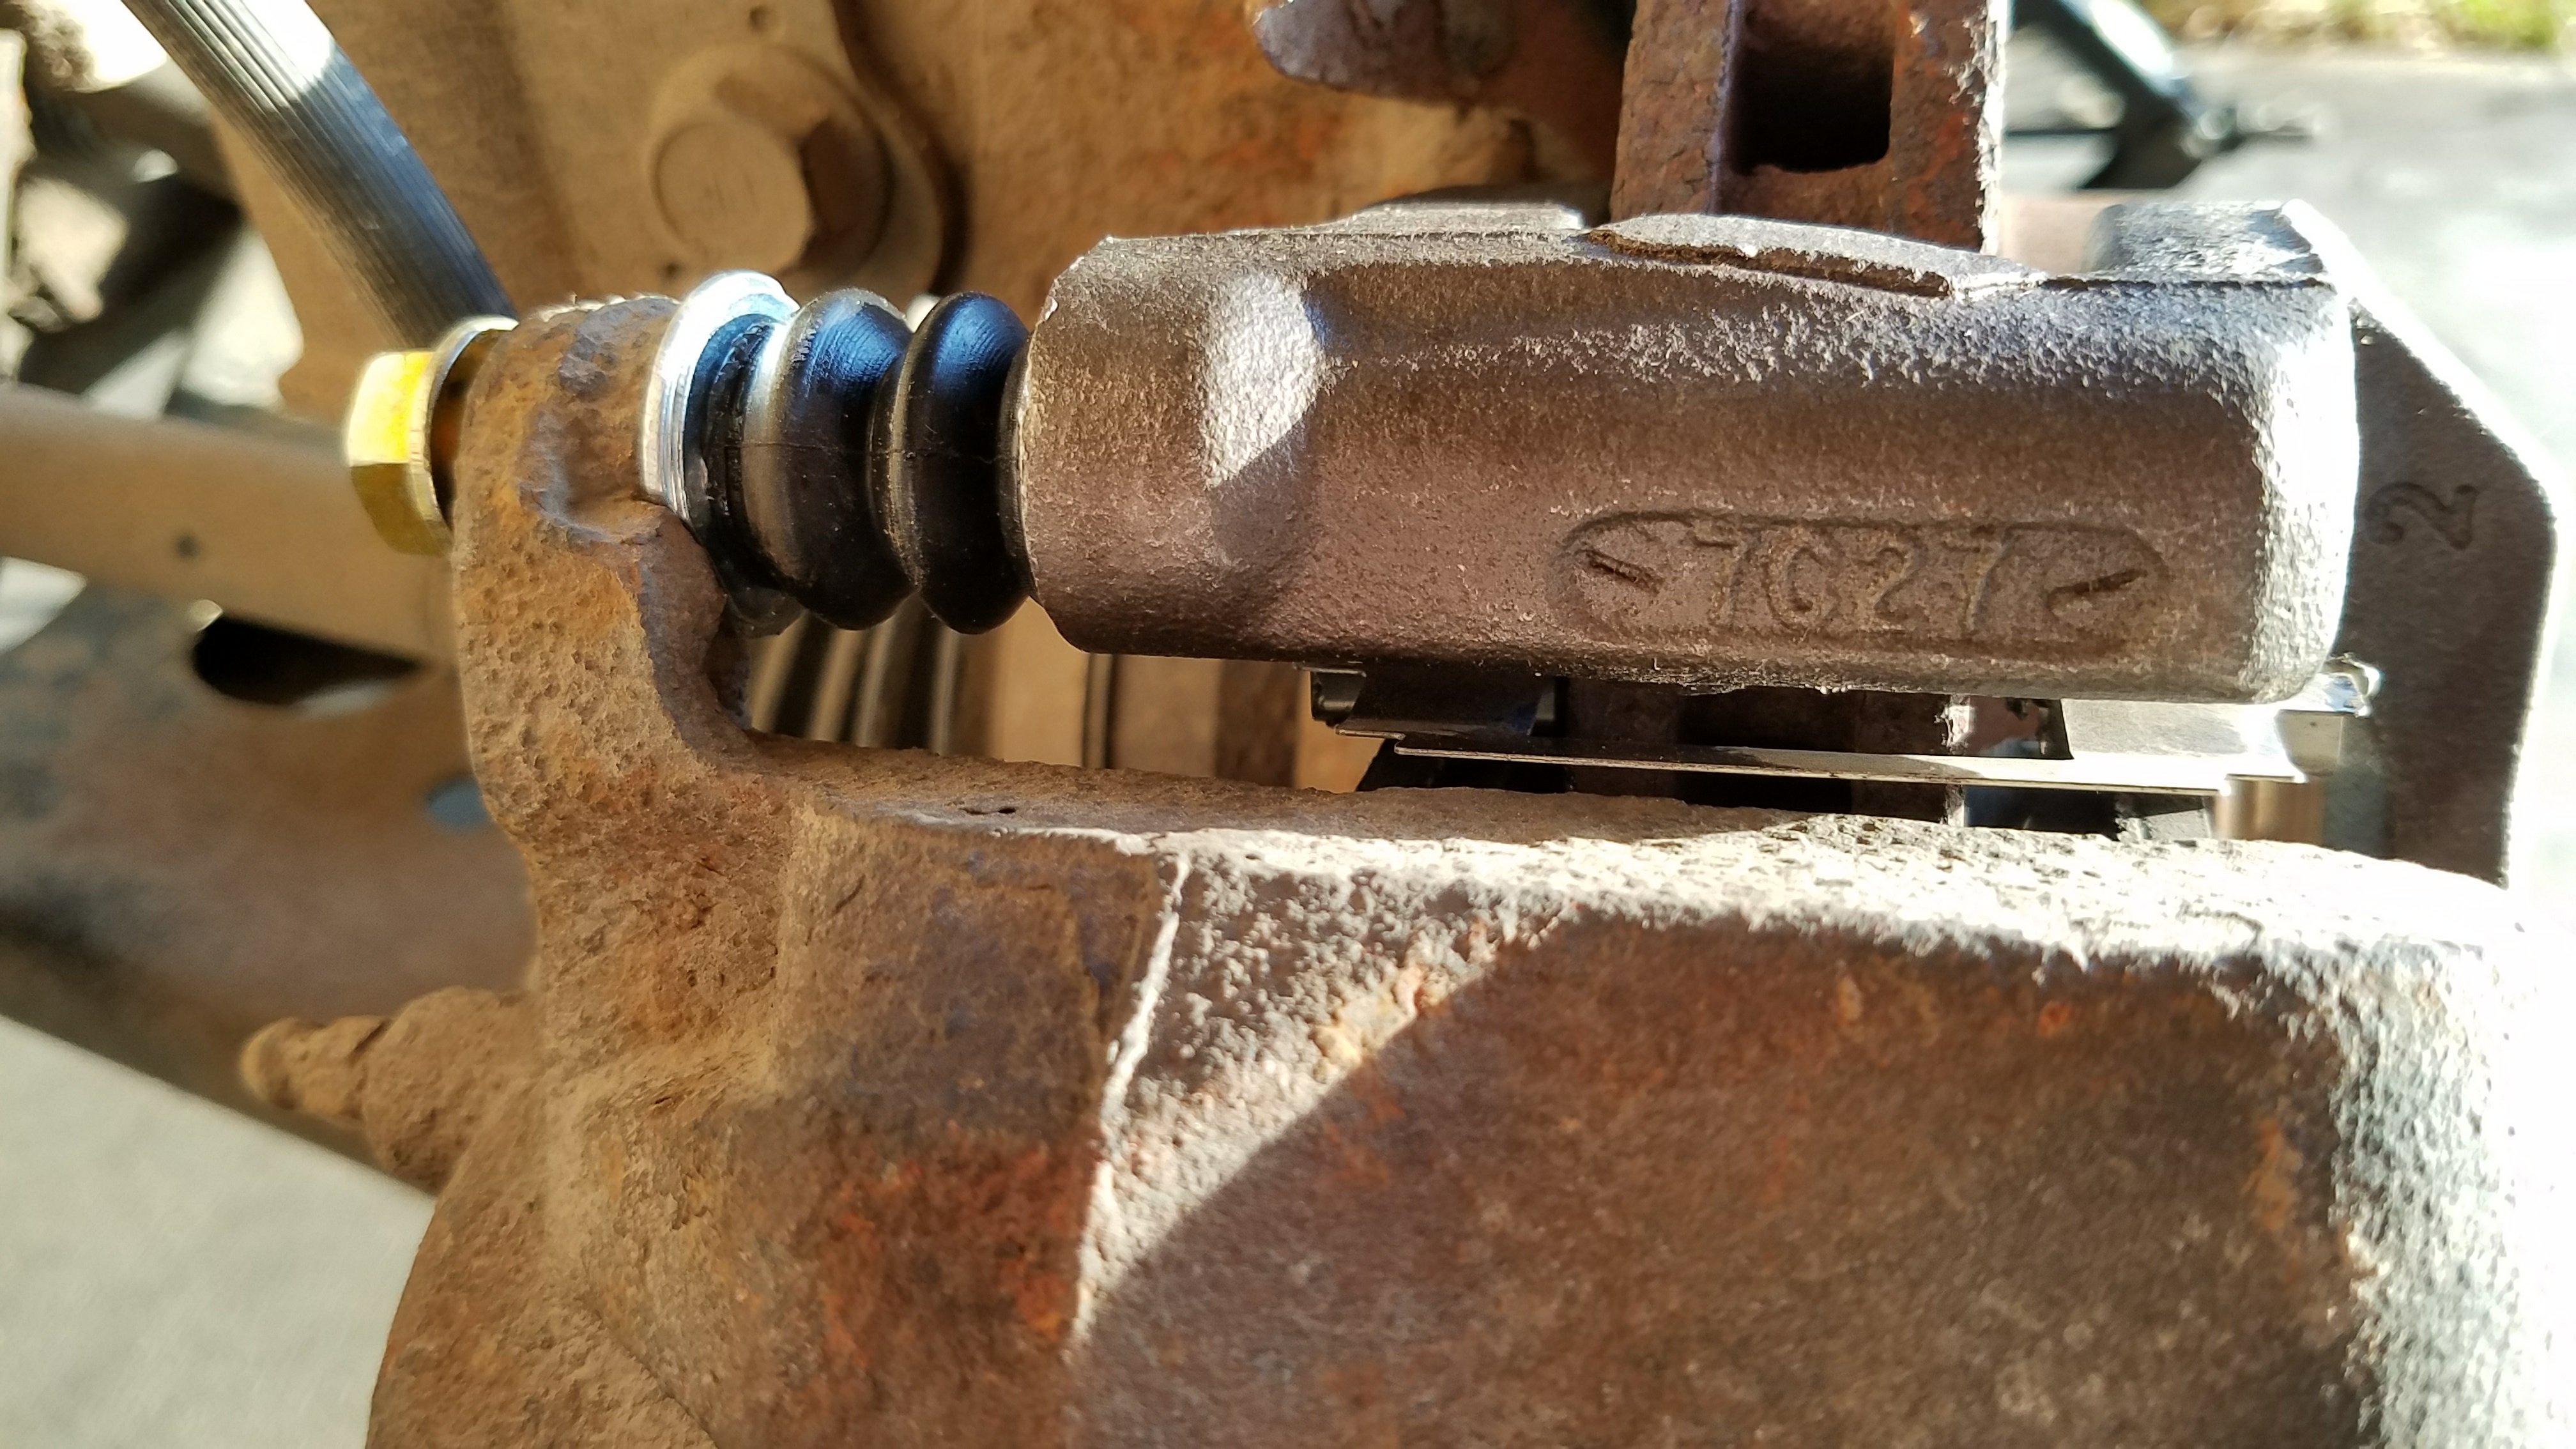
Next, make sure that the rubber boot is pulled up over the ridge on the caliper pin. this will ensure that water and dirt and sand particles do not enter.
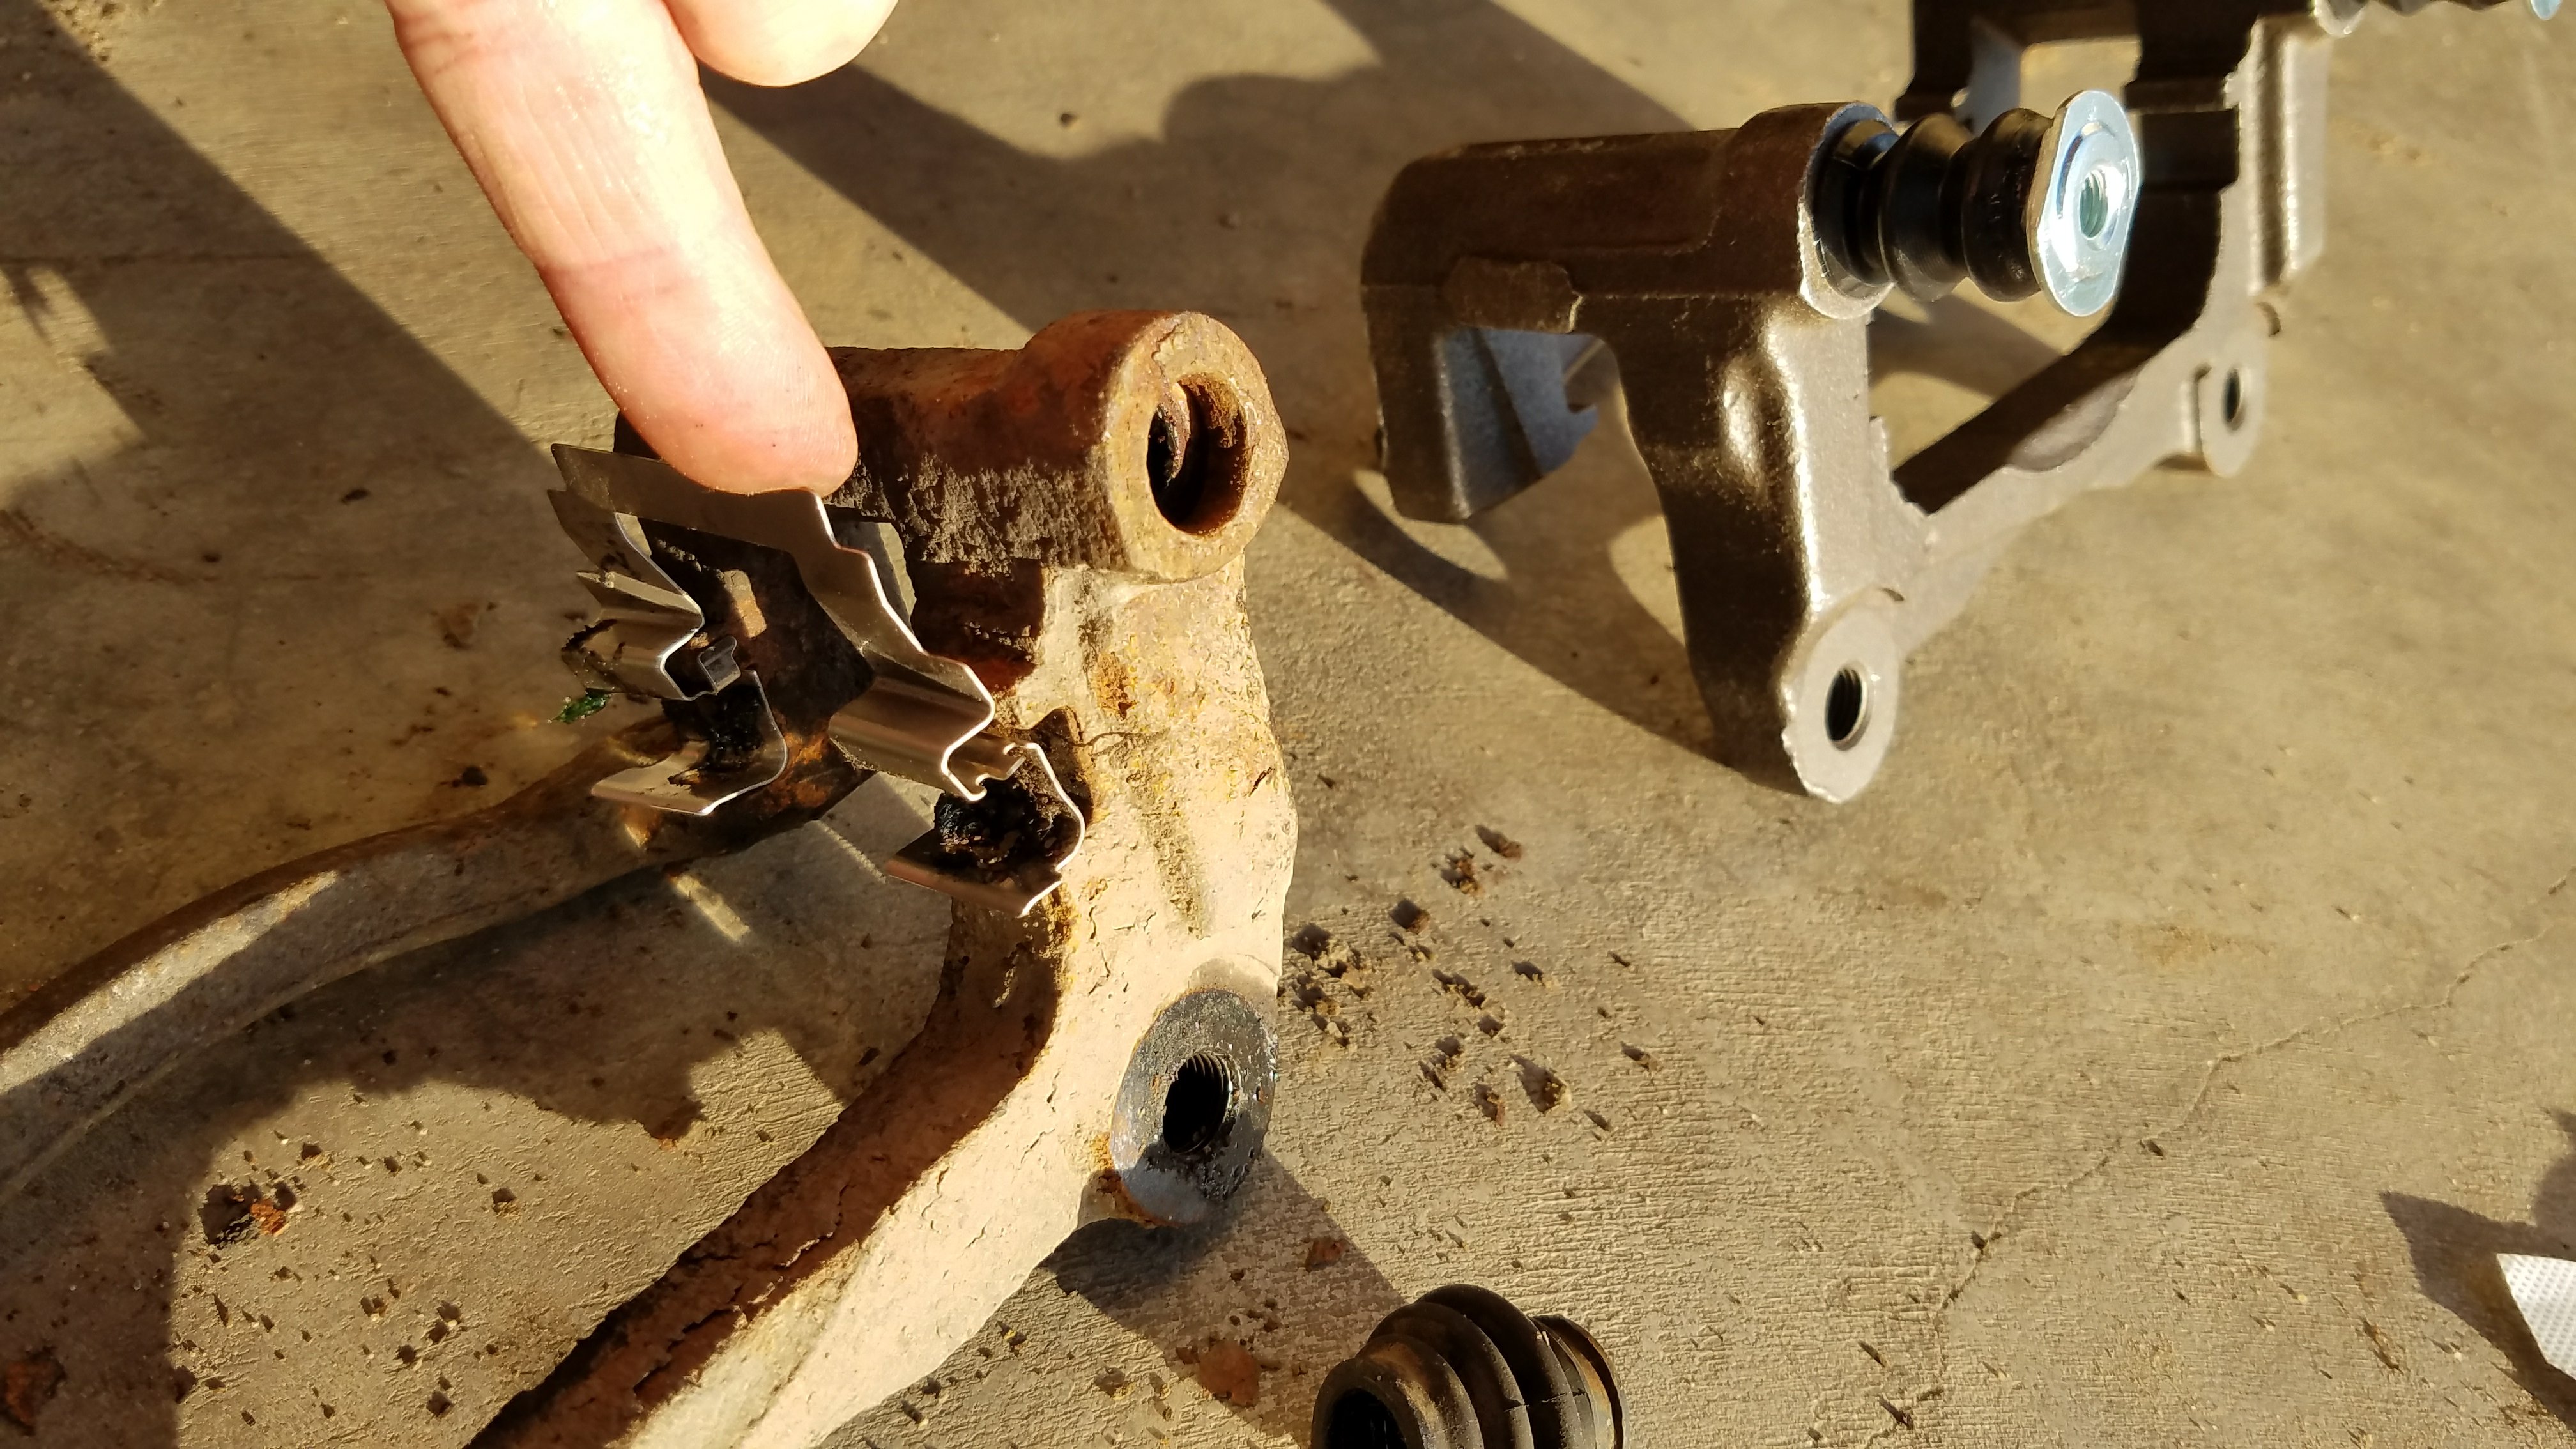
Here the two caliper brackets are shown next to each other.
Now remove the slide clips for the brake pads. Put them on to the new caliper bracket. They simply clip in place. These clips are included in many brake pad sets. For example, I bought these brake pads, and they included the slide clips.
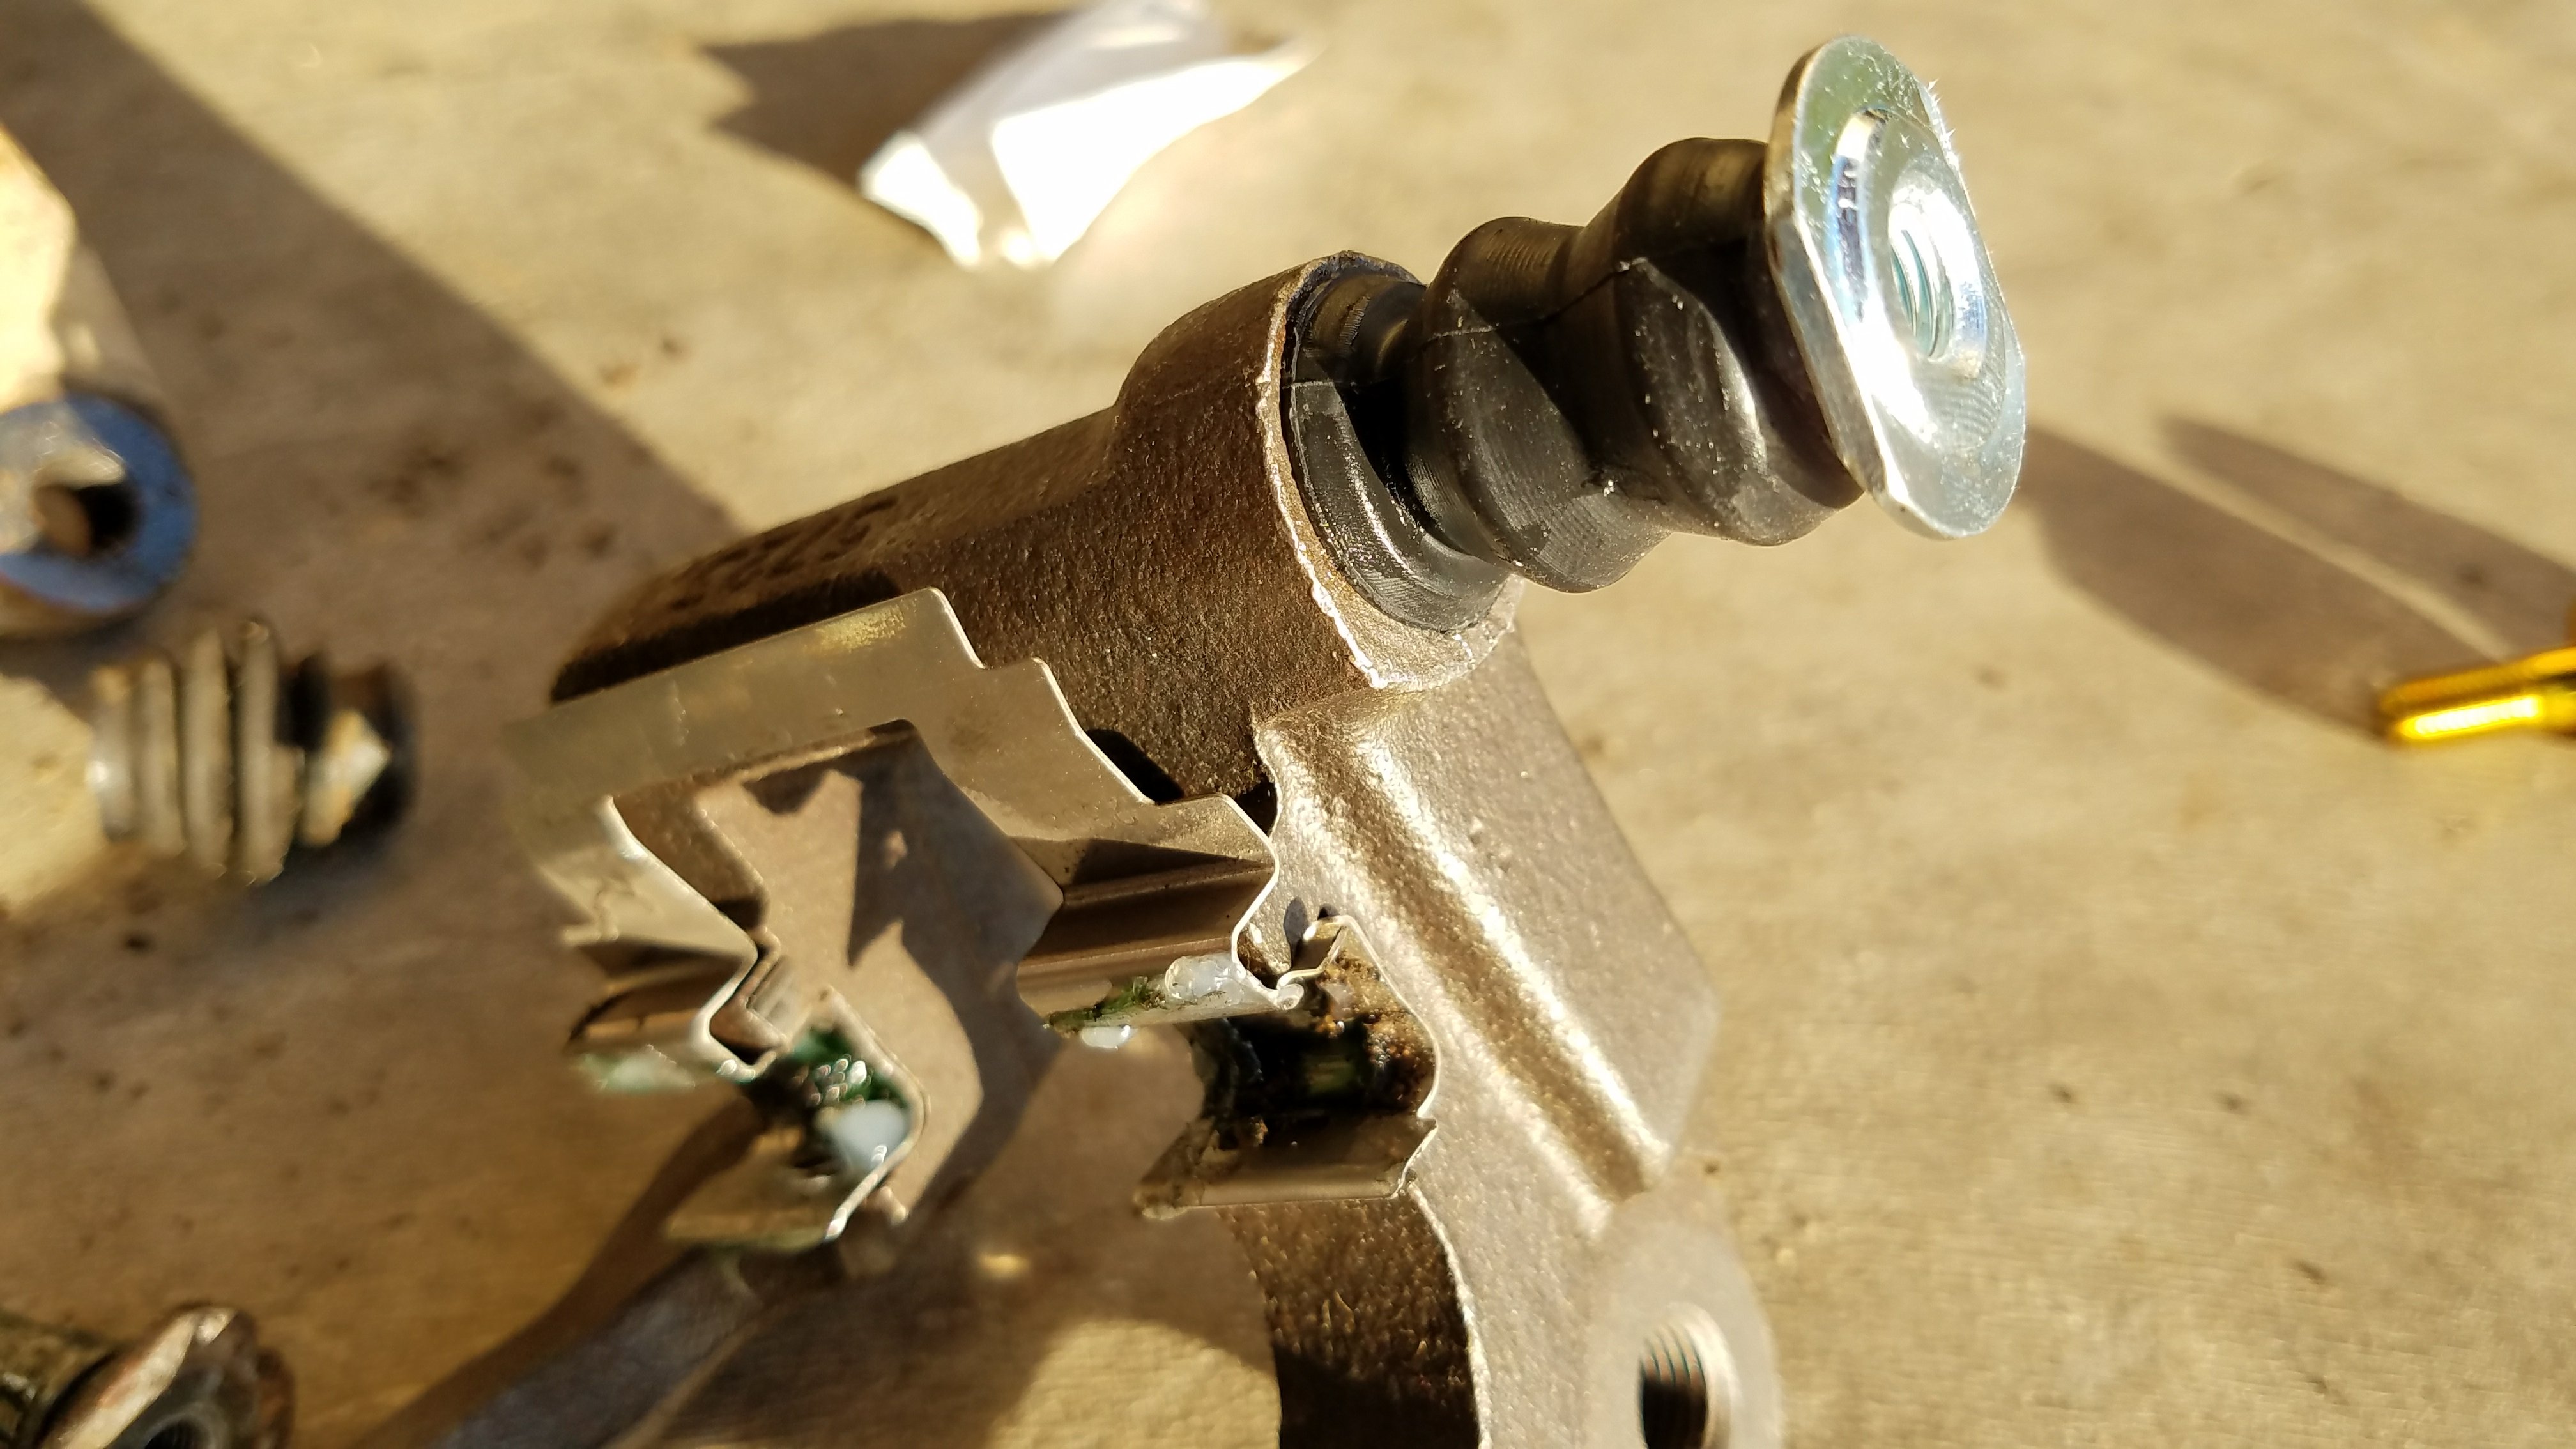
This picture shows the caliper pin, boot and brake pad slide clip assembled and attached to the bracket.
Put some caliper grease onto the slots where the brake pads will slide. This will help to ensure that squeaking does not occur.
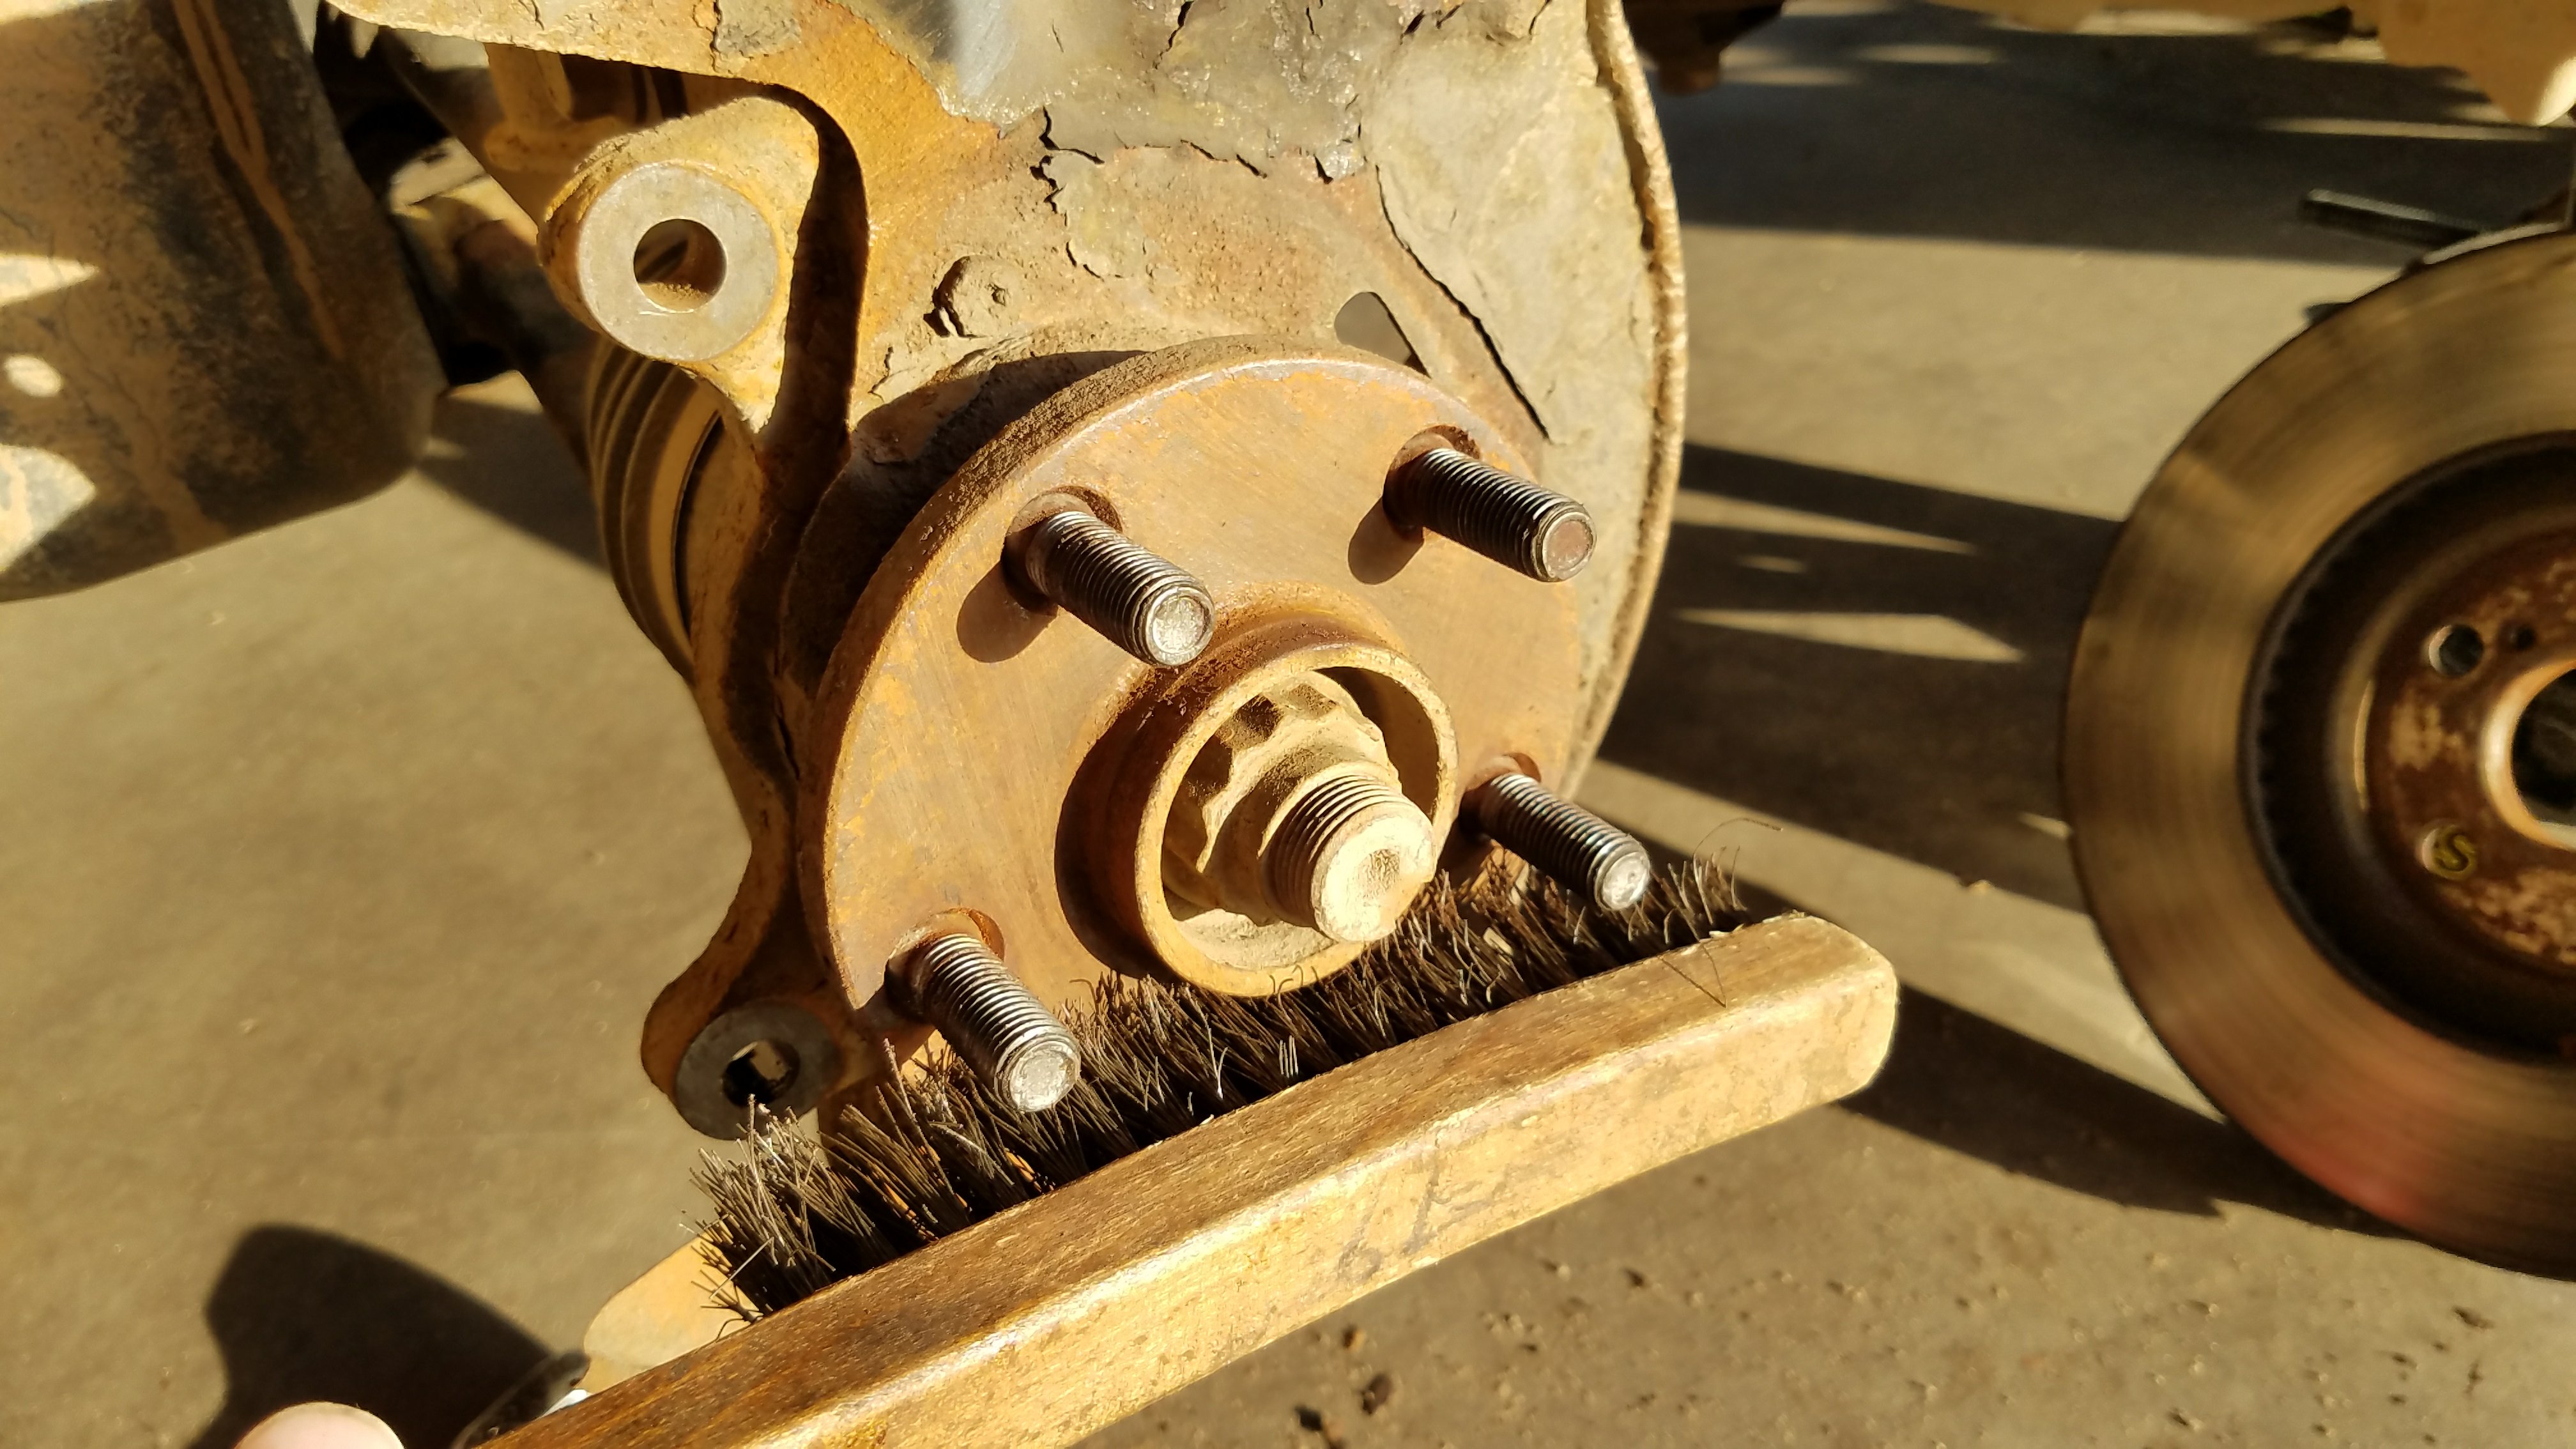
With the rotor removed, this is an excellent time to clean the holes where the caliper bracket attaches. Use a wire brush and try to remove as much rust and built-up dirt and grime as you can.
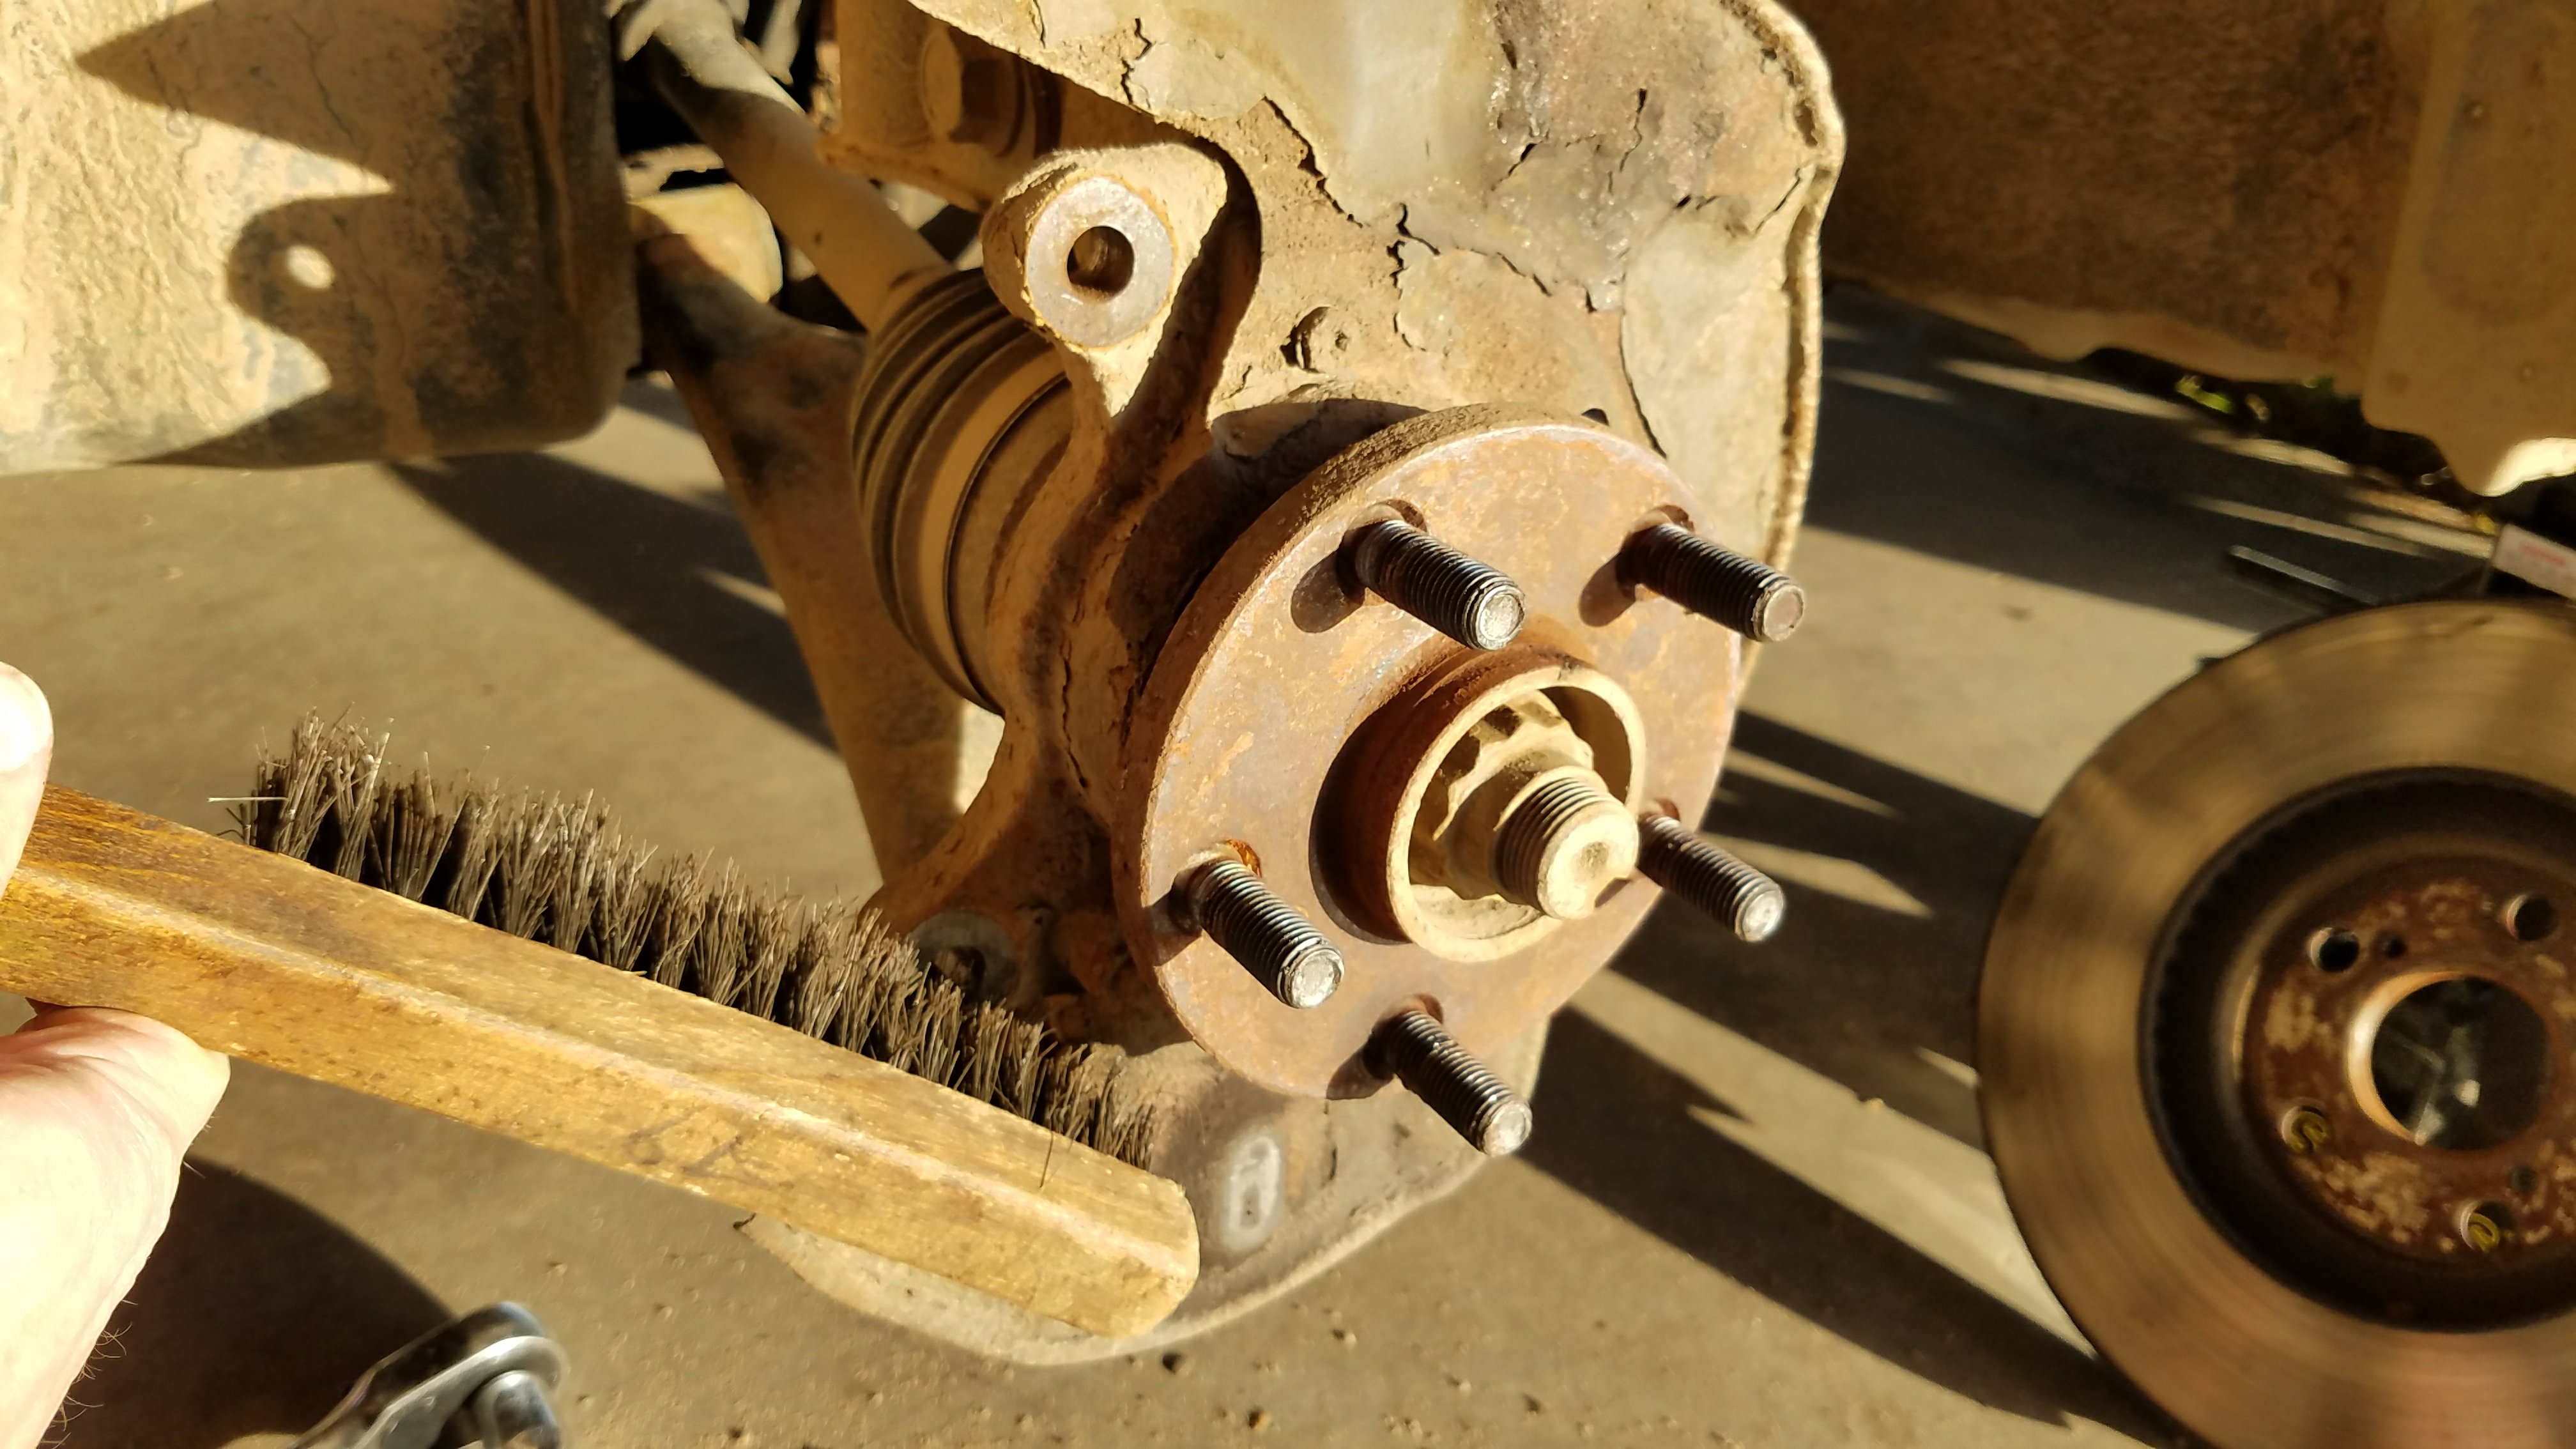
Also clean the hub. Use the wire brush to make sure that contaminants do not get between the hub and the rotor. Contaminants between the hub and rotor can cause unnecessary vibration.
It’s now time to put the new caliper bracket back on. It is a good idea to clean the bolts and put on some anti seize lubricant.
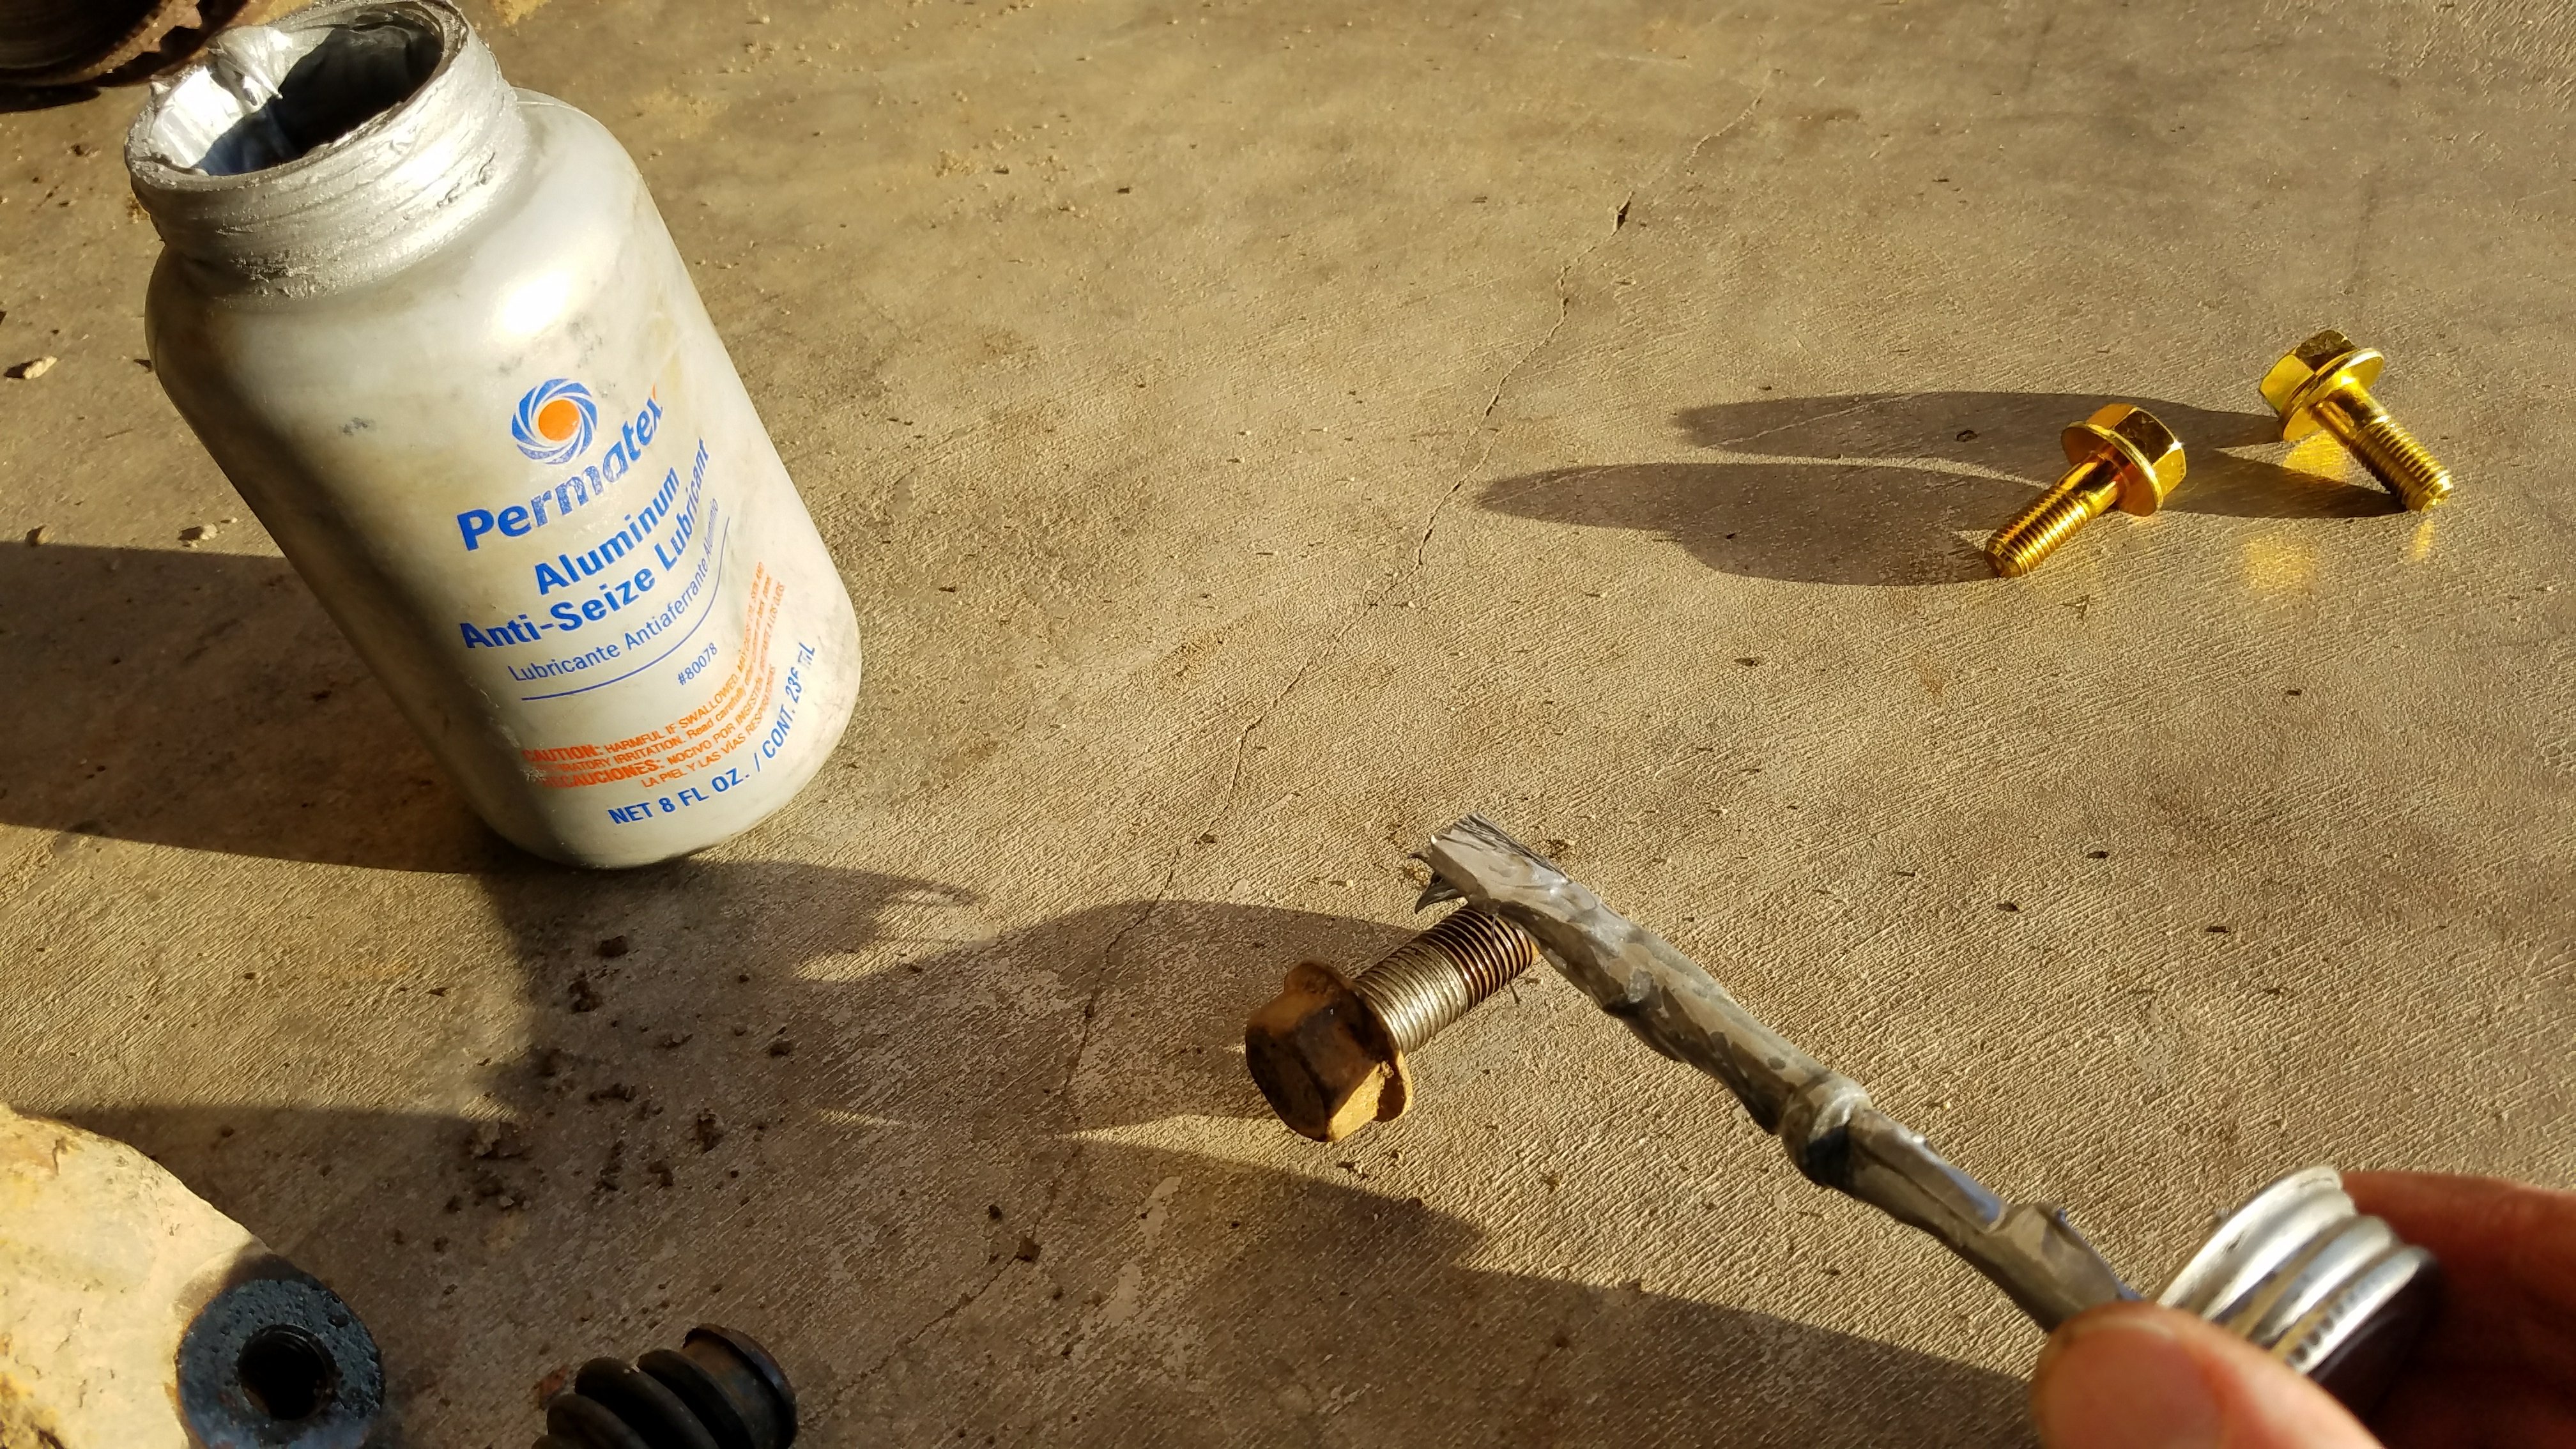
Put a dab near the end of the threads, so that when you thread it in, it spreads to all of the threads.
Then spread the anti seize evenly on the threads.
Position the caliper bracket into the correct spot, and insert the bolts. Get them started with your fingers.
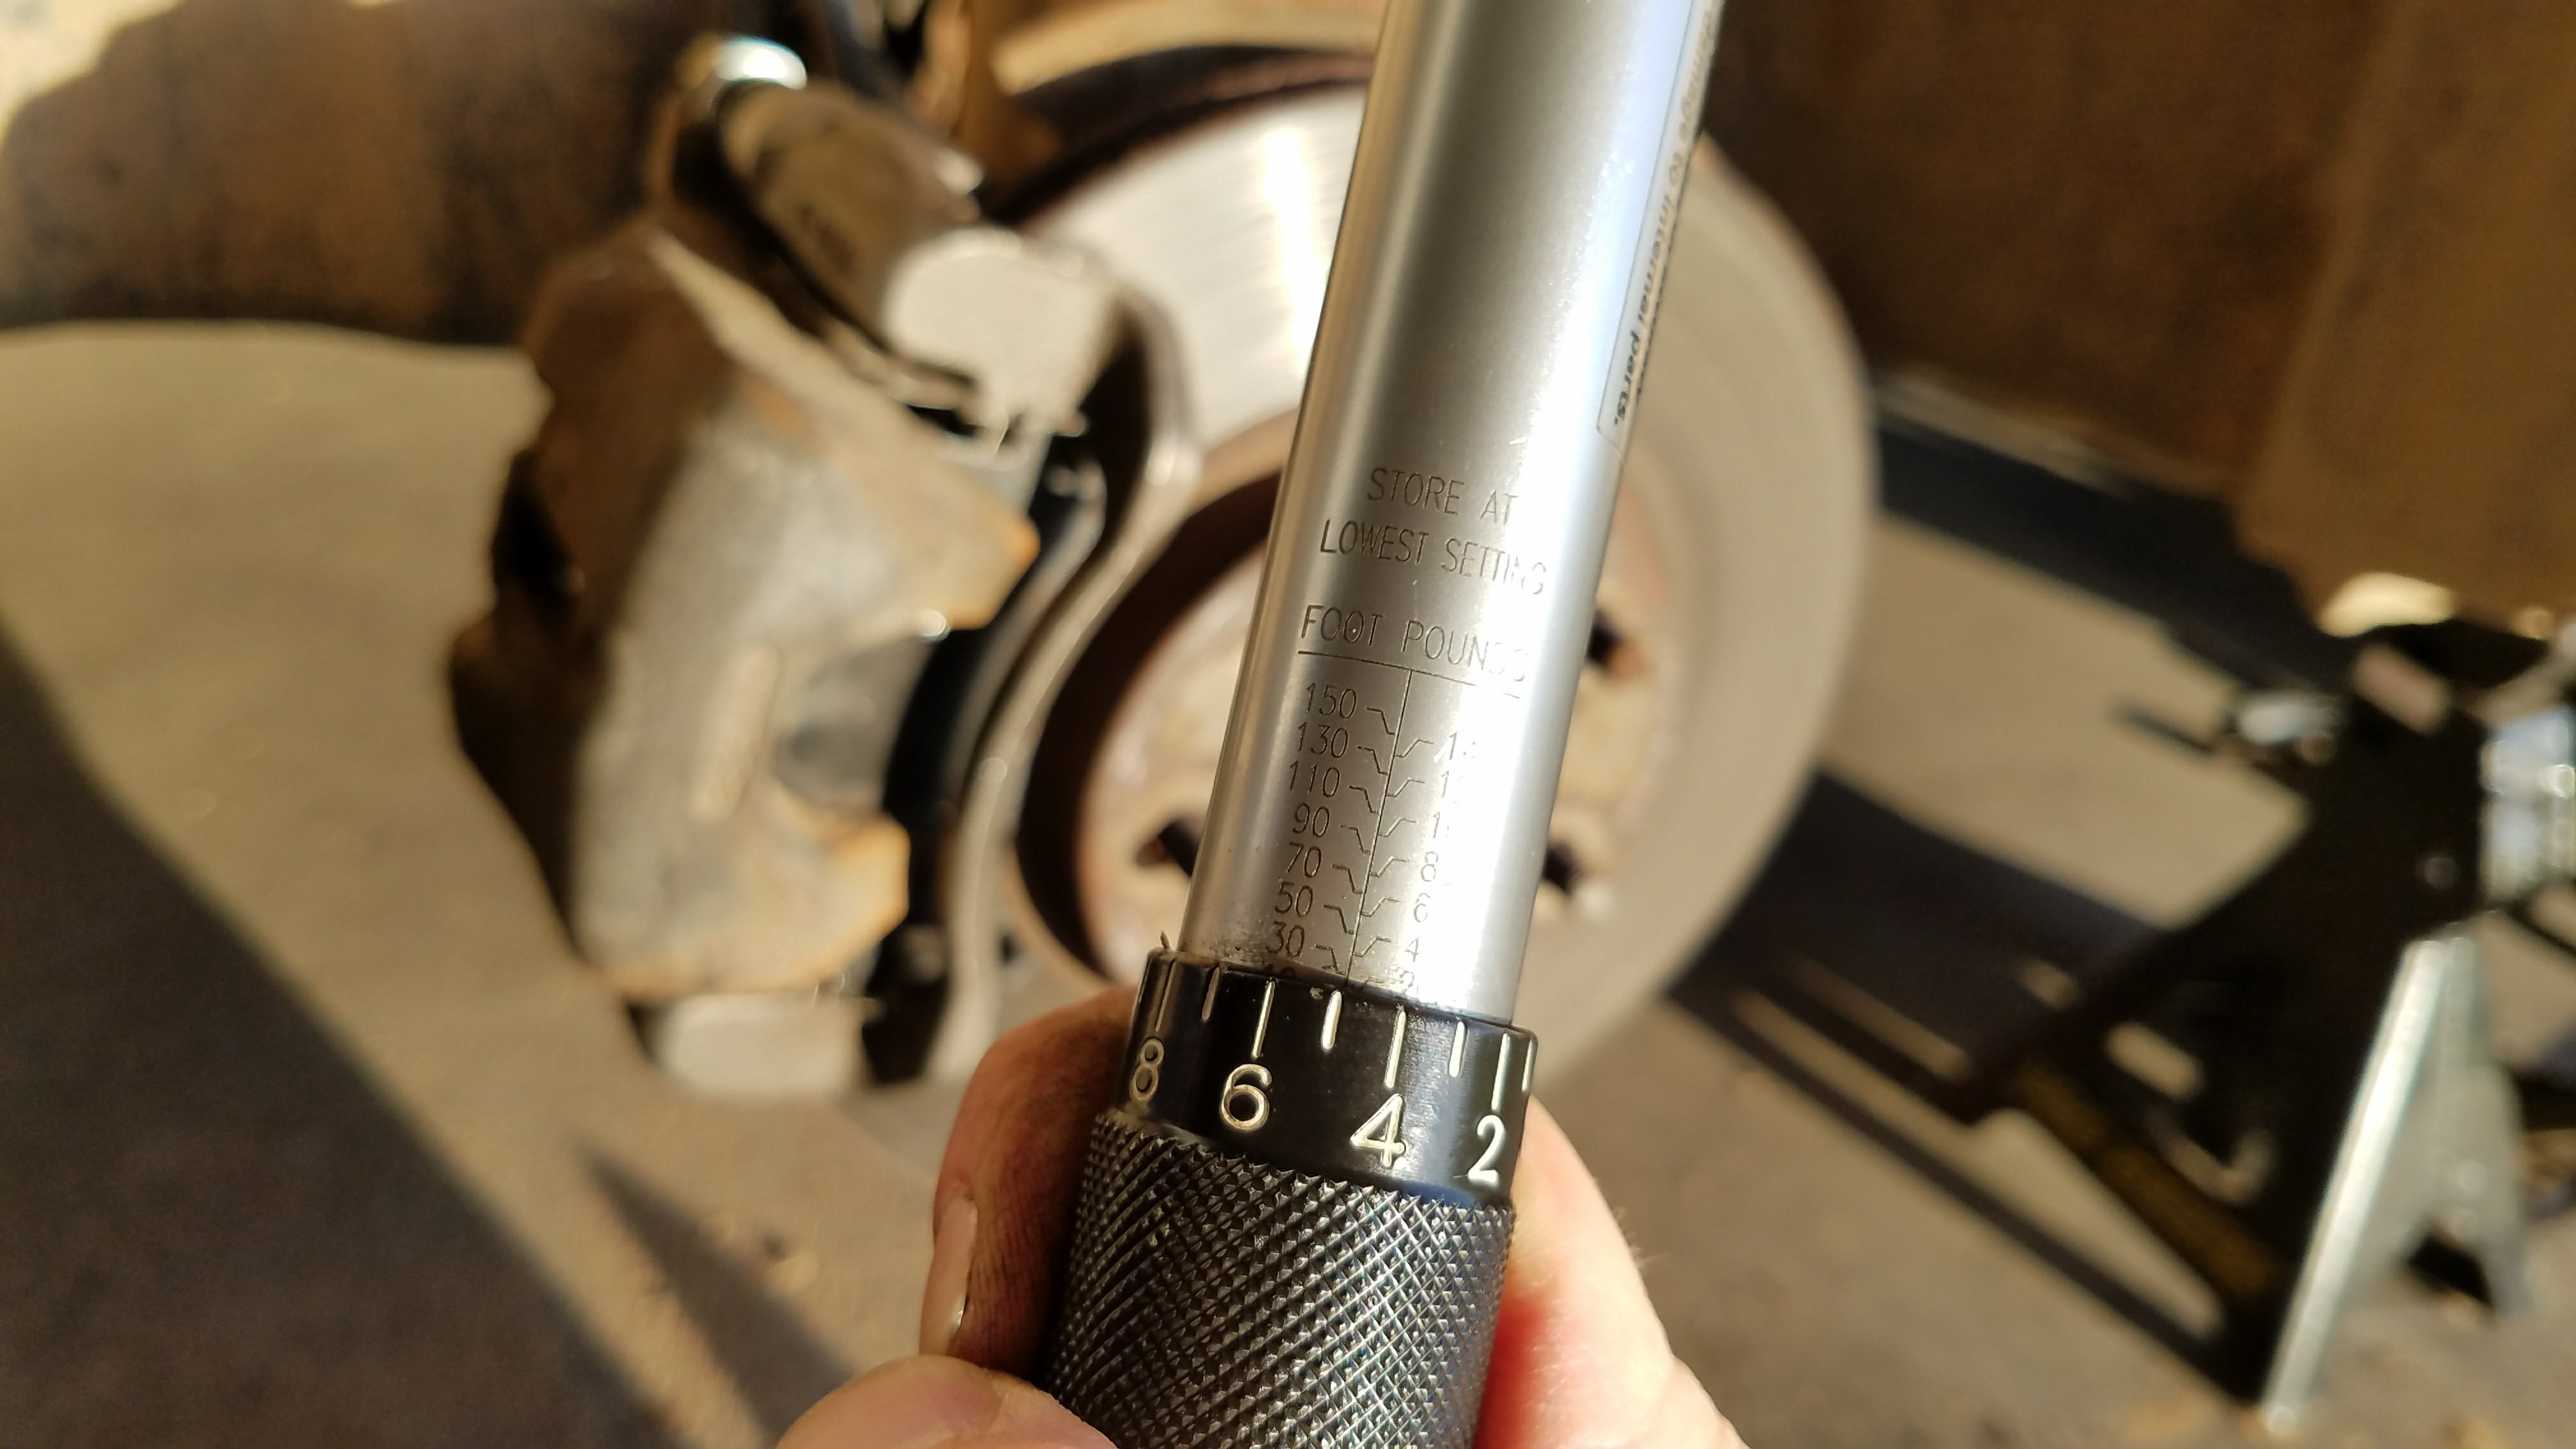
Then get your torque wrench. I use this torque wrench. These should be torqued to 79 ft-lbs.
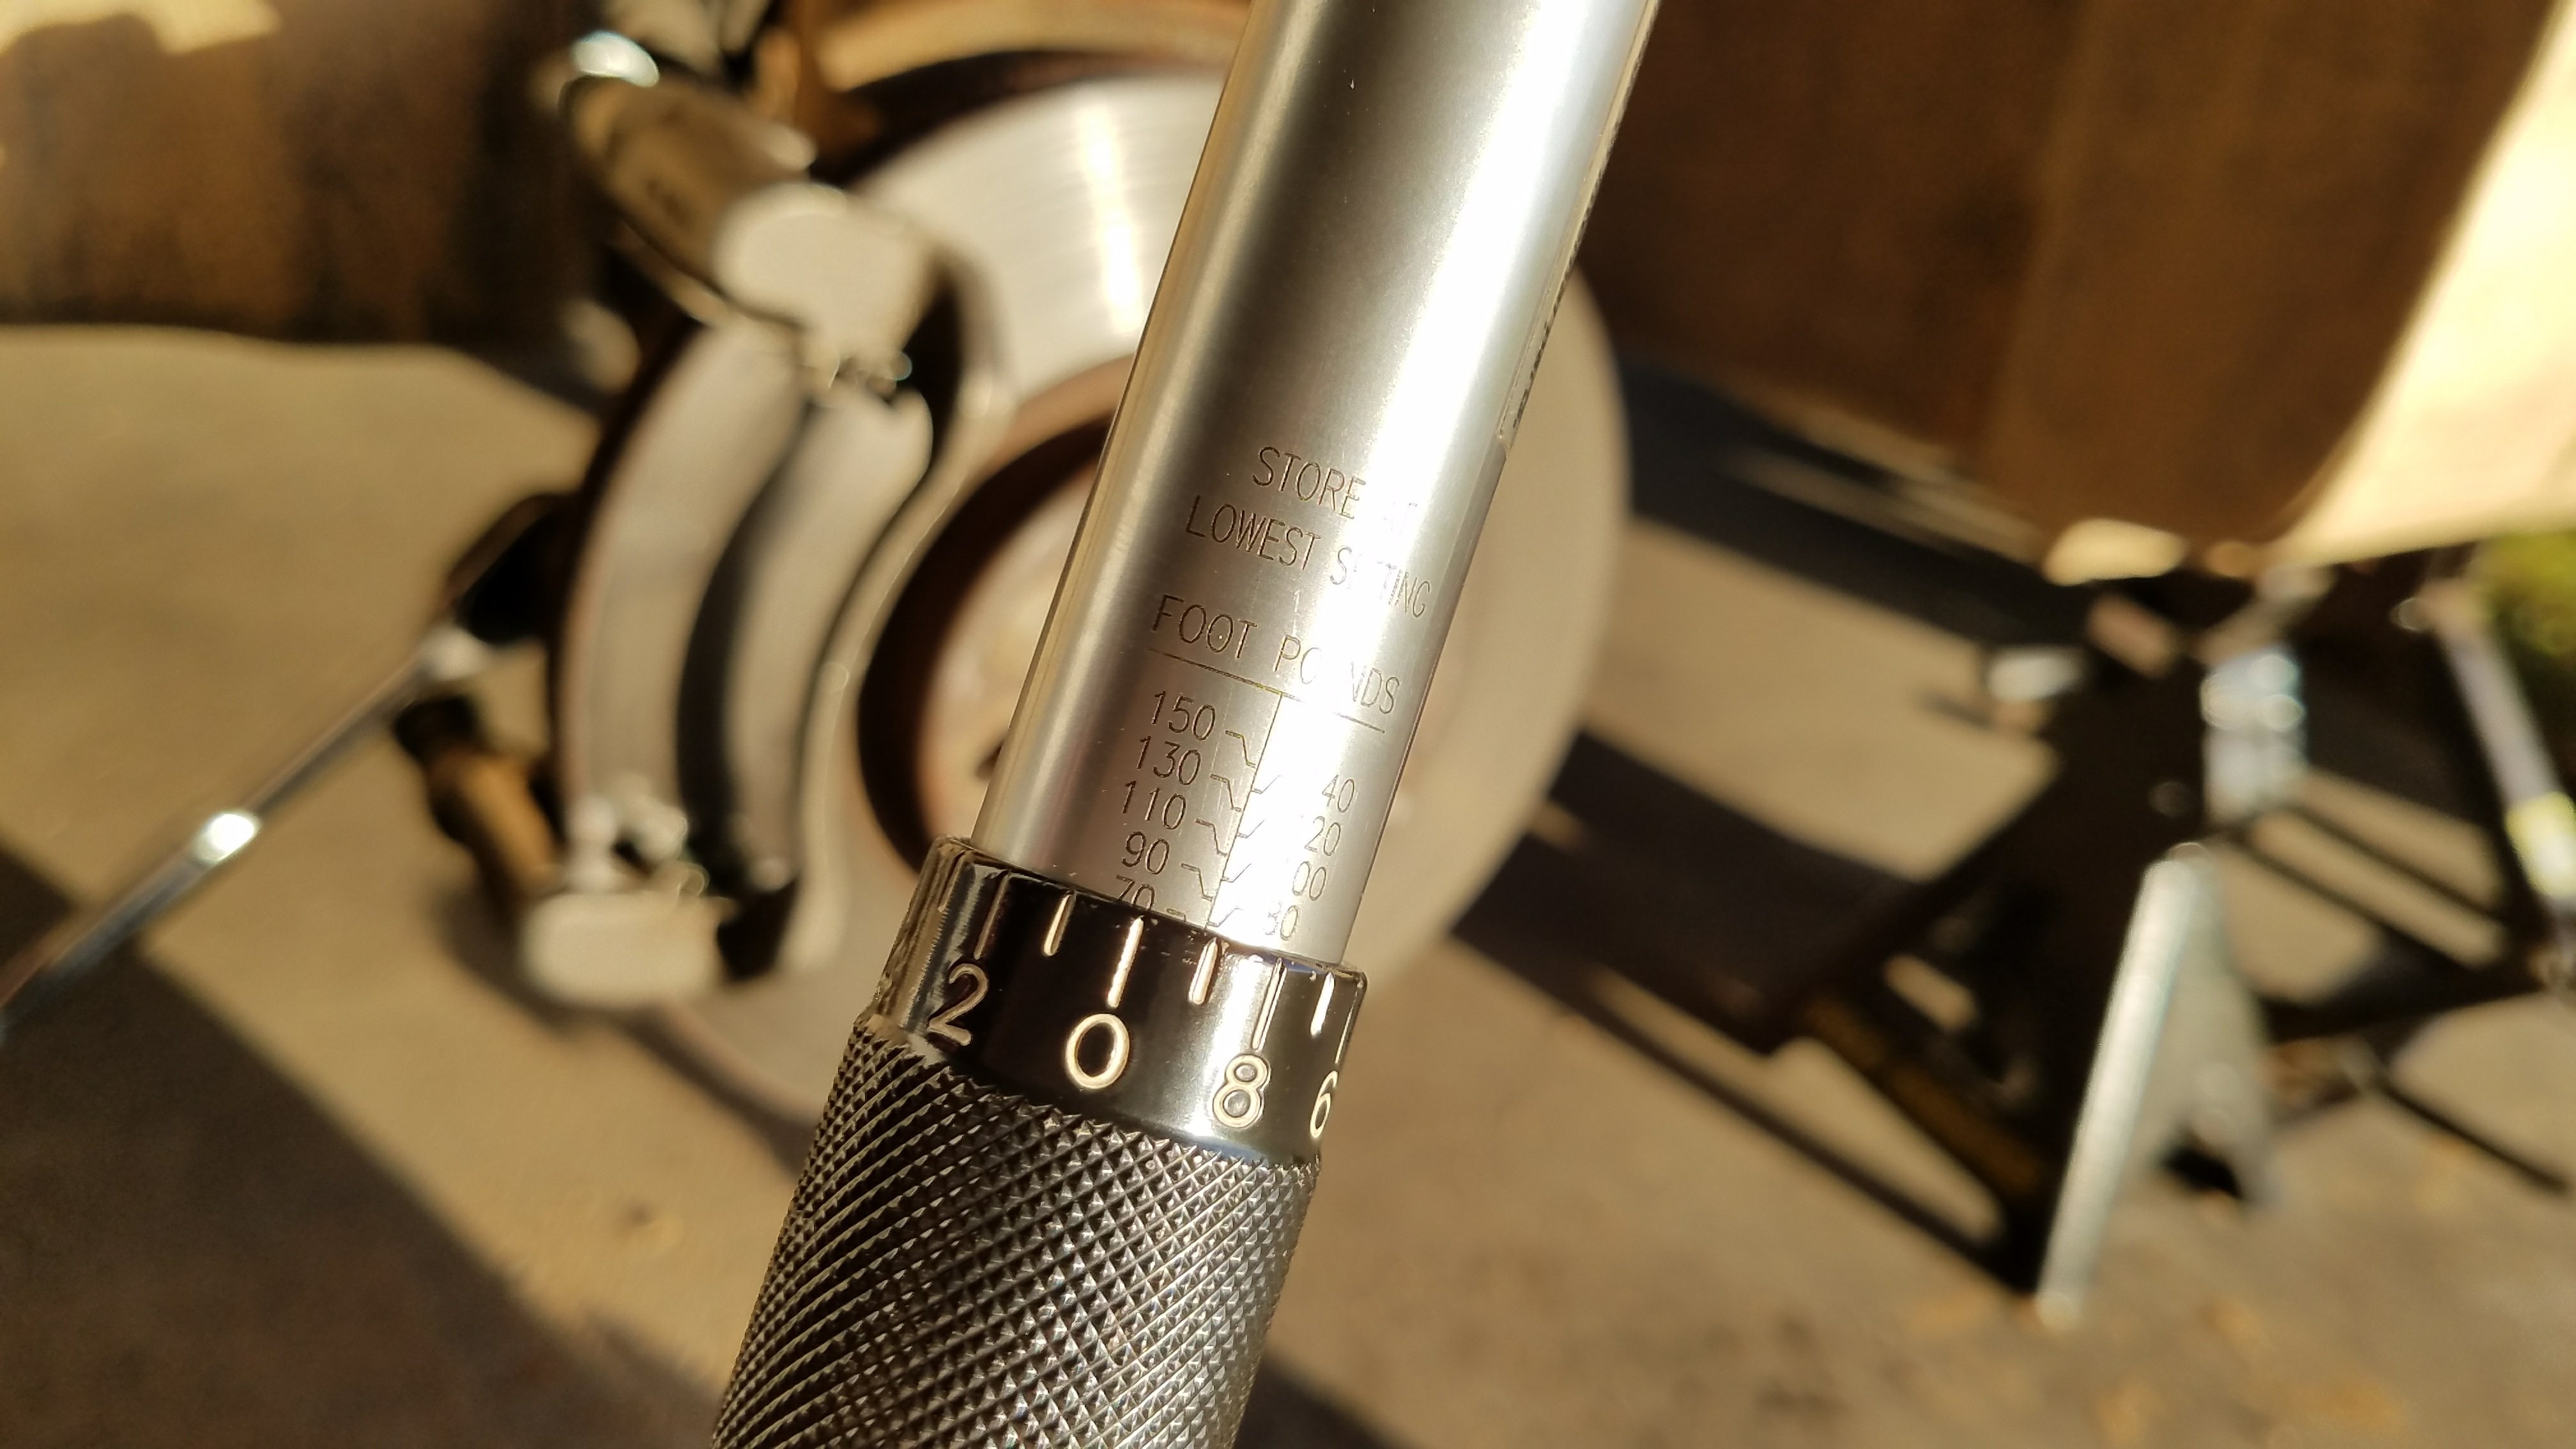
Use the torque wrench to torque the bottom bolt to 79 ft-lbs.
And repeat for the top bolt. This picture shows pretty clearly why the socket extension is desirable.
The bracket is now installed.
Insert the brake pads. Also make sure the wear indicator clip is installed.
Put a little bit of anti-seize on to the caliper bolts.
Get the caliper bolts started. Notice that there is a flat spot on the head of the caliper pin. The flat spot should correspond to the tab on the caliper bracket. This next photo shows the top caliper pin and the bolt being tightened.
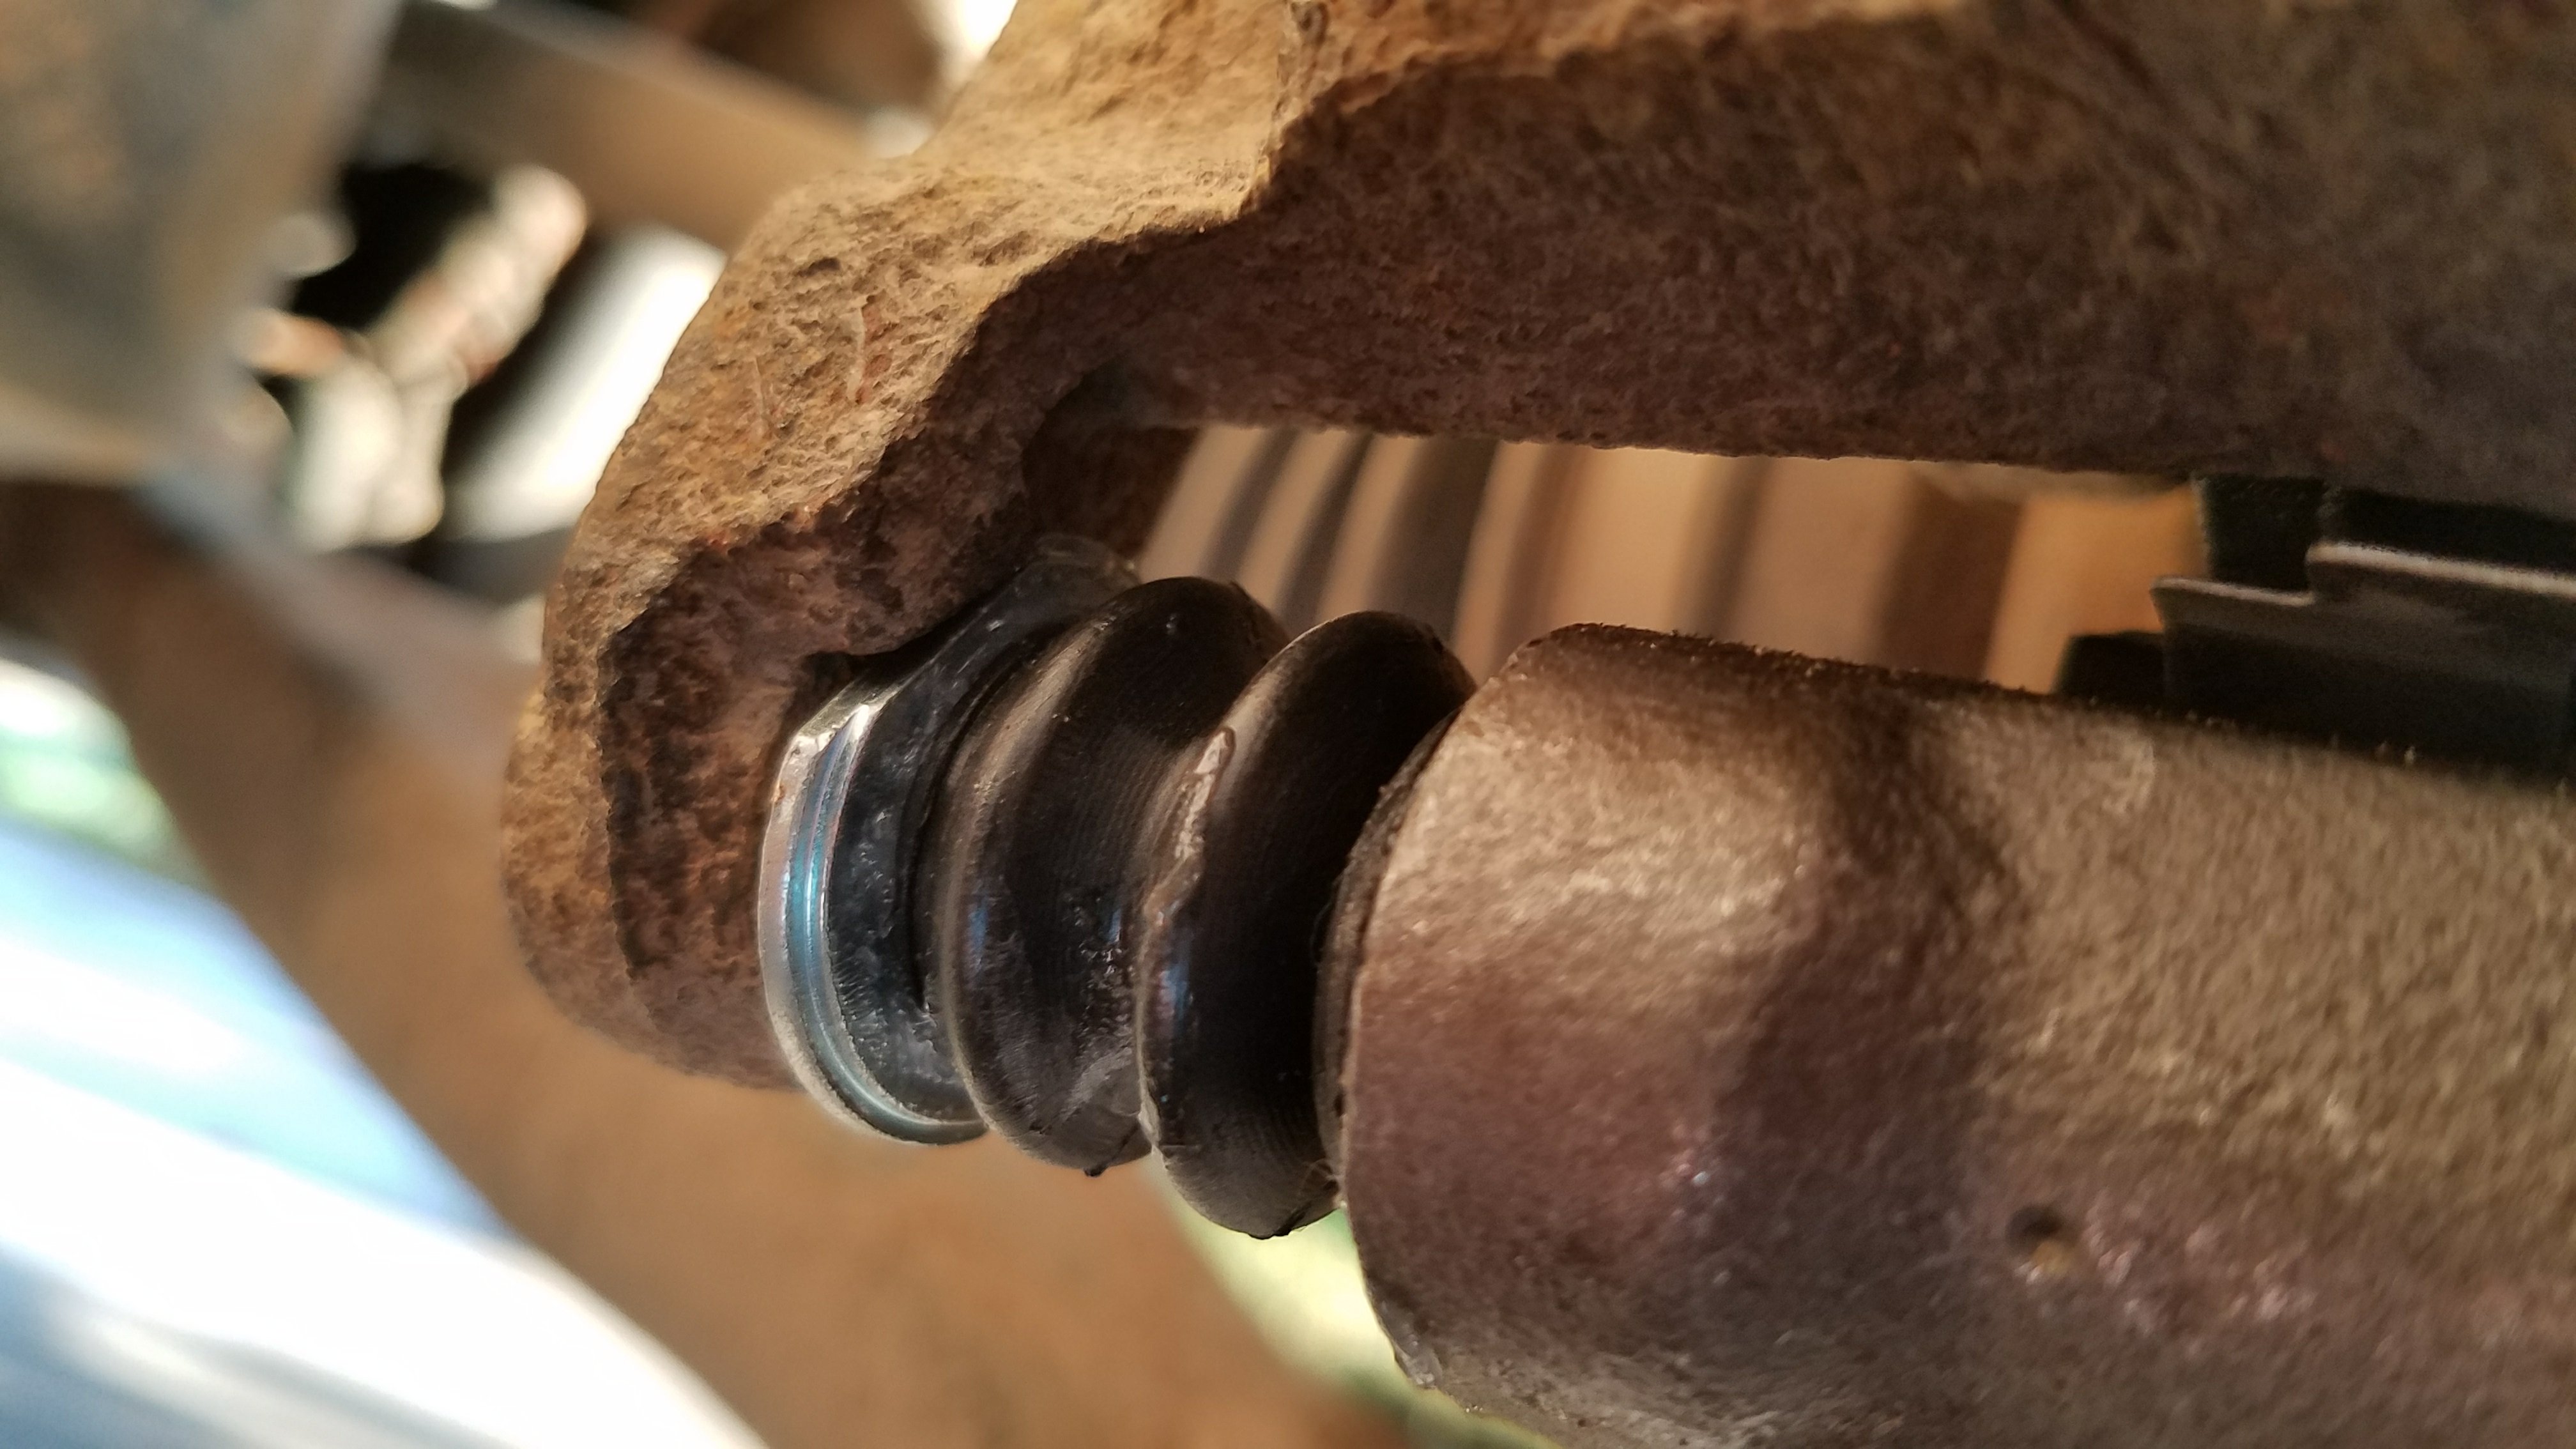
Here is a close-up of the bottom pin.
The caliper bolts should be torqued to 25 ft-lbs.
Go ahead and torque the top and bottom caliper bolts.
This is the assembled part once the caliper bolts have been tightened.
I had a little trouble getting the tire off the rotor this last time, so I spread some anti-seize on the rotor face, so that next time it won’t be such a challenge. If you have trouble getting the wheel off after removing the lug nuts, check out this article on how to remove stuck-on tires.
Now put the tire back on.
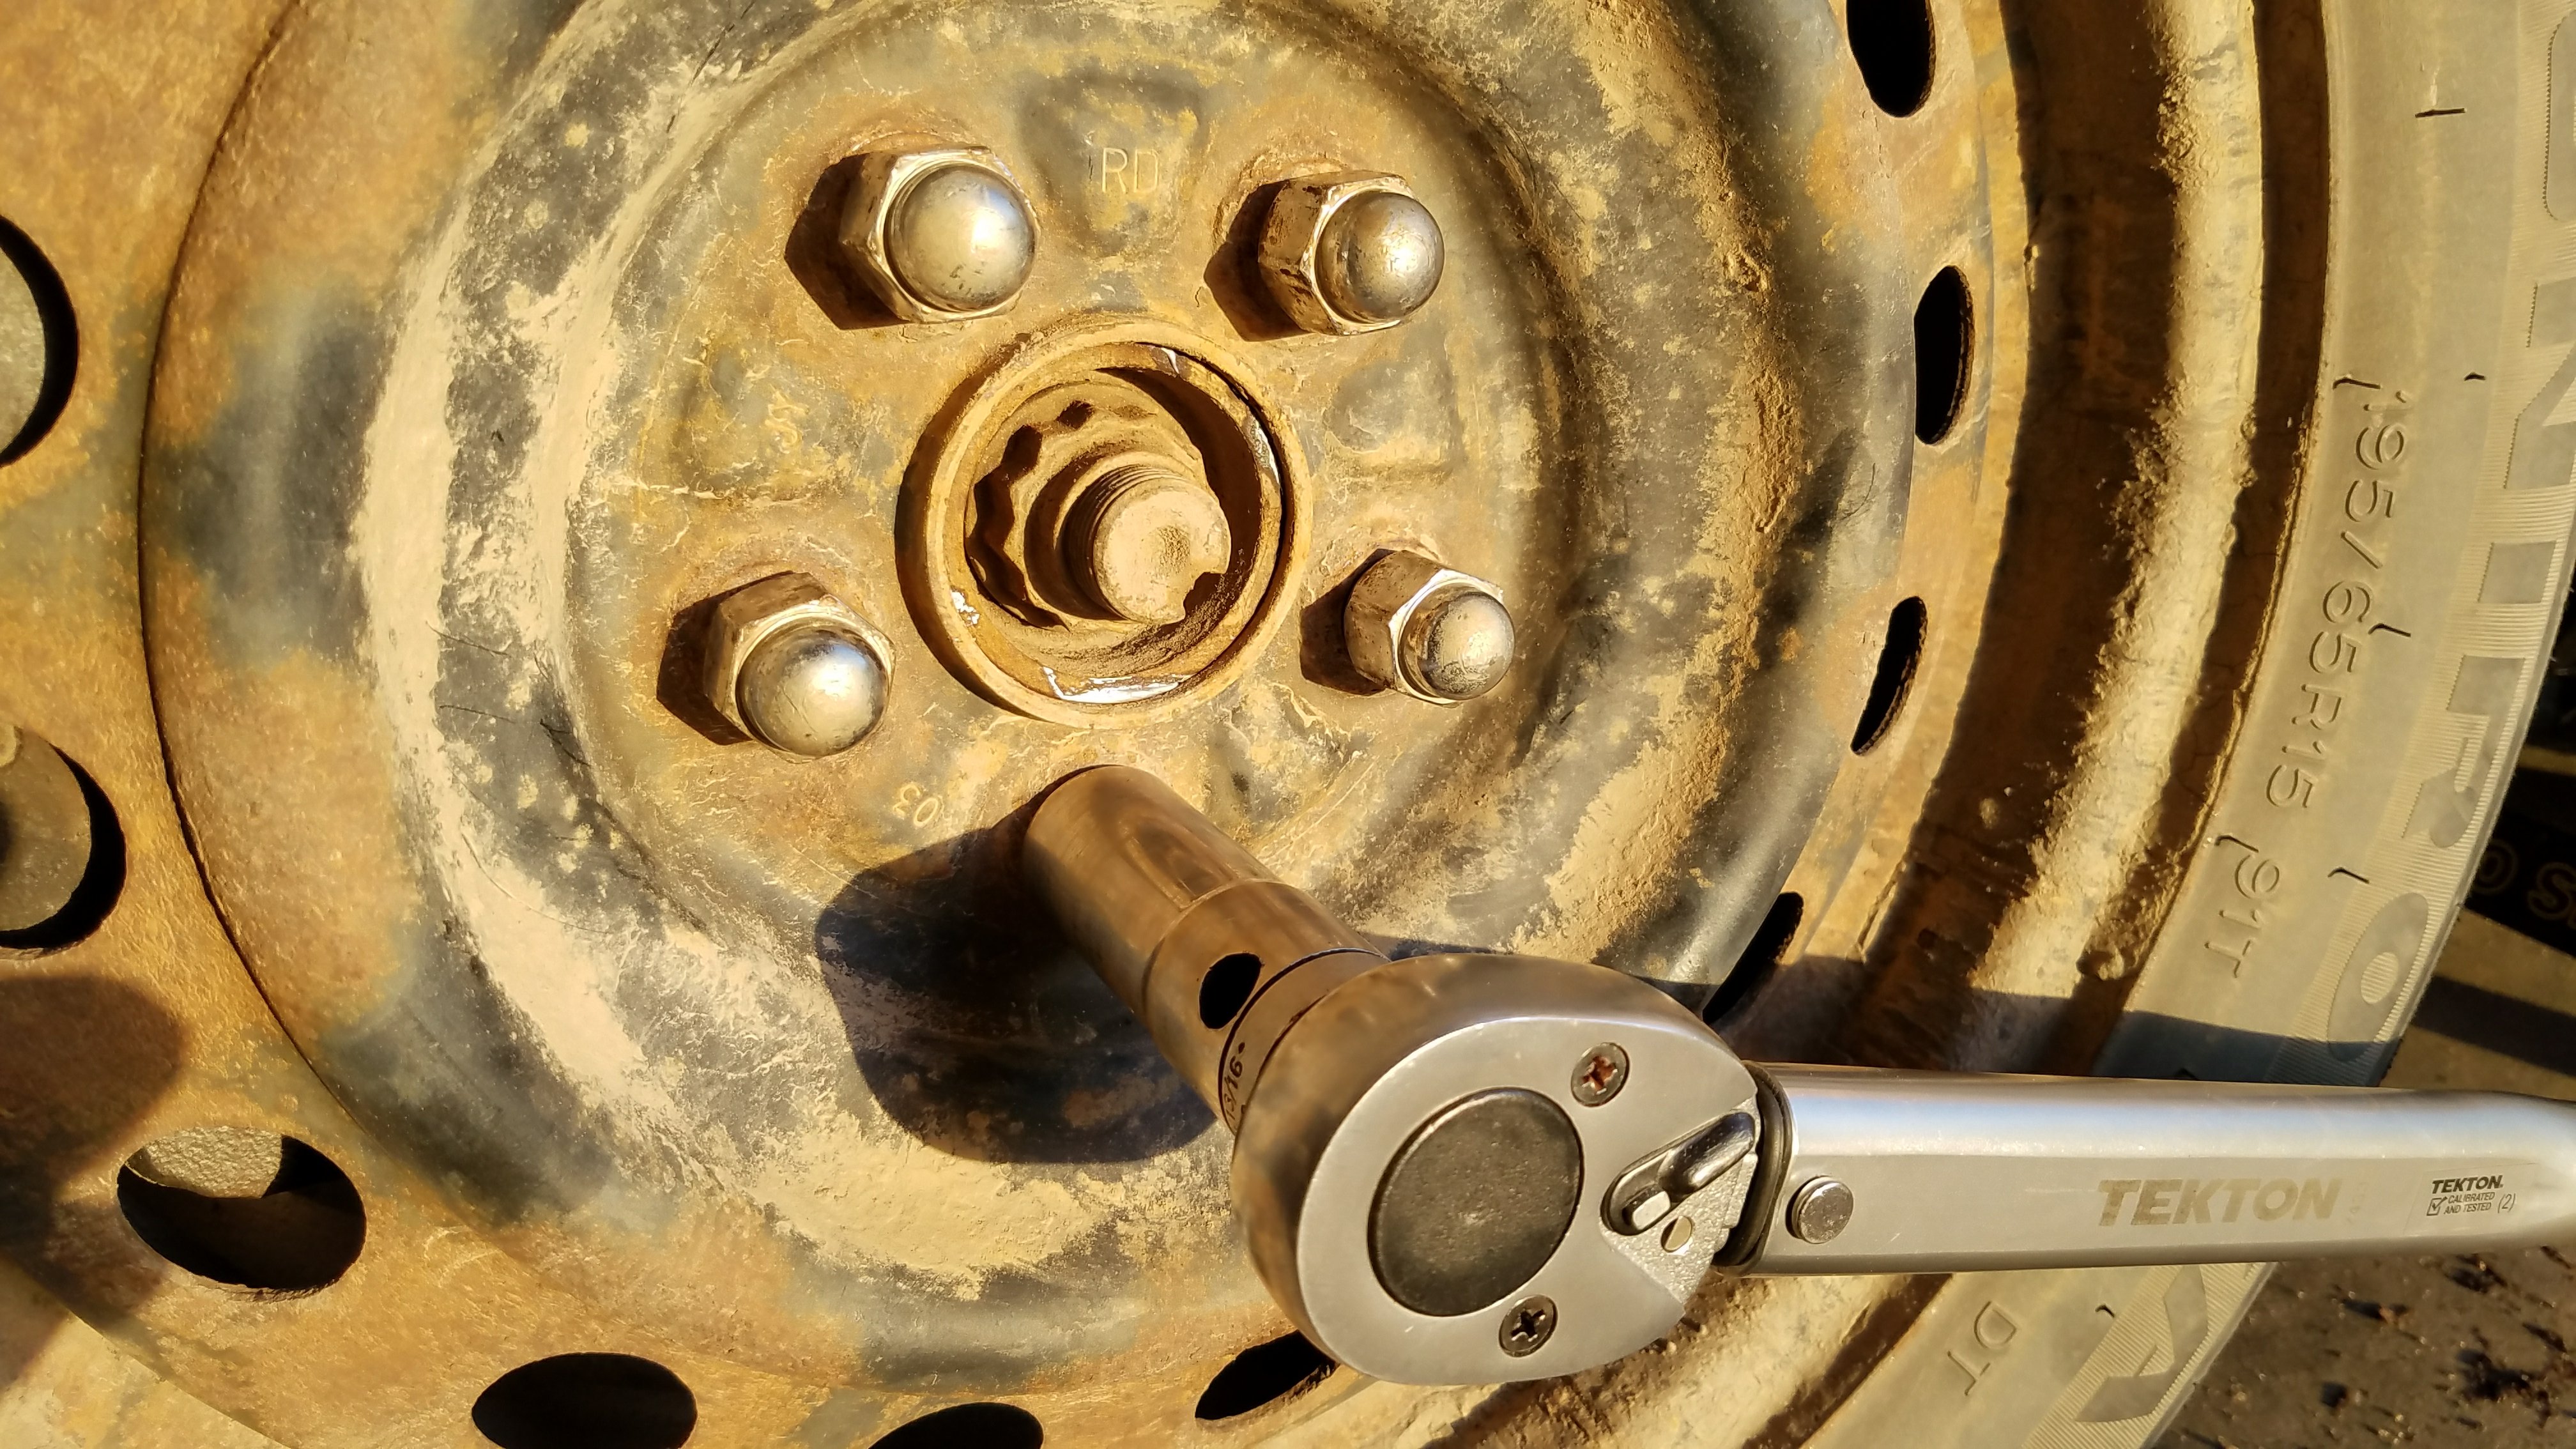
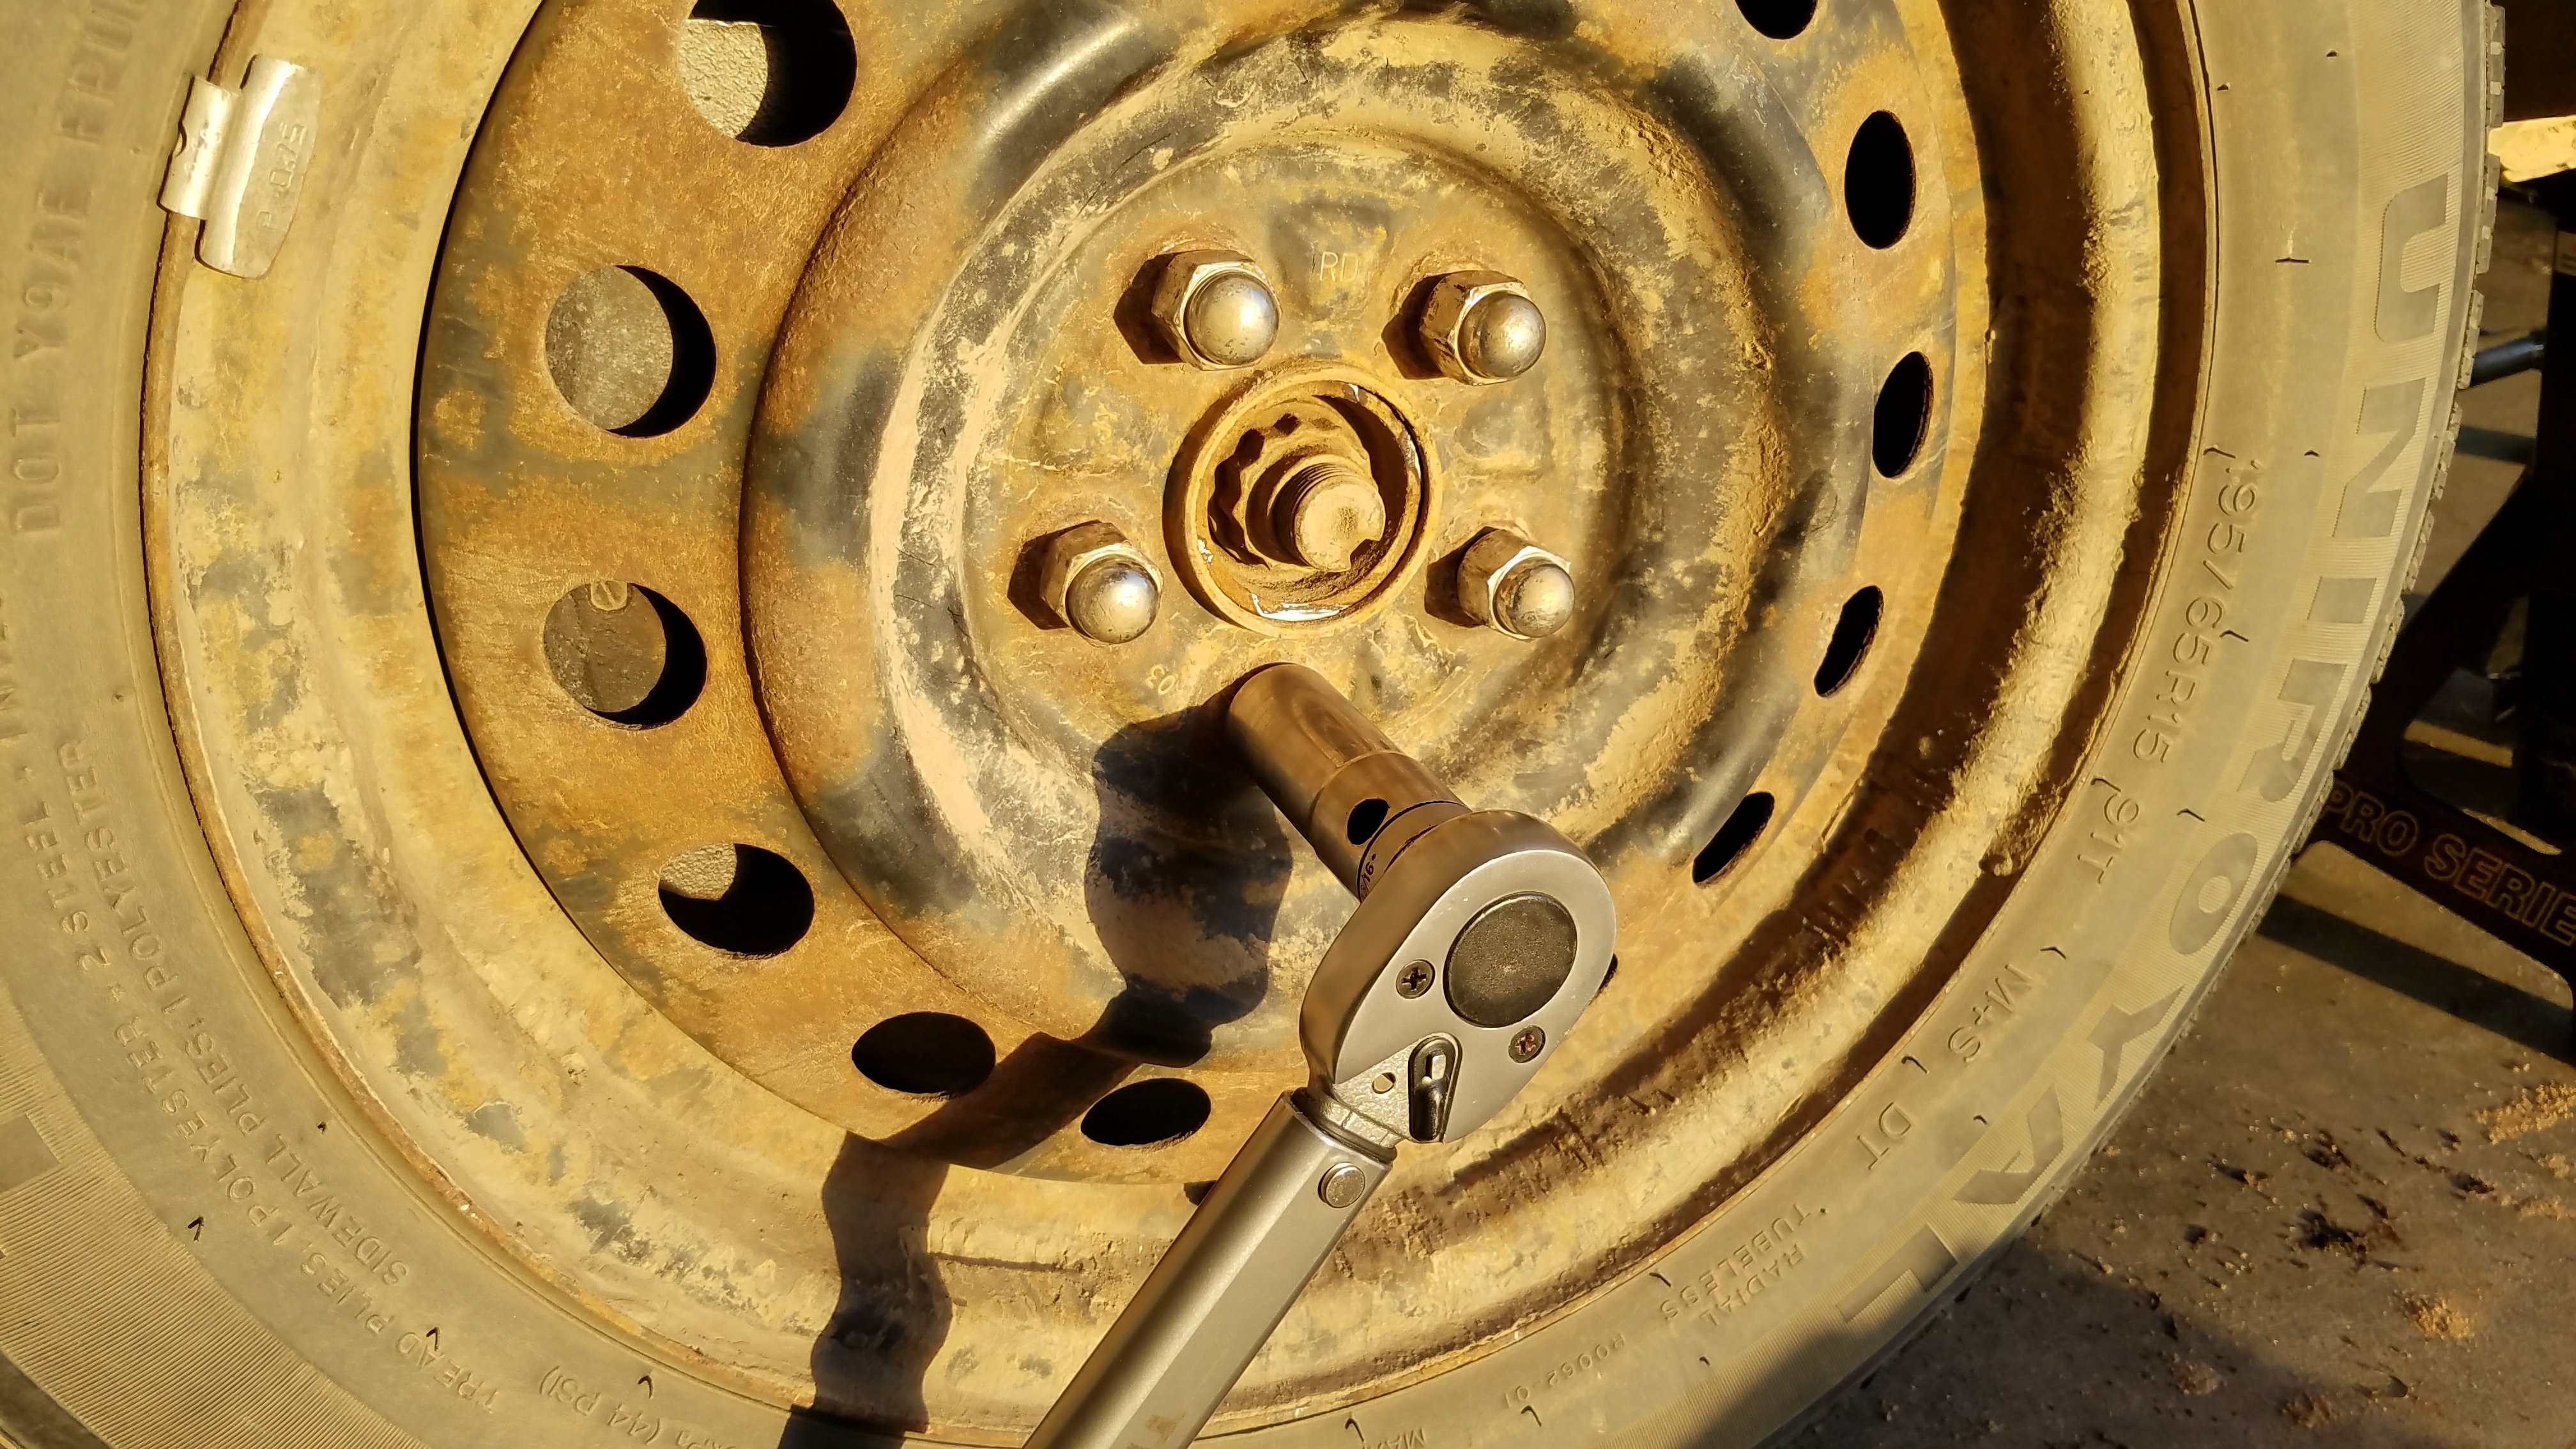
Get the lug nuts started by hand.
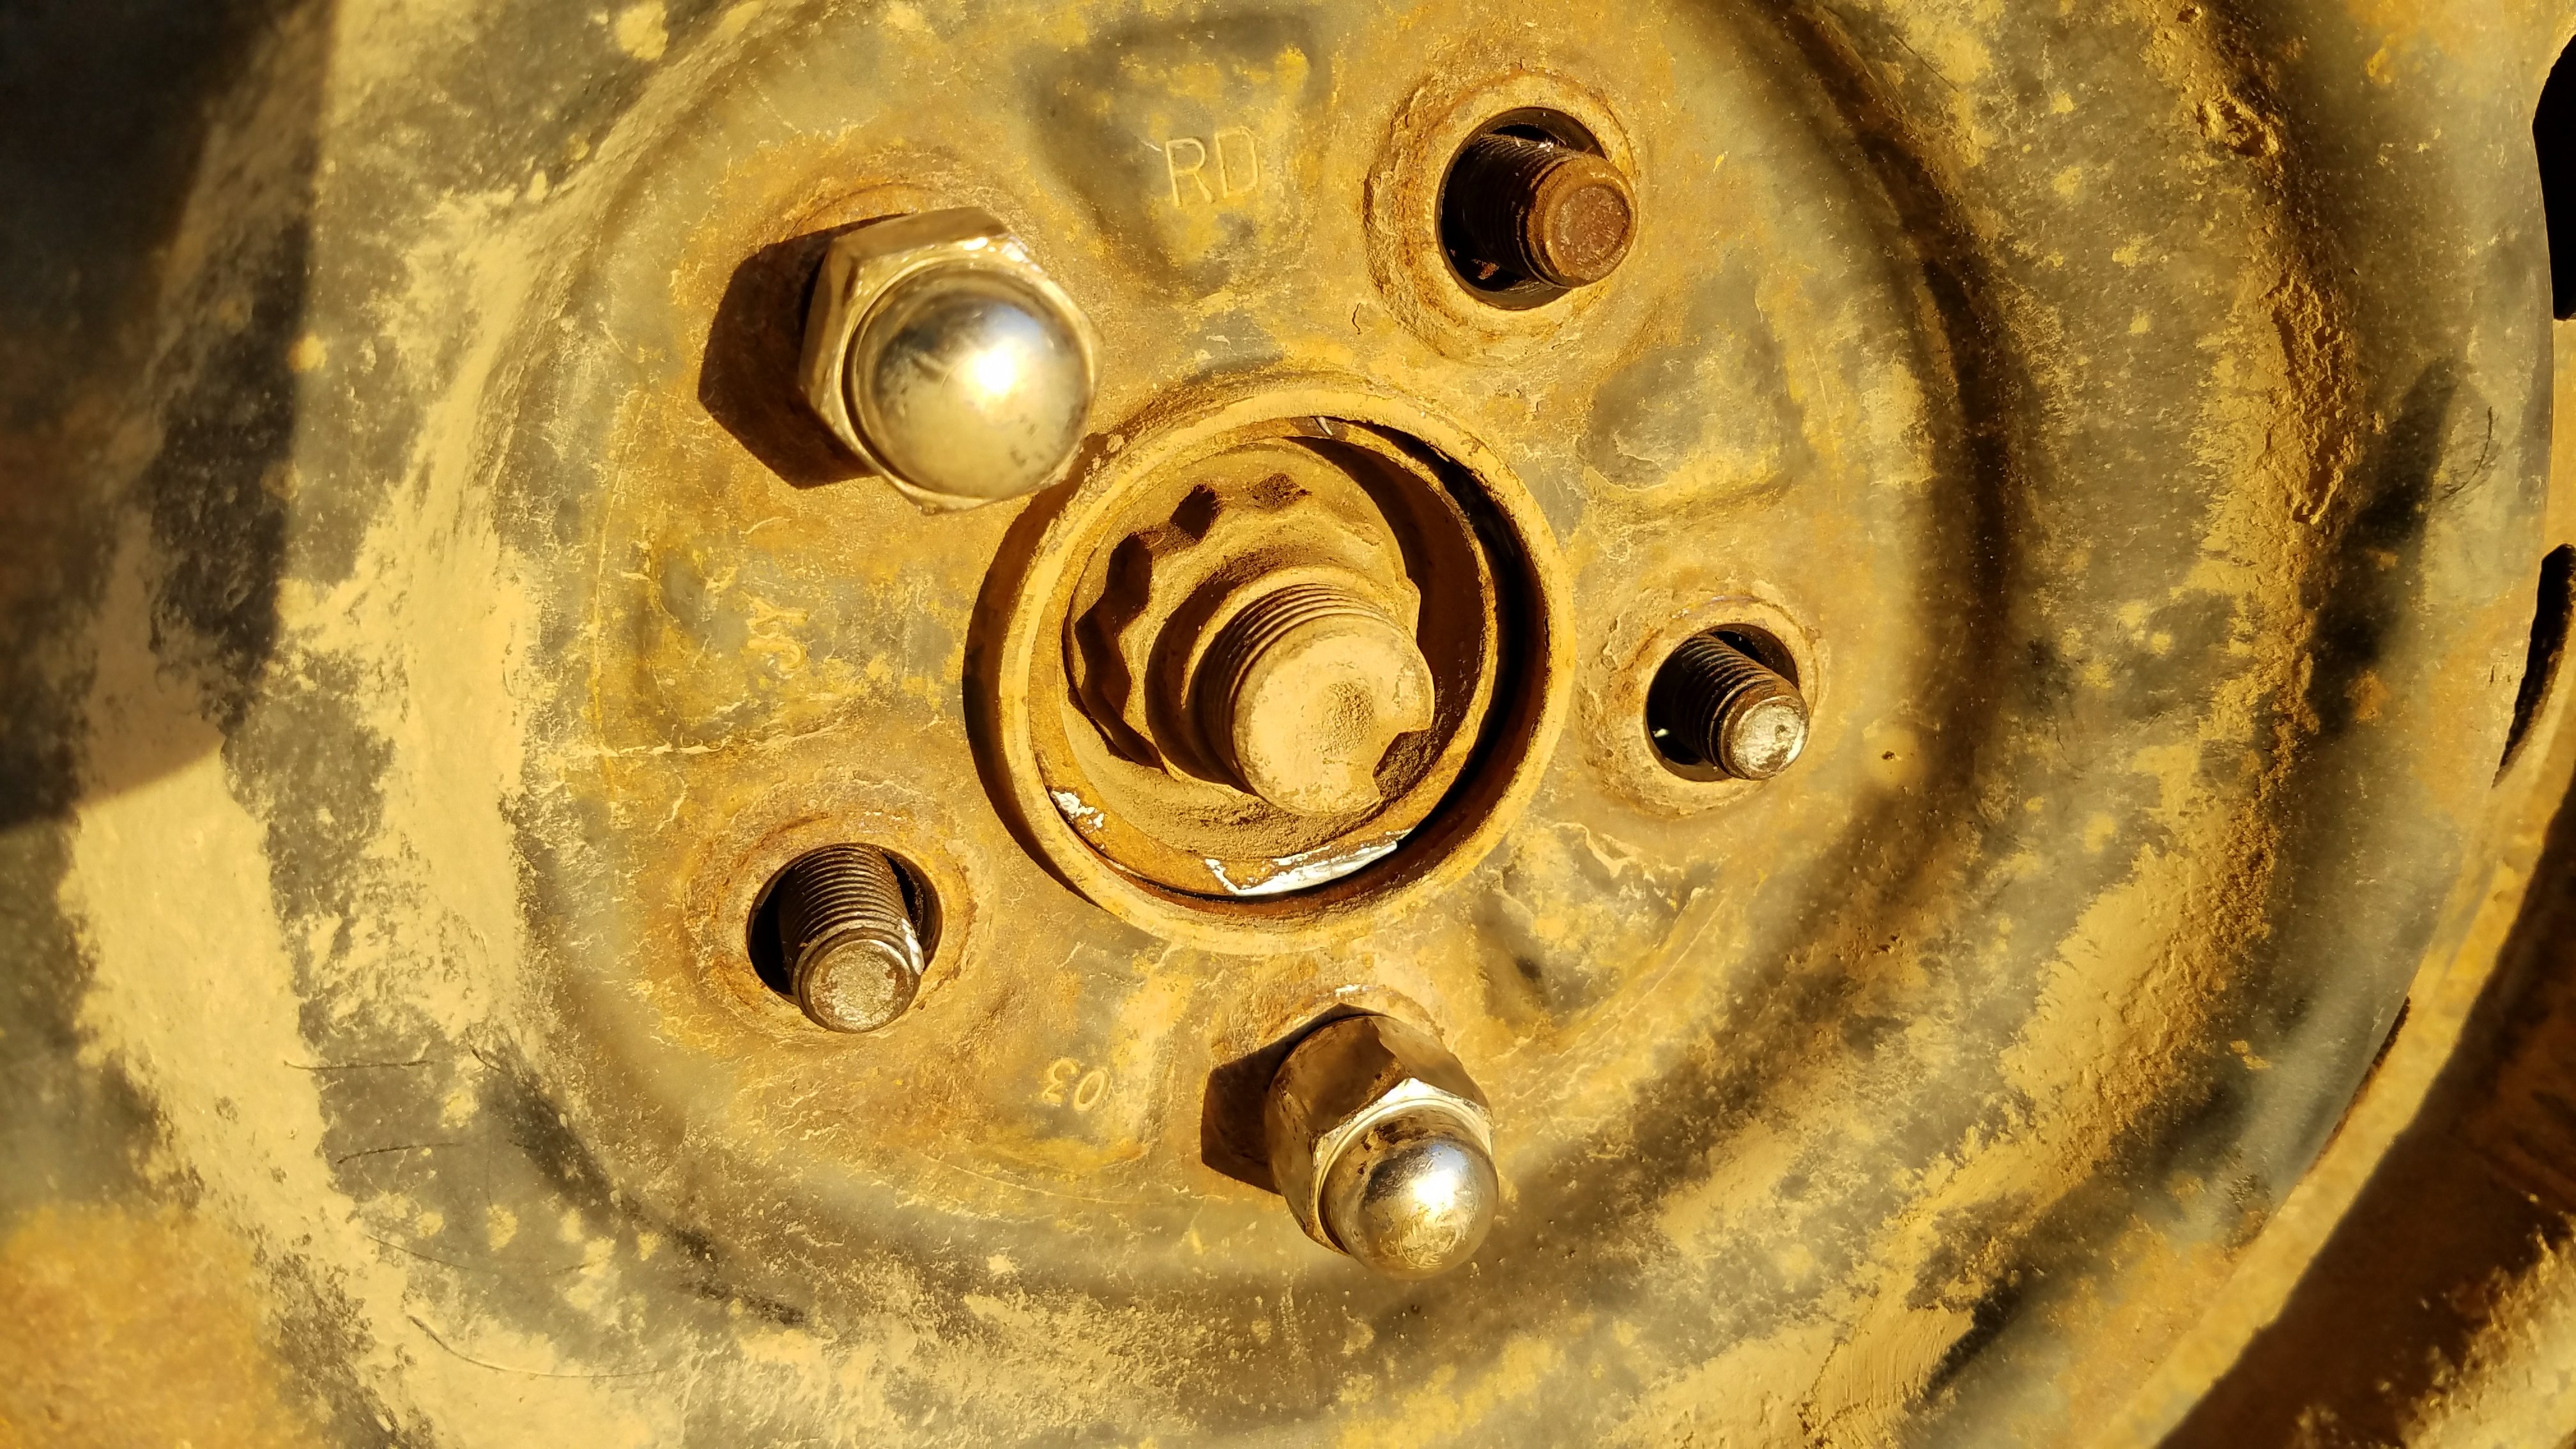
Once all of the lug nuts are on and started, tighten them as much as possible by hand.
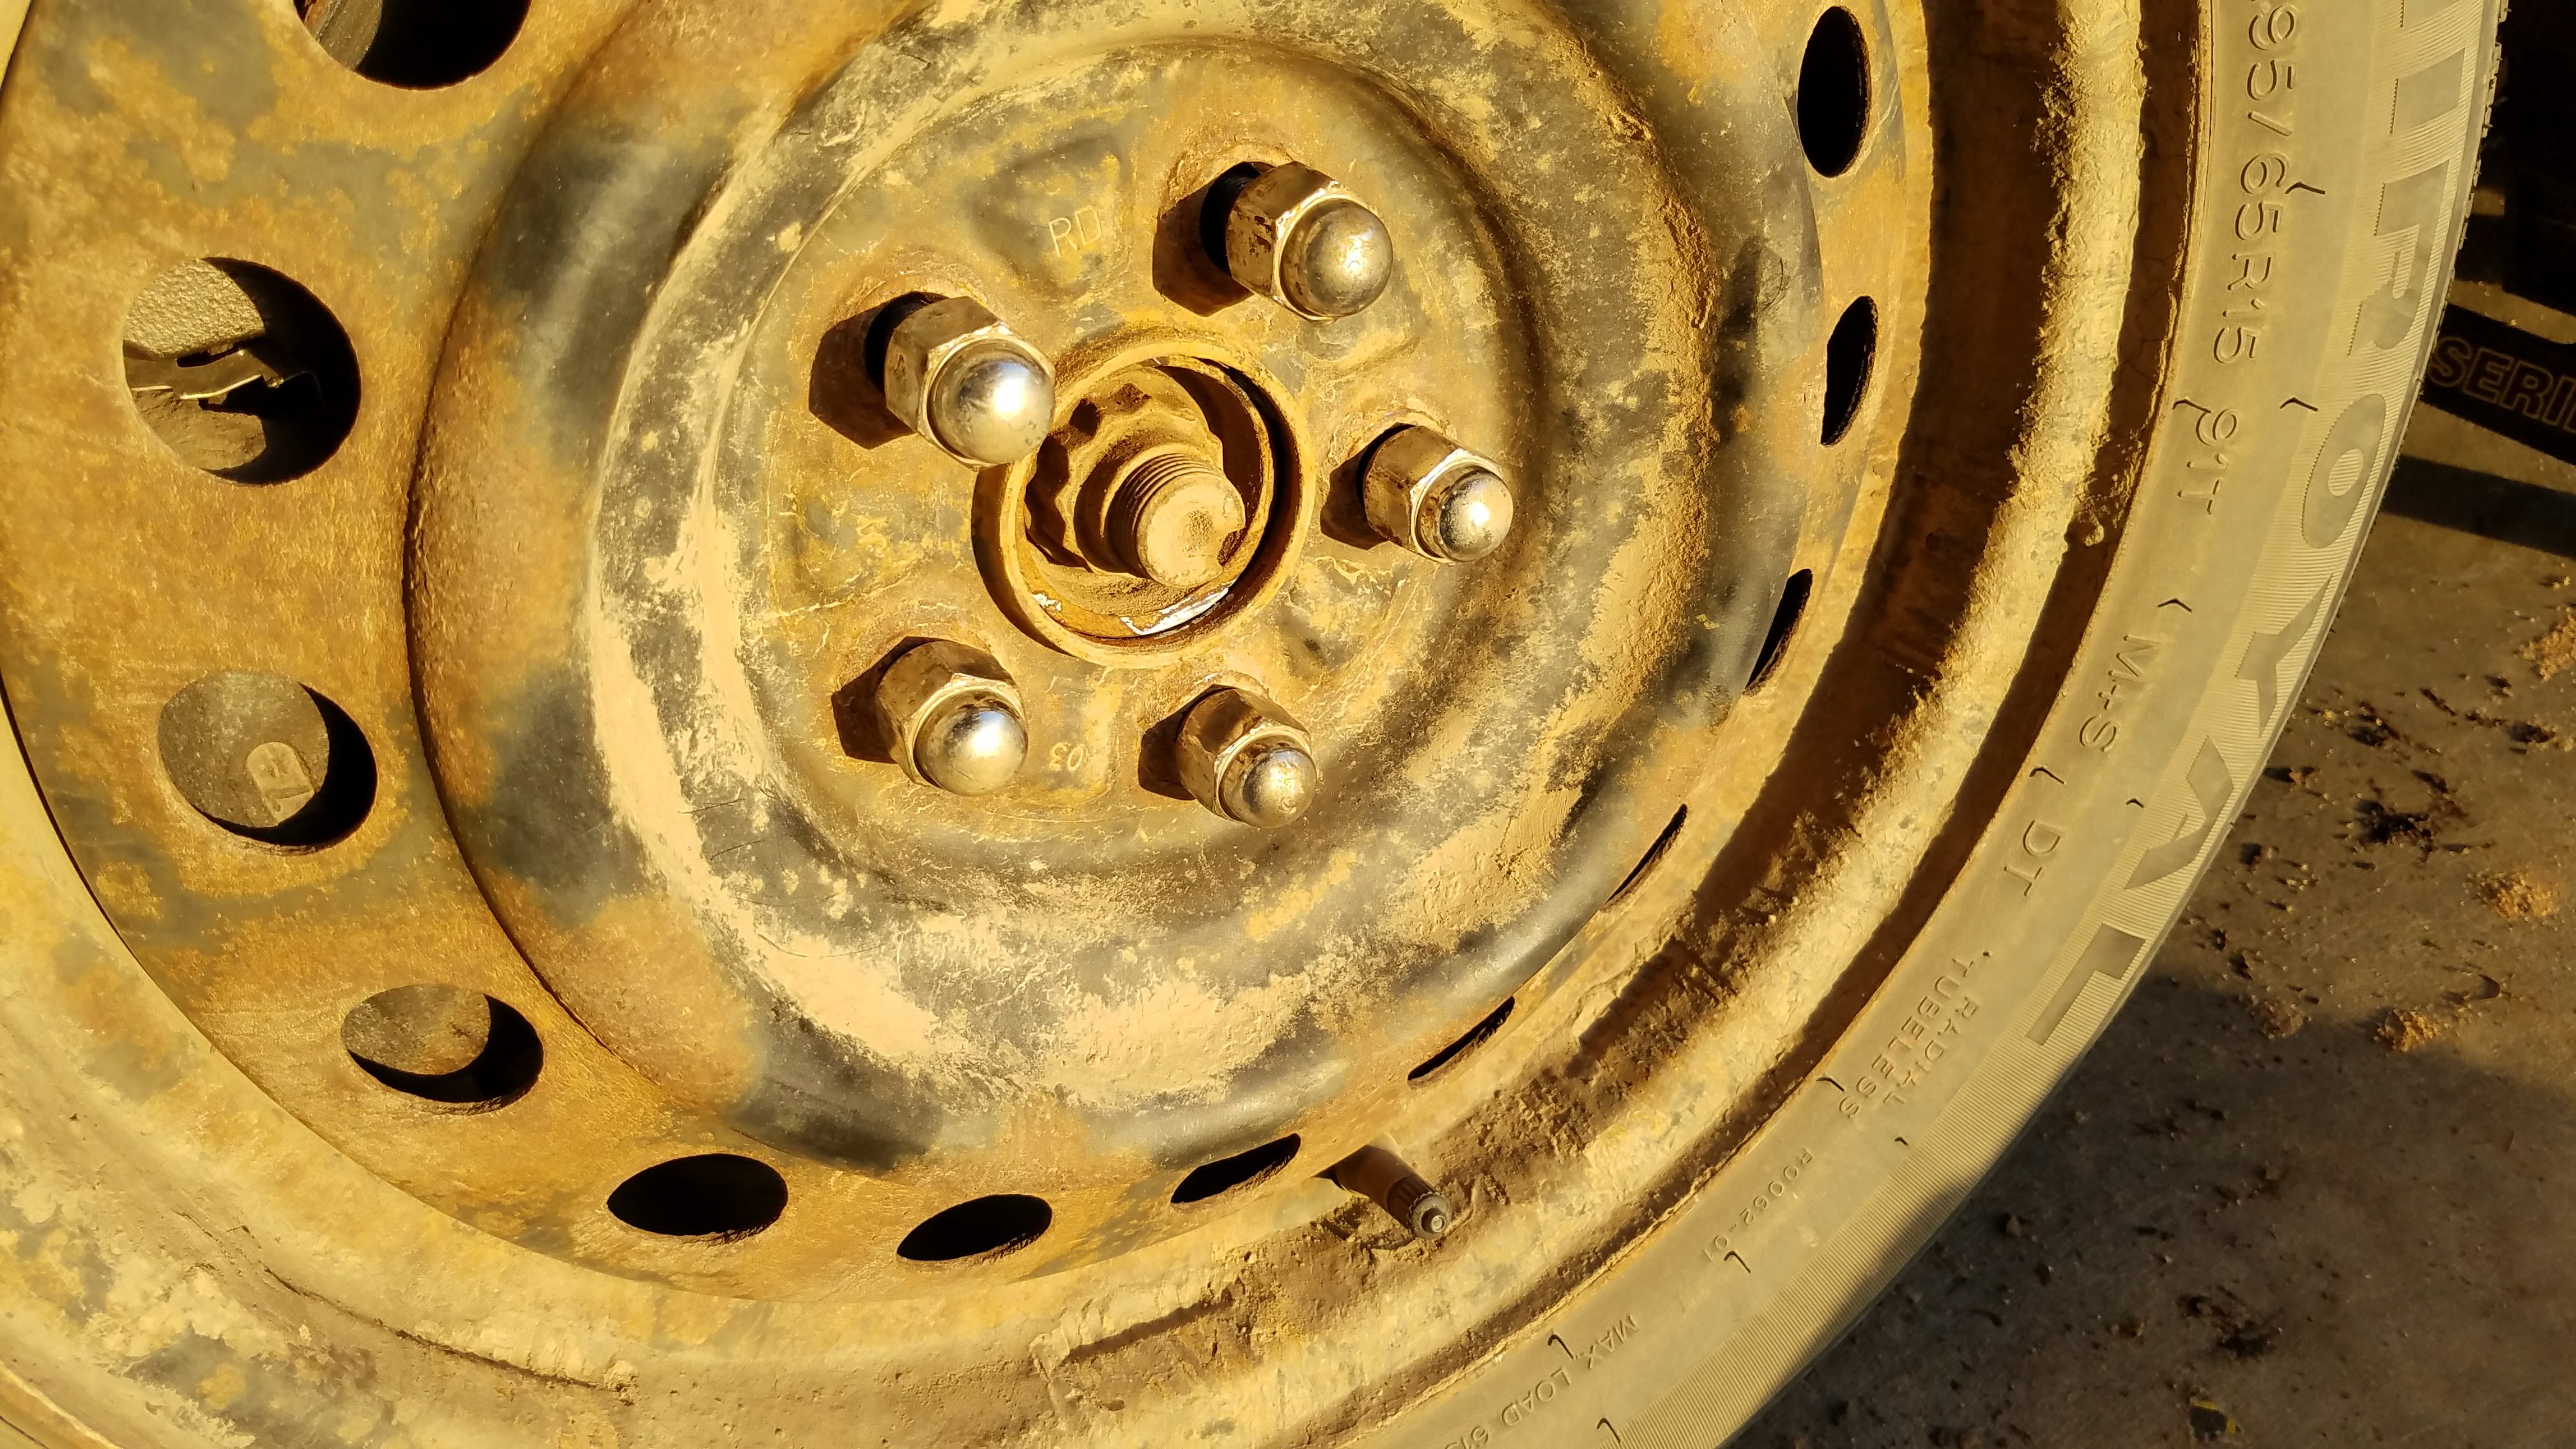
The lug nuts are torque to 76 ft-lbs.
Don’t you love taking pictures during the golden hour? Haha! Everything looks so fresh!
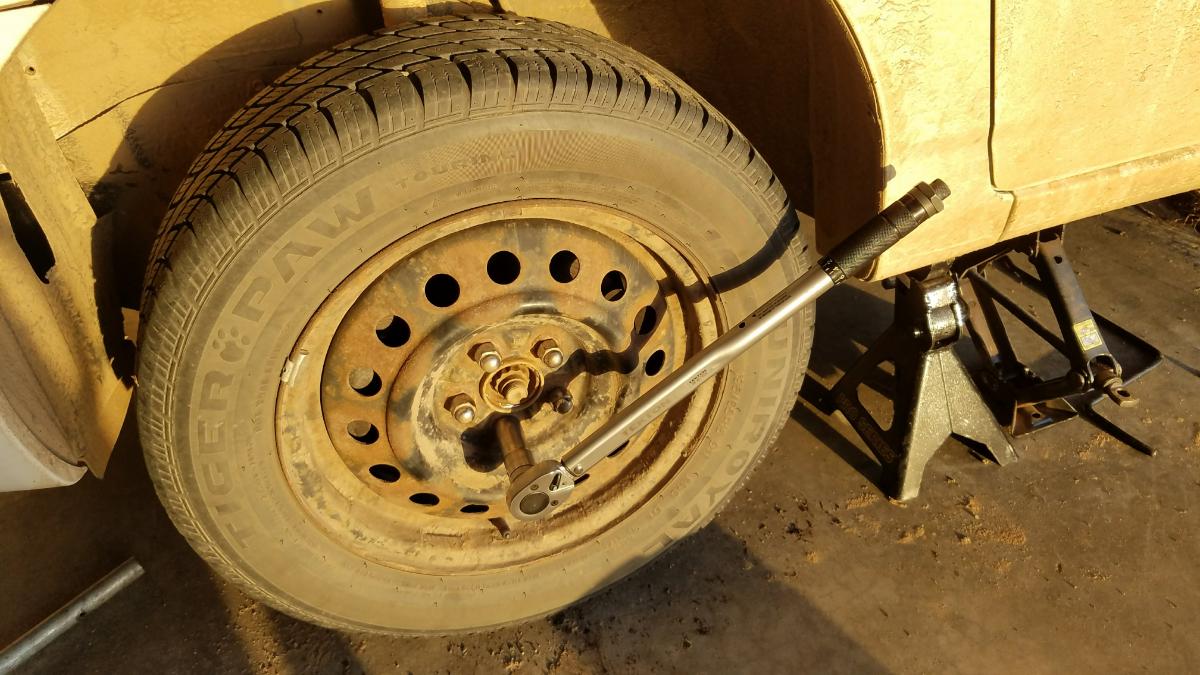
When tightening lug nuts, always work in a ‘star’ pattern.
Make several rounds.
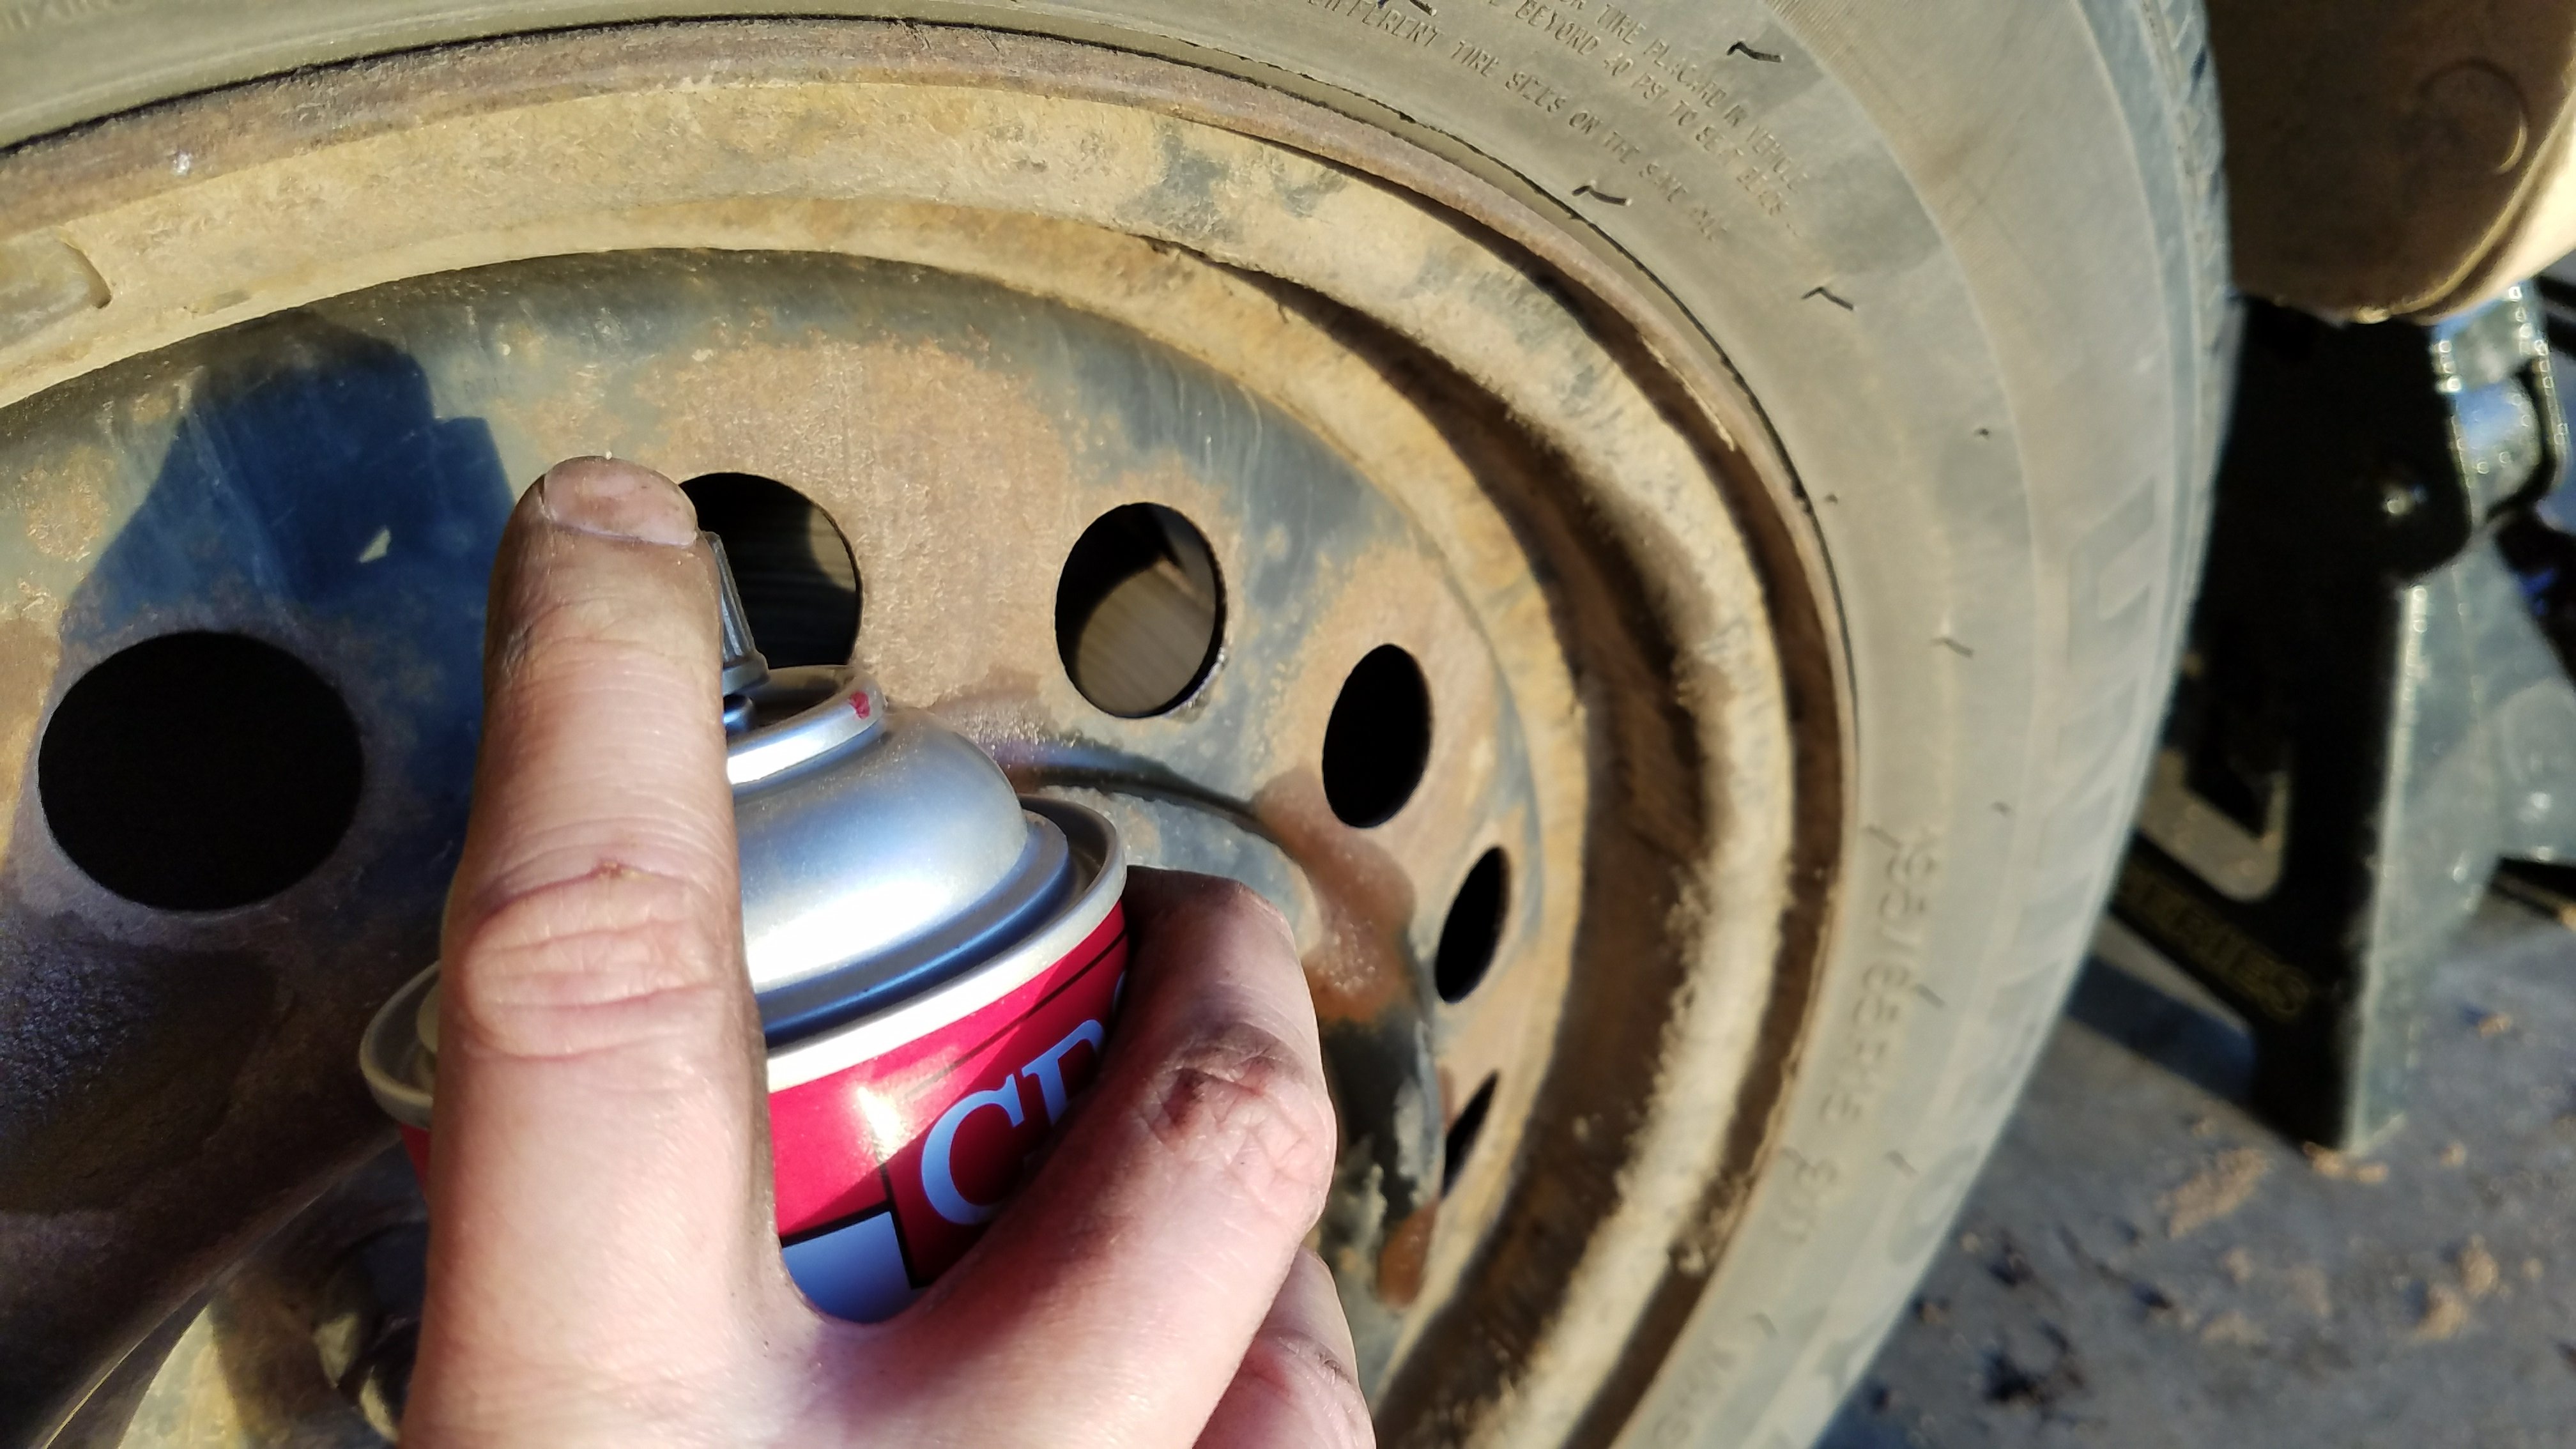
After working with your brakes, it is a good idea to spray off the rotor surface to remove grease and other contaminants with brake cleaner. It would have been a good idea to do this before putting the wheel back on.
Remove the jack-stand and lower the vehicle.
Remember to re-torque the lug nuts after driving for about 50-100 miles.
Nice work! I hope you found this article helpful, and thanks for reading! If it was helpful, please click one of the links, as every click helps!
Check out these tips and tricks for Toyota Corolla maintenance!
Tools and supplies needed:
- caliper bracket (part# 14-1340 – Left or Right is the same part)
- caliper pin kit (Dorman #HW5060)
- caliper pin protective boot kit (part#16090)
- anti-seize lube
- caliper hook hangers
- brake cleaner spray
- torque wrench
- Metric Socket Set (1/2″ Drive)
- Jack stands
Did you find this article useful? Get more articles like this straight to your inbox! Sign up for our mailing list!


0 Comments