How to Change A/F Sensor (o2) – 2002 Lexus – P1135, P1155
There are several common symptoms of a bad air/fuel sensor, the main one being a check engine light. Read this post for information on how to fix this common problem for a v6 2002-2003 Lexus es300 or Toyota Camry v6 3.0L.
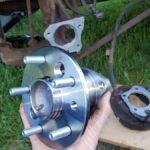
Air/Fuel Sensor
The oxygen sensors (sometimes also called oxygen, o2, or lambda sensors) located in the exhaust stream of the engine help regulate the amount of air and fuel flowing through the system.
If you make purchases through links in this guide, I may earn a commission which doesn’t cost you anything extra but helps me with hosting fees and also allows me to keep banner ads off this site. Thank you.
Unfortunately, it is common for these sensors to fail in Toyota/Lexus vehicles with the 3.0L engine in the years 2002-2003.

Common Problem for Toyota/Lexus Vehicles
The most common problem you will see with this, is a check engine light (CEL). When you read the error codes using a code-reader, you will see either p1155 or p1135, or both. Sometimes other codes may show up as well.
P1135 – Air/Fuel sensor heater circuit malfunction (Bank 1 Sensor 1)
P1155 – Air/Fuel sensor heater circuit malfunction (Bank 2, Sensor 1)
If you see error code p1155, consider yourself lucky because this is the o2 sensor that is easy to reach (Bank 2)! It can be access from under the hood near the front of the engine.
If you see error code p1135, you will need to jack up the car and get under it.
Replacement Parts
For this repair, you will need the following tools and supplies:
Editor's Note: For many parts, 3rd party suppliers are sufficient, but in the case of Air/Fuel sensors, it is highly recommended that you go with the OEM supplier for Toyota, which is Denso. Do not think you will save money buying a cheaper part in this case. You will not fix it, and you will only have more mechanics bills. Read the reviews on Amazon.com to hear this familiar story over and over again.
- Denso 234-9047 – Air/Fuel Sensor (Bank 1, Sensor 1) – Get this if you have error code P1135
- Denso 234-9042 – Air/Fuel Sensor (Bank 2, Sensor 1) – Get this if you have error code P1155
- Denso 234-4261 – Air/Fuel Sensor (Bank 1, Sensor 2) – Get this if you have error code P0141
- Denso 234-4261 – Air/Fuel Sensor (Bank 2, Sensor 2) – Get this if you have error code P0161
Note: the same sensor is used for both B1S2 and B2S2.
Tools Needed
- Oxygen Sensor Socket 7/8″ (22mm)
- Socket Wrench 3/8″ Drive
- Small Flat-Bladed Screwdriver
- PB Blaster or Penetrating Oil
How to Replace the Air/Fuel Sensor – Step by Step
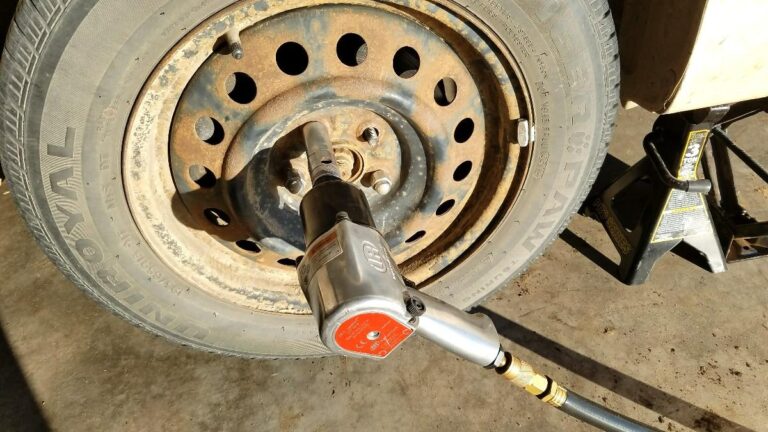
In my case, I had the error code P1135 as read from my OBD2 reader, so I ordered the Denso 234-9047 Air/Fuel Sensor and an Oxygen Sensor socket, then jacked up the front of my 2002 Lexus es300 v6 (which is very similar to the 2002-2003 Camry)

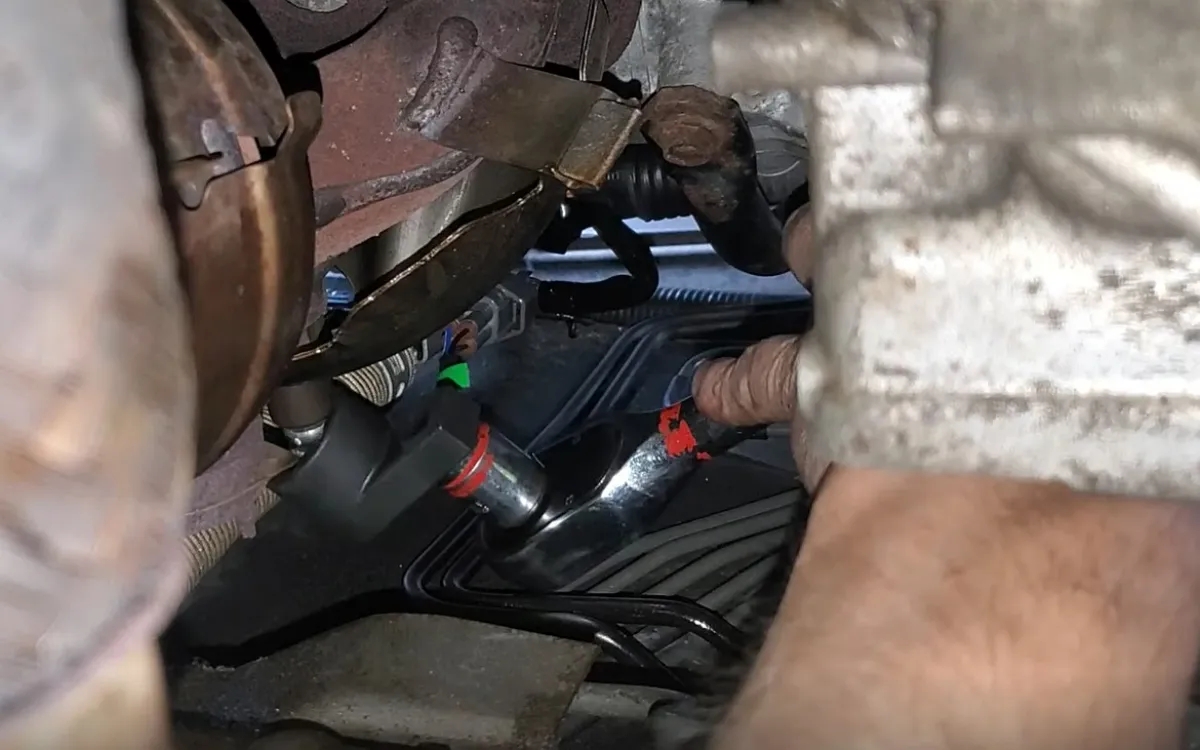
Then, locate the defective sensor. From under the car, the sensor is against the firewall, sticking out of the exhaust flange. Refer to the picture below, where the front of the car is up.

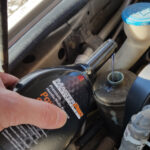
Next, spray the sensor threads with some penetrating oil and let it soak for at least 15 minutes. If you can spray this on several days ahead, that may help as well.

Make sure you have an o2 sensor socket. These have a slot to accommodate the wire. Also, a wrench will not fit down into the slot created by the heat baffle.

Position the Oxygen Sensor Socket onto the A/F sensor for removal.

Turn the sensor counterclockwise to remove it. It will likely be very, very tight.
Hint: If the A/F sensor will not come loose, start the car and let it idle for about 5 minutes then shut it off. The heat will expand the collar, making the removal easier. (Be careful however, the exhaust components will be hot!)
Once the A/F sensor is loose, use a flat-bladed screwdriver to pry the electrical connection tab out, away from the sensor plug.


Hint: Space is limited, so using a short-handled screwdriver may be easier. You can jam it into the opening, and with the same hand, pull the plug out.

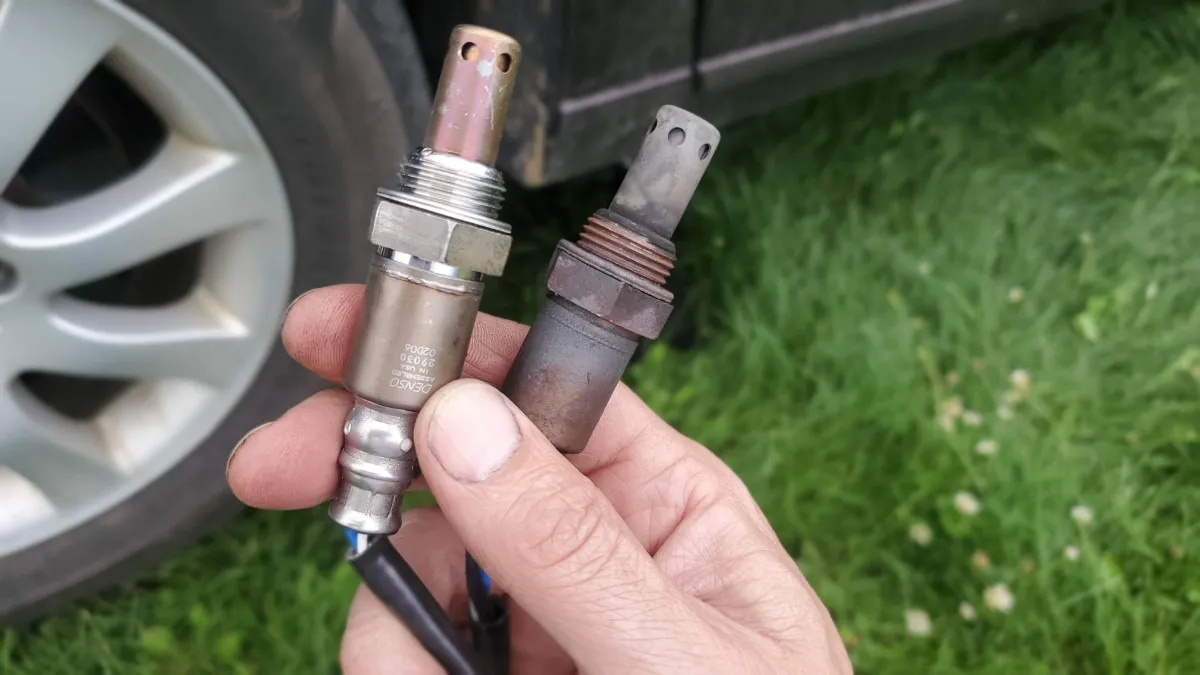
Unscrew the A/F sensor the rest of the way and remove it from the vehicle.
Next, put some anti-seize onto the threads of the new A/F Sensor.

Then put it into the port and tighten it up with the O2 Socket.

Note: Don't overtighten it! Air/Fuel sensors are commonly torqued to 31 ft-lbs.

Once the new sensor is in, plug in the electrical connector by lining up the tabs and pressing it into the connector until you hear a click.
That’s it! Check engine light can be reset if you have an OBD2 reader, otherwise, the light will go out after several miles of driving.
I hope you found this guide helpful!
Replacement Parts
For this repair, you will need the following tools and supplies:
- Denso 234-9047 – Air/Fuel Sensor (Bank 1, Sensor 1) – Get this if you have error code P1135
- Denso 234-9042 – Air/Fuel Sensor (Bank 2, Sensor 1) – Get this if you have error code P1155
- Denso 234-4261 – Air/Fuel Sensor (Bank 1, Sensor 2) – Get this if you have error code P0141
- Denso 234-4261 – Air/Fuel Sensor (Bank 2, Sensor 2) – Get this if you have error code P0161
Note: the same sensor is used for both B1S2 and B2S2.
Tools Needed
- Oxygen Sensor Socket 7/8″ (22mm)
- Socket Wrench 3/8″ Drive
- Small Flat-Bladed Screwdriver
- PB Blaster or Penetrating Oil