How to Fix a Flat Tire on a Motorcycle – Tube and Tire Change
I got a flat tire on my Honda XL100s the other day. I took a few photos as I went through the process of changing the tube and tire. The following is the procedure I used to fix the flat. I hope this is helpful for someone out there!
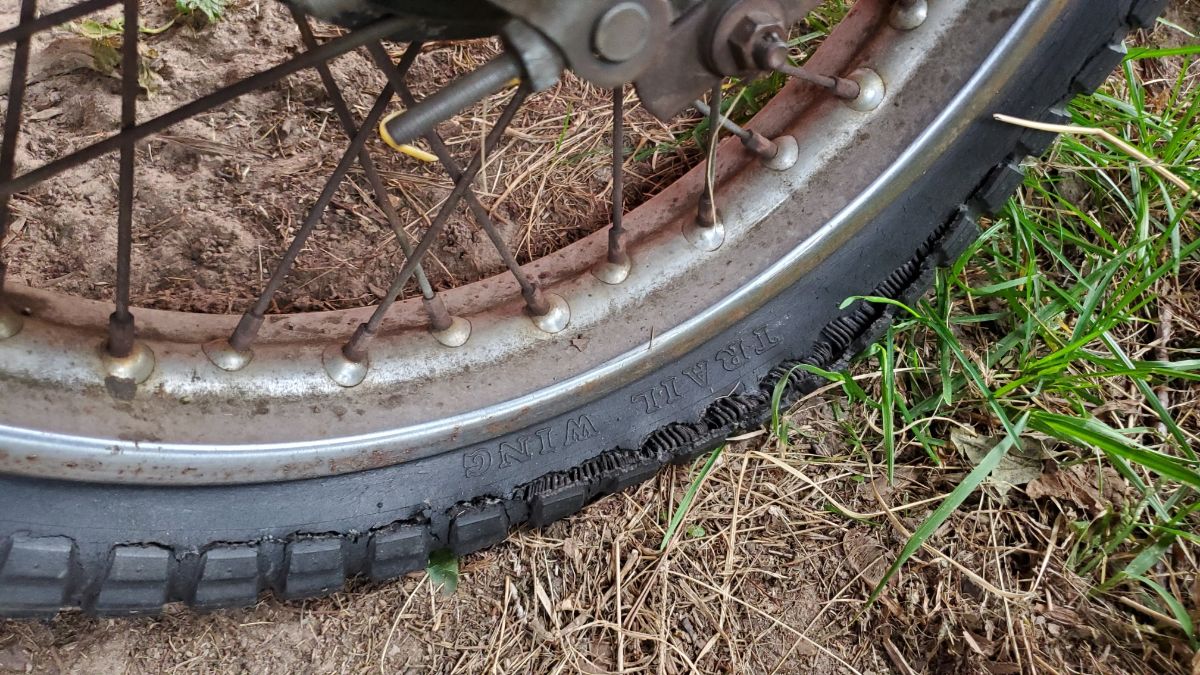
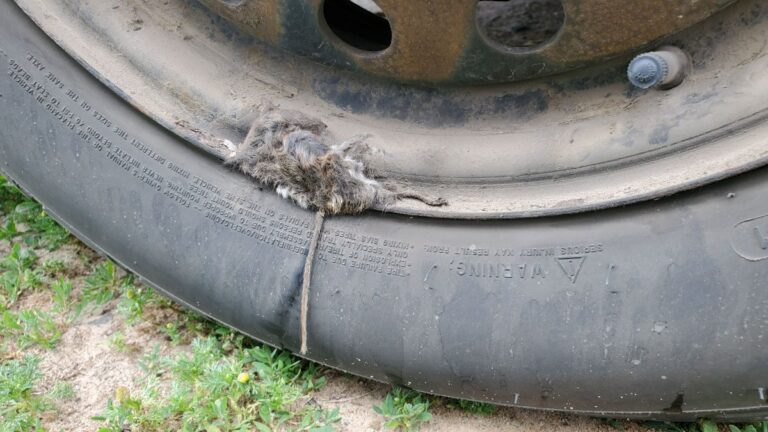
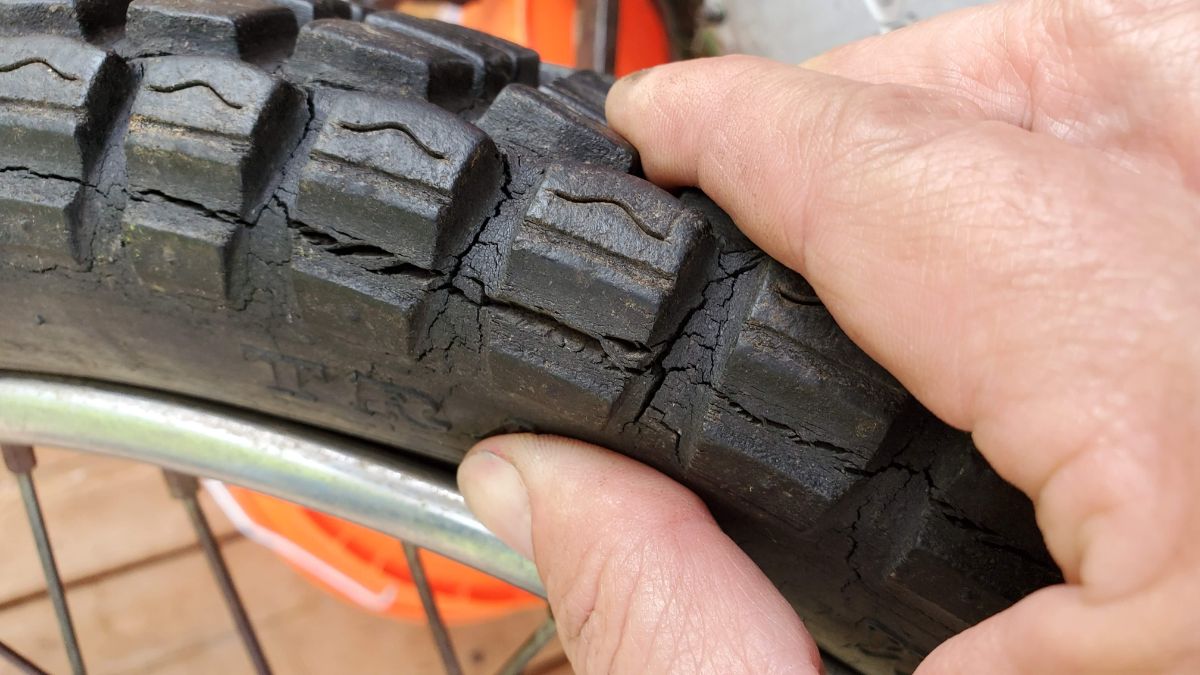
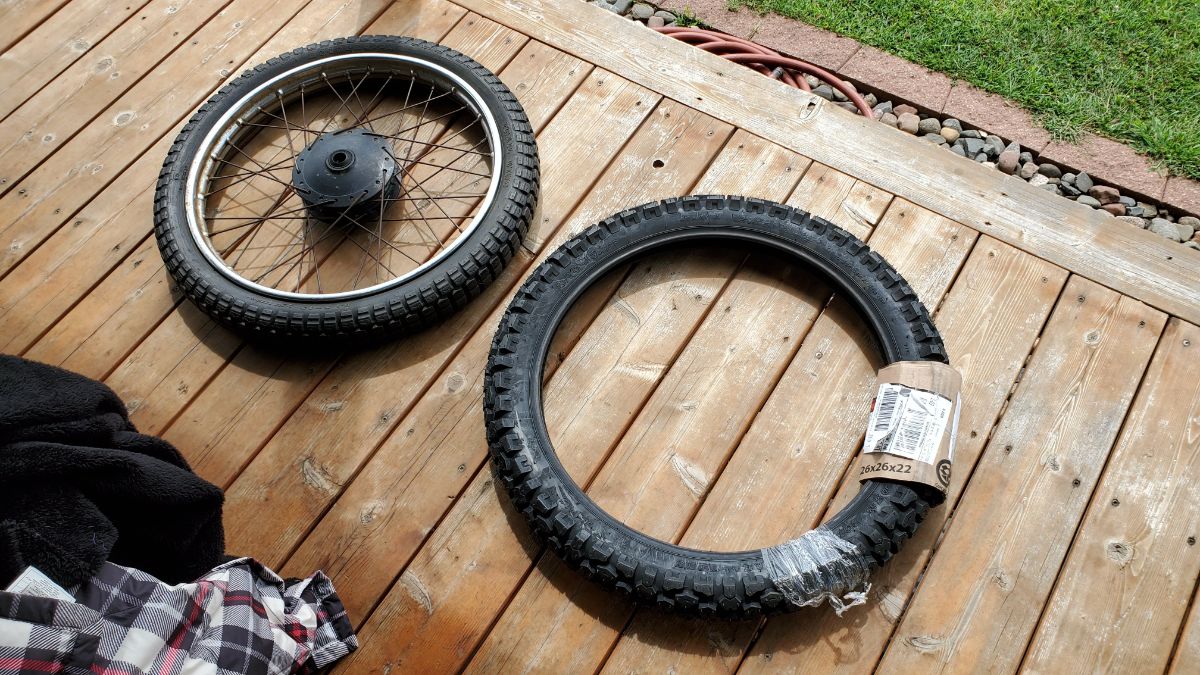
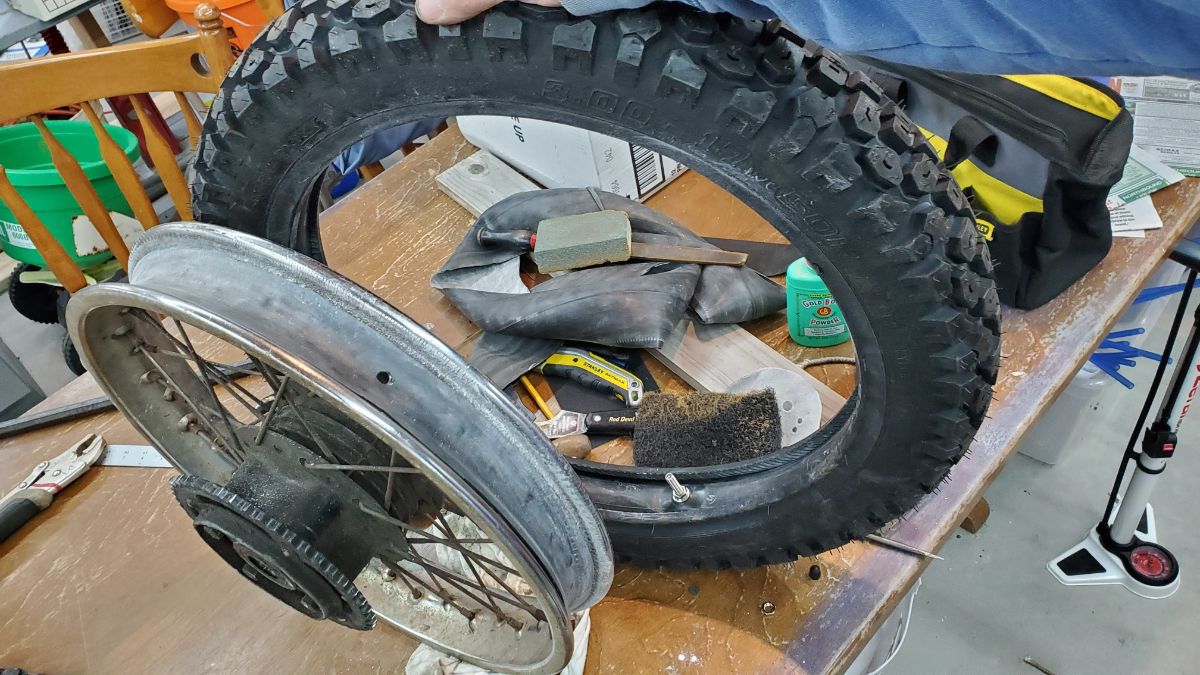
The tube sprung a leak, and the tire itself was pretty old and cracked, so I decided to change both at the same time.
Note: PracticalMechanic.com is reader-supported. If you buy through links on our site, we may earn an affiliate commission – at no cost to you. Thank you for your support!
How to Change a Flat Motorcycle Tire
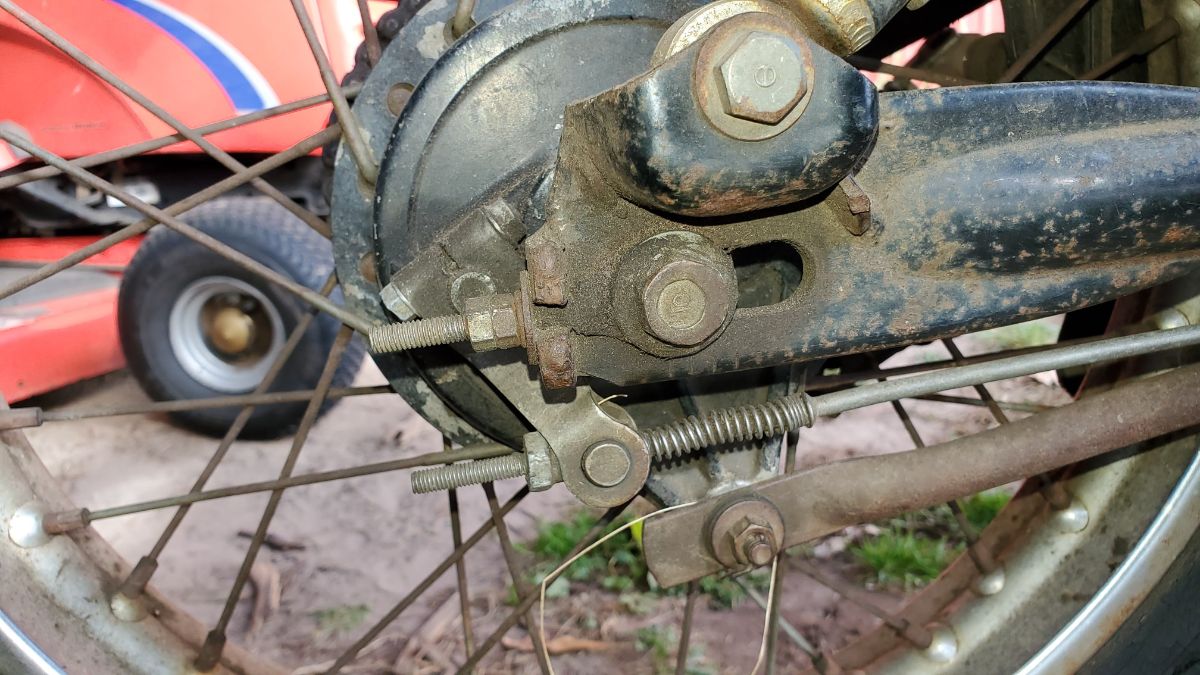
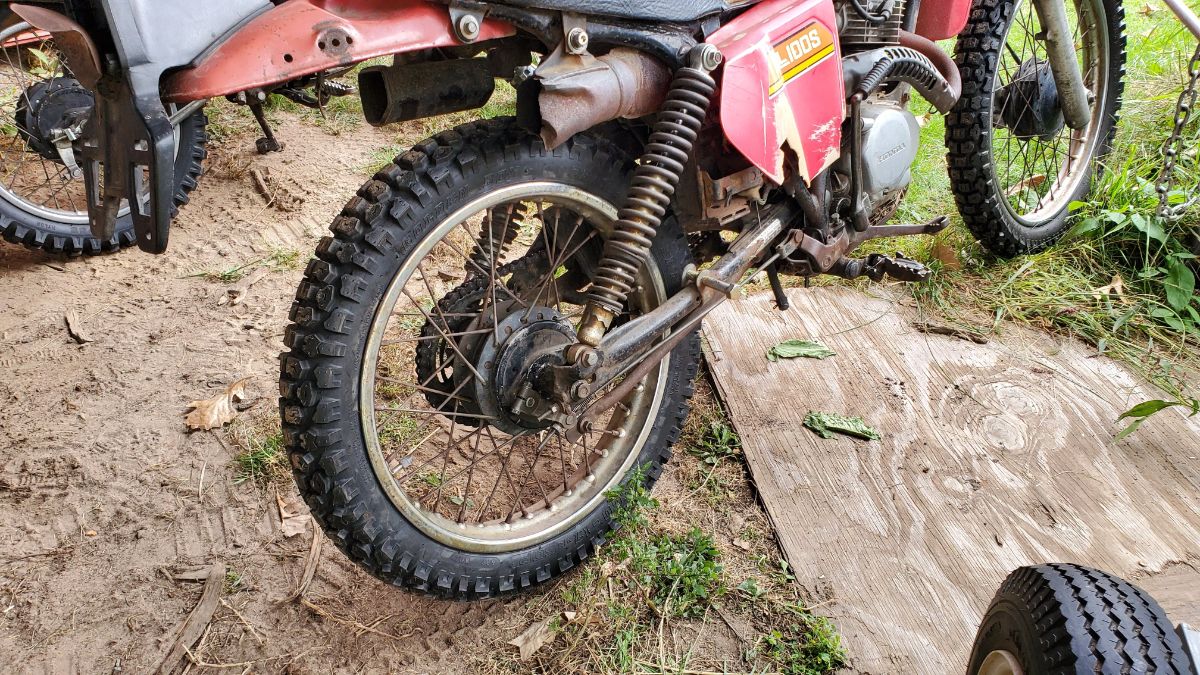
First step is to remove the tire from the motorcycle. In my case it required a 14mm and a 17mm wrench on either side of the axle. It also required a 12mm wrench to remove the brake linkages.
I ended up changing both the front and rear tires and tubes, since the front tire developed a leak several weeks later, so the following photos are a combination from both of these tire changes! I hope that’s not confusing, anyway the process isn’t too complicated, there were just a couple of things (tips and tricks, I’ll call them “Pro Tips”) that helped me a lot along the way, and those are the most important things to spell out.
I opted to replace the tubes altogether since they were quite old. If you decide to repair the tubes instead, I recommend this repair kit.
Front Tire
The front tire on the Honda XL100s is a 2.75-19, so I bought this 2-pack of tubes because the price for two was only slightly more than the price for one, so why not. For the tire itself I went with the dual-purpose road/trail tire. I really like the tread pattern on the Shinko 244 (19″), so that’s what I ended up getting.
Rear Tire
The rear tire is a 3.00-17 (rim width of 3.00 inches and diameter of 17 inches). I bought this tube which can be used for 2.75 – 3.00. And the tire was the Shinko 244 (17″) in order to maintain the same tread as the front tire.
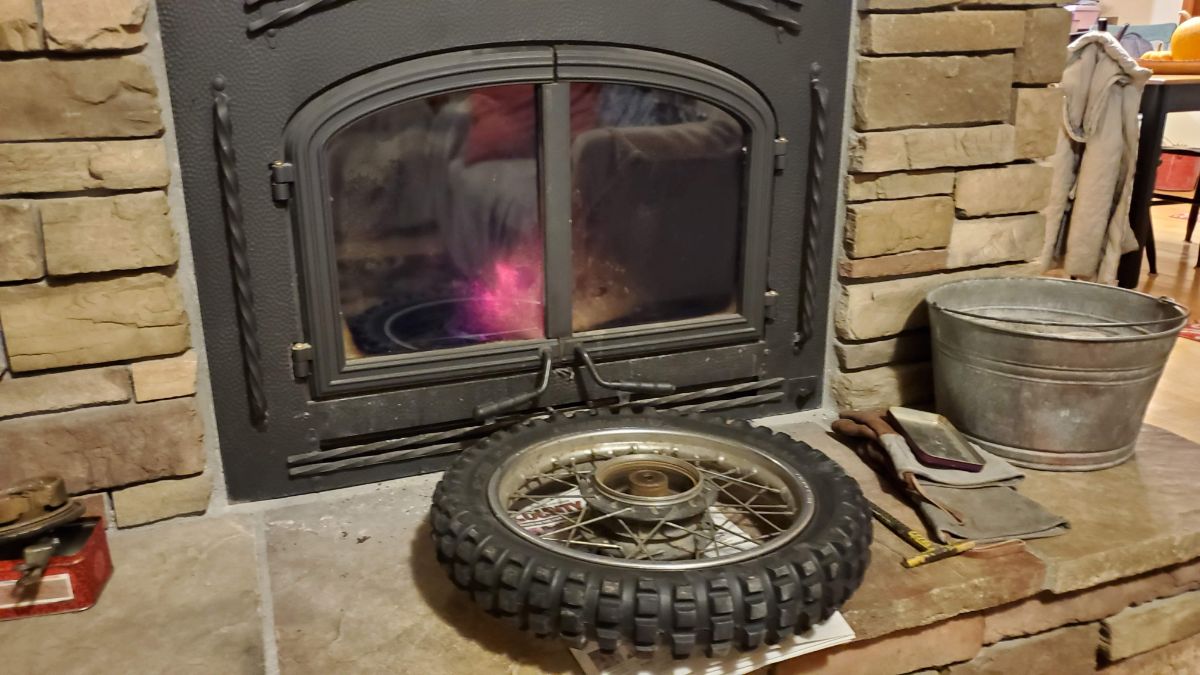
Pro Tip #1: The trick is to heat up the tire before attempting to take it off. Also, heat up the new tire before trying to put it on.
One method for doing this is to put the tire out in the sun if it is a hot sunny day, or in my case, I put it by the fireplace for a while. Don’t go overboard and melt it, but it is best to get the tire nice and warm so that it is more pliable for the next step when you need to pry it onto the rim.
This tip ended up saving a lot of headaches because I had done a tire on a different motorcycle and didn’t do this and struggled like crazy to pry the new tube onto the rim.
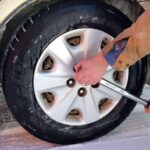
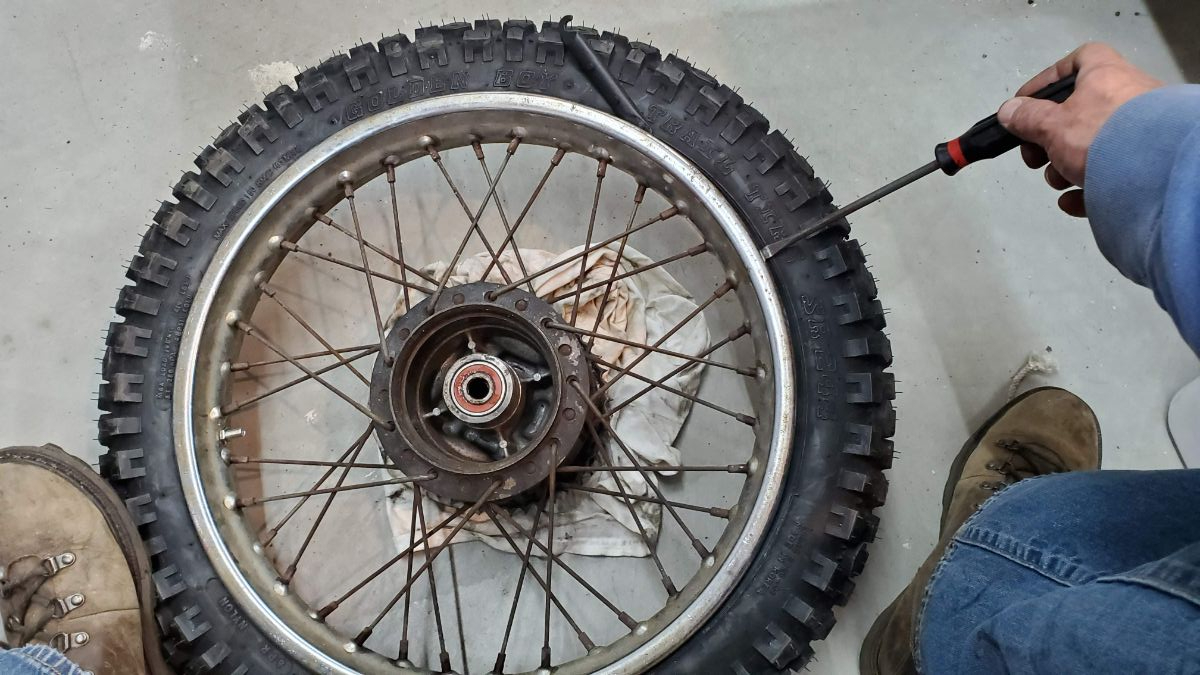
To get the old tire off, get a set of tire changing spoons or a tire iron set. Or like me, use a set of poor-man’s tire changing spoons – 3 long-handled, flat-bladed screwdrivers.
Caution: The hard part about using screwdrivers is not puncturing the tube, so take care if you go this route. Also, screwdrivers have a tendency to mar up the rim, so try to minimize the scraping action as much as possible.
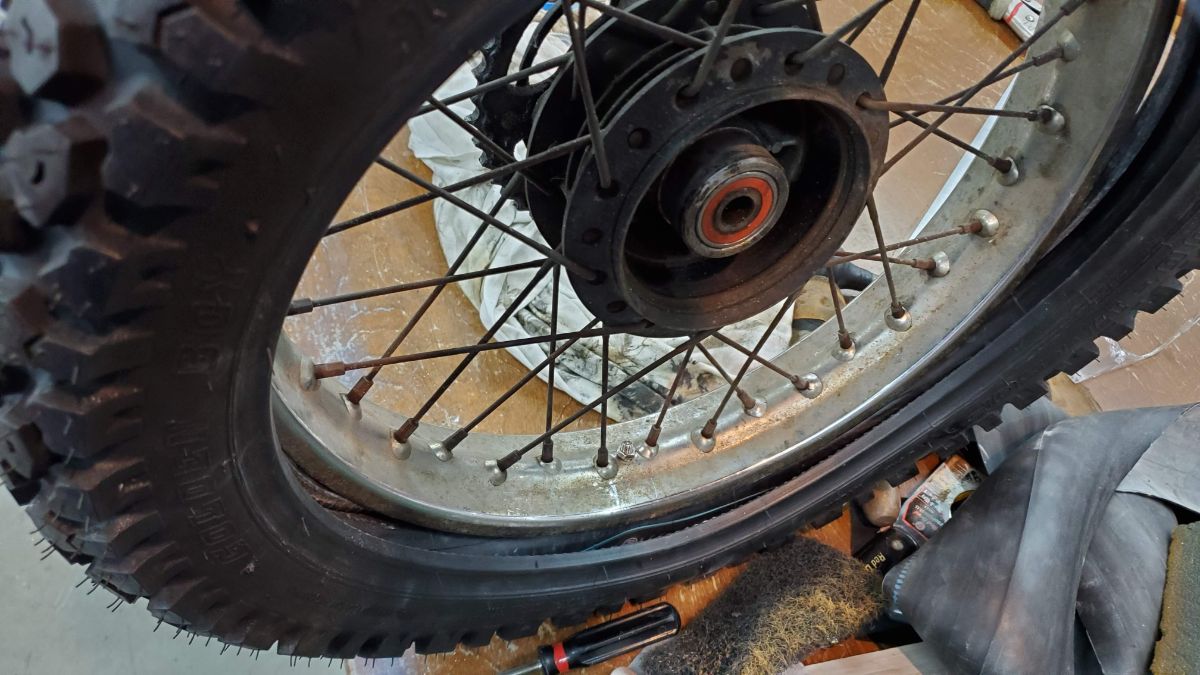
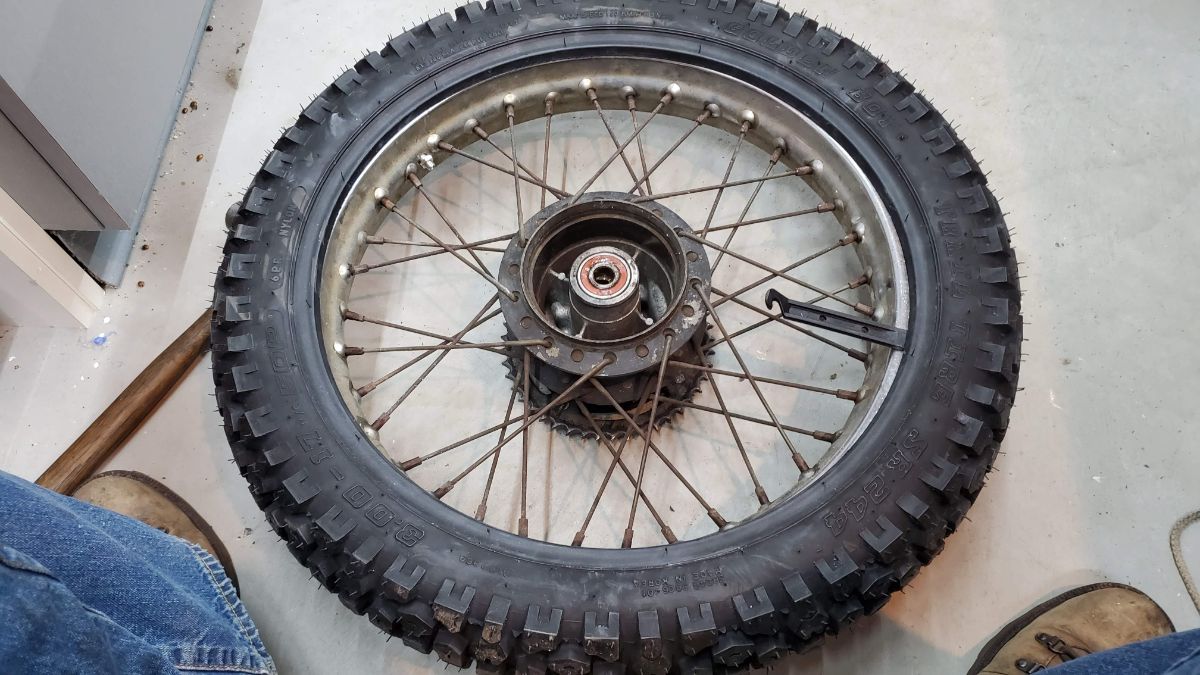
First, if the tire isn’t already, deflate it by pressing the core of the valve stem to release the air.
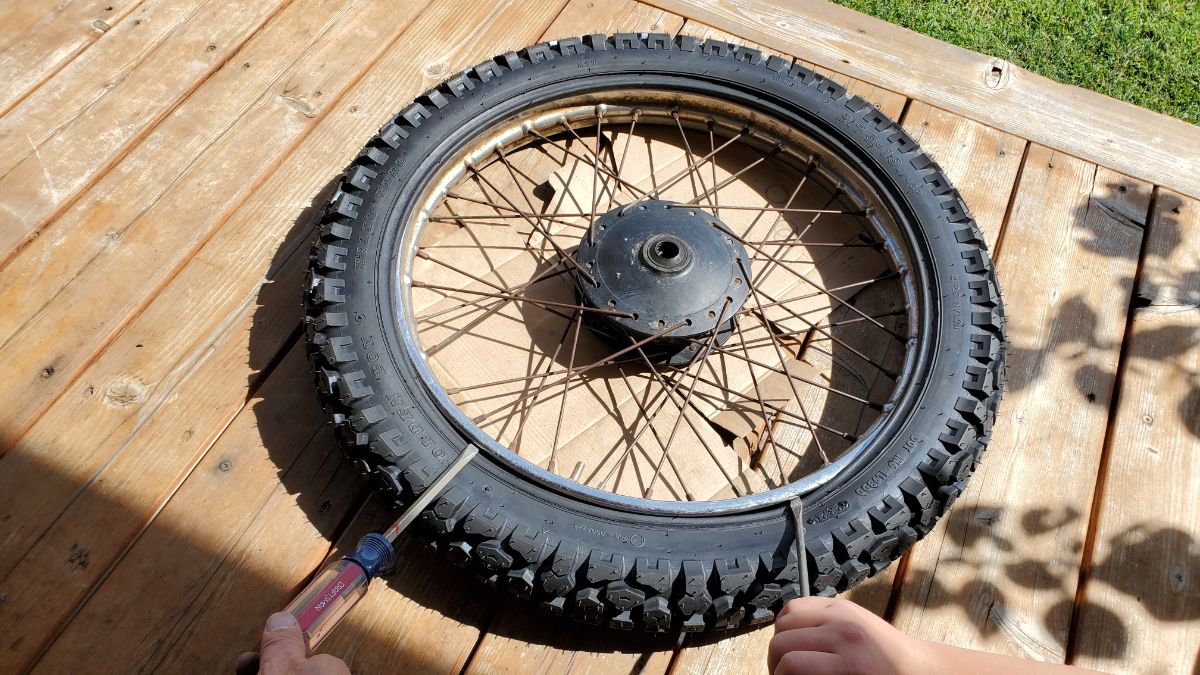
Next, slide the changing-spoon (screwdriver) in between the rim and the tire, and pry the tire off the rim, as shown. Leave that spoon in place, and use another one about 6 inches away from the first, pry it off there, as well.
Pro Tip #2: The rim has a groove down its center. Have a partner stand on the tire (not the rim) on the opposite side that you are prying out, so that the bead goes into the groove. This will give a little more space for the tire to stretch over the rim.
Repeat the process, working your way around the tire until the entire bead is outside of the rim on one side.

Once one bead is out of the rim, pull out the old tube. You will need to remove the 10mm nut holding the valve stem in place.
If you are going to repair your tube by patching it instead of replacing it, this is the best repair kit you can get. Lots of people swear by those Rema patches. If you do a lot of repairs, get the 100-pack and the can of vulcanizing fluid.
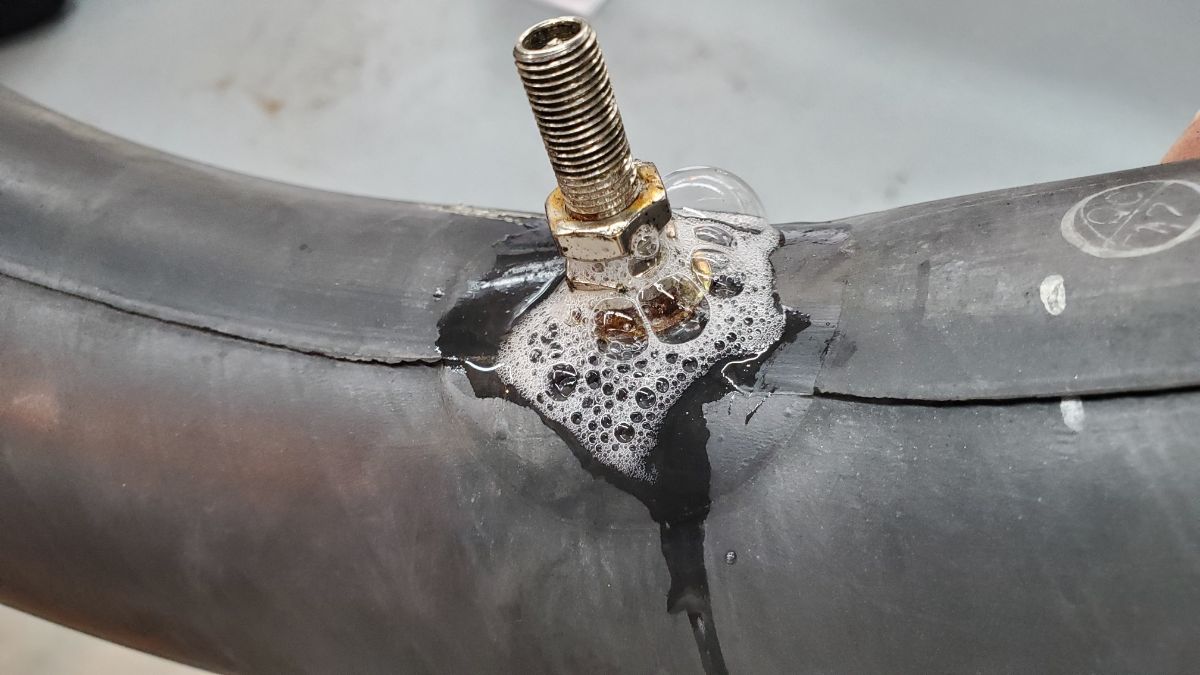
Pro Tip #3: In order to find the leak in the tube, fill it with air, then submerge the tube in a tub of water. Look for bubbles coming up when you squeeze the tube.
My tube ended up having a hole around the valve stem. These are the toughest to patch, though it can be done by using a hole-punch to punch a hole in the patch and putting it around the valve stem.
Pro Tip #4: Before putting the new (or repaired) tube into the tire, put a few tsp of talc or baby powder into the tire. This will prevent sticking and chaffing of the tube on the tire.

Pro Tip #5: Put the tube into the tire BEFORE putting the tire on the rim.
Next, put the tube into the tire, and partially inflate the tube, just to the point where it can hold its shape, and not more than that.
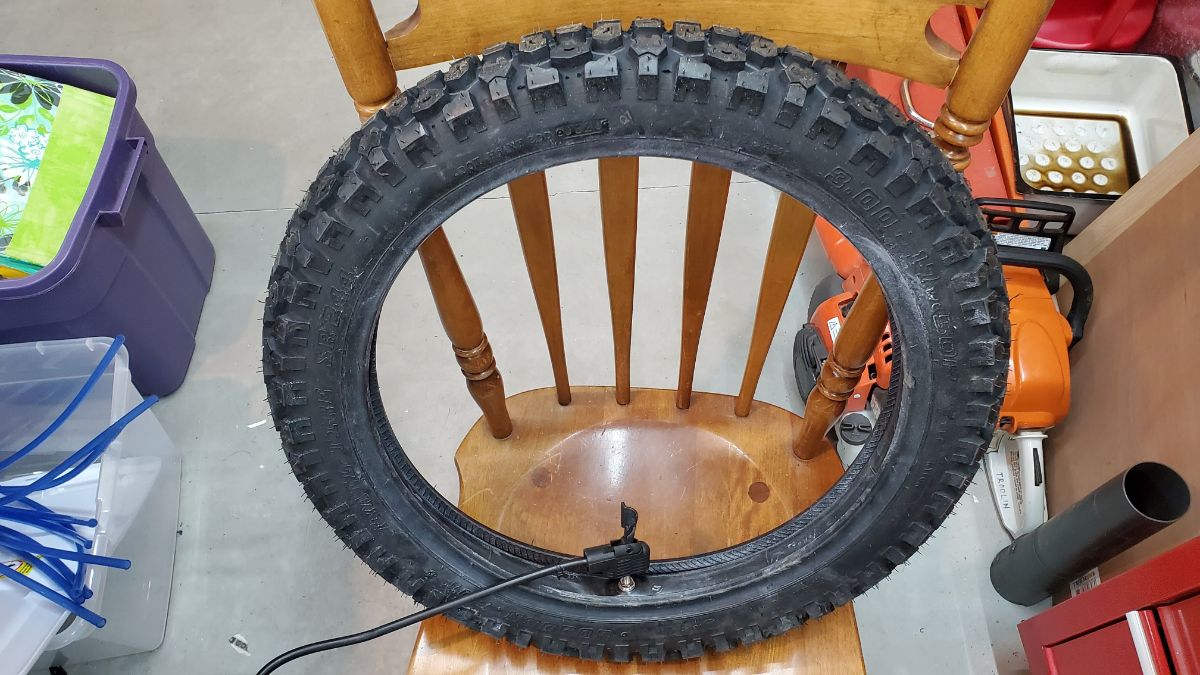
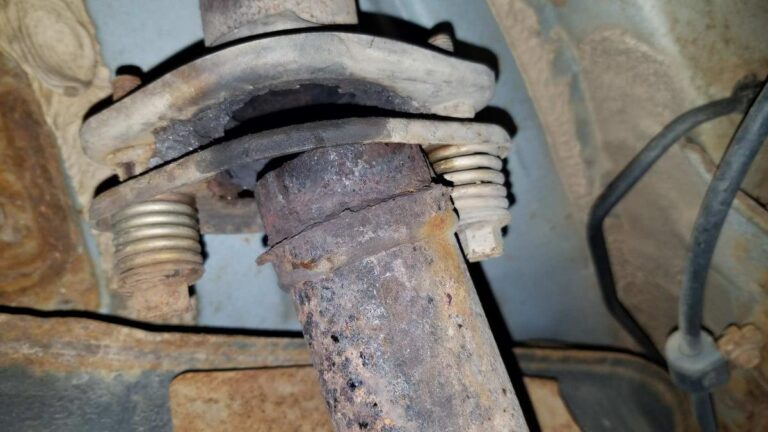
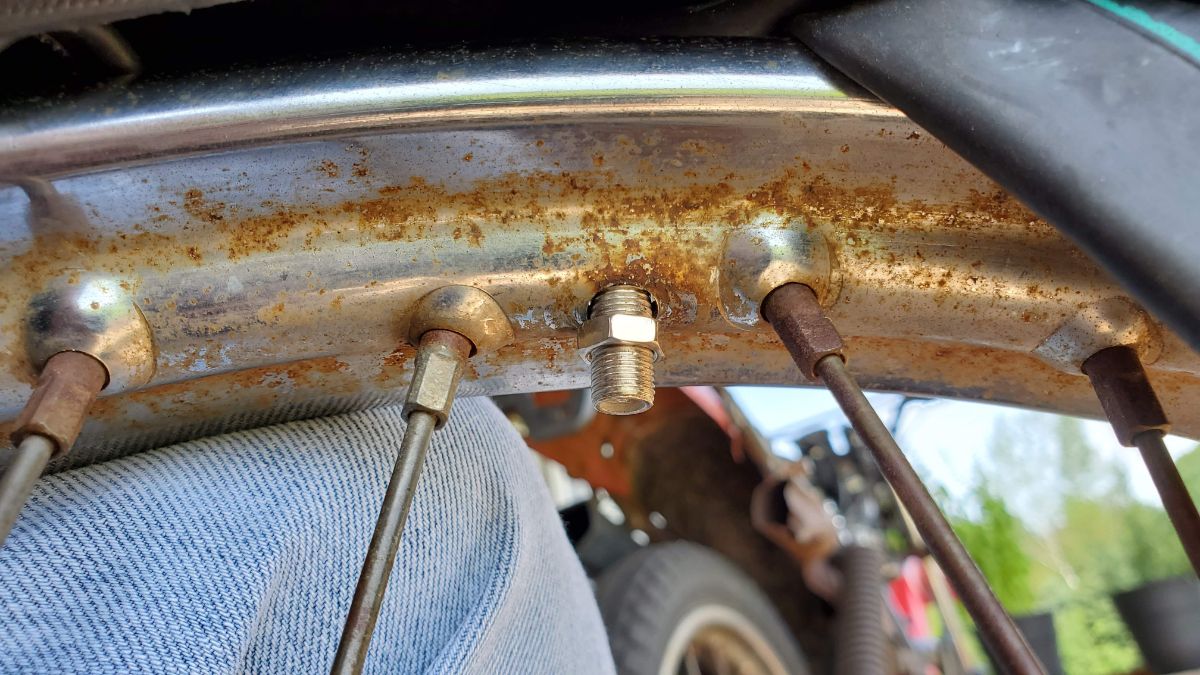
Now place the rim and the tire side-by-side and line up the valve stem to where it fits through the hole in the rim. There will be 2 nuts on the valve stem. Leave one on, that will go inside the rim. Take the other one off, that will go outside the rim in a later step.
Press the valve stem through the hole in the rim. The tire will overlap with the rim on one side to get the valve stem through the hole, as shown.
Put the nut on the valve stem loosely to hold the valve stem in place while you get the tire back on the rim.
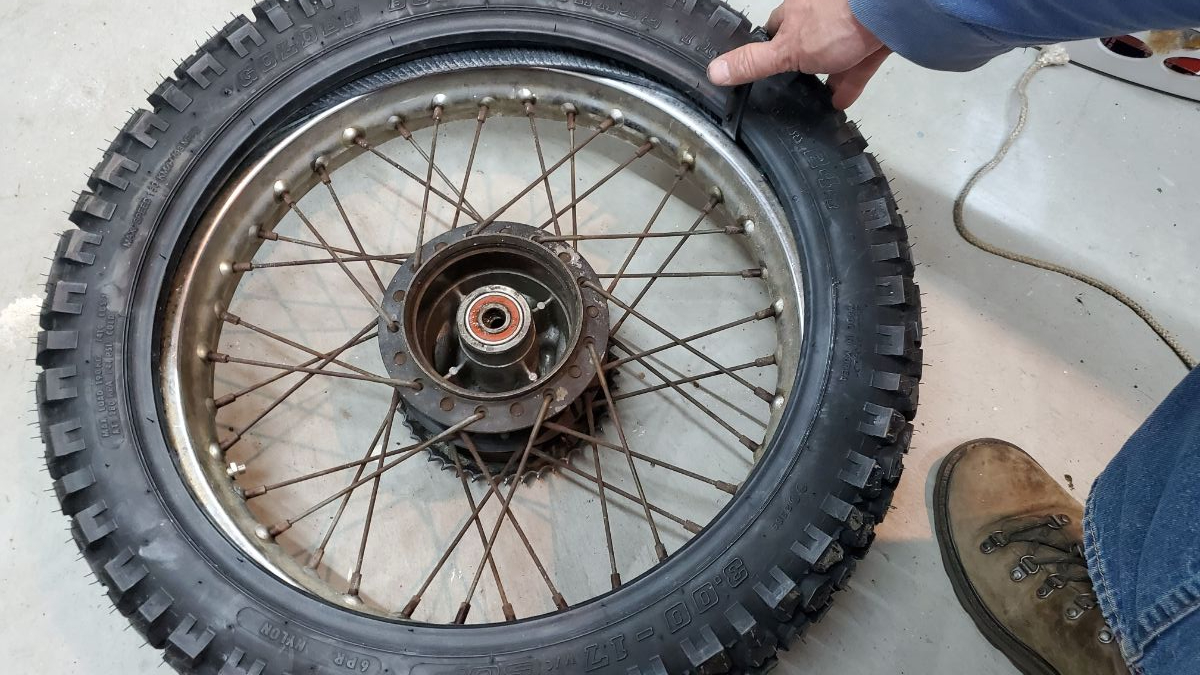
Use your tire spoons to work your way around the tire, prying the first bead onto the rim. This one is relatively easy. The bead will naturally settle into the groove of the rim on the opposite side of where you are prying.
Now, insert your tire spoon between the rim and the tire, and begin prying the second bead onto the rim. This will be more difficult.
Use two or 3 spoons to begin working your way around the tire.
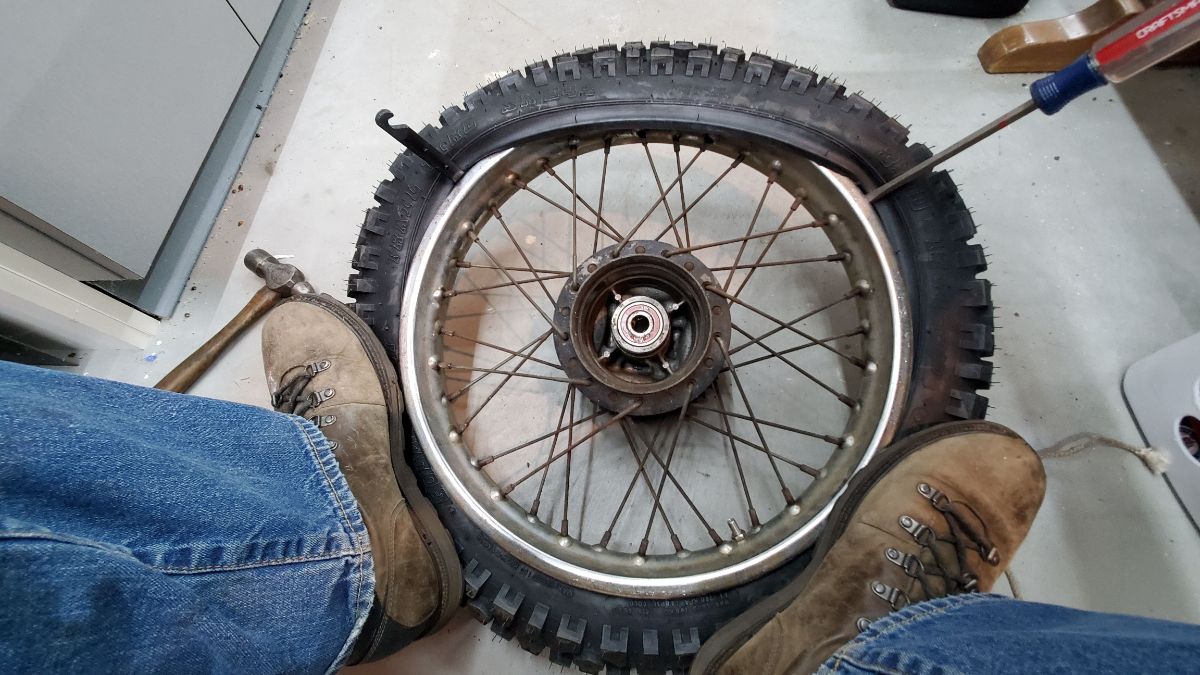
Notice in this view, I am stepping on the tire on the opposite side in order to press the bead down into the groove in the rim. Use your 3 tire spoons to continue prying the tire onto the rim. (It will be much easier if the tire is warm.)
P.S. I have no idea why I had a hammer out for this picture. If you need a hammer for this step, you are doing something wrong!
As you get toward the end, take smaller and smaller ‘bites’ with your spoons as you work your way to getting the tire fully on the rim. Don’t get greedy, small bites of 1-2″ are normal toward the end.
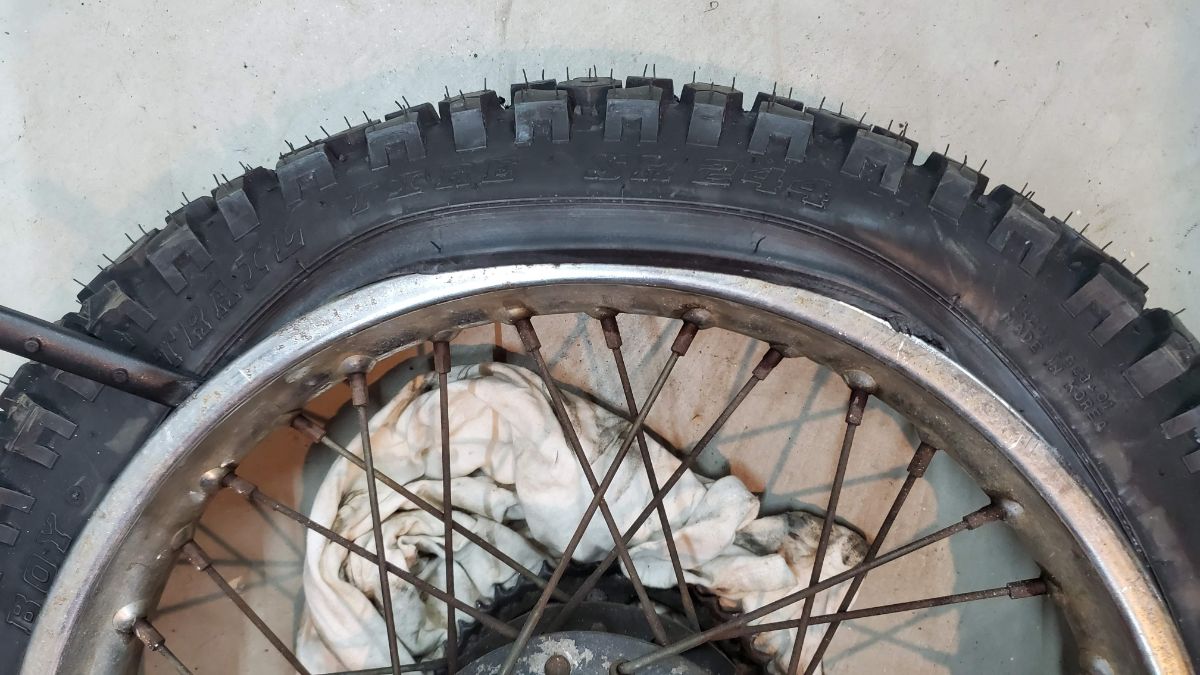
Once the tire is fully seated, you are almost done. Make sure that the valve stem is straight, and if not, pull or push on the tire to straighten it out. It should stick straight out through the rim. Then tighten the nut onto the valve stem — DON’T OVER-TIGHTEN IT! It is just there to hold the valve stem straight, don’t strip the threads, which is easy to do.
After that, you can inflate the tire to the proper PSI and install it back on your motorcycle.
Happy riding! Thanks for reading practicalmechanic.com!