How to Change Fork Oil – 1980 Honda XL100s
Is it time to replace the fork oil in your vintage Honda motorcycle? Read this quick picture guide on replacing the fork oil in your bike. Includes the wrench sizes needed for all the bolts.
Note: PracticalMechanic.com is reader-supported. If you buy through links on our site, we may earn an affiliate commission – at no cost to you. Thank you for your help keeping this site active.
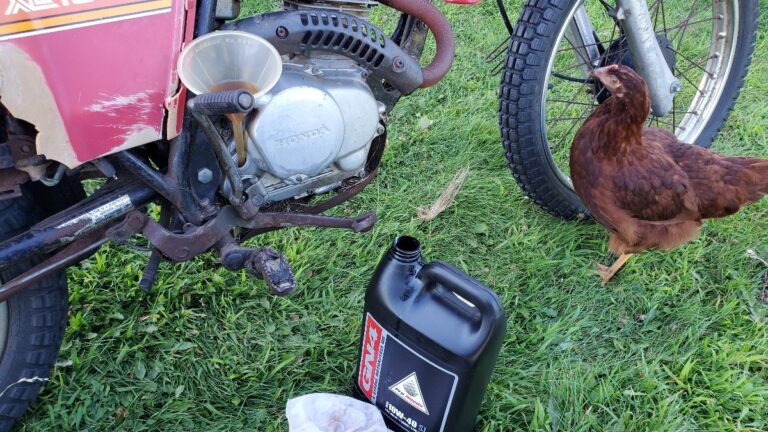
I recently acquired a Honda XL100s dirt bike. No question that it is not in the best of shape after years and years of use, but man I really like this bike! I decided to change the fork oil as it seemed like the front shocks were bottoming out when I hit gopher piles and what-not.
The following is a quick picture guide on how to drain the old fork oil and replace with fresh oil. Let me know in the comments if I missed anything!
Tools and Supplies:
- 10mm, 12mm, and 17mm wrench/socket
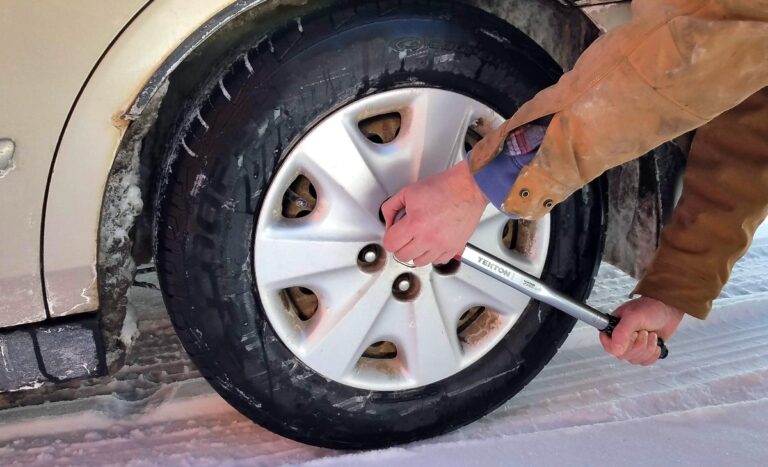
- Torque Wrench
- Fork Oil
- Funnel
- drain pan
- volume measuring container
- rag
Drain and Fill Fork Oil – Step by Step Procedure
On the Honda XL100s, the fork oil drain plug is located near the back bottom of the strut.

1. Drain the Old Oil
Remove the 10mm bolt and have a drain pan of some kind handy to catch the old oil.

Once the drain plug is removed, press down firmly on the handle bars several times to compress the shock and force the old oil out.
Note: Have someone hold the drain pan up when you do this because oil will come shooting out the drain!

2. Replace the Drain Plug
Once you’re satisfied that most of the old oil is out, replace and tighten up the drain plug (10mm).

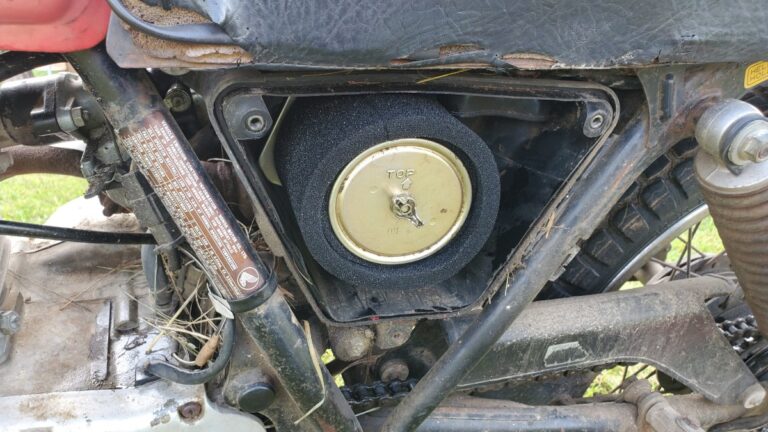
3. Remove the Fill Plug
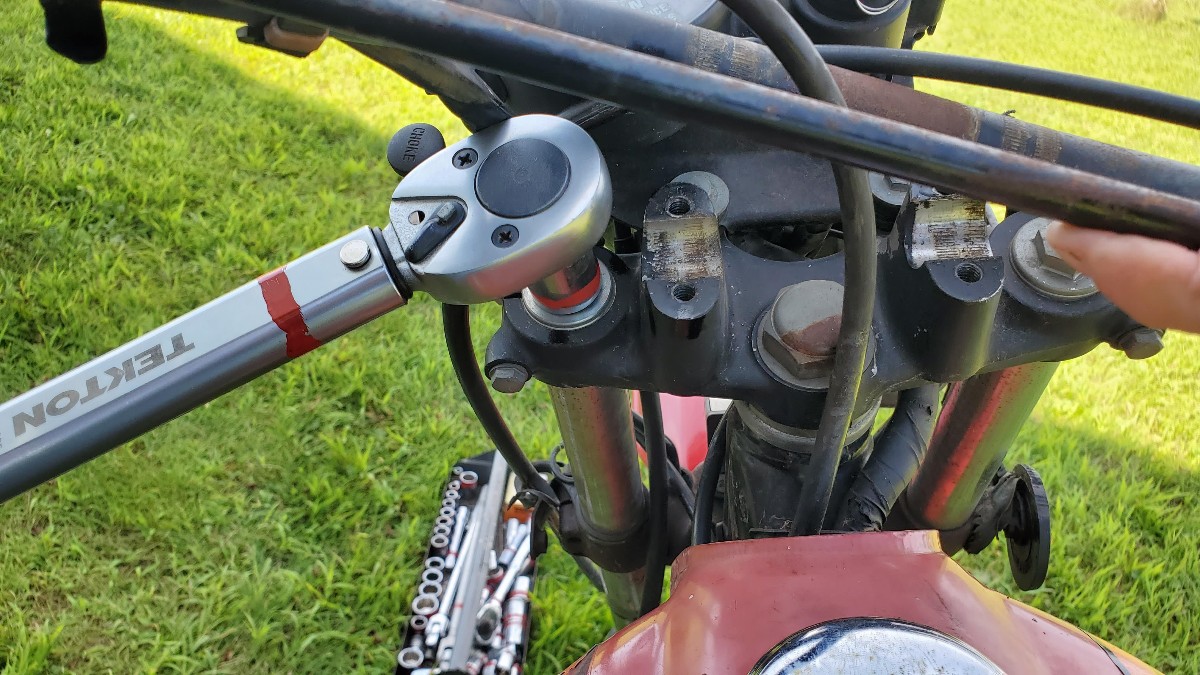
On my bike, I had to remove the handlebars in order to get at the fill location at the top of the fork. This required a 12mm socket.


With the handlebar removed, you could lift it up enough to get at and remove the fill plug at the top of the fork. This was a size 17mm plug.

It is best to remove pressure from the fork, if possible, as the internal spring is under compression.
Note: Take care when removing the top fill plug if it is under compression because it can come flying out at you!

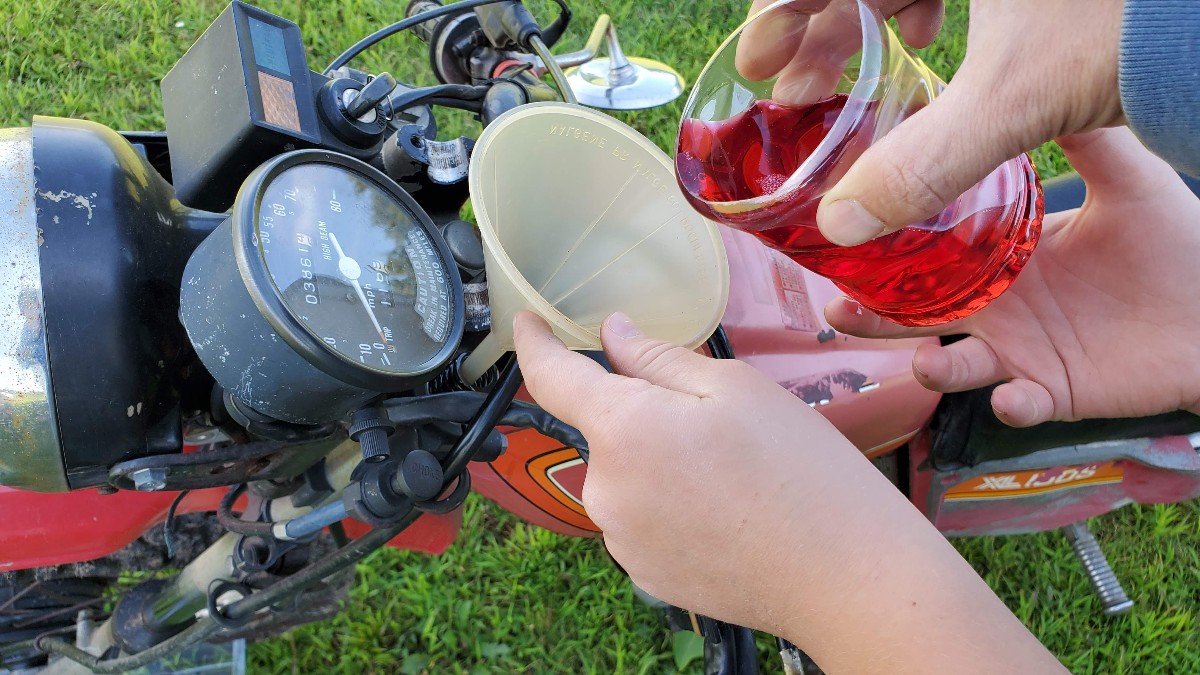
4. Add Fresh Fork Oil
The standard weight fork oil is in the range of 5-10W. Higher numbers than that (10-20W range) will stiffen the suspension. Lower numbers will loosen it. Here is a link to a very popular fork oil on Amazon:
Maxima 55901 10WT Standard Hydraulic Fork Oil – 1 Liter Bottle
Another option is to use Automatic Transmission Fluid (ATF), which is significantly less expensive. This is what I use:
Dextron ATF (1 qt) – has a weight of about 5-7W.
If you are a fan of synthetics, lots of people use the following:
Mobil 1 Synthetic ATF (1 qt) – has a weight of about 10W.
Consult the operator’s manual for the correct amount of fork oil to add. For the XL100s, the specification calls for 6.1 – 7.2 oz. I split the difference and put in 6.5 oz.
Measure out the correct amount of fork oil and use a funnel to pour it into the top of the fork.
5. Replace and Torque Fill Plug
Once the correct amount of fluid has been added, put the fill plug back on and torque it to 29-36 ft lbs.
5. Repeat the Process for the other Side
Repeat the process for the other side.
6. Put the Handlebars Back On
Once you are done, put the handlebars back into place and tighten them down with the 12mm wrench.
Conclusion
That’s about it! The bike rides much smoother now! Replacing the fork oil should be part of your regular maintenance cycle, and done every 10-15 hrs of riding for hard-core riders, or every season for the rest of us.
Thanks for reading!
Rich
Tools and Supplies Used:
- 10mm, 12mm, and 17mm wrench/socket
- Torque Wrench
- Fork Oil
- Funnel
- drain pan
- volume measuring container
- rag