Picture Guide for Changing Oil – Honda XL100s Motorcycle
I needed to change the oil on my 1980 Honda XL100s Motorcycle and decided to document the tools and steps required with a few pictures to serve as future reference for the next time I need to do this I can remember which tools and oil to use! Follow along on this picture guide.
Note: PracticalMechanic.com is reader-supported. If you buy through links on our site, we may earn an affiliate commission – at no cost to you. Thank you for your help keeping this site active.
Tools and Supplies:
- 10mm, 17mm sockets
- oil catch pan
- Honda GN4 Motor Oil 10w-40
- funnel
- Phillips screwdriver impact driver
- pliers
- rag
How to Change Oil in a Honda Dirt Bike Motorcycle
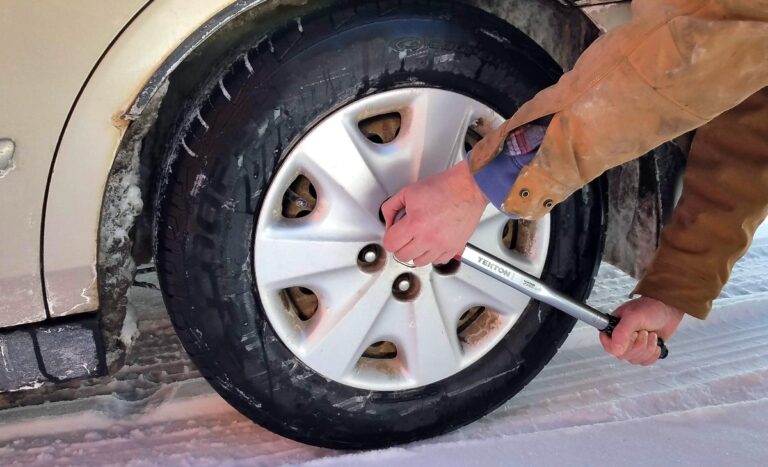
The first step is to locate the oil drain plug. There is a hole in the skid plate to access it with a socket.

It takes a 17mm socket to remove it.

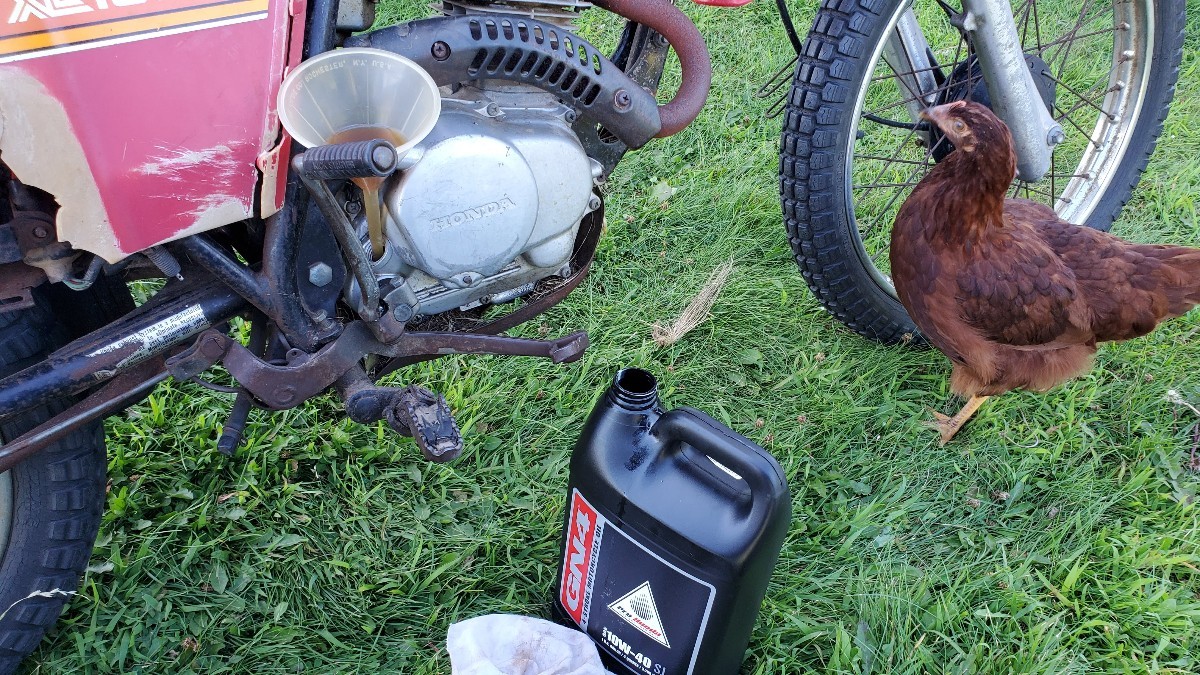
Remove the oil plug and let the old oil drain out into a catch-pan of some sort.
(This was really dirty oil!)

At this point you have a decision to make. Do you want to remove the oil screen and clean it out? The best answer is yes, however, there is some risk involved in doing this…
Here is a view from the drain hole of the oil screen. It looks kind of clogged…

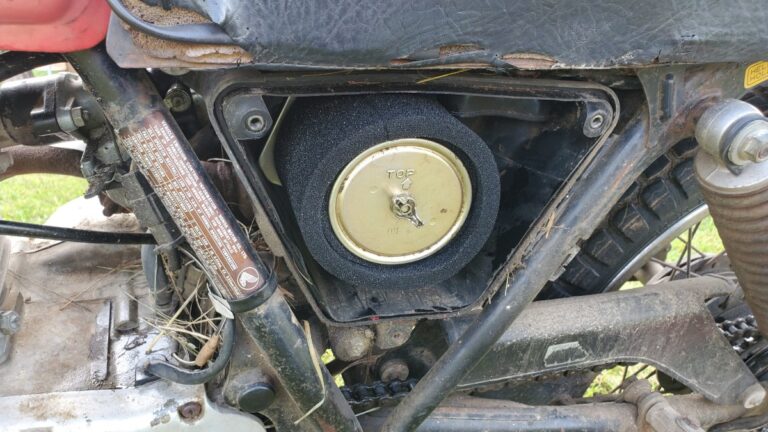
In order to remove the filter screen, it involves removing the side cover and pulling it out with a pliers, as shown in the manual:

The problem is that the side is held on with Phillips screws that are all pretty well seized… There is a great danger of stripping these screws. If you are going to do this I recommend using an impact driver so that you don’t strip these.
If you do manage to get the screws out, replace them with something that has a different head on them to eliminate this worry for next time…
I opted not to risk it, so I did not clean the oil filter screen at this time. However, if you do decide to do this, then follow along, otherwise, skip ahead to the part about replacing the oil plug…!
Remove the oil filler cap/dipstick.

To remove the cover, you will need to remove the kick-starter. Use a 10mm socket for this.

You will also need to remove the brake pedal. Use the 17mm socket to remove the bolt.

Then slide out the brake pedal.

Now remove all the Phillips screws around the engine cover, take it off, then pull out the oil filter screen with a pliers as shown.
After cleaning the filter screen, put the side cover back on, the brake pedal back on, and the kickstarter back on.
Go ahead and replace the oil drain plug and snug it up with that 17mm socket.

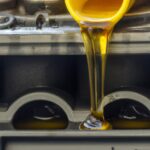
Here is the old (left) and fresh (right) oil. What a difference…

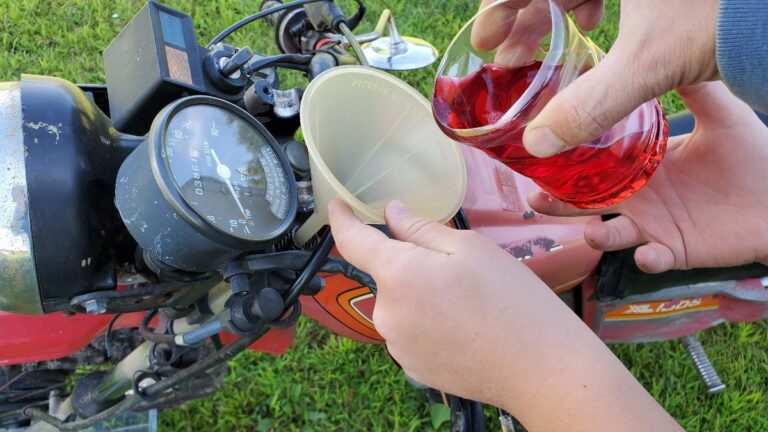
Use a funnel to help pour the fresh oil into the oil filler cap. The Honda XL100s takes a little over a quart of oil, like 1.1 qts.
I use and recommend the Honda GN4 10W40 Motorcycle Oil. This is what the manual calls for and what Honda engineers recommend.

Once done filling the oil, replace the filler cap and take it for a spin. You may need to add a bit more oil, so check it again after a short ride.
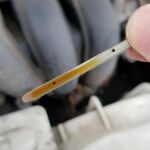
By the way, the proper way to check the oil level is with the bike on level ground, the tires properly inflated, and the motorcycle resting on its kickstand. Then take out the dipstick, clean it off, then put it back into the filler hole and DON’T SCREW IT IN! Pull it out and check the level. The ‘hashed’ area should be wet.

Add oil if necessary to get it to the top of the hashed area.
Hey, thanks for visiting, I really appreciate it!
Rich
Tools and Supplies Used:
- 10mm, 17mm sockets
- oil catch pan
- Honda GN4 Motor Oil 10w-40
- funnel
- Phillips screwdriver impact driver
- pliers
- rag