How to Change the Air Filter – Honda XL100s Motorcycle
Here is a quick picture guide on the process I used to replace the air filter on my Honda XL100s motorcycle. I hope someone out there finds this helpful!
Note: PracticalMechanic.com is reader-supported. If you buy through links on our site, we may earn an affiliate commission – at no cost to you. Thank you for your help keeping this site active.
Tools and Supplies:
- Phillips screwdriver
- air filter (honda xl100s) or filter material
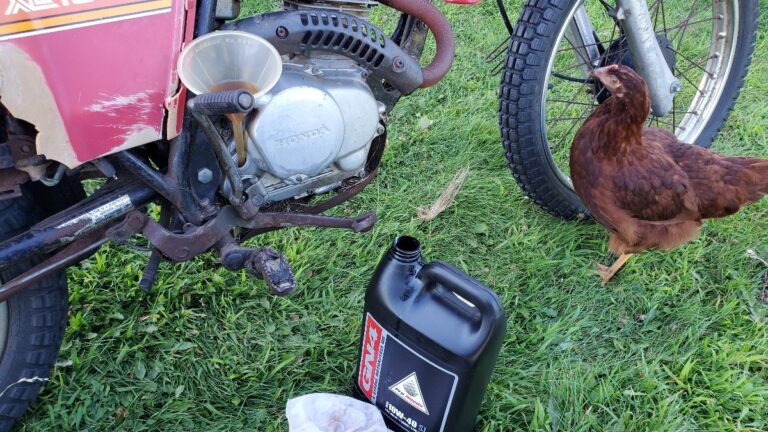
- 75w-90 crankcase oil
Procedure to Replace the Air Filter
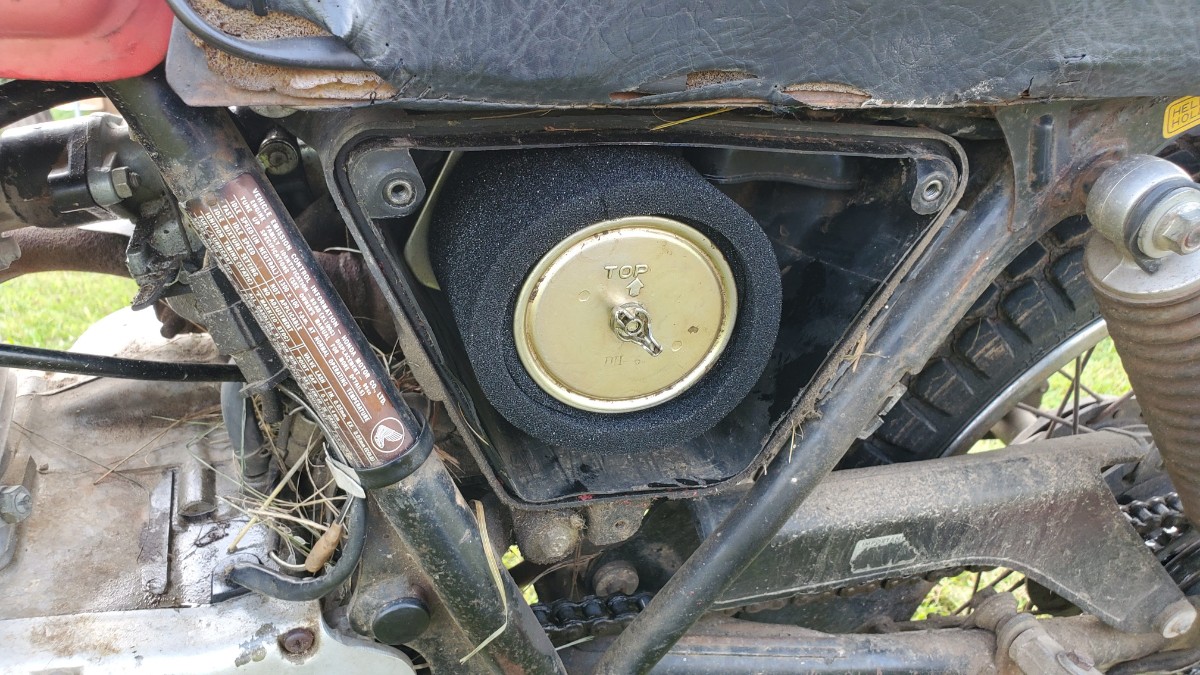
The first step is to remove the side panel covering the air filter. Use a Phillips screwdriver and remove the 3 screws.

Next, remove the wing-nut to take off the filter assembly.
This is the foam filter I bought off of Amazon, not sure if it is still available, but it was super cheap! I wasn’t too sure about whether it would fit or not, but it fit perfectly. Here are the dimensions of the filter.
If you can’t find the correct sized filter anywhere, you can easily make your own. Simply buy some of the correct foam and cut it to size. Then use wire to hold it in place!

This is a top view. It came with 2 thicknesses.

This is the filter assembly without the foam filter on it. Clean off the dust, debris, and small seeds…

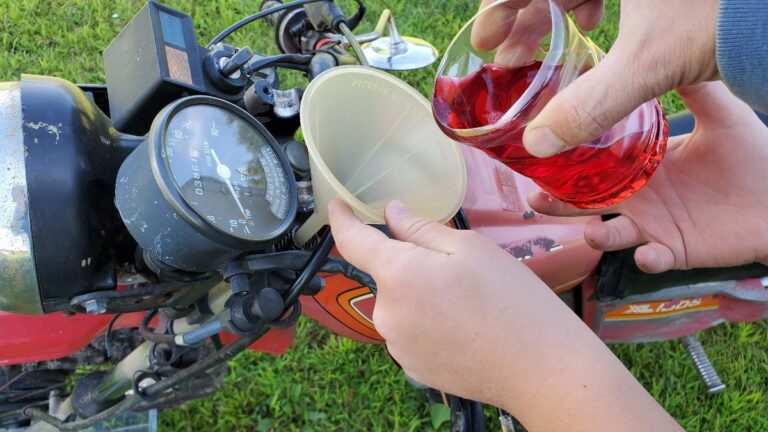
Oil up the new foam filter with some gear oil. Work it in, then squeeze out the excess.

Stretch the new foam filter over the fitler assembly.

Clean out the airbox of any sand and etc…

Put the filter assembly back in.

Line up and tighten the wingnut.
Re-install the air filter cover and put the 3 Phillips screws back in.

Take it for a test drive! If the bike only runs with choke on, remove the outer sleeve of the foam filter. It may be causing too much of an air restriction (that is what I had to do).
Good luck and thanks for reading!
Tools and Supplies:
- Phillips screwdriver
- air filter (honda xl100s) or filter material
- 75w-90 crankcase oil


Super helpful, clear instructions and great photos
Thanks for the feedback!