How to Install LED Shop Lights – Make Your Workspace Bright Like the Sun
Do you find yourself using a flashlight in the shop? Do you squint at projects or use a trouble-light? I’m with you, I did too! BUT, putting in super bright LED strip lights revolutionized my shop experience! In this article, I walk you through, step-by-step with pictures, the 1-hr process I went through to that changed everything!
Note: PracticalMechanic.com is reader-supported. If you buy through links on our site, we may earn an affiliate commission – at no cost to you. Thank you for your help keeping this site active.
Lighting in the Shop
I have a basement shop. It’s convenient to get to, close by, relatively warm in the winter and cool in the summer. By most accounts a very pleasant place to be. However, it used to be so dim in the shop that I dreaded going down there. And honestly I wasn’t really sure why…
Why don’t I enjoy tinkering in the man-cave? I enjoy tinkering everywhere else? I used to bring projects, like rebuilding a starter, up to the kitchen table to work…
I finally decided to put in some extra lighting. I have no idea why I waited so long to put up these inexpensive lights; they totally changed the way I work! I actually find myself hanging out in the shop more frequently, even just to clean… to clean, man!!!?!
Before and After
Here is a photo of the workbench before and after the LED light fixtures were installed.

Installing LED Strip Lights
Alright, the first pack of lights that I installed were these 6-pack of 4 ft LED Light Fixtures, and excellent set of lights for a very reasonable price! I’d get them again in a heartbeat!
As a matter of fact, this set-up worked so well, that a month later I put up the 8-pack of 4 ft LED Light Fixtures in the exercise room next door!
The following pictures show the steps to install these lights which was very easy.
![]()
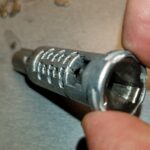
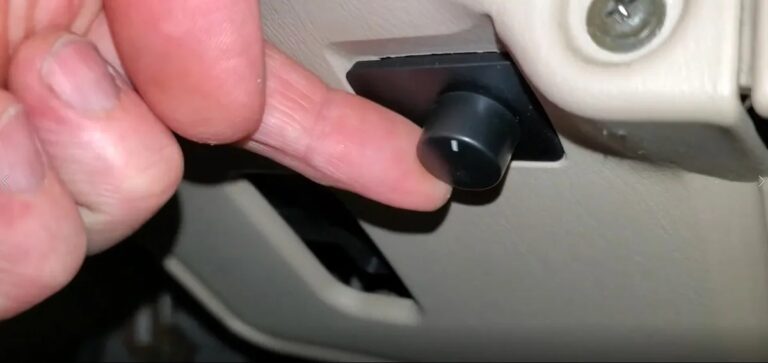
I used a couple of light socket outlet adapters that still allow you to use a standard bulb to plug the LED lights into.

These work okay, but they do extend the distance that the light bulb penetrates down into the room by about 3″, making them a little more likely to get hit by an object like a swinging 2×4 or something. Also, the light bulbs seem dim in comparison to the LEDs, so if I did it again, I would consider going with the flush mount socket adapters to eliminate the light bulbs hanging down.
The hardest part of the whole project was determining the arrangement of the lights. In this case, I decided to go with 2 “L” shaped patterns to cover all areas of the rectangular room.
Here is a crude drawing of the light arrangement. The black bars are the 4′ lights, and the circle near the middle is the light socket. The dimensions shown between the lights are the lengths of the connecting cords.

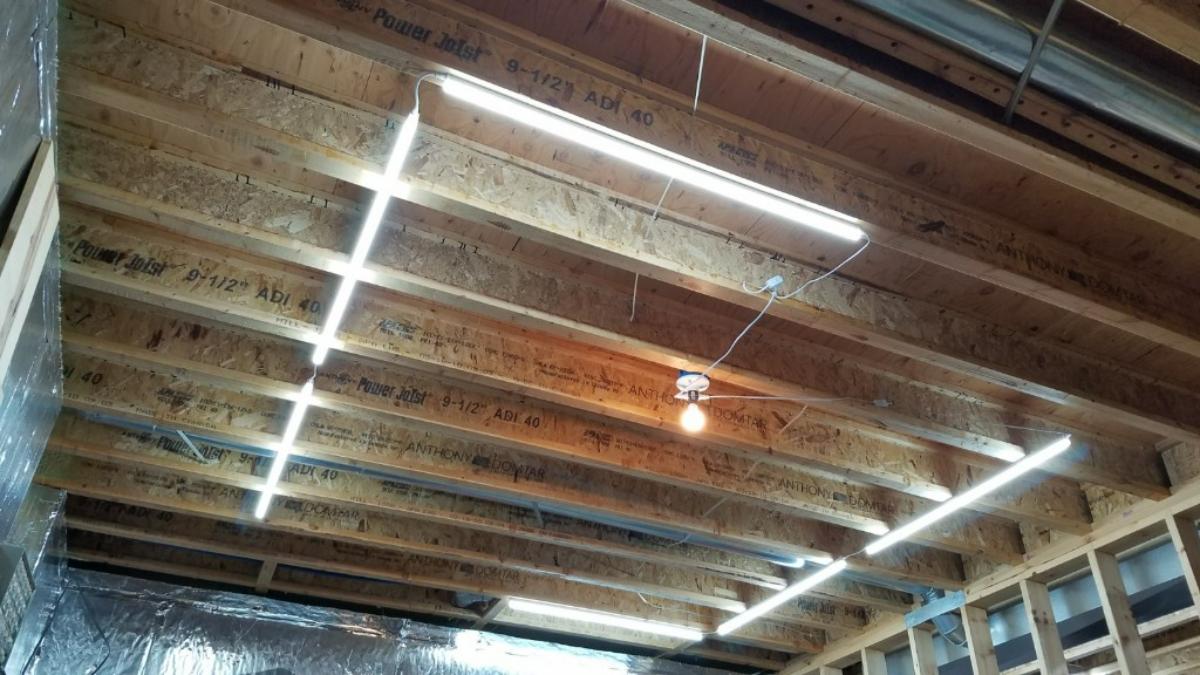
The room size is approximately 14′ x 19′. Here is a photo of the lights installed.

This is a photo of the hardware included with the lights. For the 6-pack, you get 6 of the plug-in cords with switch, though I only ended up using 2 of them, since the units can also ‘daisy-chain’ together with the connector pieces.
For the 6-pack, the connector pieces are about 6 inches long (for the 8-pack, the connector pieces were about 3 ft long). There are also flush-fit adapters in case you want the lights to butt up to each other. I did not end up using those. Also there are some plug covers, for the plugs you don’t use.

The way that the lights attach to the ceiling is really convenient and easy to install. I was expecting something significantly more complicated. The LED light fixtures themselves are extremely light, so all that is needed to hold them up are 2 clips.
Screw the clips into the ceiling using the provided Phillips screw.

The clip installed:

I spaced the clips about 2.5 ft apart, as the fixtures are 4 ft long. When both the clips are installed, position the light fixture beneath them, like so.

Angle the fixture to one side, and get that side clipped into the clip, then press the other side up so that it also gets clipped into place.

Once the clips are installed and gripping the fixture, they look like this.

You have to do a bit of planning ahead of time. For the 6-pack of lights, the connector pieces were only 6 inches long, so I had to plan it out so that the ends that I wanted to daisy-chain together ended up within 6 inches of each other.

The 8-pack of lights had connector cables that were 3 ft long, so this allowed for a bit more flexibility in terms of the positioning of the lights.

The connectors and power cord just plug into the end of the fixture. They are symmetric and non-directional, so it doesn’t matter which end you plug them into.

The following drawing shows the arrangement I used for the 8-pack of light fixtures. Since these had the 3 ft connectors, I was able to spread them out a bit more. Once again I used something like an L-pattern, so that in the end, 2 of the power cords were used, and the rest of the lights were daisy-chained. The size of this room is approximately 13′ x 21′.

Here is a photo of the 8-light setup.

Conclusion
I hope you found this helpful! In my opinion, it was totally worth it. I bought these lights off of Amazon and I found them to be a much better price compared to what I found at the local big box store. Check them out:
6-pack of 4 ft LED Light Fixtures
8-pack of 4 ft LED Light Fixtures
By the way, if you are looking for standard LED bulbs that fit in a regular light socket, I recommend these ones.
Thanks for reading! And check out these additional articles on home and shop maintenance!