How to Sharpen a Chainsaw – Easiest and Most Accurate Method
After years of using files and electric grinders, I finally found the best way to sharpen a chainsaw, and it is so simple! The key to a sharp saw is getting the angles correct, not only on each individual tooth, but across all the teeth. This is exceedingly difficult, even for a trained eye with a very steady hand. The depth gauge also has to be filed down accordingly.
Invariably the teeth do not get sharpened at the same angle and therefore have a different bite, causing the saw cut to ‘curve’ through the wood and build up heat resulting in inefficiency.
Note: If you purchase through links on this site, I may earn an affiliate commission that doesn’t cost you anything extra and helps me pay website hosting fees. Thank you.
The following is a method and device that I stumbled upon by accident that has revolutionized by chain sharpening! Now, when I sharpen a chain, it cuts like brand new again, even better than when you pay for someone to sharpen the chain at a shop!
Want fully electric, instead? Then, your best alternative is the highly rated Oregon Chainsaw Sharpener…
Best Way to Sharpen a Chainsaw Chain
This company called Pferd came up with an awesome design for a sharpener that performs 3 functions simultaneously:
- Sharpen the tooth.
- Grind down the depth gauge.
- Rides on the previous and next tooth to keep the pitch angle correct.
They call the device the Chainsharp CSX. The fact that it does all 3 of these at the same time is where the magic happens. In fact, Stihl was so impressed with the design, that they have licensed the technology and now sell a branded version of the same device that they call the Stihl 2 in 1 Easy File Chainsaw Chain Sharpener, which is the same exact device just in the Stihl orange and gray colors (at about 2x the price).
Since the 3 functions are taken care of by the Chain-Sharp, you just need to worry about 2 things, keeping the device at 90° to the bar, and maintaining the 30° angle which is made easier by the alignment of the handles which are attached at the proper angle.
How to Sharpen a Chainsaw Chain
Follow these steps to sharpen a chainsaw chain quickly and accurately.
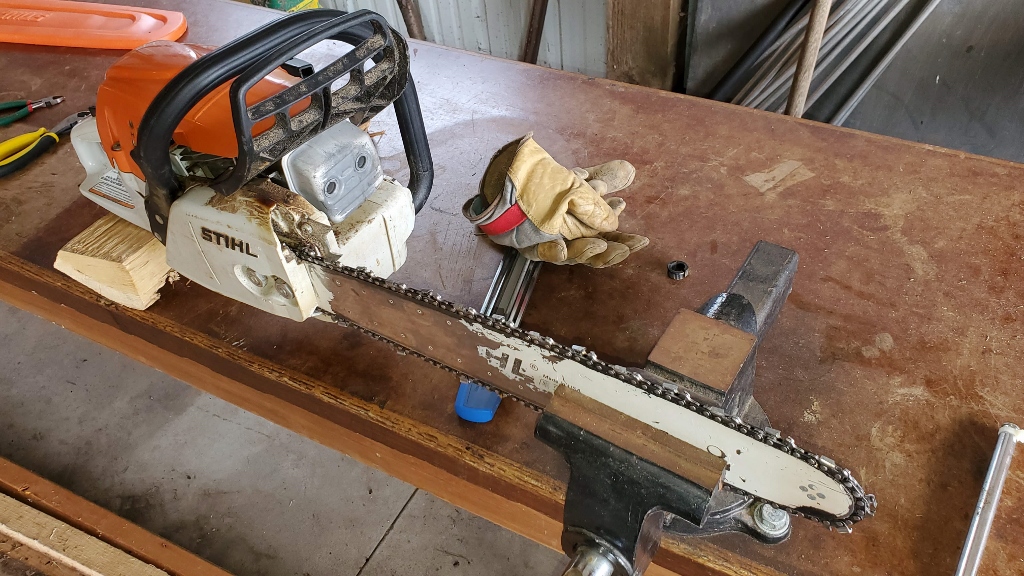
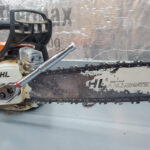
The saw shown in this guide is a Stihl ms291 with a Stihl 18″ chain (26RM3-74) installed on it.
The first step is to acquire a Pferd Chain-Sharp. Here is a link to the one that I bought:
Pferd 17301 Cs-X Chain Sharp Filing Guide – 3/16″ (Original)
Choose the correct one based on the chain pitch of your saw. By far the most common is the “Original” (Model 17301) which has a chain pitch of 0.325″ and a file diameter of 3/16″.
These are the available sizes:
- Pferd 17300 (file diameter: 5/32″, chain pitch 3/8″ low-profile)
- Pferd 17301 (file diameter: 3/16″, chain pitch .325″)
- Pferd 17303 ((file diameter: 13/64″, chain pitch 3/8″)
- Pferd 17304 ((file diameter: 7/32″, chain pitch .404″)
These things get some of the highest reviews of any product I have seen on Amazon! Also a chainsaw vice can be helpful.
Details on the Pferd Chain-Sharp CS-X
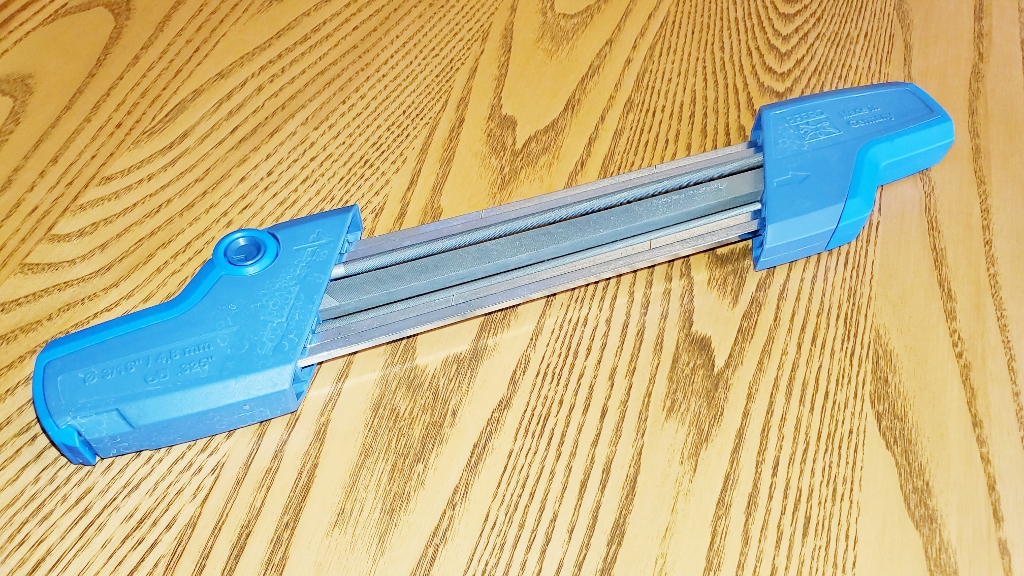
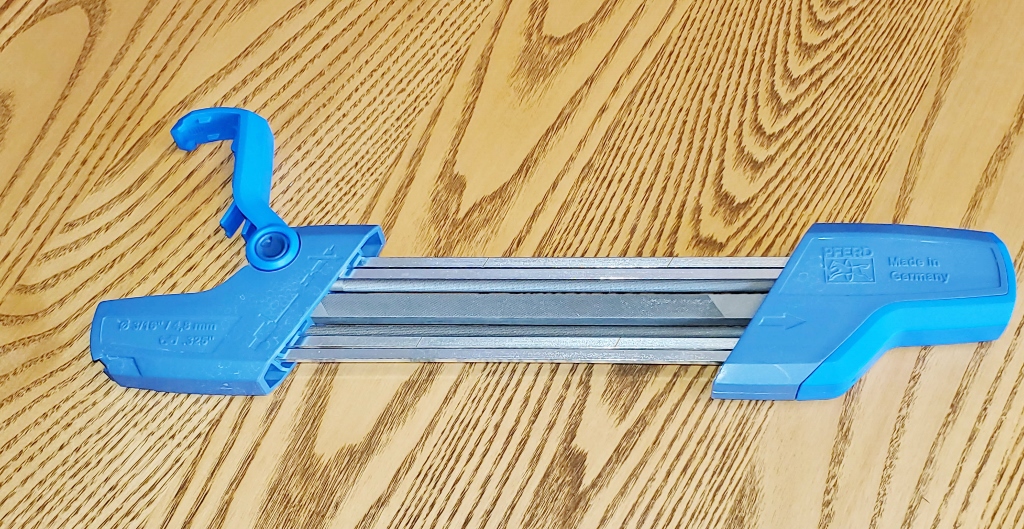
Here is the Pferd 17301 original that I use.
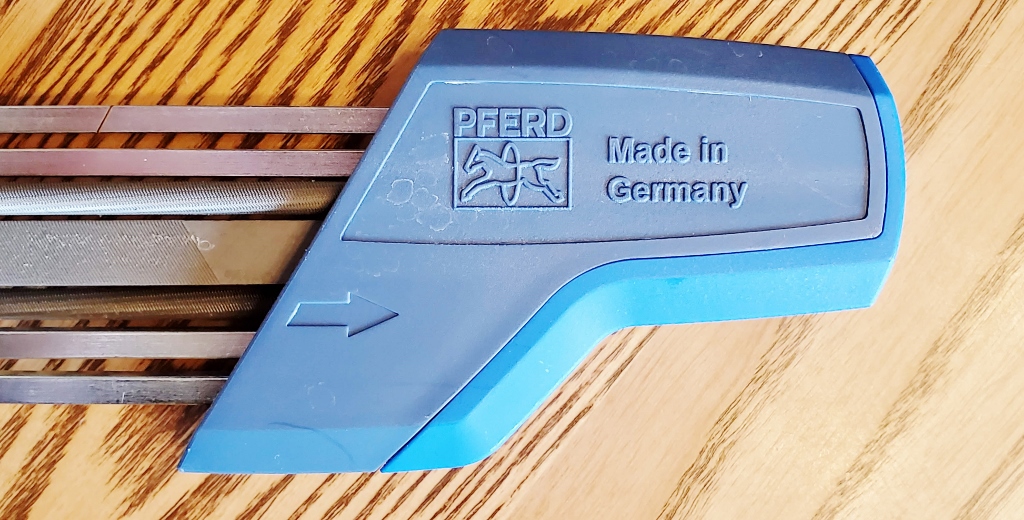
Pferd (pronounced “ferd” with a silent “p”) is a German company.
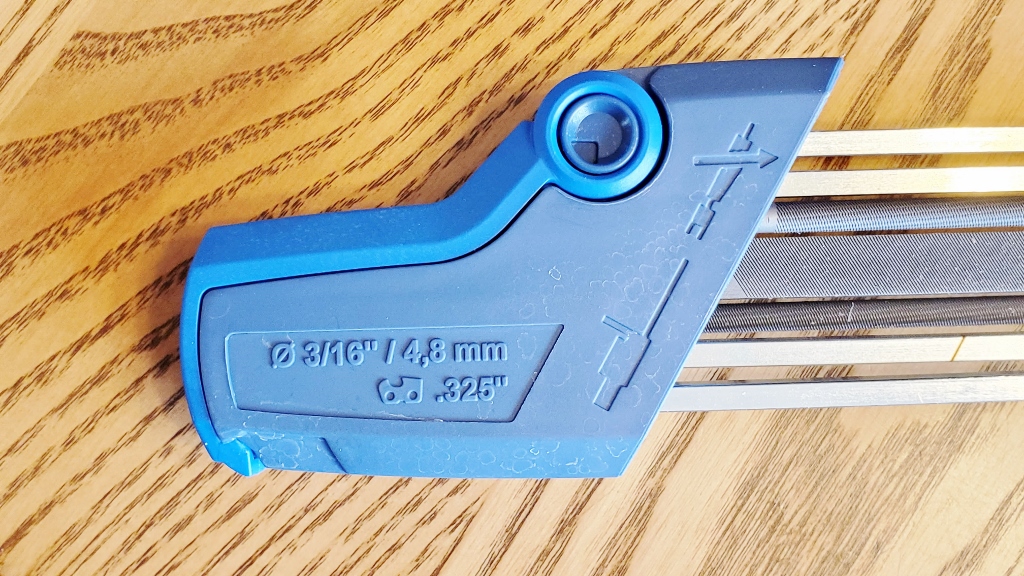
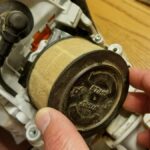
The other handle provides the specification of the file size (3/16″) and chainsaw tooth pitch (0.325″)
the file system consists of 3 different files, two circular files for sharpening the teeth (depending on if you are sharpening the ‘left’ or ‘right’ teeth), and a flat file for grinding down the depth gauge.
The unit also consists of a set of smooth guide bars that rest on the fore and aft teeth to make sure that the unit stays level and the pitch angle stays consistent.
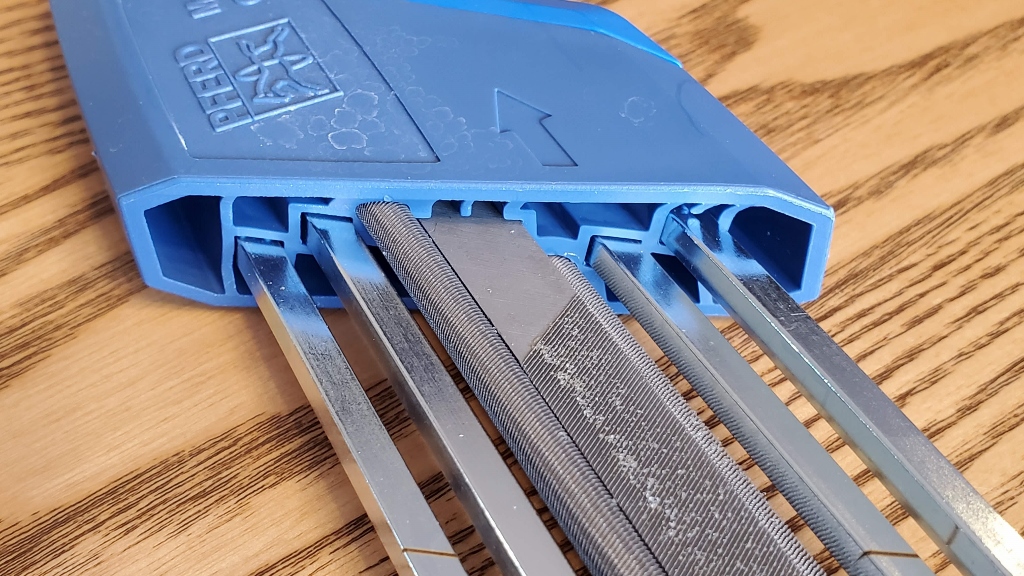
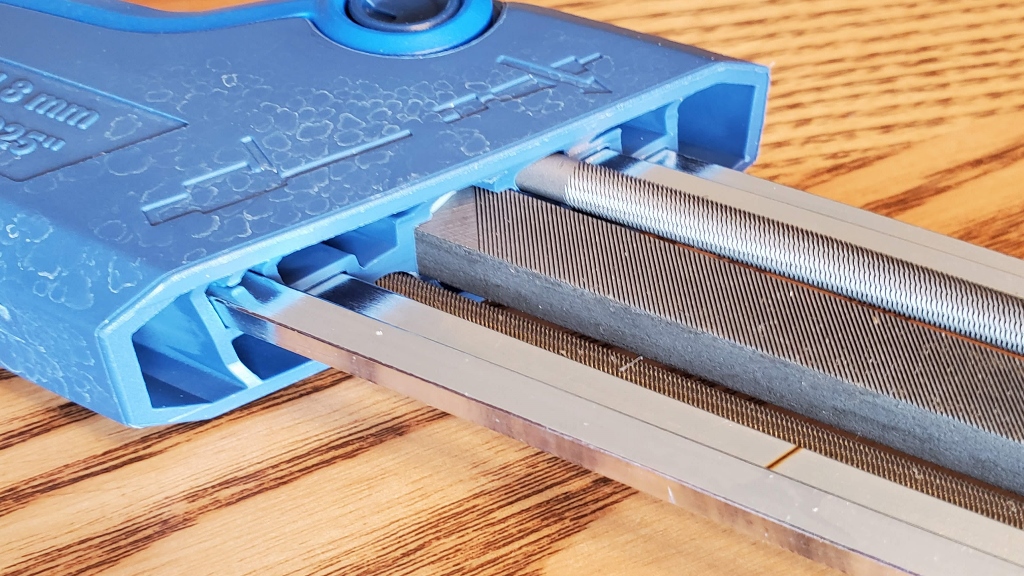
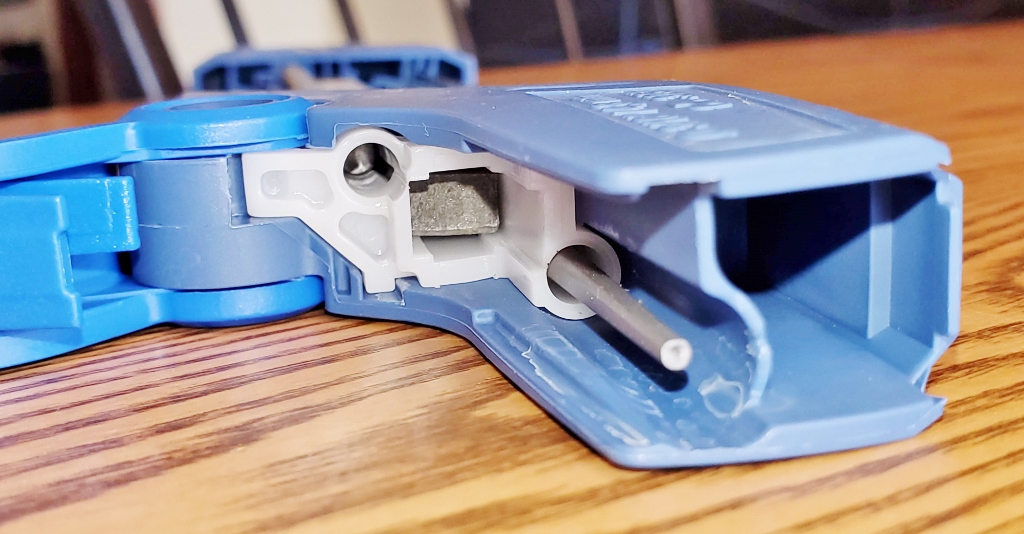
One of the handles opens up to reveal the files that can be easily removed.
Replacement files are also available.
The handles are aligned such that the 30° angle that should be maintained is obvious. Also a convenient chainsaw vice can be useful.
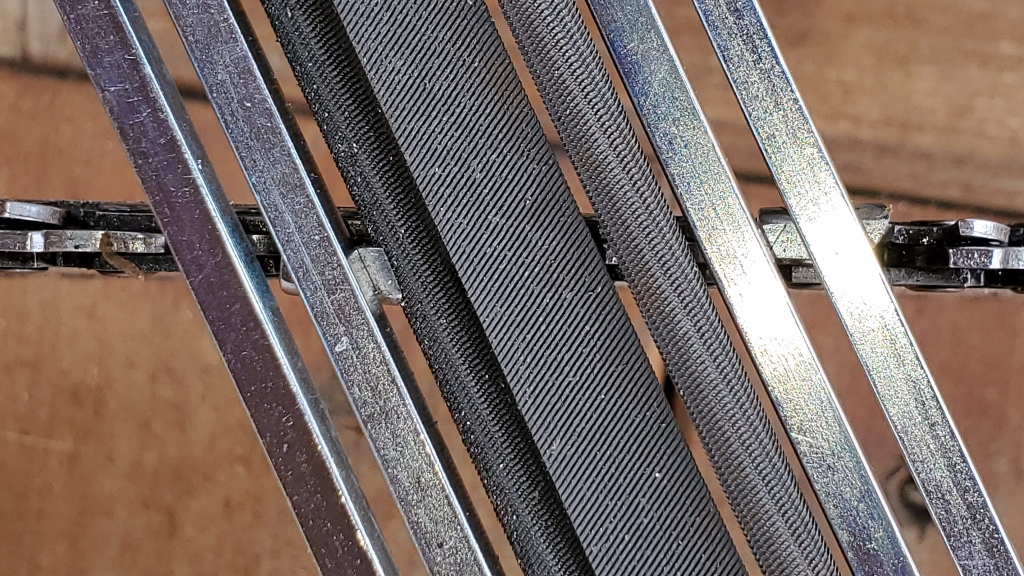
The Chain-Sharp lines up on the teeth with the round file in the groove of the cutting component of the tooth. This is a view looking down from the top of the unit.
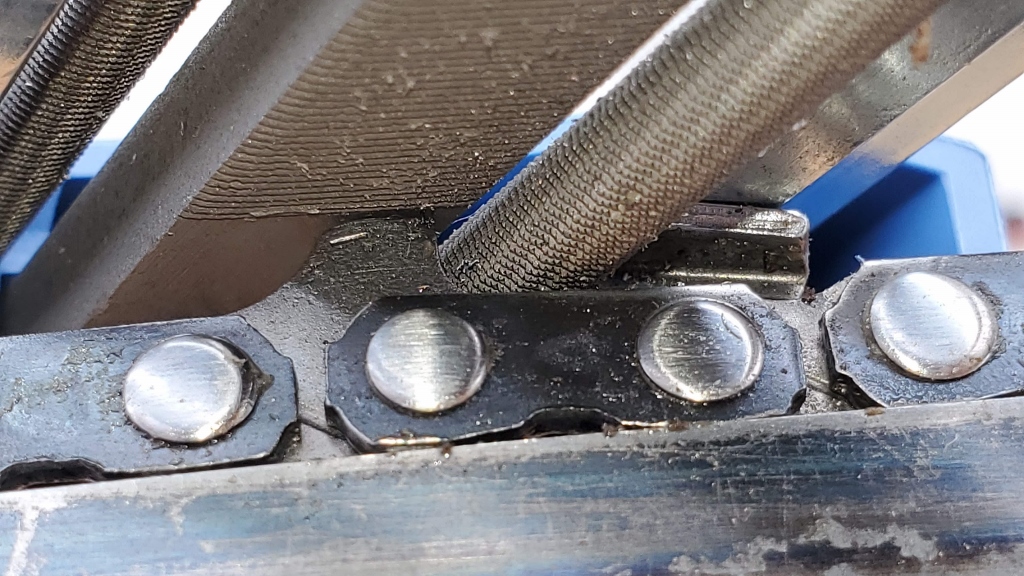
This is a view from underneath. Notice how the depth gauge is in contact with the flat file, which is grinding it down.
Here is a view of the round file sharpening the tooth while at the same time the flat file is grinding down the depth gauge.
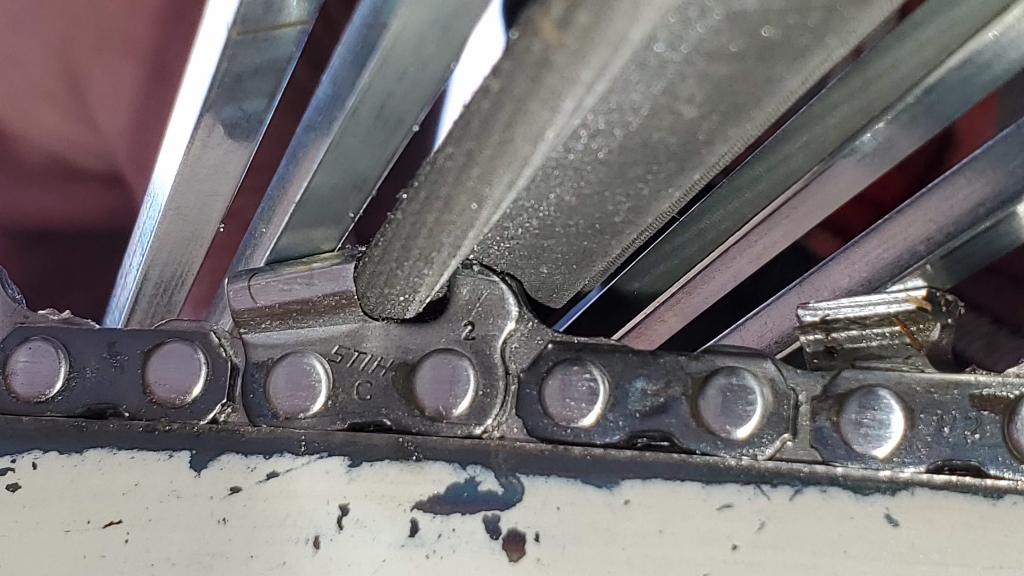
The guide bars are resting on top of the tooth and the next tooth in order to maintain the correct height so that the depth gauge is filed down properly.
Step-by-Step Instructions for Using the Chain-Sharp
Now that we’ve described the unit, let’s move on to performing the actual sharpening.
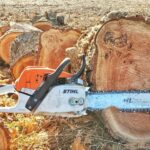
Step 1: Secure the Chainsaw in a Vice.
While the unit can be used out in the field, I recommend starting by putting it in a clamp or vice until you have the hang of it.
Step 2: Tighten the Chainsaw Chain.
One thing that is critically important is to tighten the chain so that it is not loose or floppy. If it is loose, the smooth guide bars will not maintain the correct depth.
Step 3: Lock the Chain by pulling forward on the Chain Brake.
One of the links in the chain is yellow or green. This makes for a convenient starting point so that when you are finished, you know when you are done.
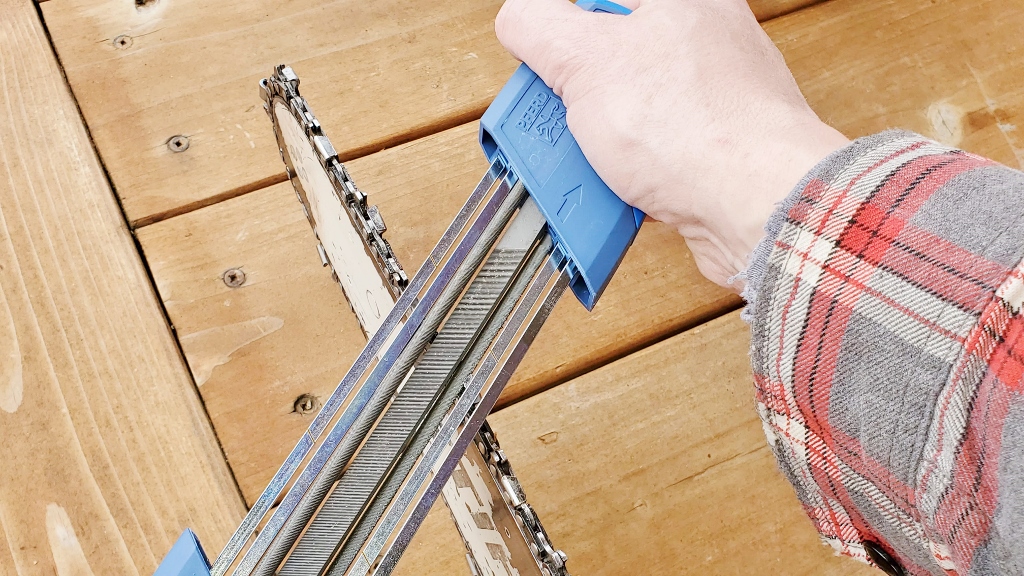
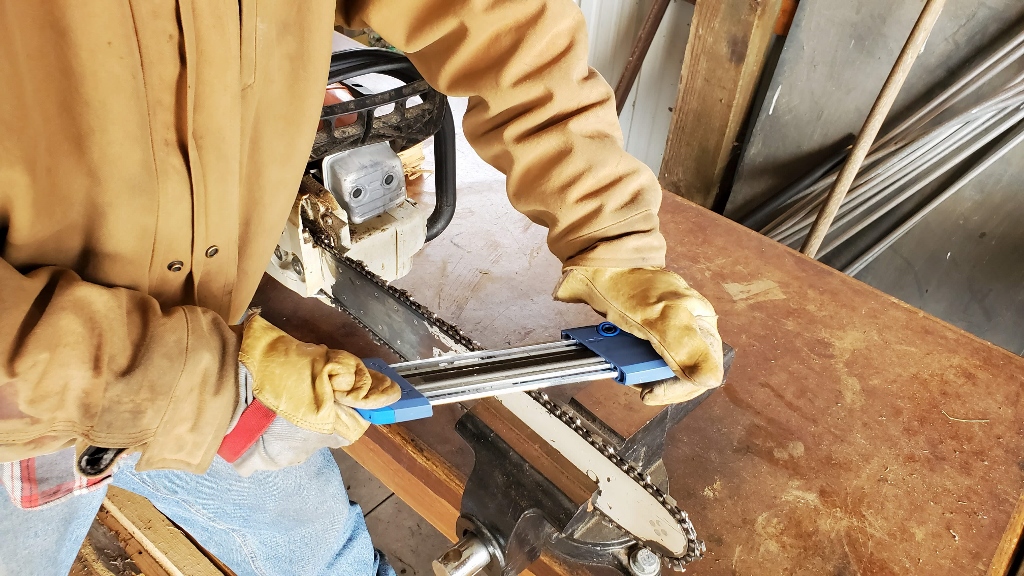
Step 4: Line up the Chain-Sharp Device in the First Tooth.
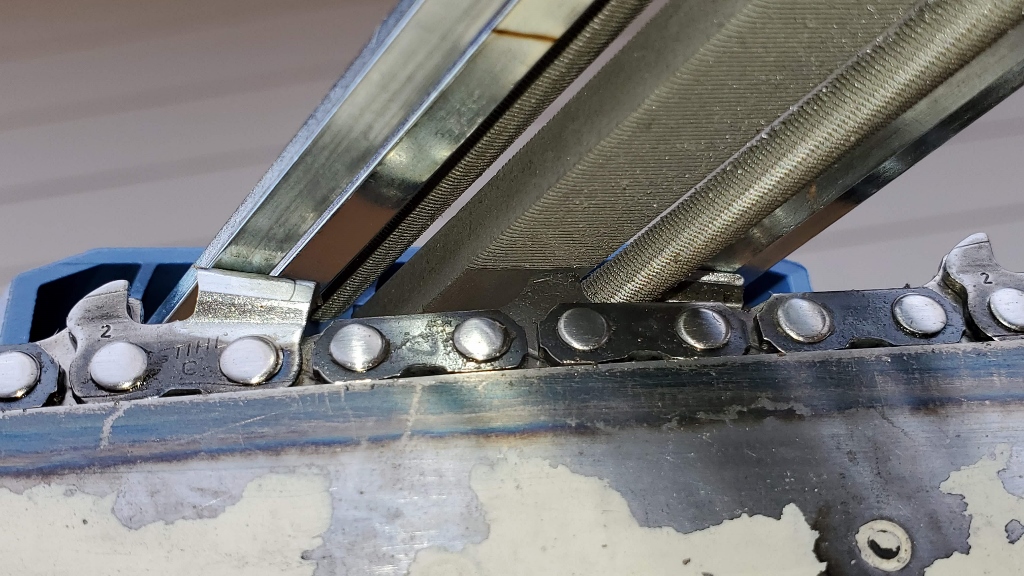
Fit the Chain-Sharp with the round file in the tooth cutting edge. Hold the unit level (90° to the bar), and slide the unit along the 30° angle, right-ward in the following picture:
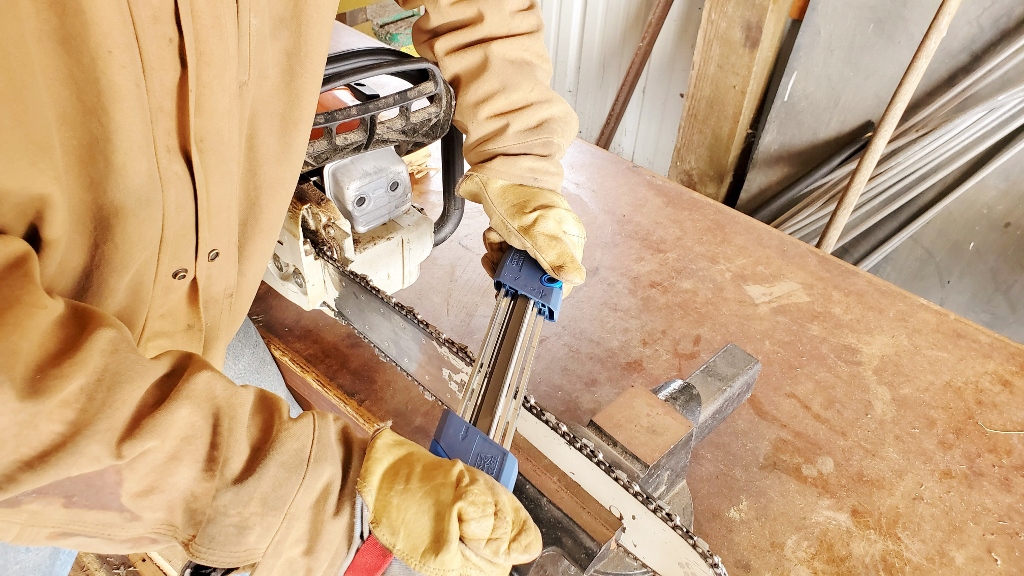
Give 3 or 4 firm strokes all in the same direction (or until sharp), lifting and re-positioning the Chain-Sharp each time. Do not file backwards! This will make the cutting edge dull.
Repeat this for every tooth facing the same direction (every other tooth) by advancing the chain a bit after every tooth, until you come back to the yellow (or green) tooth.
Step 5: Flip the Tool to Sharpen the Opposite Teeth.
The tool conveniently flips over in order to get the opposite teeth. Repeat the same process to finish filing all of the teeth and depth gauges.
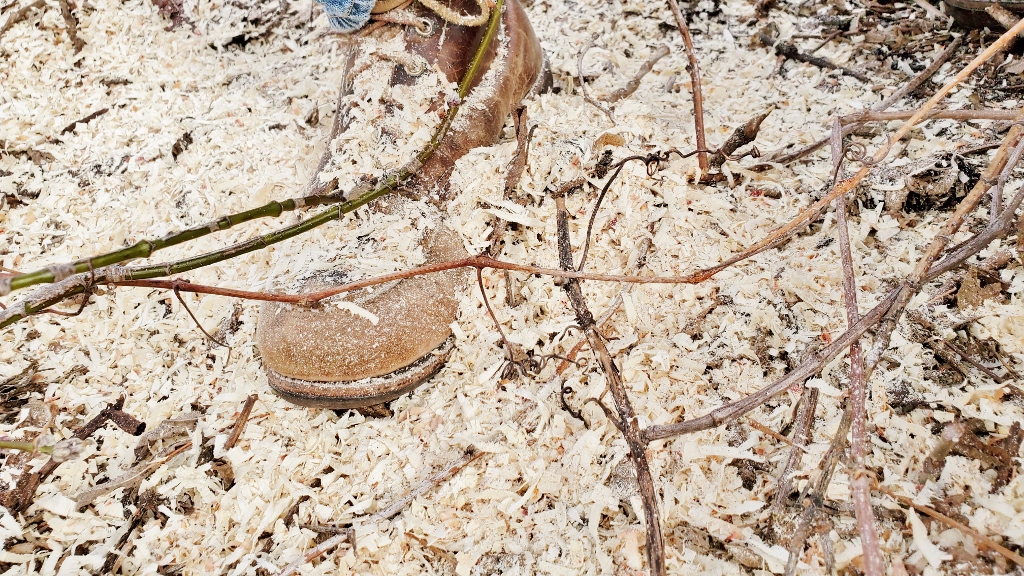
Testing out the Sharpened Chain
Test out the sharpened chain and verify its operation. Here I’ve paused the cutting midway through a log to inspect the wood chips.
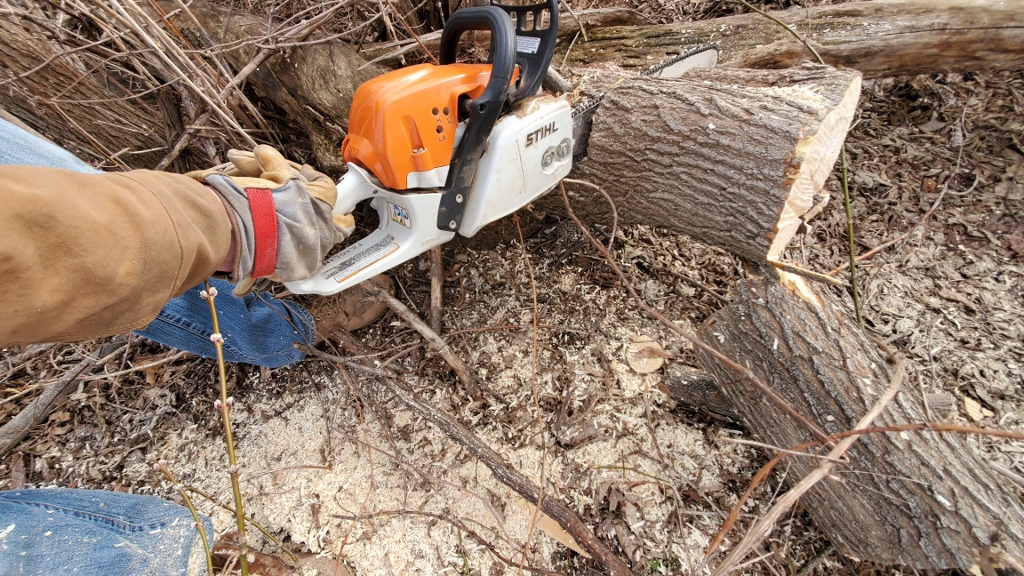
A sharp chain will produce large wood chips, not dust.
Conclusion
These are the part numbers of the various Pferd Chain-Sharp sharpeners.
- Pferd 17300 (file diameter: 5/32″, chain pitch 3/8″ low-profile)
- Pferd 17301 (file diameter: 3/16″, chain pitch .325″)
- Pferd 17303 ((file diameter: 13/64″, chain pitch 3/8″)
- Pferd 17304 ((file diameter: 7/32″, chain pitch .404″)
Replacement files for the depth gauge can be found here:
Replacement Depth Gauge File for Chain Sharp CSX
All the best in your wood-cutting endeavors, and stay safe out there. Remember: a sharp saw is a safe saw!
Thanks,
Rich
Further Reading:
- Check out this post for the proper way to Change the Chain on a Chainsaw.
- Dead Chainsaw? Read this post to Troubleshoot a Chainsaw that Won’t Start.
- Best Method to Start a Stihl Chainsaw.


0 Comments