
How to Repair a Stihl MS291 that Won’t Start – Diagnostics – Including Piston Replacement
Here I document, with pictures, the procedure taken to repair a Stihl MS291 Chainsaw that would not start. Ultimately the problem was due to low compression.
The cause of the scored piston and cylinder was two-fold: incorrect oil/gas ratio, as well as the saw being set to run too lean. These saws run great on a lean setting; however, it is risky because of the likelihood of this problem.
Note: If you buy something through links on my website, I may earn an affiliate commission – at no cost to you. This helps me pay for website hosting fee. Thanks for visiting.
There are several reasons why your chainsaw won’t start. This article addresses some of the most common, in rough order from simplest to fix, to more complex.
Most Common Chainsaw Problems:
- Bad Gas – Symptoms and Solutions
- Air Filter – When to replace the air filter
- Fuel Filter – Symptoms and what to do
- Clogged Carburetor – How to know, what to do
- No Compression – Piston replacement and Cylinder honing
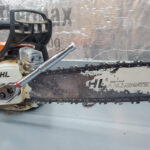
Here’s a picture of the saw in action:

These are tools and supplies used for these repairs:
- large flat-blade screwdriver
- fuel stabilizer
- torx set
- air filter
- fuel filter or 10-pack
- Thin-walled 8mm socket (long extension)
- 47mm piston (new style) or 47mm piston (old style) – see below for the difference
- gasket cover sealant
- abrasive sand-cloth
- cylinder hone
Lastly, it’s probably not a bad idea to purchase a tune-up kit every year. These cost about $15 and can save a lot of headaches for things like a fouled spark plug or clogged filter. This tune up kit is the one I currently am recommending.
Alright, let’s get started!
Further Reading:
- Check out this post for the proper way to Change the Chain on a Chainsaw.
- Dull Chainsaw? Read this post to learn the Best Way to Sharpen a Chainsaw.
- Read the Best Method to Start a Stihl Chainsaw.
Bad Gas
We’ll start with the most common problem by far when it comes to small engines not starting. 95% of all chainsaw ‘problems’ are a result of ‘bad gas’ which usually means that the gas was left in the unit for several months or more. Stihl recommends not leaving gas in the unit for more than 60 days.
If this is the case, pour out the bad gas into an approved container. Shake the saw around to get as much out as possible.
The correct ratio of gas to 2-cycle oil is 50:1. That’s 2.6 oz of oil per 1 gallon of gas. Use clean 2-cycle oil and clean gas.
I recommend using the Stihl 2-cycle oil as well. Find a local dealer to get it from, as it is usually cheaper that way than buying it off the internet.
Stihl website says that gas with up to 10% ethanol is okay.
With fresh gas/oil in the tank, give the saw another try.
Clogged Air Filter
The next thing to check is the air filter. Use a large flat screwdriver to remove the 3 screws from the top cover of the saw. Inspect the air filter. Make sure it is clear of debris and vacuum it out if necessary. If it is starting to deteriorate, replace the air filter.
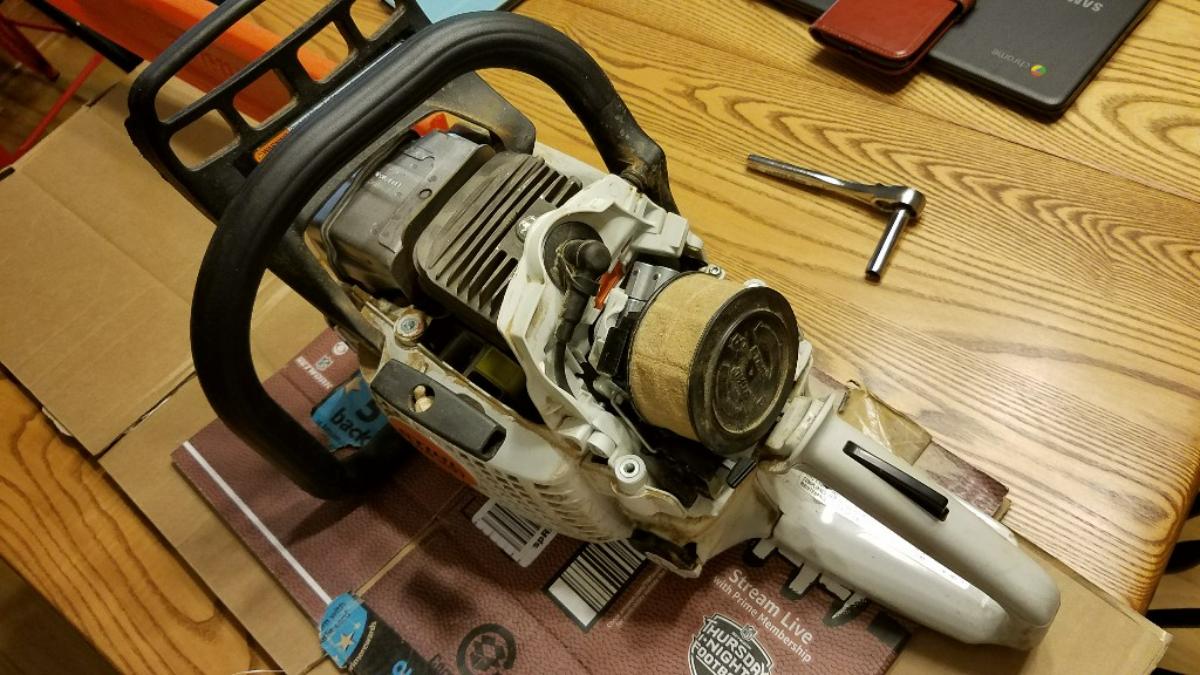
Remove the filter by giving it a twist to the left.
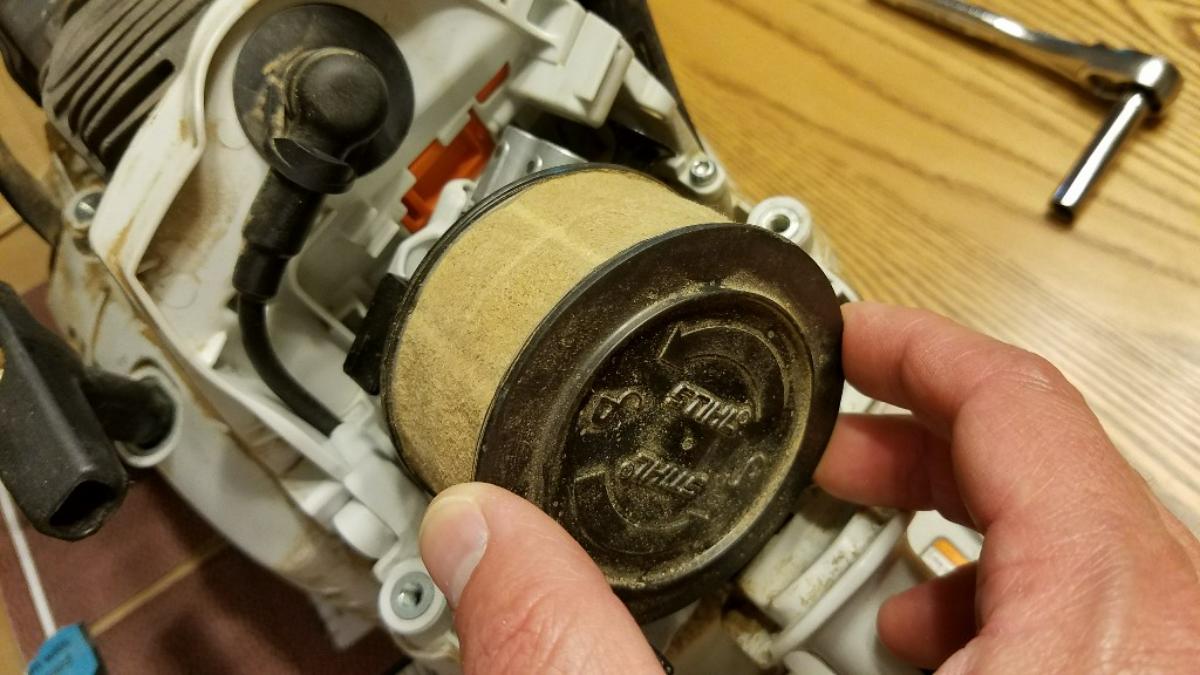
Try out the saw. If the saw runs with the filter removed, that is a dead give-away that it is the source of the problem. Get a new filter.
Bad Fuel Filter
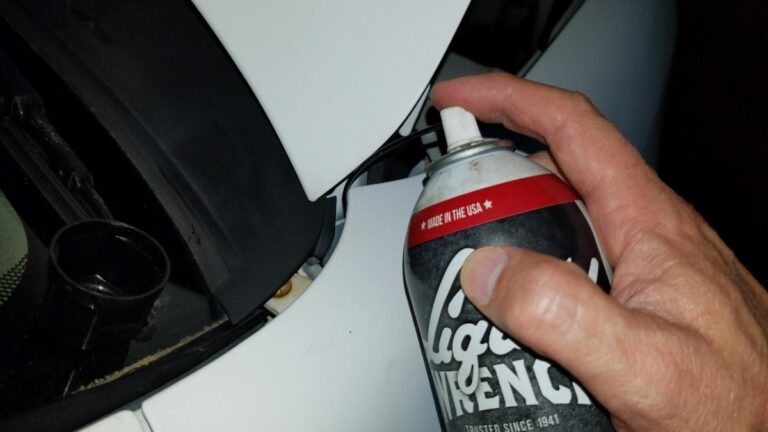
If the air filter is okay, the next step is to check the fuel filter. A clogged fuel filter will starve the engine of fuel and cause it not to start. Use a wire hook to fish the rubber tube connected to the fuel filter out of the gas tank. If clogged, replace the fuel filter. Fuel filters are cheap, you can get a 10-pack for less than $10…

Still not running? Read on…
Clogged Carburetor
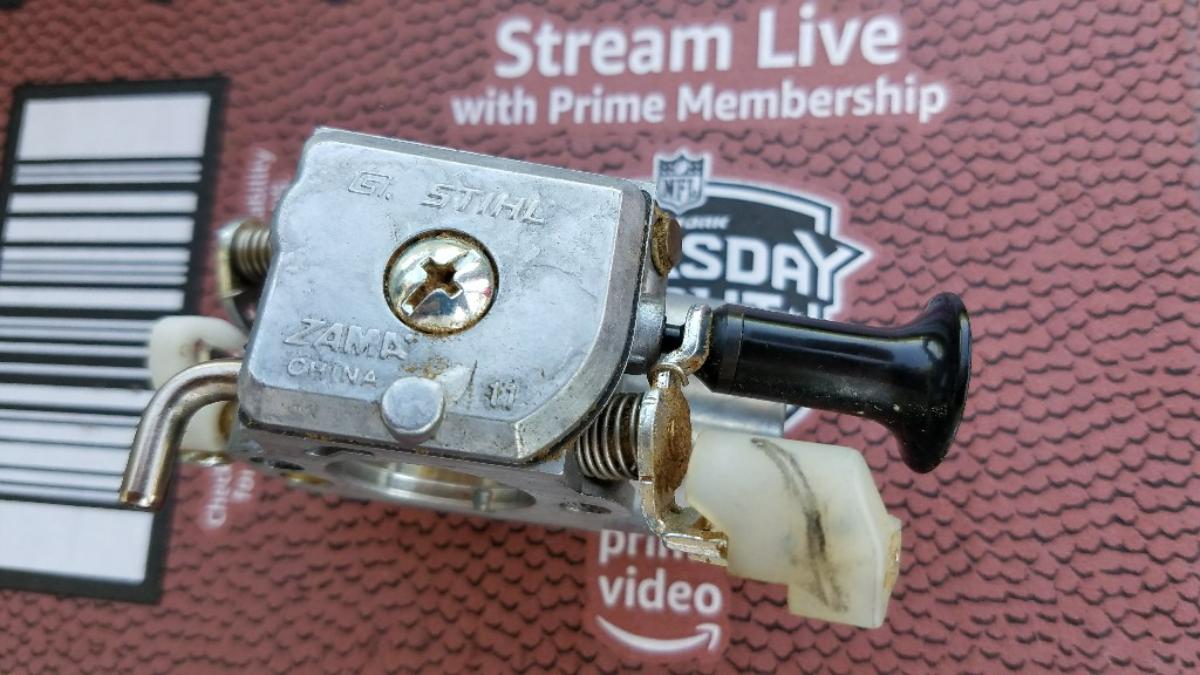
The next step is to check the carburetor.
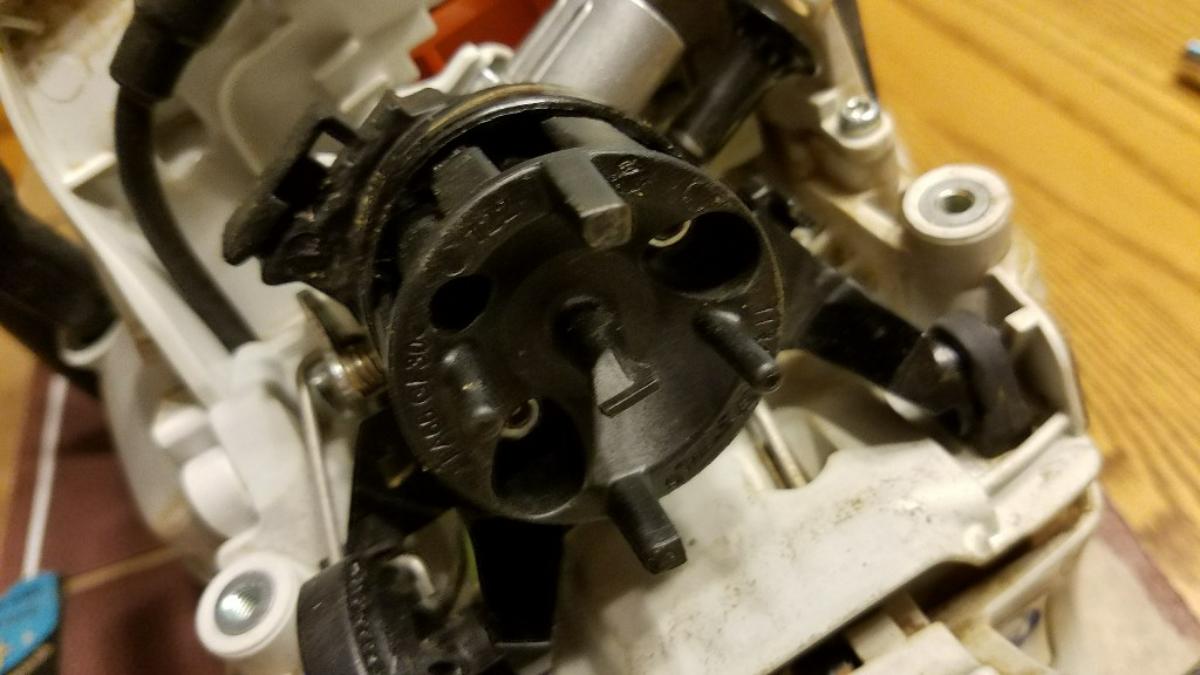
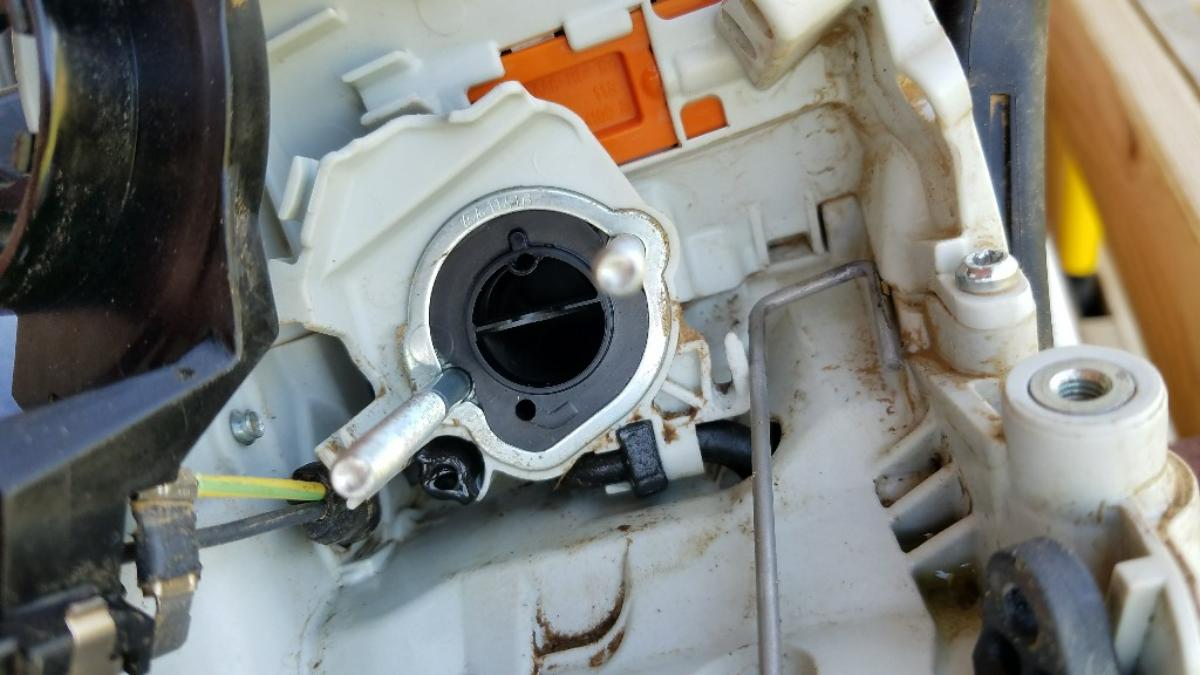
Remove the air filter holder with an 8mm thin-walled socket (5/16″ should also work).
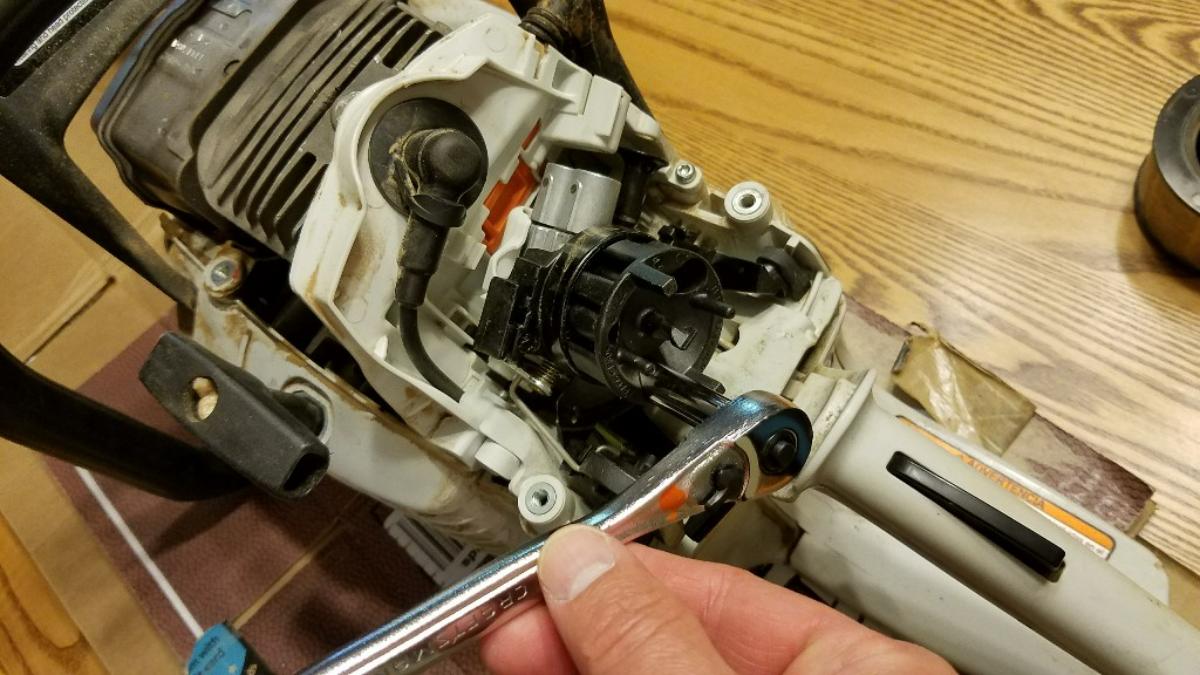
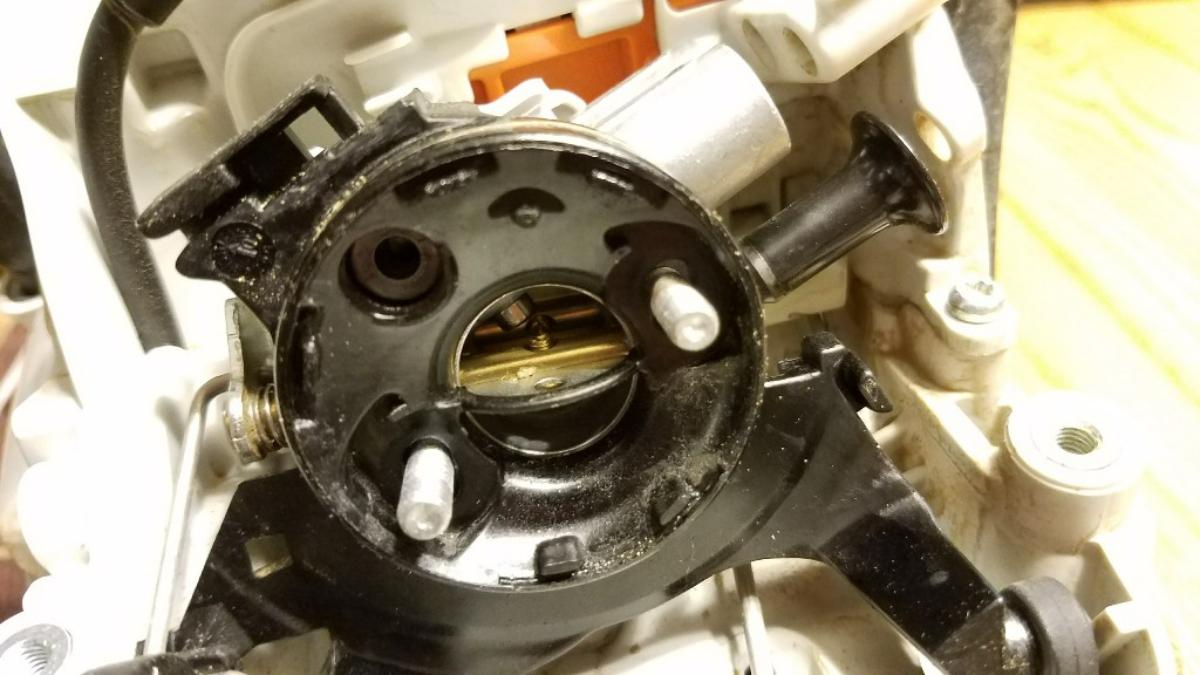
Unclasp the choke linkage.
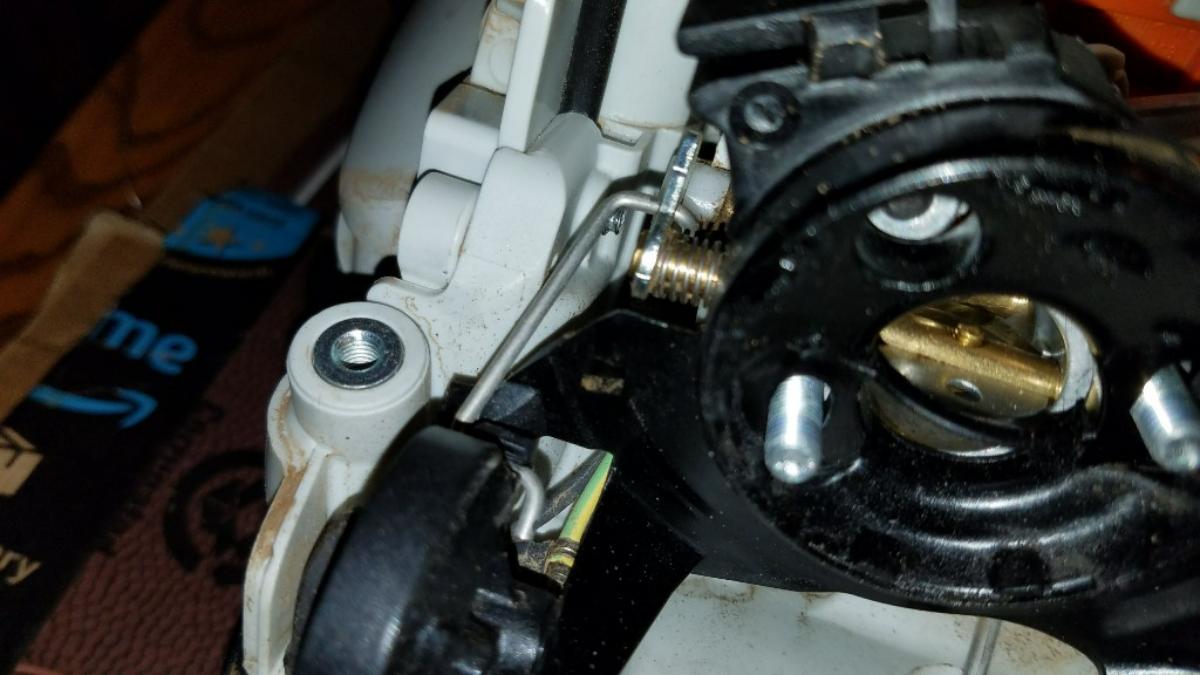
Unclasp the throttle linkage.

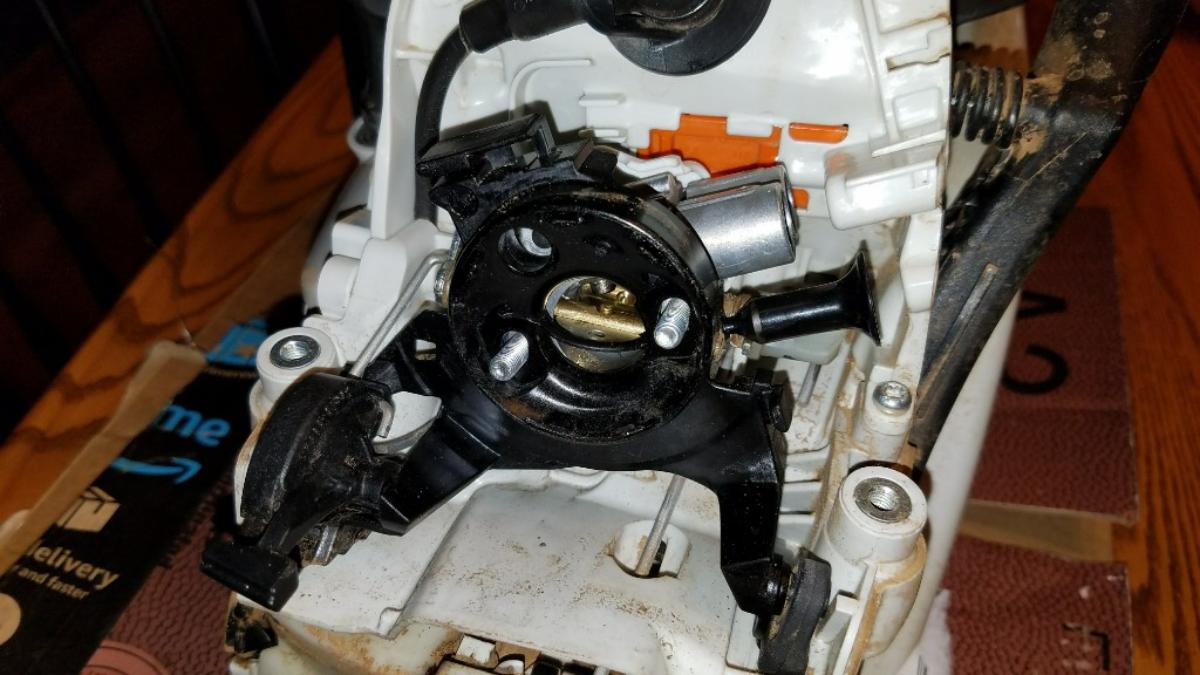
Remove the carburetor.
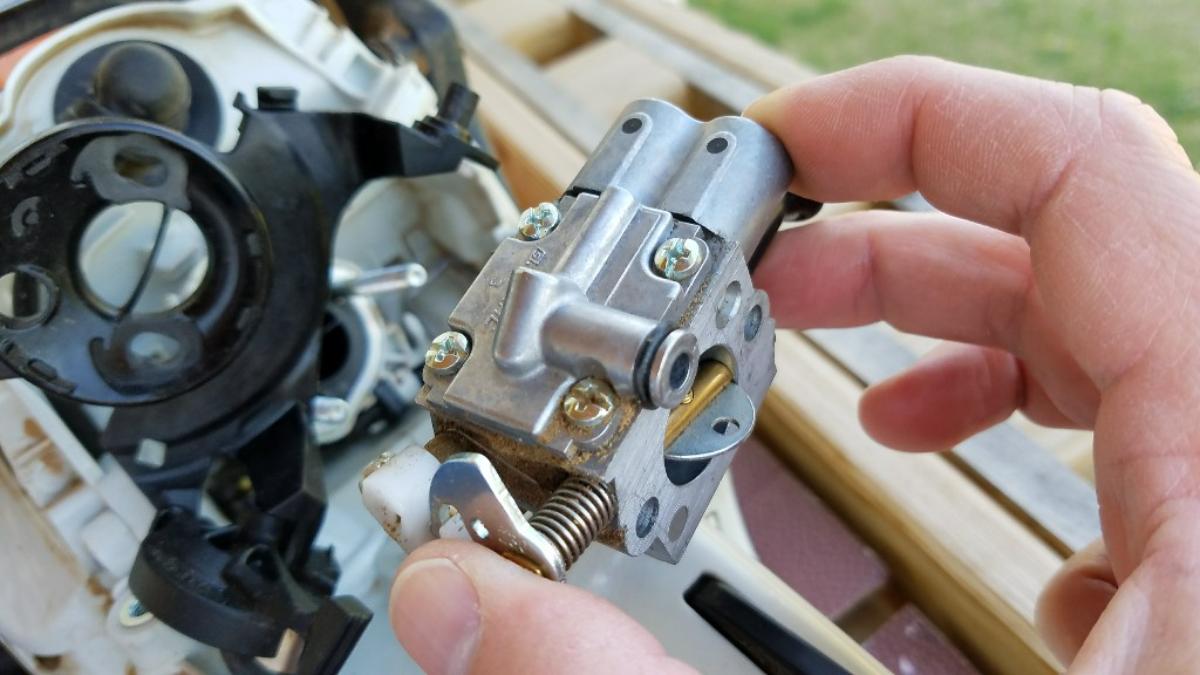
This is the saw with the carburetor removed.
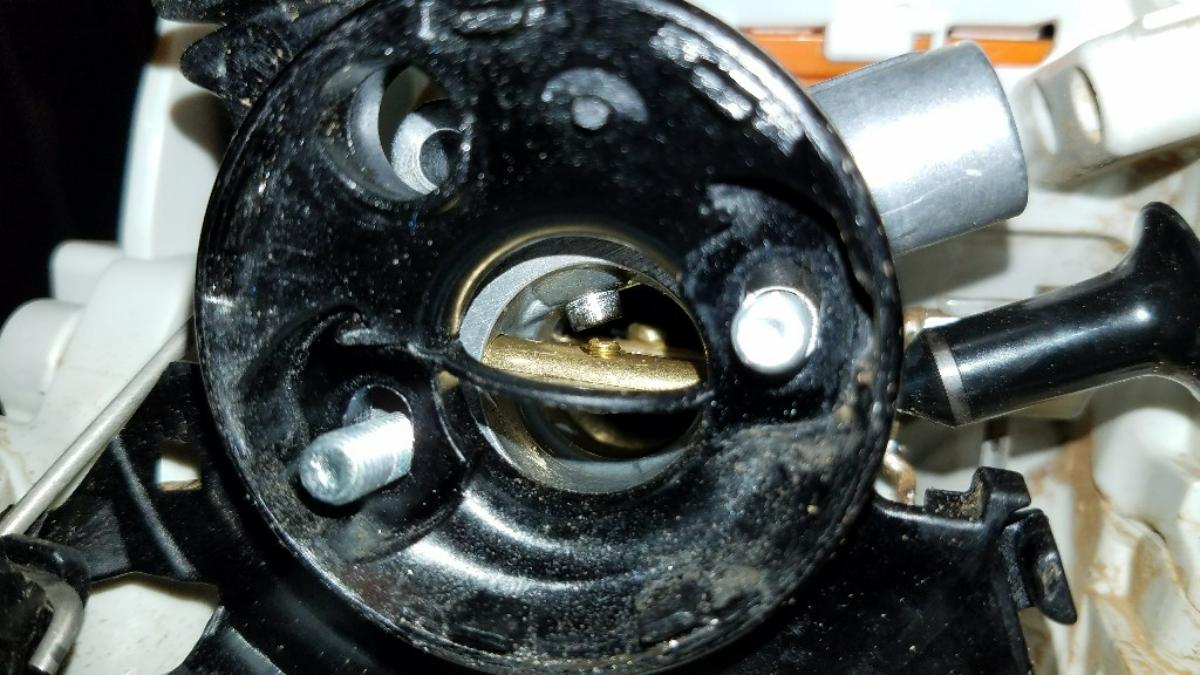
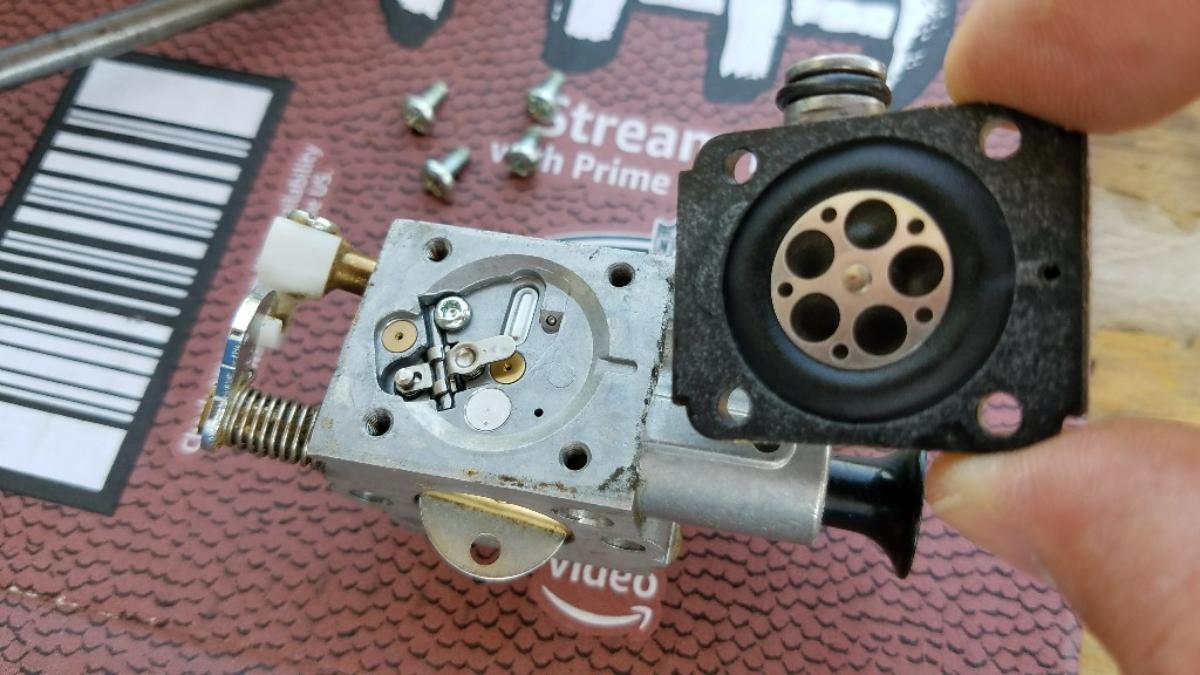
Begin to carefully disassemble the carburetor. It is not difficult, but the key is to keep track of how everything goes together. Take photos as necessary.
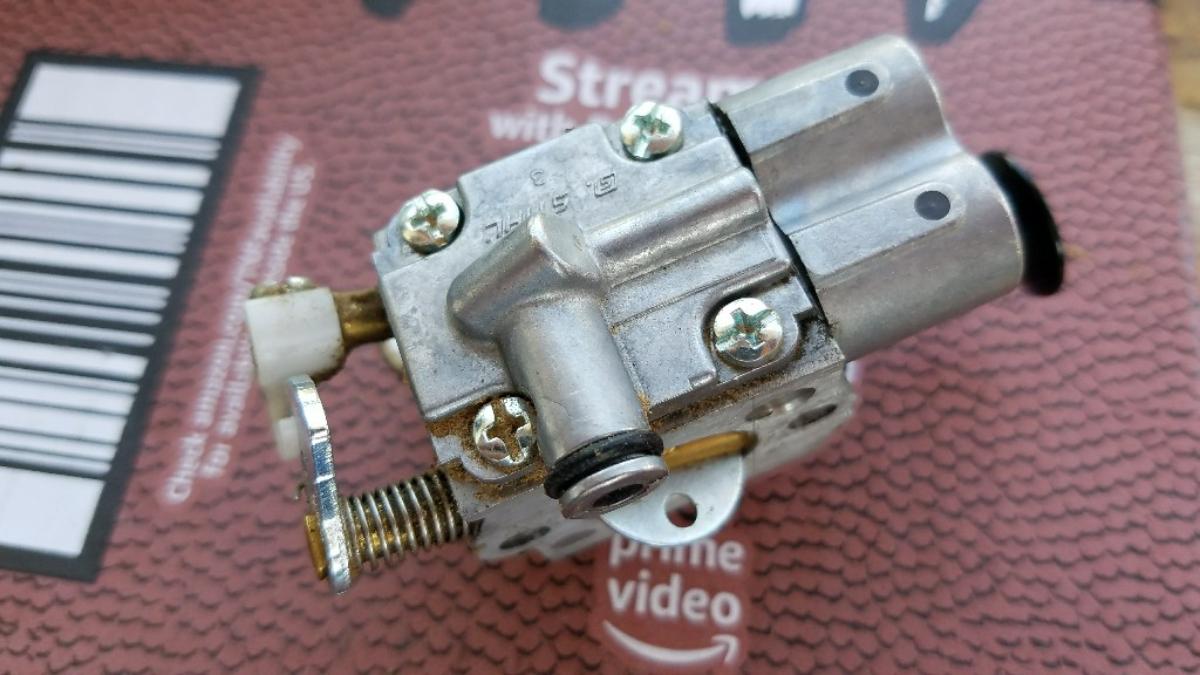
Check for blockages and debris. Clean it out. Keep everything very clean. Note the position of everything and reassemble in the same way.
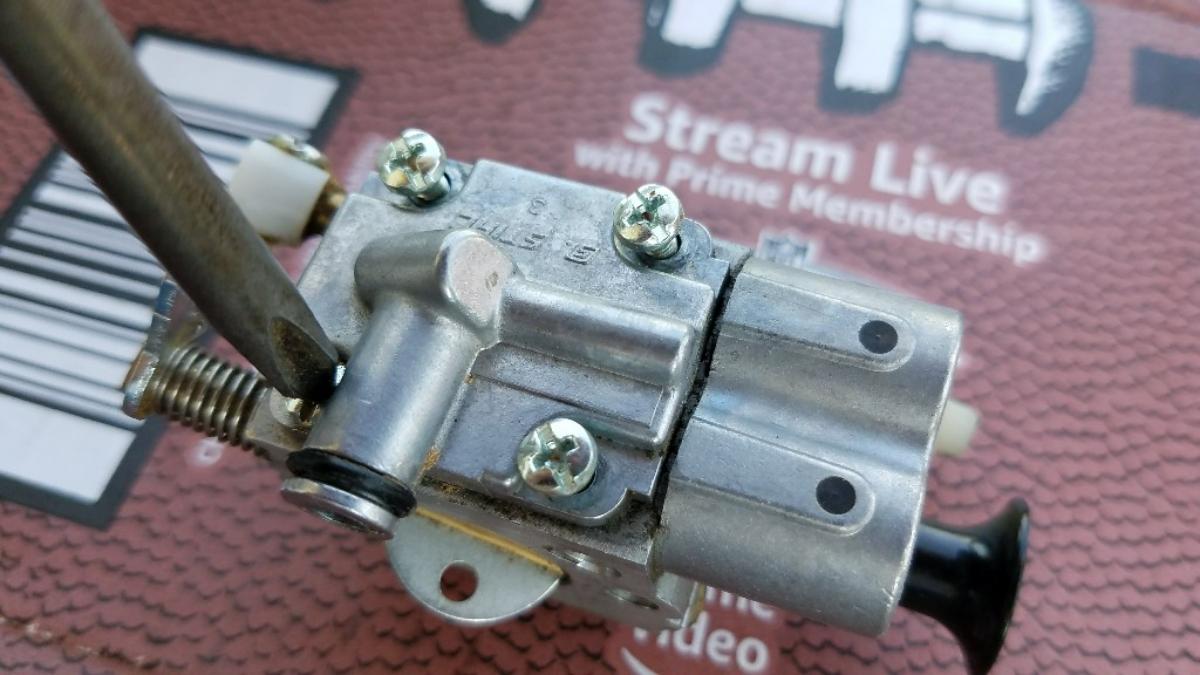
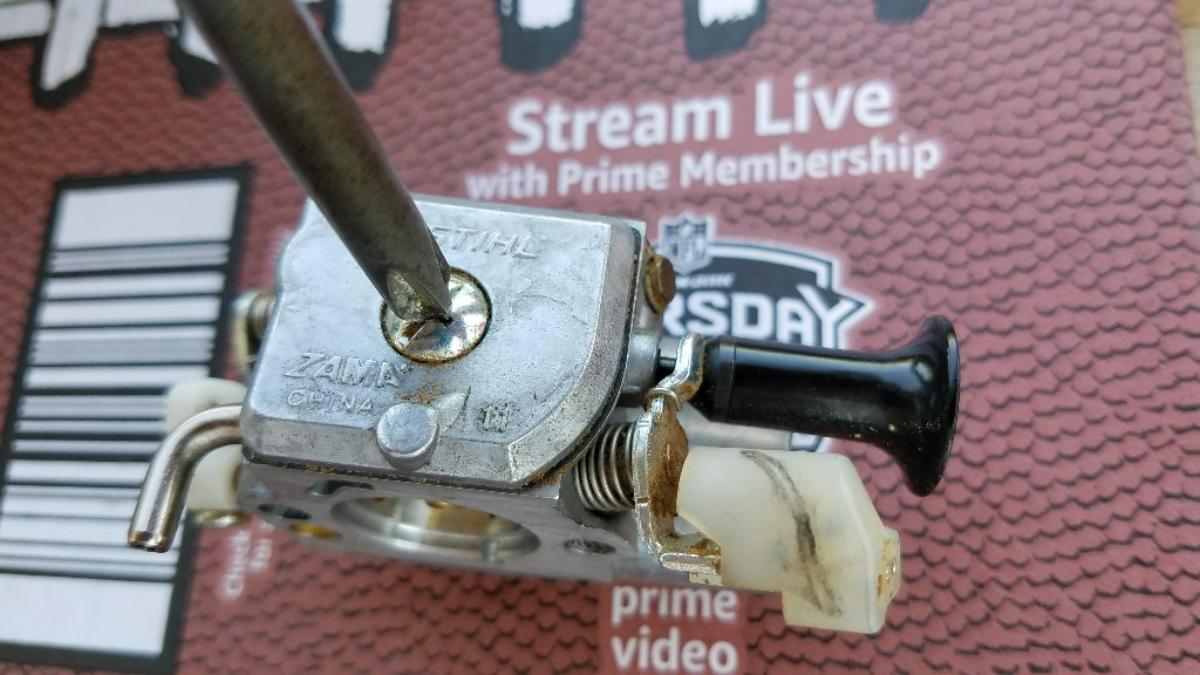
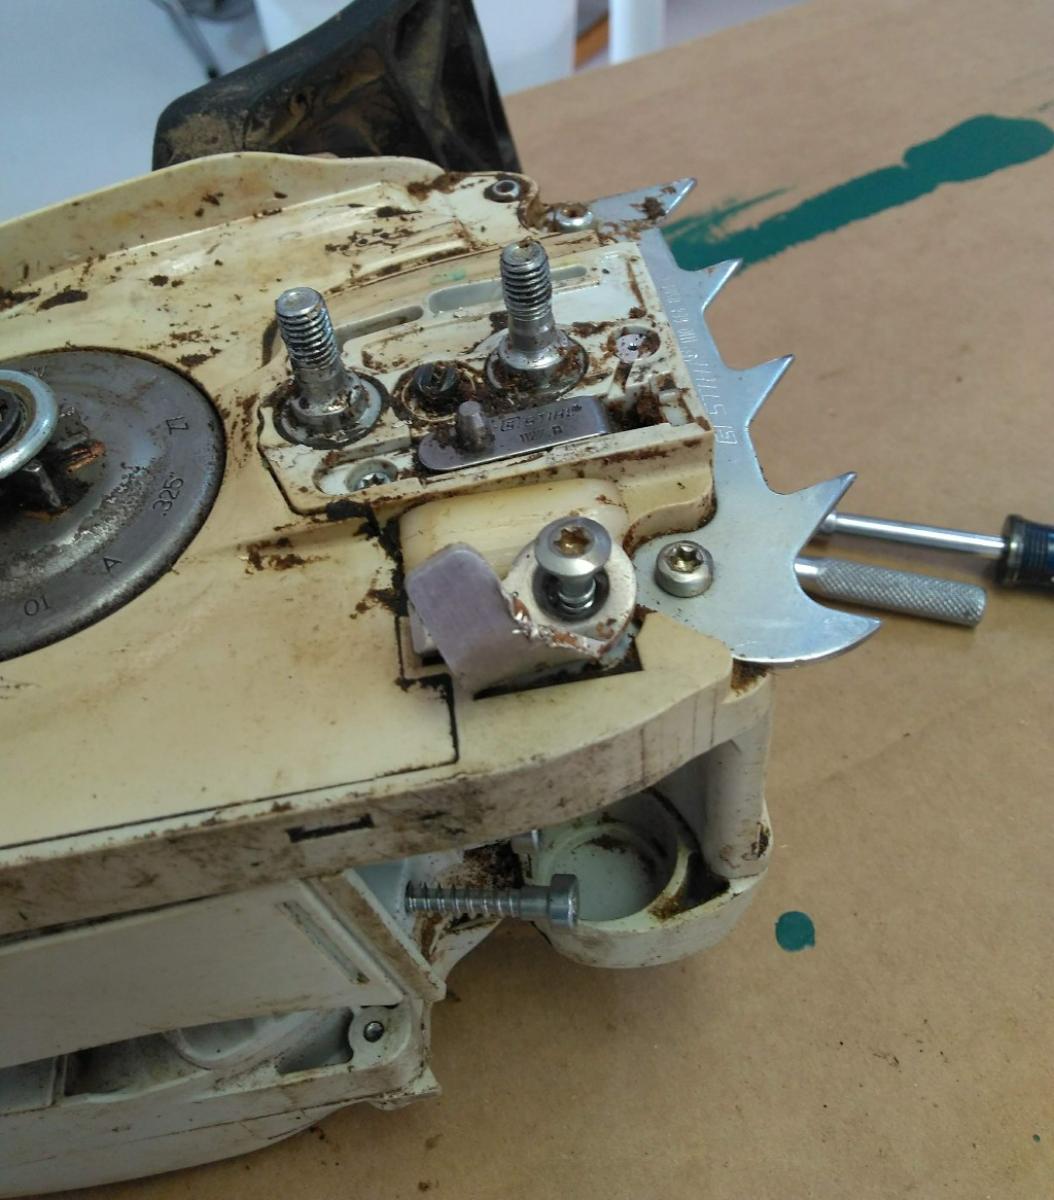
Remove the screw from the bottom.
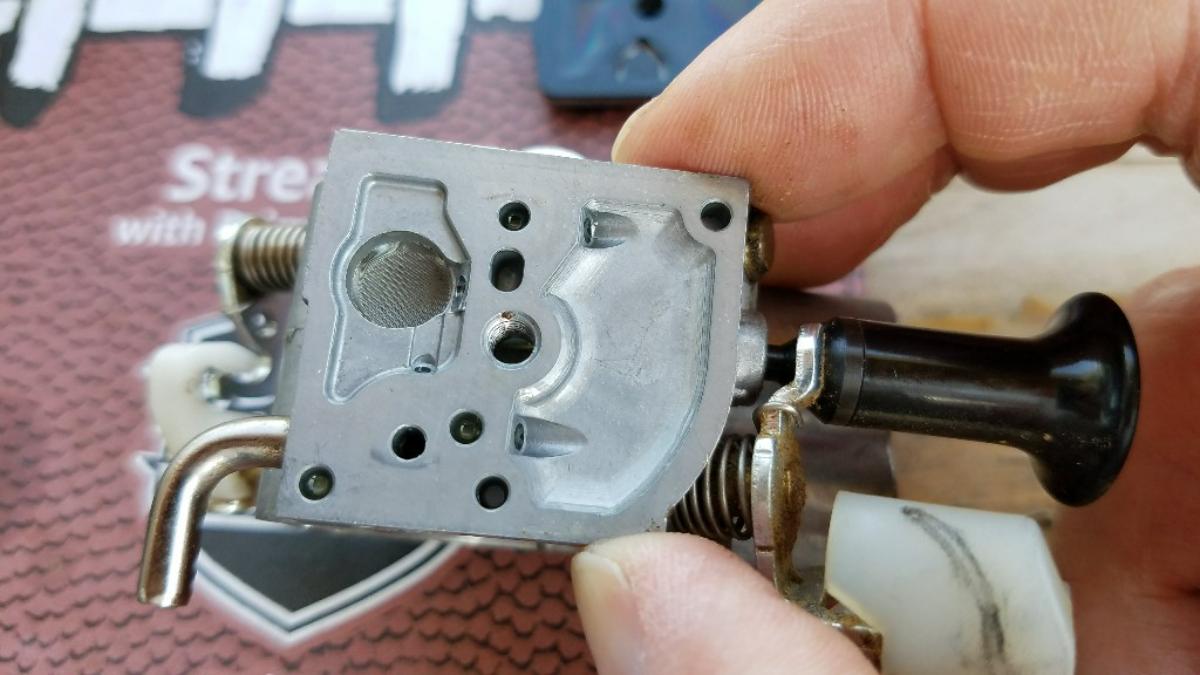
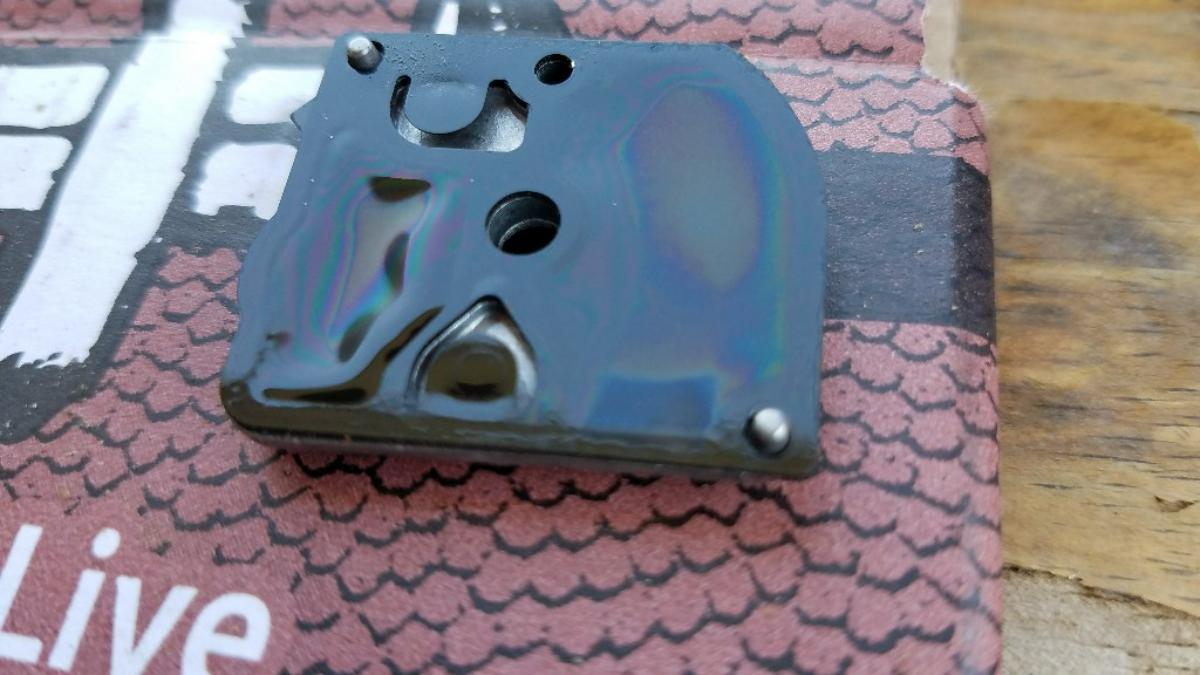
A common problem with these saws, is that this filter screen (shown below) can get clogged. Carefully clean it out with a small pick. If it is clogged, this is likely the problem causing the saw not to start.
Check the gasket and clean it as necessary.
Re-assemble the carburetor. If the carburetor has failed, consider replacing it. A symptom of a bad carburetor is bogging down and dying at high RPM. This is the link to a replacement ms291 carburetor on Amazon.
If that wasn’t the issue, move on to the next section…
Scored Piston – No Compression
If the carburetor is okay, let’s check the piston for scoring. The most common cause of cylinder scoring is running straight gas, or improperly mixed gas.
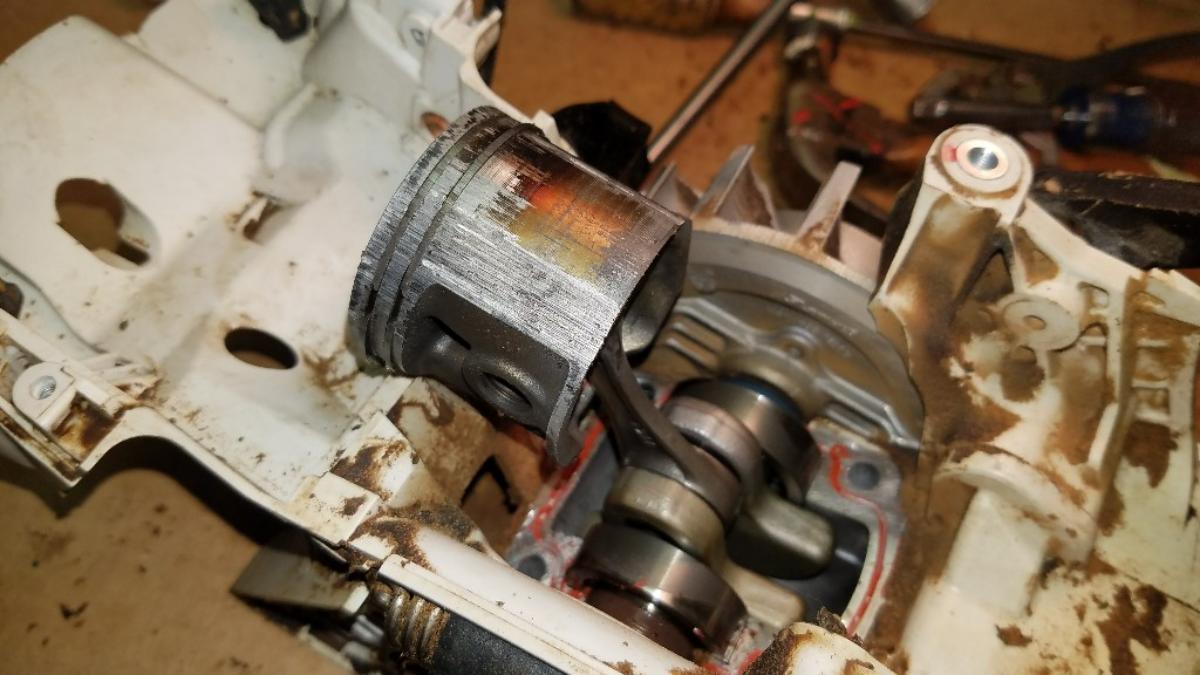
A good way to check that is to remove the muffler and look in through the exhaust port into the cylinder. Turn the engine over a couple times by pulling the cord and watch the piston. Is there scoring (scrapes) on that? If so, that is the problem. This will require disassembling the cylinder, honing it out, and replacing the piston.
This repair is not for the faint of heart but is still rather straight-forward for the mechanically minded.
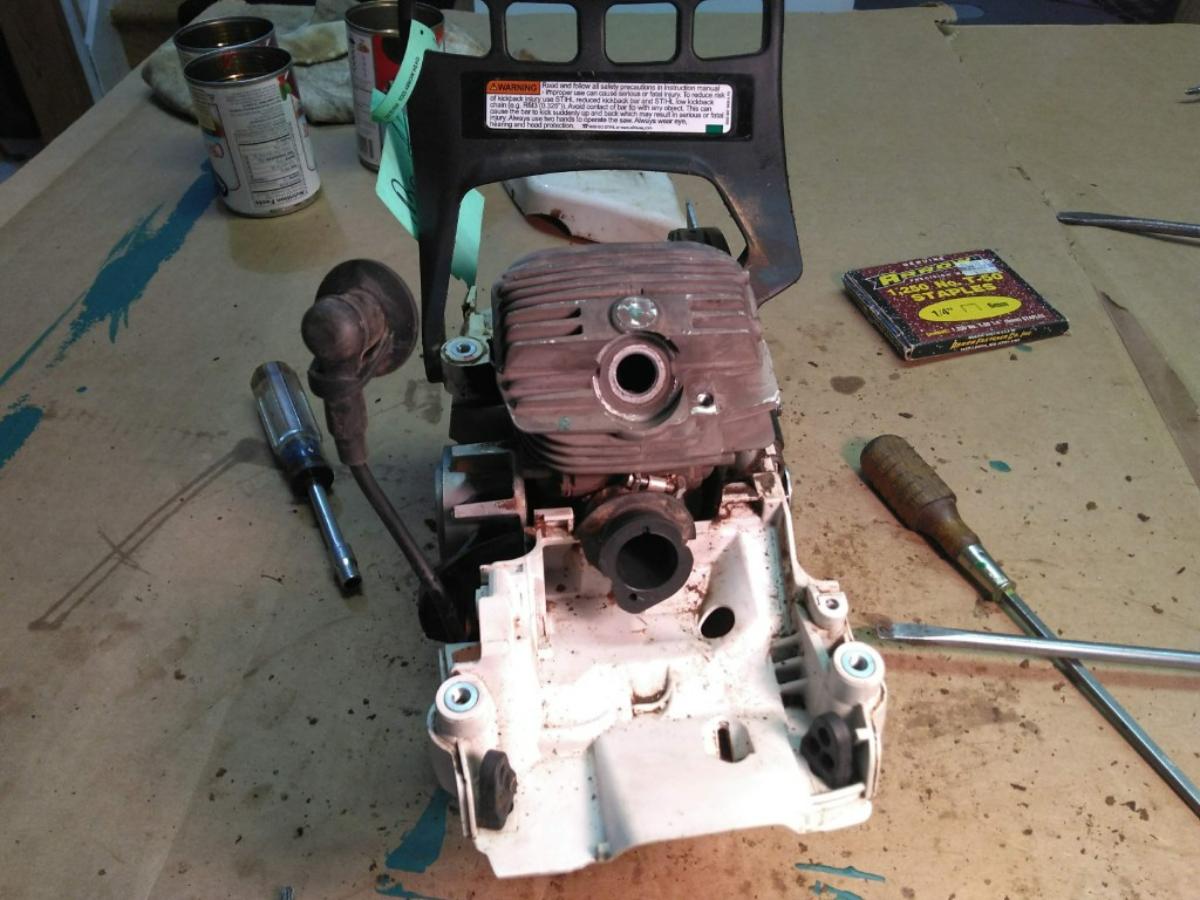
Begin by disassembling the saw.

Remove the bar and chain.
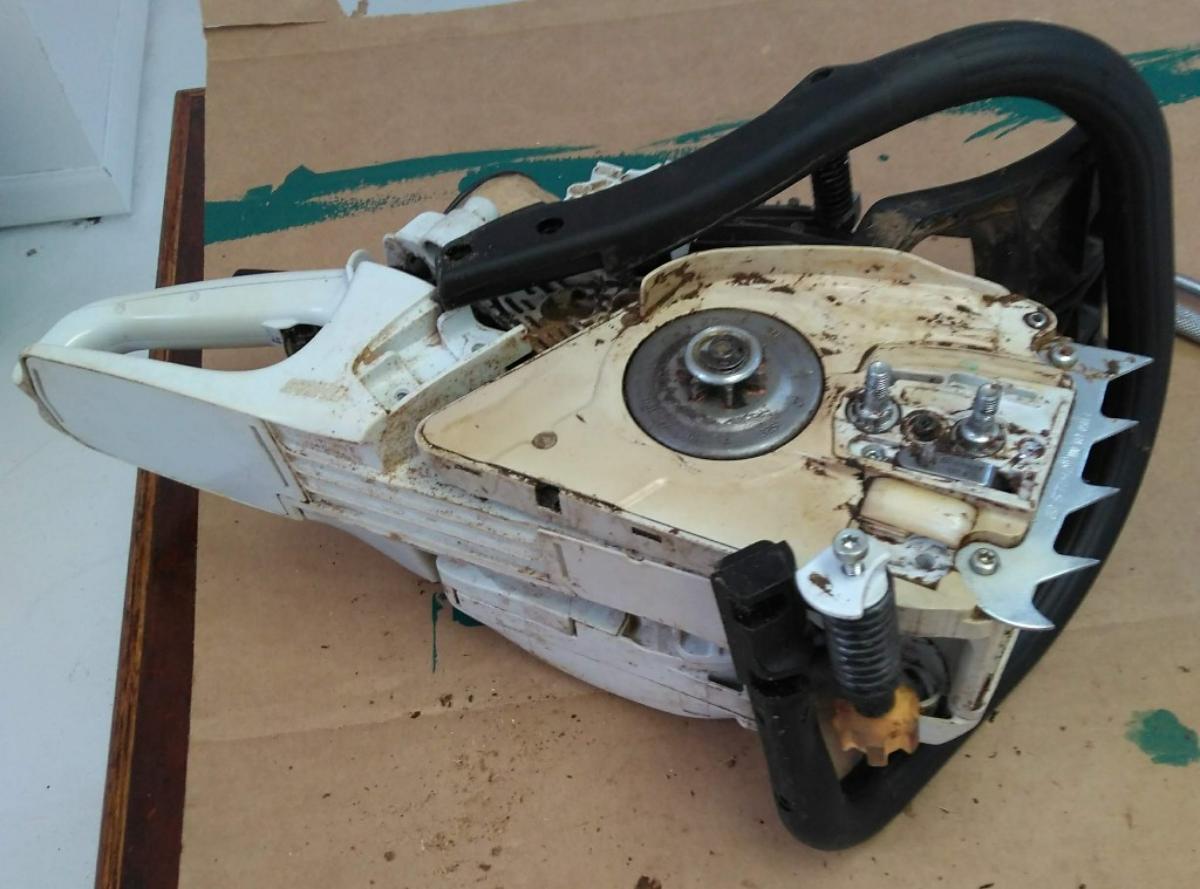
Remove the air filter and carburetor.


Get the saw down to the cylinder.
IMPORTANT: Remember, record, or photograph the assembly of the unit! It is easy to forget how things go back together!
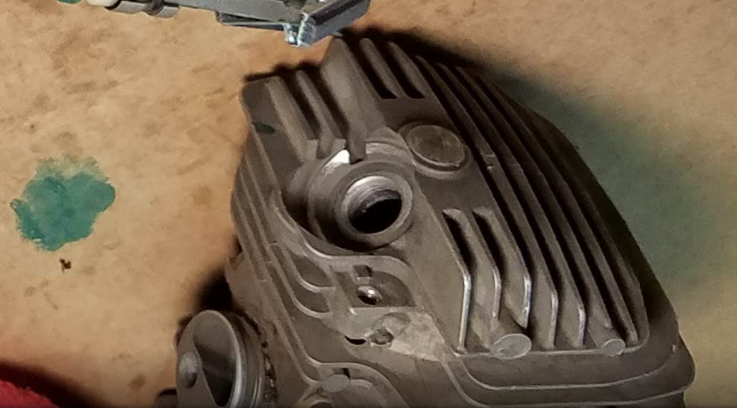
Now, a few words on the different models of the MS291. The intake manifold is shaped differently depending on the age of the saw. The new style is round and is shown on the left. The old-style intake is shown below on the right. Depending on the shape of the intake, you will need a different piston, as labeled below.

Here are links to the correct piston replacements:
Piston for New Style Saw (part# 1141-030-2004) – Round intake
Piston for Old Style Saw (part# 1141-030-2011)
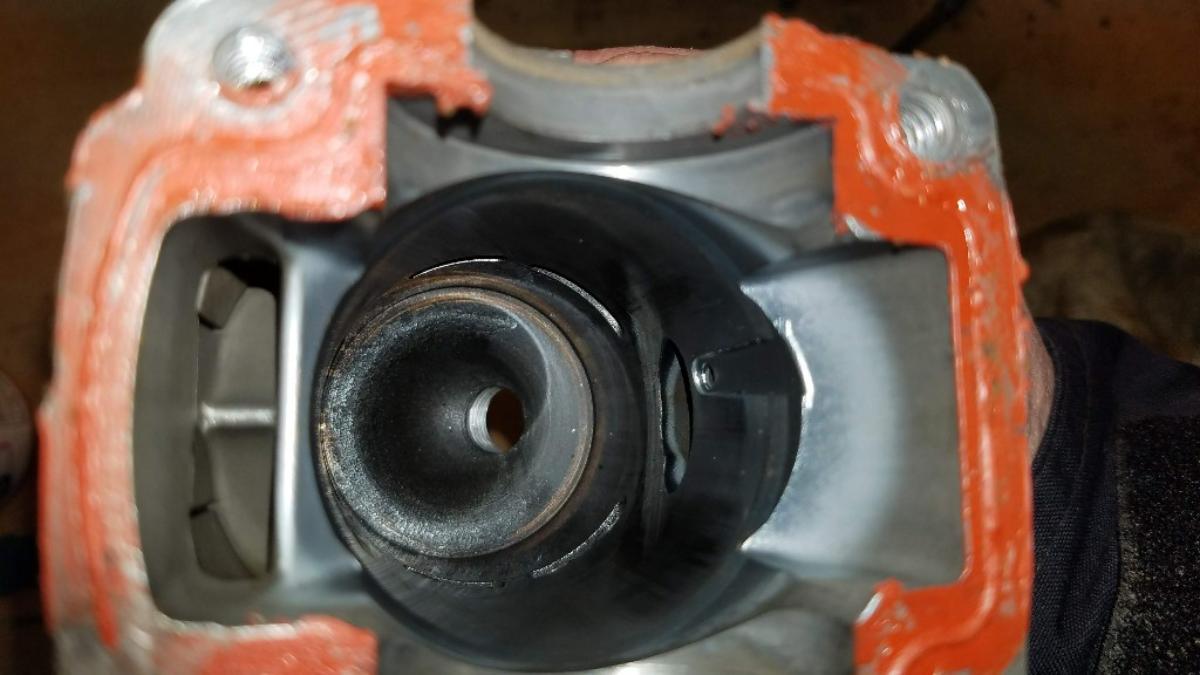
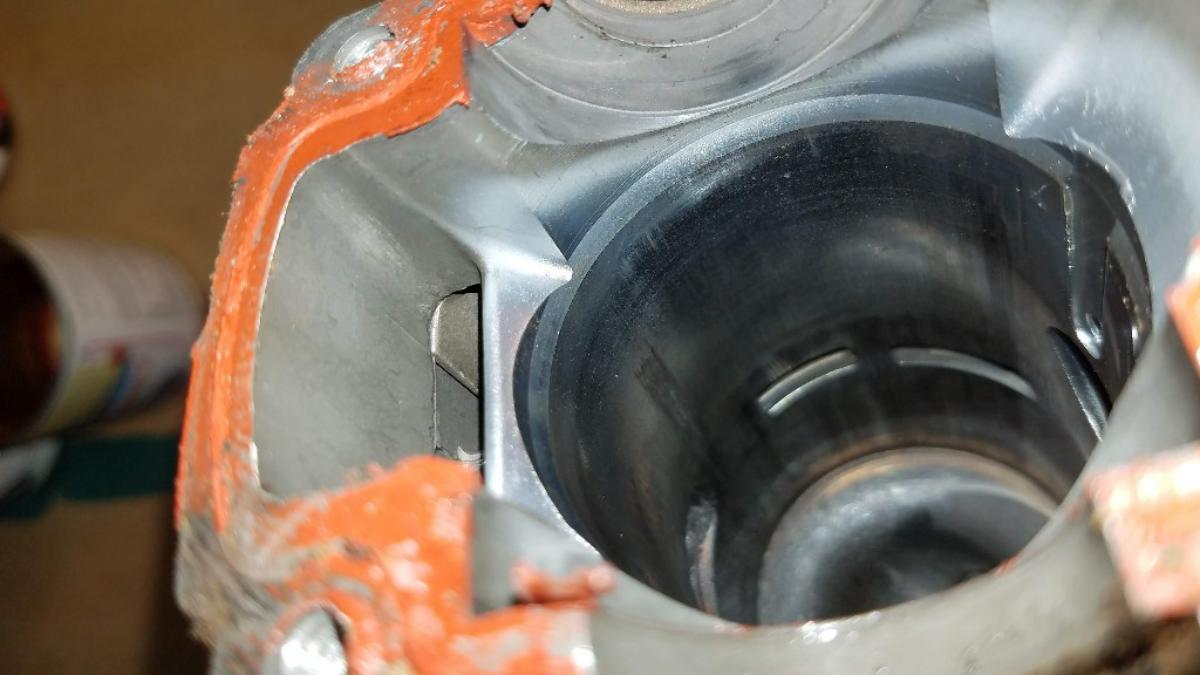
The saw I am working on here requires the new style, see picture (intake port is kind of cut off near the bottom in the image below…):
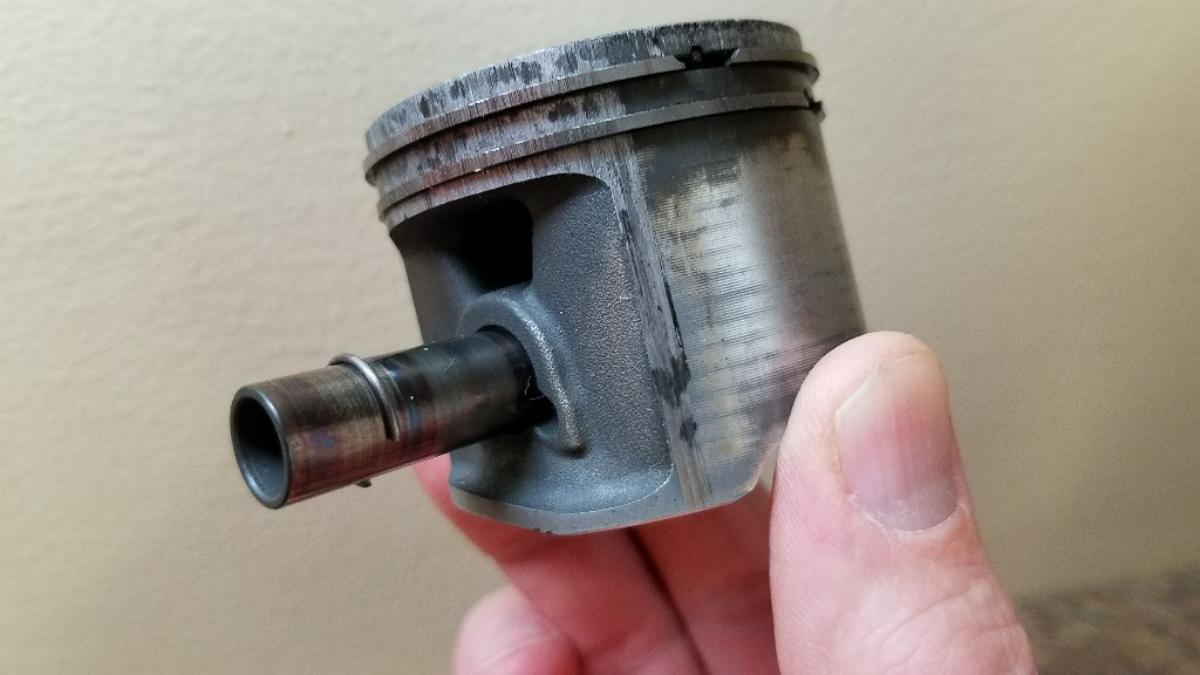
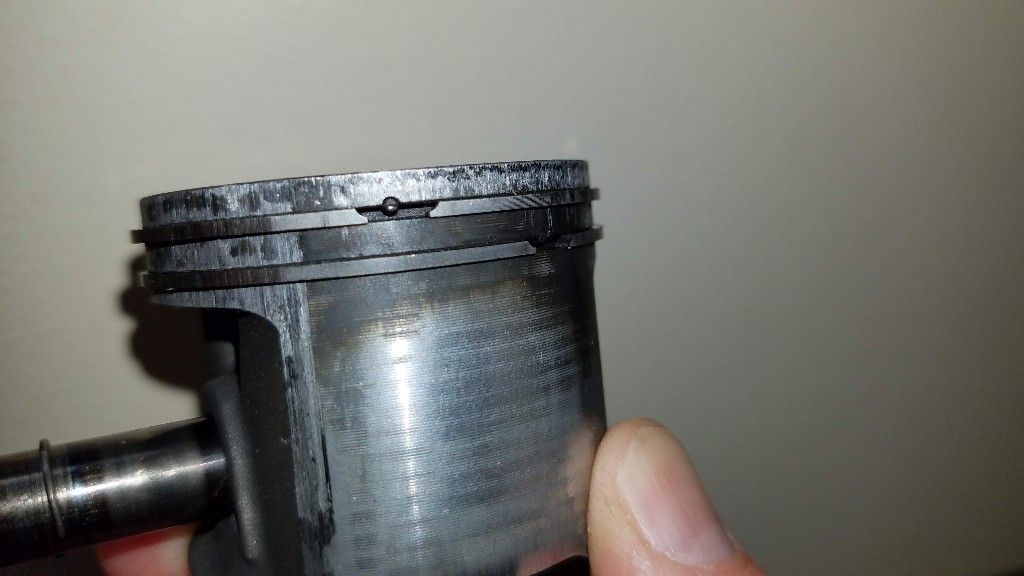
This is the bad piston.
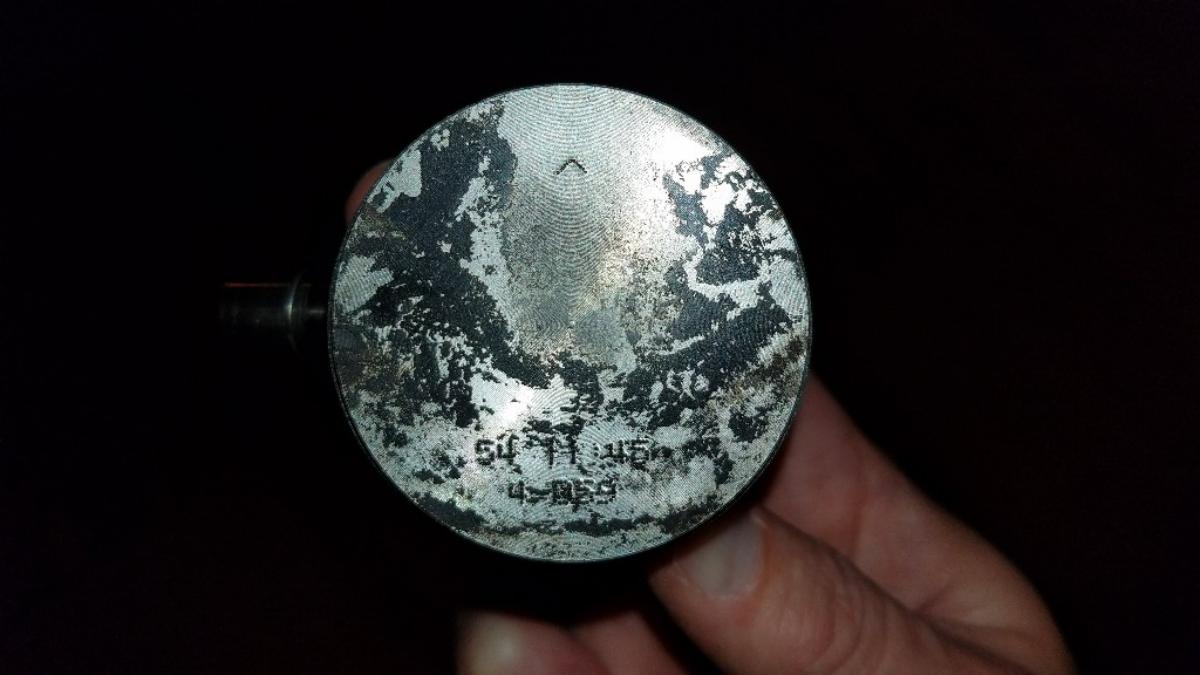
Here is a close up of the scoring (bad news!) …

There is a divot on one side of the piston alongside the wrist pin for the purposes of prying the clip off.
IMPORTANT: The wrist pin clips are very easy to lose! When you pry it off the first time, it will likely go flying. If you need to re-use, then make sure to keep track of it and pry it off slowly.
The top of the piston. This discoloration is normal.
When seating the new rings, pay attention to the staggering pins. The ring gaps are intentionally staggered, and these pins keep them that way. They also keep them so that they are not in line with the wrist pin. It is obvious once you see them, but until you do, you may wonder why the rings don’t seat fully… They are shown in this photo:
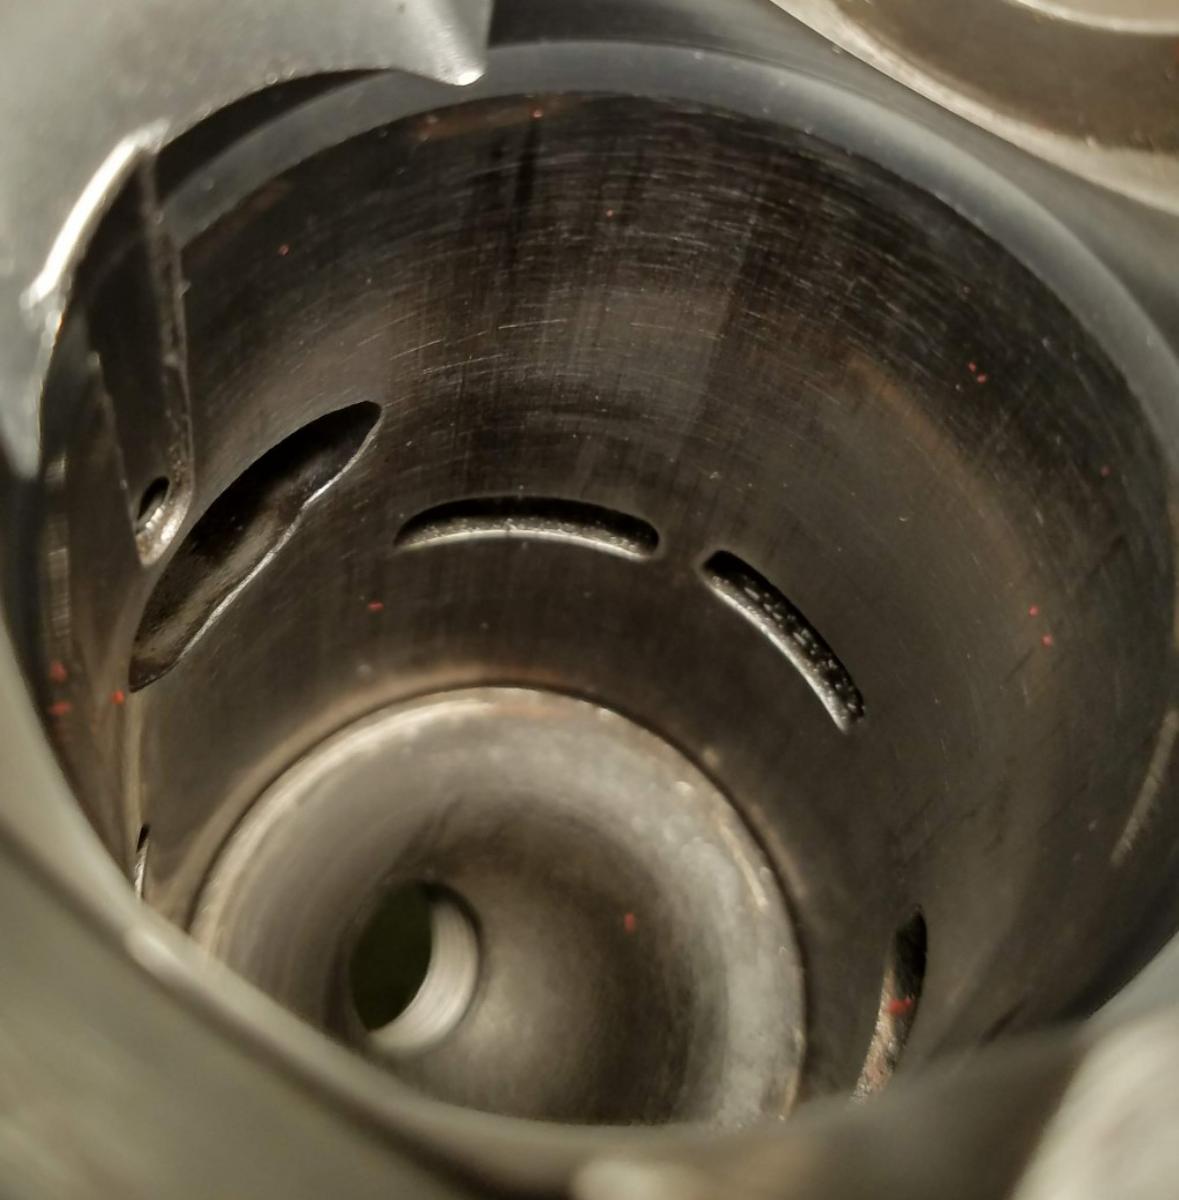
Here are a few photos showing the build-up on the inside of the cylinder.

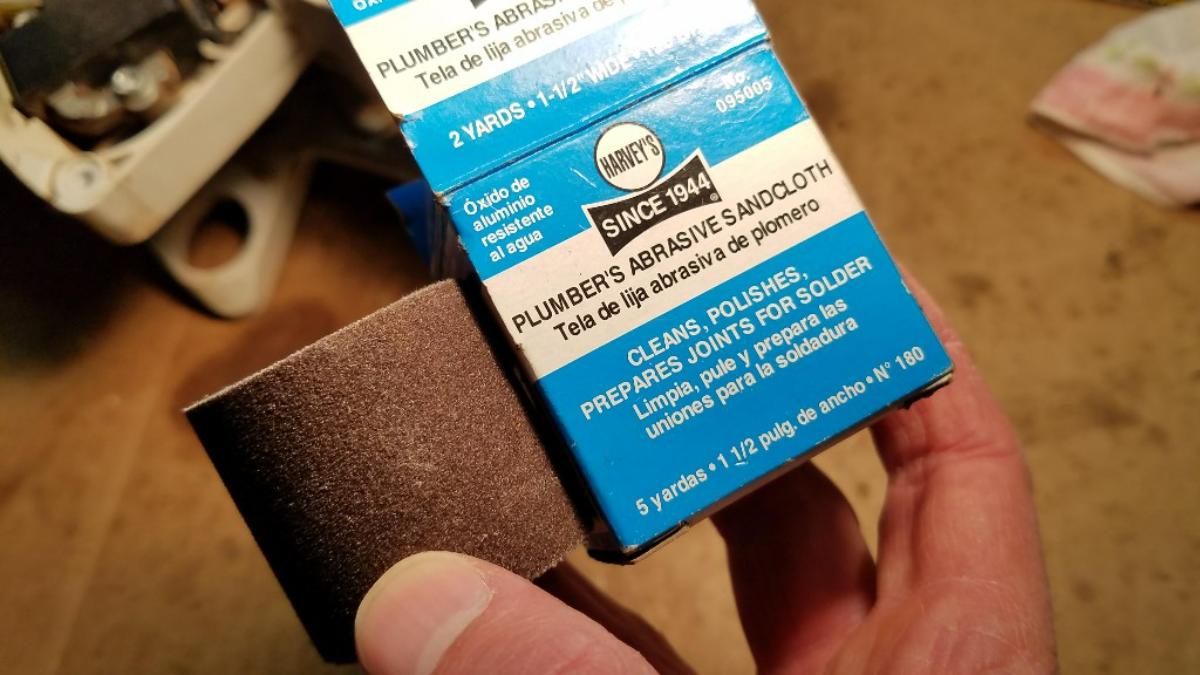
Use some abrasive sand-cloth, such as Harvey’s plumbers’ abrasive to sand and remove most of the build-up. Don’t go overboard. You just want to get the built-up ridges off. The honing in a later step will give the cylinder the appropriate hatching.
Once the cylinder is free from build-up, you are ready to hone the cylinder. Acquire a cylinder hone appropriate for this size cylinder and attach it to your drill. I used a hone like this, but I’ve heard great things about this flex hone which is much easier to use!


This reference from Toro was helpful in diagnosing the scored piston and gave a few examples of what the piston will look like based on the problem that caused it.
Don’t go overboard on the honing! You want to drill it at a relatively slow speed and move the drill in and out in order to get some nice 45-degree hatch lines on the inside of the cylinder. Cylinder should be completely clean and have the 45 hatch lines.
Remove any old gasket sealant from the cylinder.
Put some oil on the inside of the cylinder and then put in the new piston with the rings installed. It will slide nice into the cylinder because of the angled flange on the cylinder (note: this photo was from BEFORE the cleaning but shows the angled part well…).
Once the piston and cylinder are installed, take some of the gasket cover sealant and spread it evenly on top of the cylinder before re-attaching the cover. Let the sealant dry at least overnight, preferably several days.
Re-assemble the saw and put in fresh, properly mixed, gas. Then try it out! Don’t run the saw at high RPM the first several times you run it. In fact, Stihl recommends you never run the saw at full throttle unless it is under load (cutting wood).
Once you are happy with the way it is running, you’re golden!
Thanks for reading, I hope this was helpful for someone out there! If it was, leave a note in the comments!
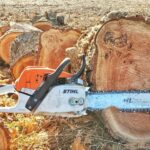
Here’s the saw in action after the piston replacement. And remember, keep those chips flyin’!

Here are links to the parts used and suggested in this article:
- large flat-blade screwdriver
- fuel stabilizer
- torx set
- air filter
- fuel filter or 10-pack
- Thin-walled 8mm socket (long extension)
- 47mm piston (new style) or
- 47mm piston (old style)
- gasket cover sealant
- abrasive sand-cloth
- cylinder hone
This tune up kit is the one I currently am recommending.
Thanks for reading! Have you tried something like this? Tell me about it in the comments!
Further Reading:
- Check out this post for the proper way to Change the Chain on a Chainsaw.
- Dull Chainsaw? Read this post to learn the Best Way to Sharpen a Chainsaw.
- Read the Best Method to Start a Stihl Chainsaw.

The most informative site I have ever been on I am going to replace the piston
on my MS291 and will definitely be buying the parts off your site
Hi, I liked reading what you had posted for the stihl ms291 I have the similar saw except I’m having trouble finding a piston kit for mine from what I have found it uses a 56cc piston I have looked and I can’t seem to find an aftermarket piston and rings wrist pin clips etc. any chance you have any recommendations to point me in the correct direction if possible? Also I believe it’s a 2015 ms291
Can you tell me how to get access on the 291 base to undo the four bolts that hold on the cylinder please.
Enjoyed your article. I just need a bit more detail on how to actually get to the cylinder to remove it. I went to a site that sells 291 workshop manuals and paid for one but then could not download it and may have been scammed!
Very good article. Im about to pull one apart in about an hour. Piston scoring very visible from exhaust port. Thank you
Good discription