How to Easily Replace Broken Mud Flaps – Honda Accord
Has the mud flap on your Honda Accord broken off, or worse, is it dragging? Mine was. In this post I go through the steps I took to remove the broken mud flap and install new ones!
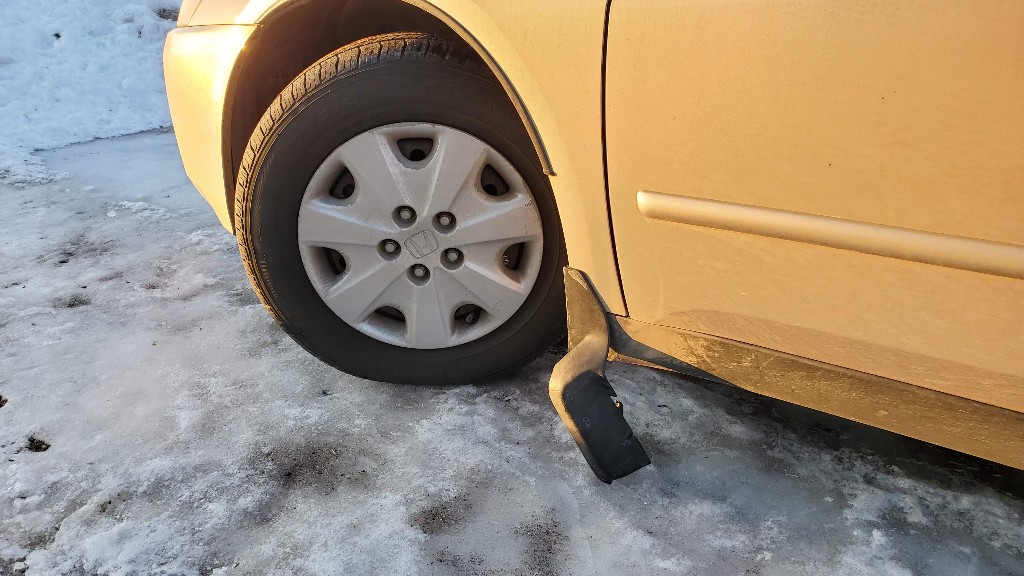
Cracked Mud Flap
It was winter, ice and snow was accumulating in the wheel well of the 2004 Honda Accord. Like usual I kicked at the ice chunks to break them loose. This time, it was bitterly cold and during one of the extra good kicks, the plastic mud flap cracked! Bummer! I didn’t think it was that bad until I started driving it and noticed that it was buffeting in the wind and occasionally scraping along the road! Time to replace it…
If you’ve found yourself in a similar situation, you are in the right place. This was a really quick fix that cost ~$20 and took about 20 minutes.
What You’ll Need:
- Phillips screwdriver
- 90 deg ratcheting screwdriver or Short-handled Phillips screwdriver (for the rear)
- Set of mud flaps for a Honda Accord
How to Change a Cracked Mud Flap on a Honda Accord
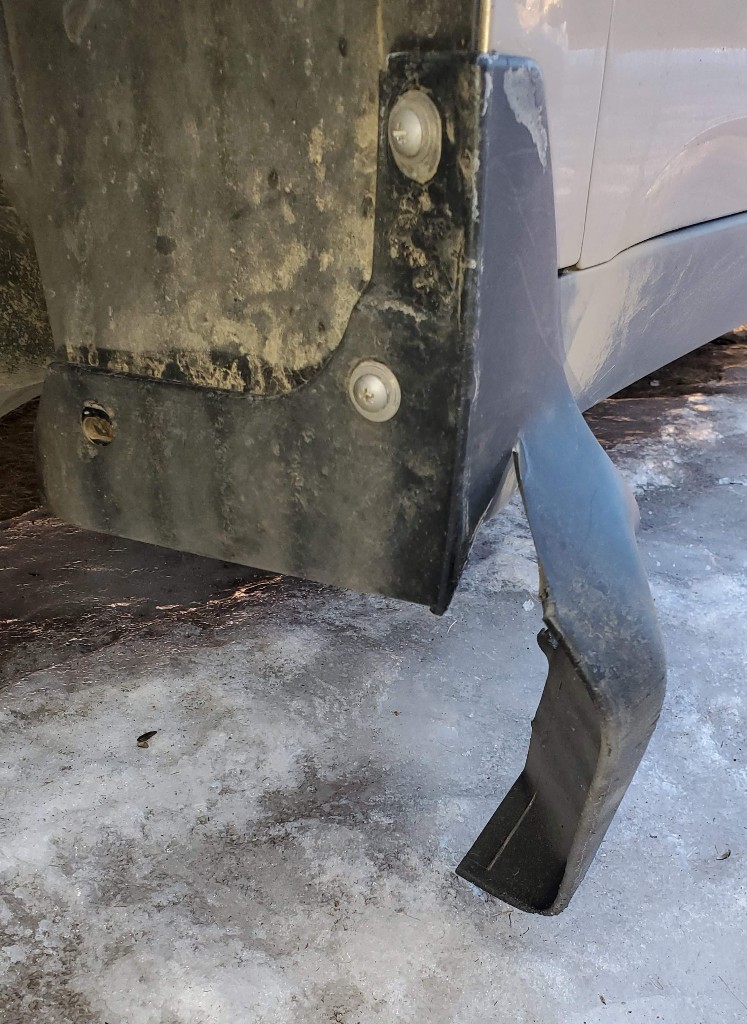
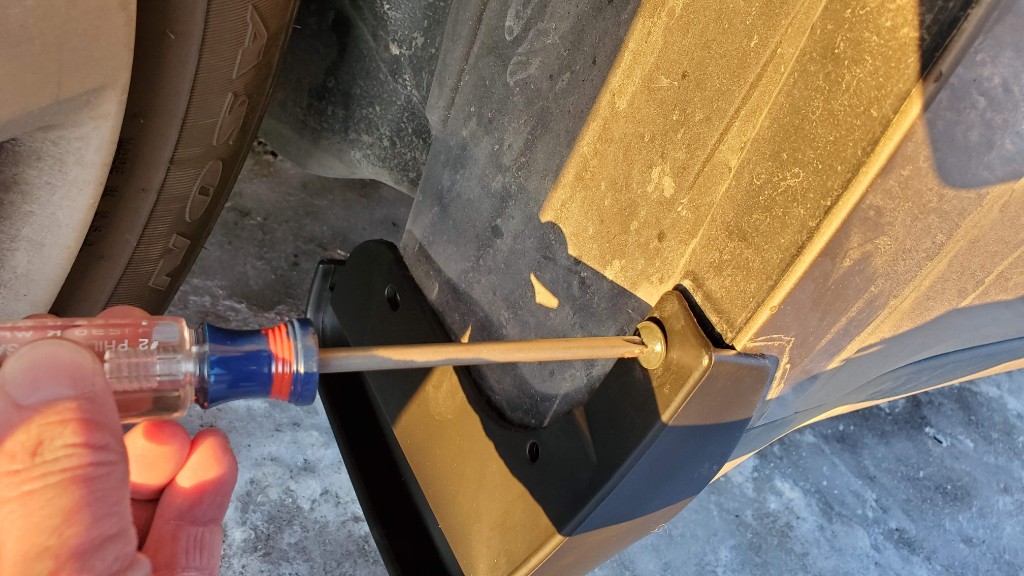
First I removed the old, cracked mud flap (I guess some people call them ‘splash guards’) using a Phillips screwdriver. On the front mud flaps there are 3 screws.
In order to get at them, turn the steering wheel all the way to the left (if replacing the left mud flap) or right (if replacing the right front mud flap). This will give you plenty of clearance to get at the screws.
Remove the three screws.
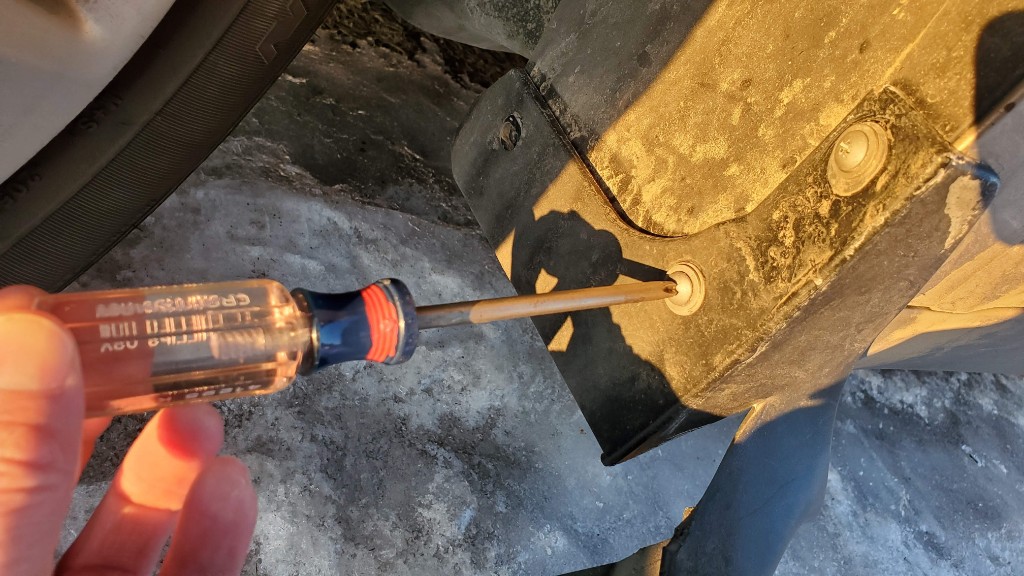
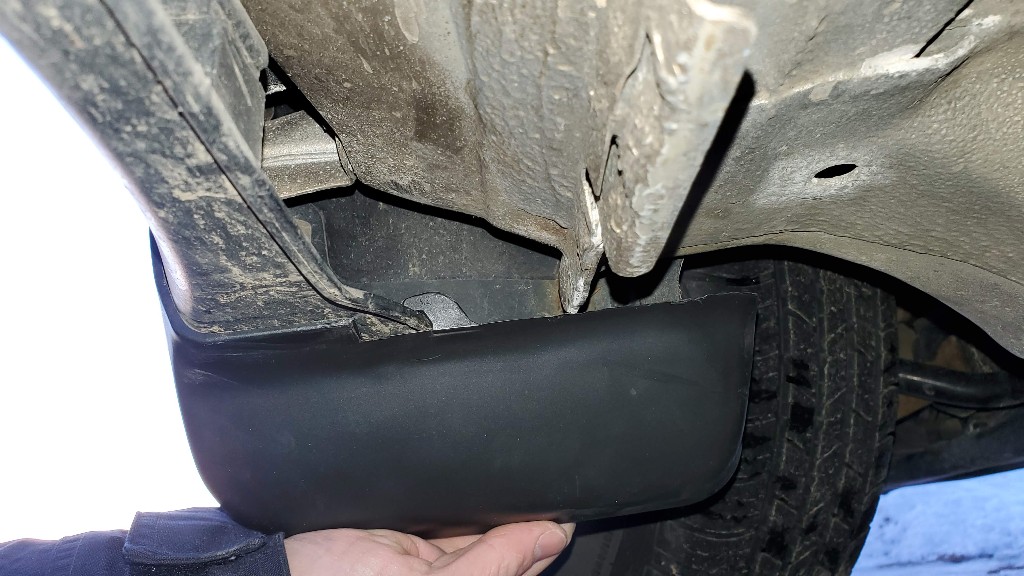
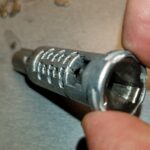
One thing I want to point out is that the top screw has nice threads to screw into. The hole furthest under the car just has just a hole and a Tinnerman clip. The first time I attempted to put the new mud flap on, I missed the Tinnerman clip and the screw would not tighten. If you’ve lost yours, or want to replace it, buy a pack of Tinnermans here.
You can see it in this view below on the left (it is kind of rusty). Make sure it is lined up properly before you start putting on the new mud flap.
I bought this set of mud flaps off of Amazon.
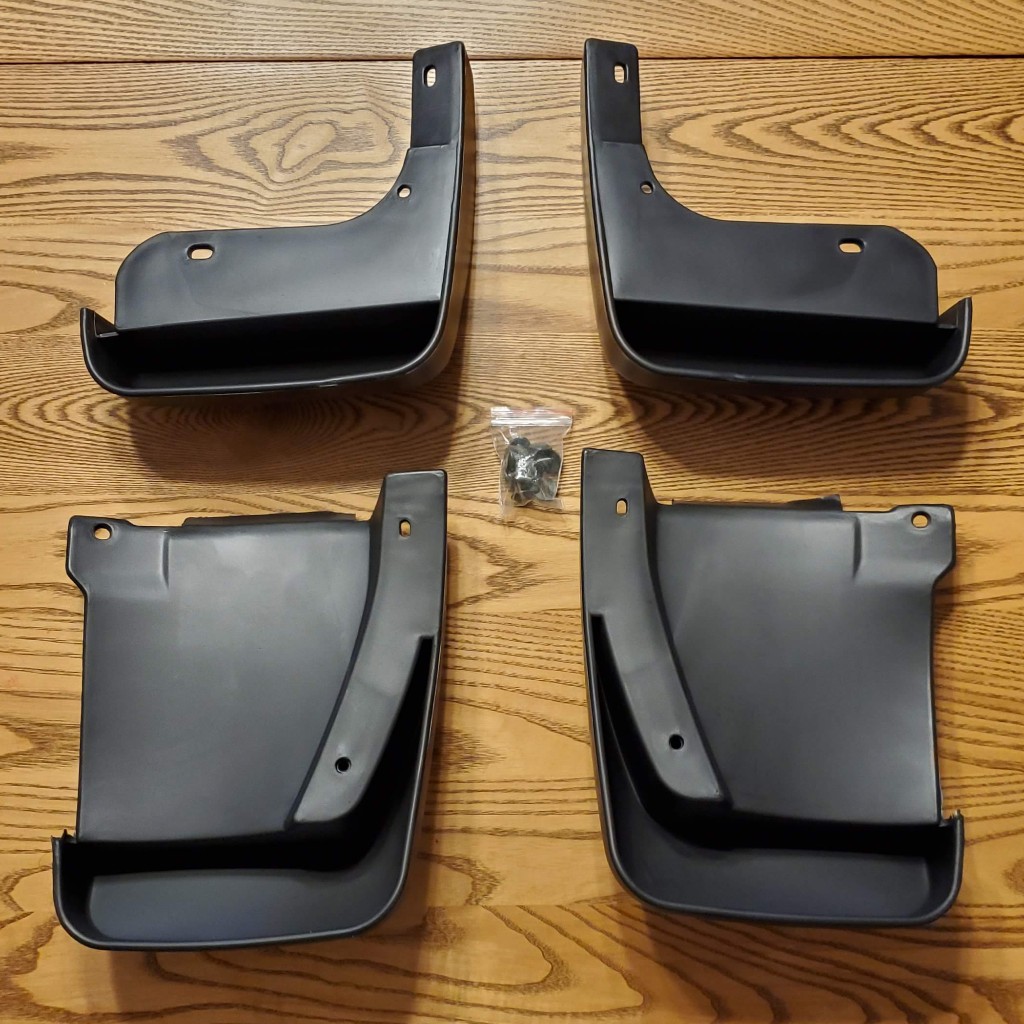
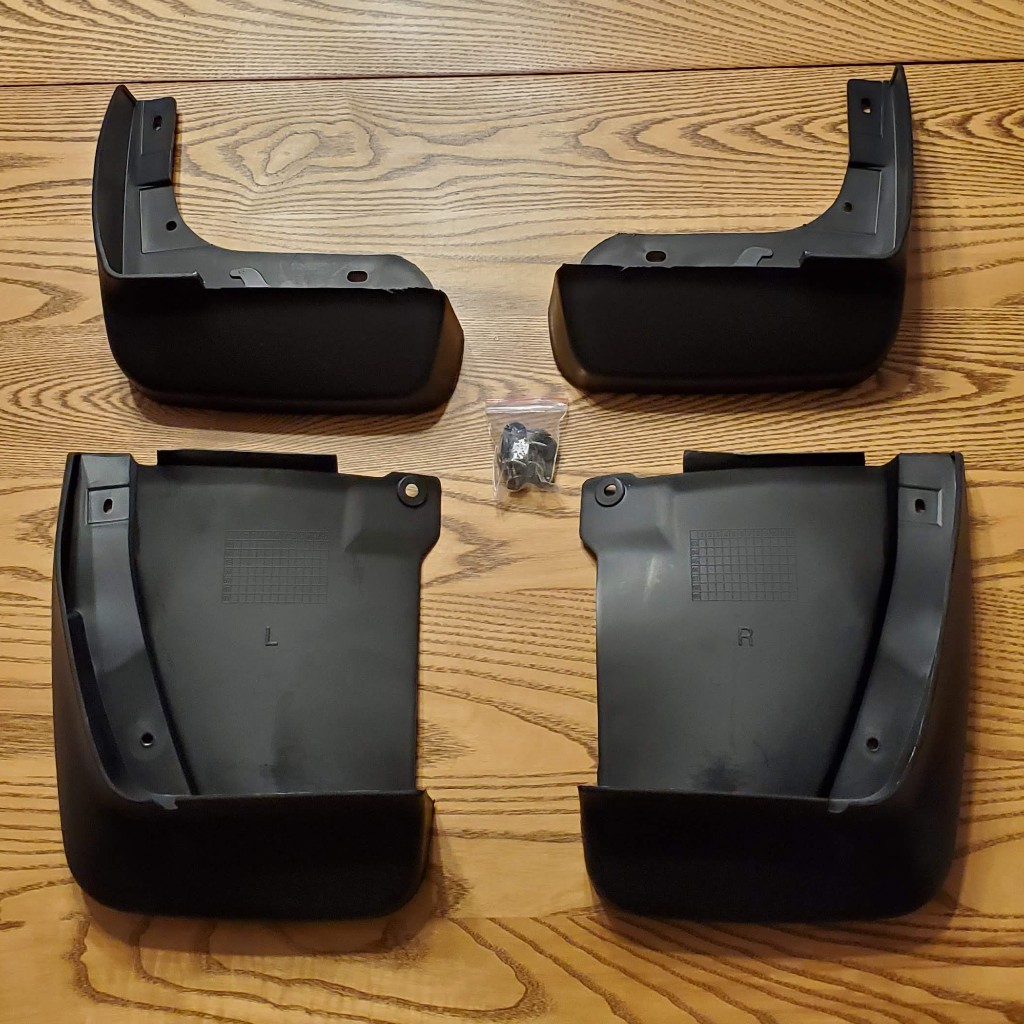
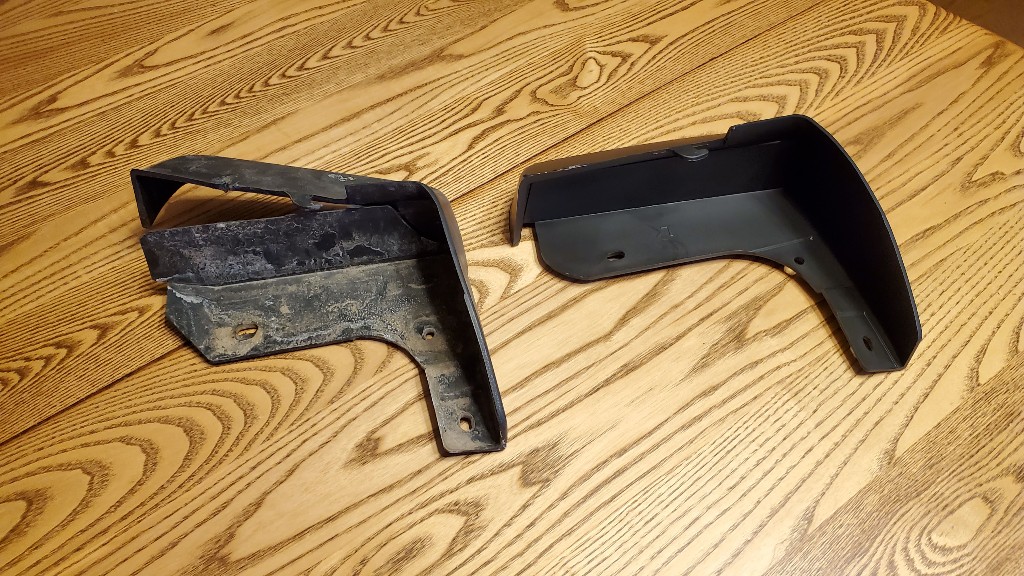
Here is a photo of the old and new flaps side by side. The holes all lined up perfectly, but the main difference was that the original flaps had aluminum inserts in each hole, whereas this new set did not. The aluminum inserts may help to keep the holes from tearing out later on down the road. I’ll keep an eye on it, but the plastic seems pretty rigid, so I am not too concerned about it at this point.
When you are ready to install the new mud flap, the first thing to note is that there is a small hook on the back of the mud flap. This needs to be hooked over the plastic part connected to the frame in the back. Here is a view of that hook from the back. If you don’t get that hooked, the back of the mud flap will not be supported.
With the back hook connected, go ahead and put in the first screw. It was helpful to not tighten the screw all the way because later on the other screws required me to line up the holes and it was useful to have the mud flap a little loose to make sure everything lined up.
Line up the other holes in the mud flap with the corresponding holes in the wheel well. Make sure not to lose the Tinnerman clip on the last screw and make sure it is lined up.
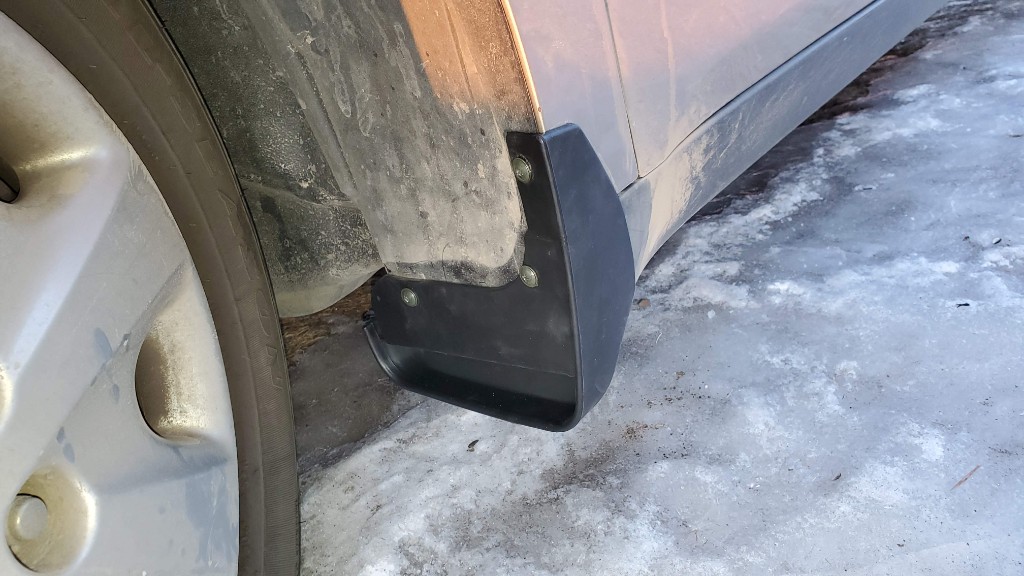
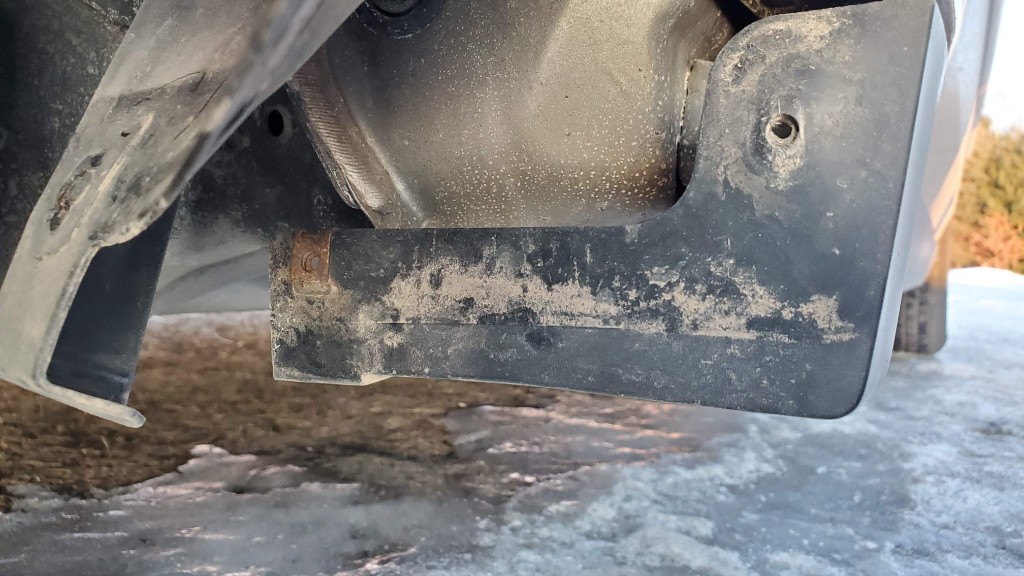
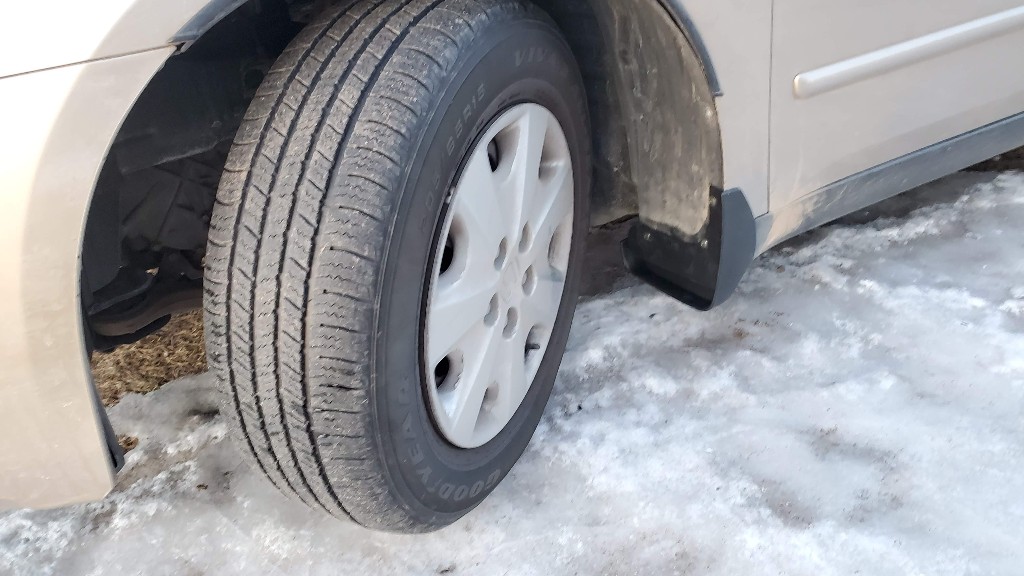
Here is the final view of the mud flap. The new flap works like a charm!
Repeat the same steps for the other mud flaps on the vehicle. One thing to note is that the rear mud flaps have a tighter space to work in because you can’t turn the wheels to get at them as easily. In this case use a 90 deg ratcheting screwdriver to get into the tight space.
Thanks for reading practicalmechanic.com, and I hope this was helpful for you!
Read more tips on maintaining your Honda Accord here!
Tools and Supplies Used:
- Phillips screwdriver
- 90 deg ratcheting screwdriver or Short-handled Phillips screwdriver (for the rear)
- Set of mud flaps for a Honda Accord


Thank you for your detailed instructions. This is very helpful for a 76 year old person.
You’re welcome, glad I could help!