Easy Way to Replace the Ice Maker in a Kenmore and LG Refrigerator
The ice maker on my Kenmore Refrigerator Model 795.79302.901 gave out. The following picture guide walks through the steps to quickly and easily replace it. It goes fast if you know a couple of key tricks for removing it.
This also applies to a fair number of LG refrigerators.
When you purchase items through links on this page, I may earn a commission at no extra cost to you. If you are going to purchase this part anyway, I appreciate it if you use this link.
Tools and Supplies Needed:
- Phillips screwdriver
- Small flat-head screwdriver
- Replacement Ice Maker for LG and Kenmore Refrigerators (PN5989JA0002NP)
This part also goes by these part numbers: 5989JA0002N 5989JA0002U 5989JA0002P 2650757 5989JA0002A PS7785531.
This replacement ice maker is also compatible with the following LG Refrigerators: 73952, 73954, 73959, 73963, GMT652DBFA, 75082, GMS652DSFA, and GM738DBFA.
How to Remove the Ice Maker – Kenmore Refrigerator
The first step is to unplug the refrigerator, then remove the ice tray and locate the ice maker.

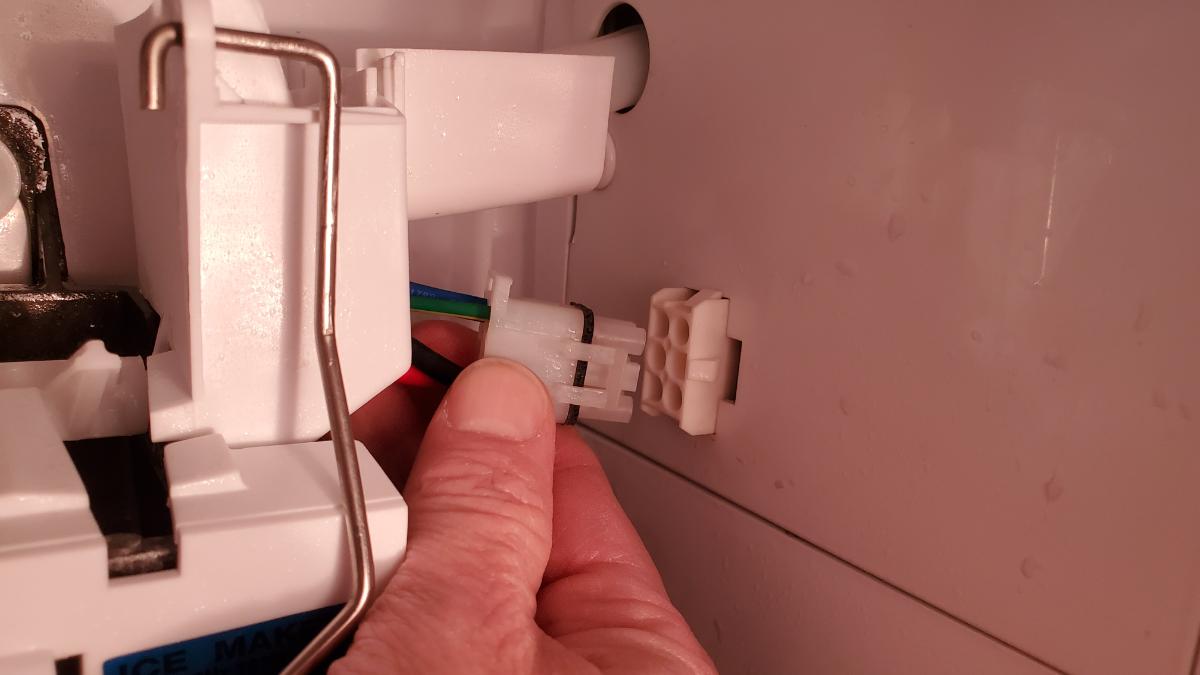
Next, reach to the back and press the 2 tabs on either side of the electrical plug, and pull the plug outward.
Tip: There are tabs on BOTH sides, be sure to press both as you remove it.
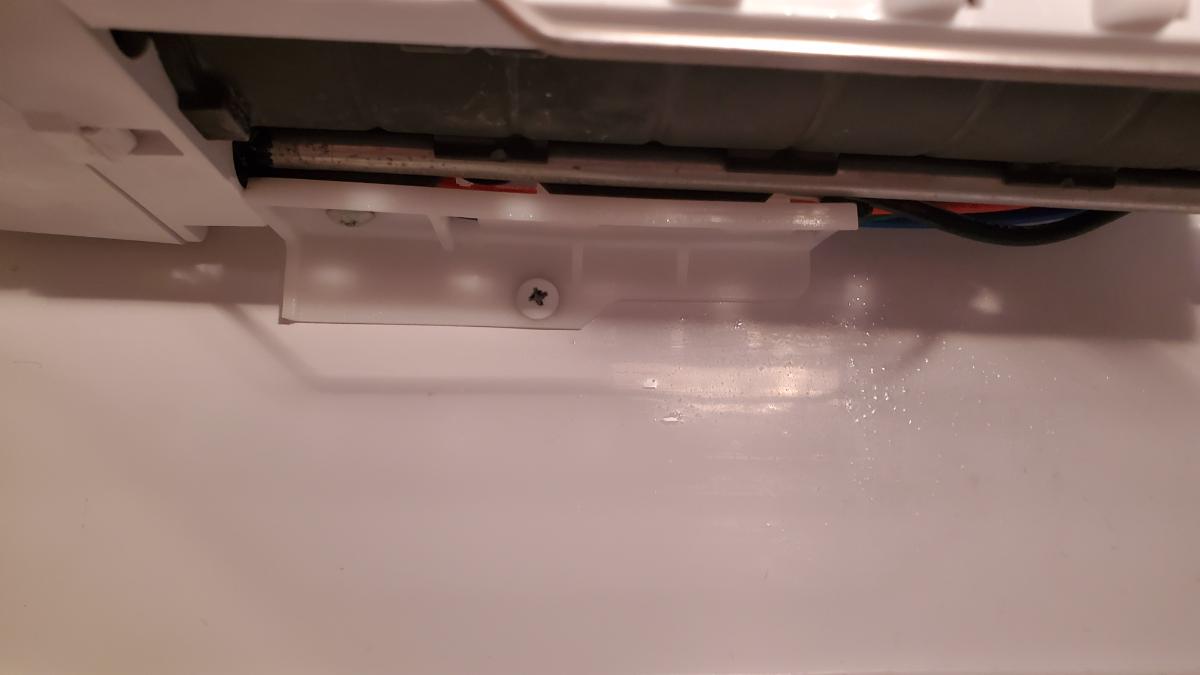
Now, remove the single Phillips-head screw on the bottom of the ice maker that is holding it to the wall. Completely remove this screw.
On the top of the ice maker, there are 2 additional Phillips-head screws. You don’t need to remove these completely. Just loosen them about 2-3 turns.

With the bottom screw removed, and the top 2 screws loosened, press upward on the ice maker. It will pop off of the 2 upper screws, then pull it out.

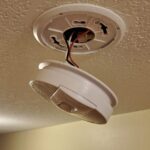
This is what remains once the ice maker has been removed.

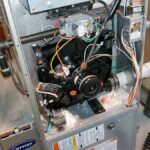
This is the defective ice maker.

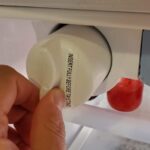
Here are the Model number, Part number, and Specifications for this ice maker:
- P/N 5989JA0002P
- Model# SA12810
- 115V, 60Hz, 191W, 1.65amps
Here is a link to purchase this ice maker:
Replacement Ice Maker for LG and Kenmore Refrigerators (PN5989JA0002NP)

To put in the new icemaker, perform the steps in reverse. Remember to plug in the refrigerator when you are done!
Repairing the Ice Maker
This is a view of the bottom of the icemaker.

If you would like to repair the ice maker, you need to expose the control board. To do this look in the end of the portion where the motor and control board is. There is a Phillips-head screw there. Remove this screw.
There is also a tab on the other side. Use a flat-head screwdriver to pry that plastic tab upward and push it out.

The final plastic tab is on the bottom. Use a flat-head screwdriver to push it in, while pulling out on the cover.
The cover will now pop off.

Revealing the control board underneath.
Unfortunately, they have dosed all of the components with glue…

A common point of failure on these units is the heater coil at the bottom.

I hope this helped you.
Tools and Supplies Needed:
- Phillips screwdriver
- Small flat-head screwdriver
- Replacement Ice Maker for LG and Kenmore Refrigerators (PN5989JA0002NP)