
How to Change Automatic Transmission Fluid (ATF) in a Honda Accord
This guide describes the steps to take in order to perform the recommended transmission fluid flush on a Honda Accord. Pictures are included. Regular ATF drain and fill will help keep your transmission running smoothly for years to come.
This guide describes the steps for a 4 cylinder 2004 Honda Accord. This should also apply for the years 2003, 2005, 2006, and 2007.
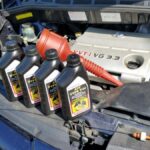
When you buy through links on our site, we may earn an affiliate commission – at no cost to you. It is generally recommended that you use the Honda ATF and perform a drain and fill every 30,000 miles or so. For one drain and fill, you will need 3 qts. I bought a case of Honda ATF off Amazon.
Step-By-Step ATF Drain and Fill Procedure
Okay, in the following section, I provide the details of how to perform the ATF flush.
What you’ll need:
Tools:
The first step is to crawl under the vehicle and locate the transmission fluid drain plug.

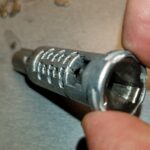
The drain plug is slightly unusual as it takes a 3/8″ socket wrench connection with no socket attached.

Here is a good view of the transmission fluid drain plug in relation to the rest of the vehicle, with the socket wrench attached to the drain plug.

Loosen the drain plug with the socket wrench, then position a drain pan underneath it and take it the last way with your fingers. Beware, the transmission fluid shoots out pretty far!
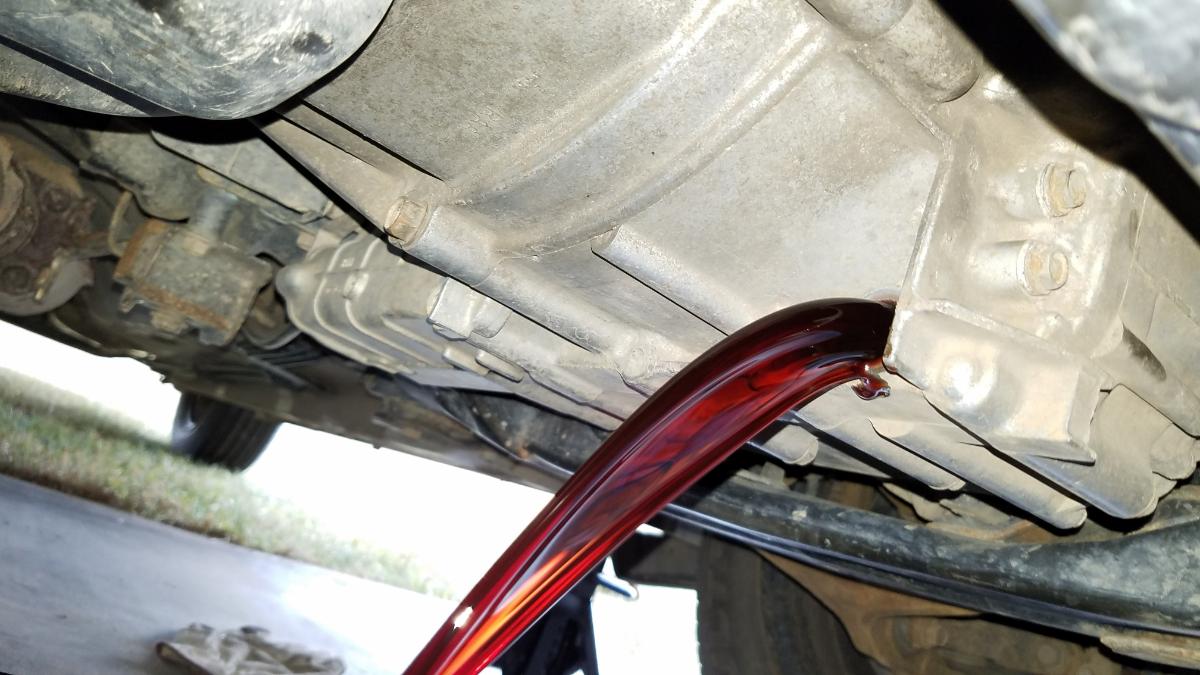
If the vehicle is level, almost exactly 3 quarts of old transmission fluid will drain out.
While it is draining, inspect the drain plug. Clean off any debris that has collected on the magnet, with a clean rag.
And put on a new crush washer.

Once the fluid draining slows to a trickle…

Put the drain plug back in. Use a torque wrench to tighten the plug. The torque specification is 36 ft-lbs.

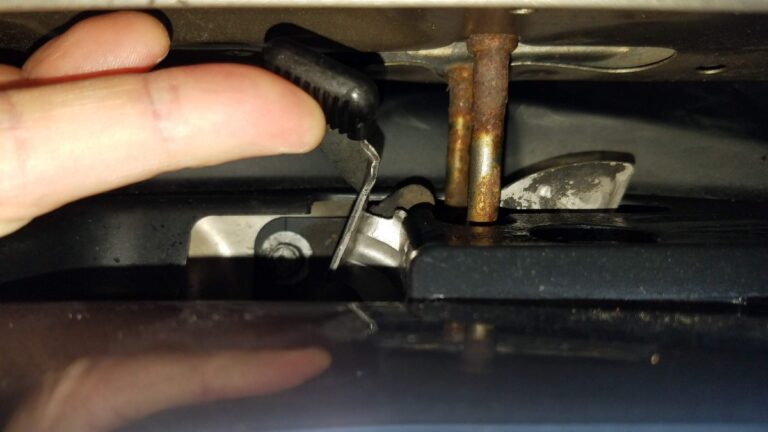
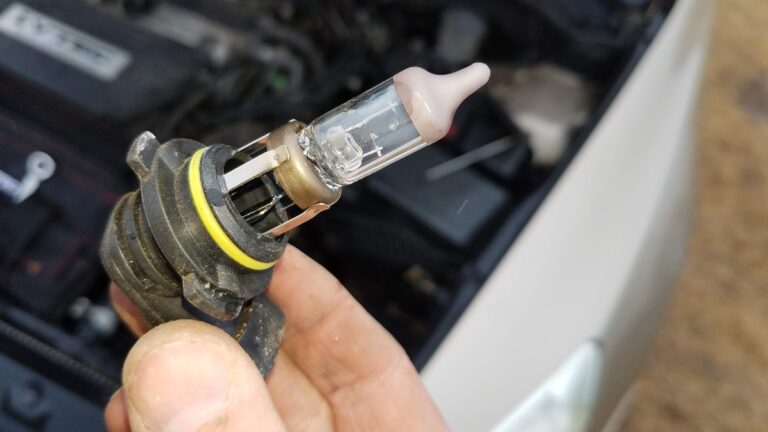
You are now ready to crawl out from under the car, pop the hood, and add in the fresh ATF. Locate the ATF dipstick, next to the battery. Often these have a yellow bit on the end, like in the next photo.

Remove the dipstick and use the long funnel, or use the poor-man’s long funnel by adding a length of old tubing onto the end of a regular funnel.

Put the end of the tubing right into the dipstick hole. This is where you will add the fresh ATF.

Position the funnel so that it will be easy to fill.

Pour in 3 quarts of the DW-1 ATF fluid.
Warning – Pour Slowly! It takes a little while to ‘gulp’, and if you pour too fast, it will overflow at the opening.

After the 3 quarts are added, take out the funnel, put the dip stick back in, close the hood, and you are ready to go.
For a ‘complete flush’, this process should be repeated 3 times, with about 100 miles or so of driving between flushes. This will flush through a total of 9 quarts.
Thanks for reading, and I hope this can help someone else. This procedure really helped me a lot, and made the Accord purr like a kitten, with no more stuttering.
Here’s a summary of the links to supplies and tools that were referenced in this article.
Supplies Used:
Tools Used:
For more information on Honda Accord maintenance, check out these articles:
Maintenance Articles on Honda Accords
If you found this article handy, sign up for our newsletter and get information like this directly to your inbox!

0 Comments