Putting on a Tire – How to Tighten Lug Nuts
This picture guide walks through the proper steps to follow when putting a tire back on. There are many wrong ways to do this, and really only one right way. These steps are key to making sure your tire is put back on safely and efficiently.
After that, we go through how to change a flat tire, and why you should never drive on a flat tire. Okay, let’s get started!
Why it’s Important
There are a number of reasons that you want to make sure that your lug nuts are properly tightened. A few of those are:
- You don’t want the lug nuts so tight that they break off the studs.
- You don’t want the lug nuts so loose that they work loose from vibrations.
- You don’t want to tighten the lug nuts to the point where they distort the brake rotor (this is one of the main causes of the dreaded “braking shimmy“).
- You don’t want the lug nuts so tight that you cannot get them off the next time you need to change a flat tire on the side of the freeway, with just the car’s spare tire wrench.
What Typically Goes Wrong
Even though there are lots of ways to screw this up, there are 2 ways that are by far the most common. The first is using an impact wrench to tighten the lug nuts. Anyone who uses an impact wrench to tighten lug nuts is almost guaranteed to over-tighten them.

Even tightening by hand, most people will naturally over-tighten, afterall, you don’t want the tire to fall off, do you? Wrong! Don’t think of it this way. Instead, think of it like this: every time you over-tighten the lug nuts, you are bending the threads on the studs. This actually damages the threads and makes them less effective!
Use a proper torque wrench and look up the torque specs for your vehicle. Check out this article on the proper way to use a torque wrench.

The second most common mistake is not tightening the lug nuts in the correct order. In order to make sure that the tire is evenly tightened all the way around, tighten the nuts in a star pattern and a little bit at a time, then repeat the process.

In other words, you will ideally make several circuits of the star pattern, slightly tightening each nut, until by the last circuit, each nut is at the proper torque. Usually about 3 circuits of the star pattern is enough to ensure proper tightening.
The Proper Way to Tighten Lug Nuts
The proper way to tighten lug nuts is to first put the tire onto the studs with the vehicle jacked up. Then put on the lug nuts and tighten them finger tight. Do not put any sort of lubricant or anti-seize on the threads. The torque specification for your vehicle is based on clean dry threads. So make sure the threads of the studs are clean, dry, and free of sand or debris.
Then, perform one circuit of the star pattern of tightening using a torque wrench set to the torque spec of the lug nuts, without fully tightening the lug nuts to the full torque spec.
At this point, lower the vehicle so that the weight is on the tire. Then make another circuit of the star pattern of tightening the lug nuts. Again, do not feel the need to tighten all the way to the maximum torque.

Now, perform the final circuit of the star pattern of tightening. This time, go ahead and tighten the lug nuts to the full torque specification. I usually give the torque wrench 2 clicks to verify the torque has been reached.
The final tip is to make sure that you re-torque your lug nuts after you’ve driven the vehicle about 50-100 miles. This will make sure that they are properly seated and ensure that they remain at the proper tightness until the next time the wheel must be removed.
How to Change a Flat Tire
Got a flat tire? Not sure how to access the spare tire? I’m here to help; follow this quick picture guide to change a flat tire and get back on the road fast!
A few years back, I was driving through Mississippi on a clear, beautiful summer day – not too hot, sun shining, radio playing, enjoying life – when, BAM! I hit a chunk of concrete that was lying in the road. I should have been paying more attention to the road! Pretty soon the steering starts to shake and the car pulls to the right… Flat tire. I pulled over to assess the situation.
I was going to miss my appointment, but fortunately, it was the perfect day to change a flat tire! I’ve had a flat tire or a dead battery in weather much worse than that, so there’s that to be thankful for! So anyway, about one hour and two pit stains later, I was back on the road with the “donut” installed, and the flat tire in the trunk.
In honor of that event, this article walks through the steps for changing a flat tire.
What You’ll Need:
Changing a Tire – Step by Step
Before you start, make sure you are in a safe place before you start changing the flat tire. You should be on flat, solid ground. Use flares, triangle warning signs, or emergency flashers if necessary.
1. Set the Parking Brake
Set the parking brake by pulling the click lever between the 2 front seats, or press the small parking brake pedal to the far left of the brake pedal. If you can find a rock or block of wood, wedge that under one of the other wheels as well in order to keep the car from rolling.
2. Loosen the Lug Nuts
Before jacking up the car, you’ll want to loosen the lug nuts. Why? Because the weight of the car on the ground will help keep the wheel stationary while you are turning the lug nuts. If the car is jacked up, the wheel may turn while you are trying to loosen the nuts.
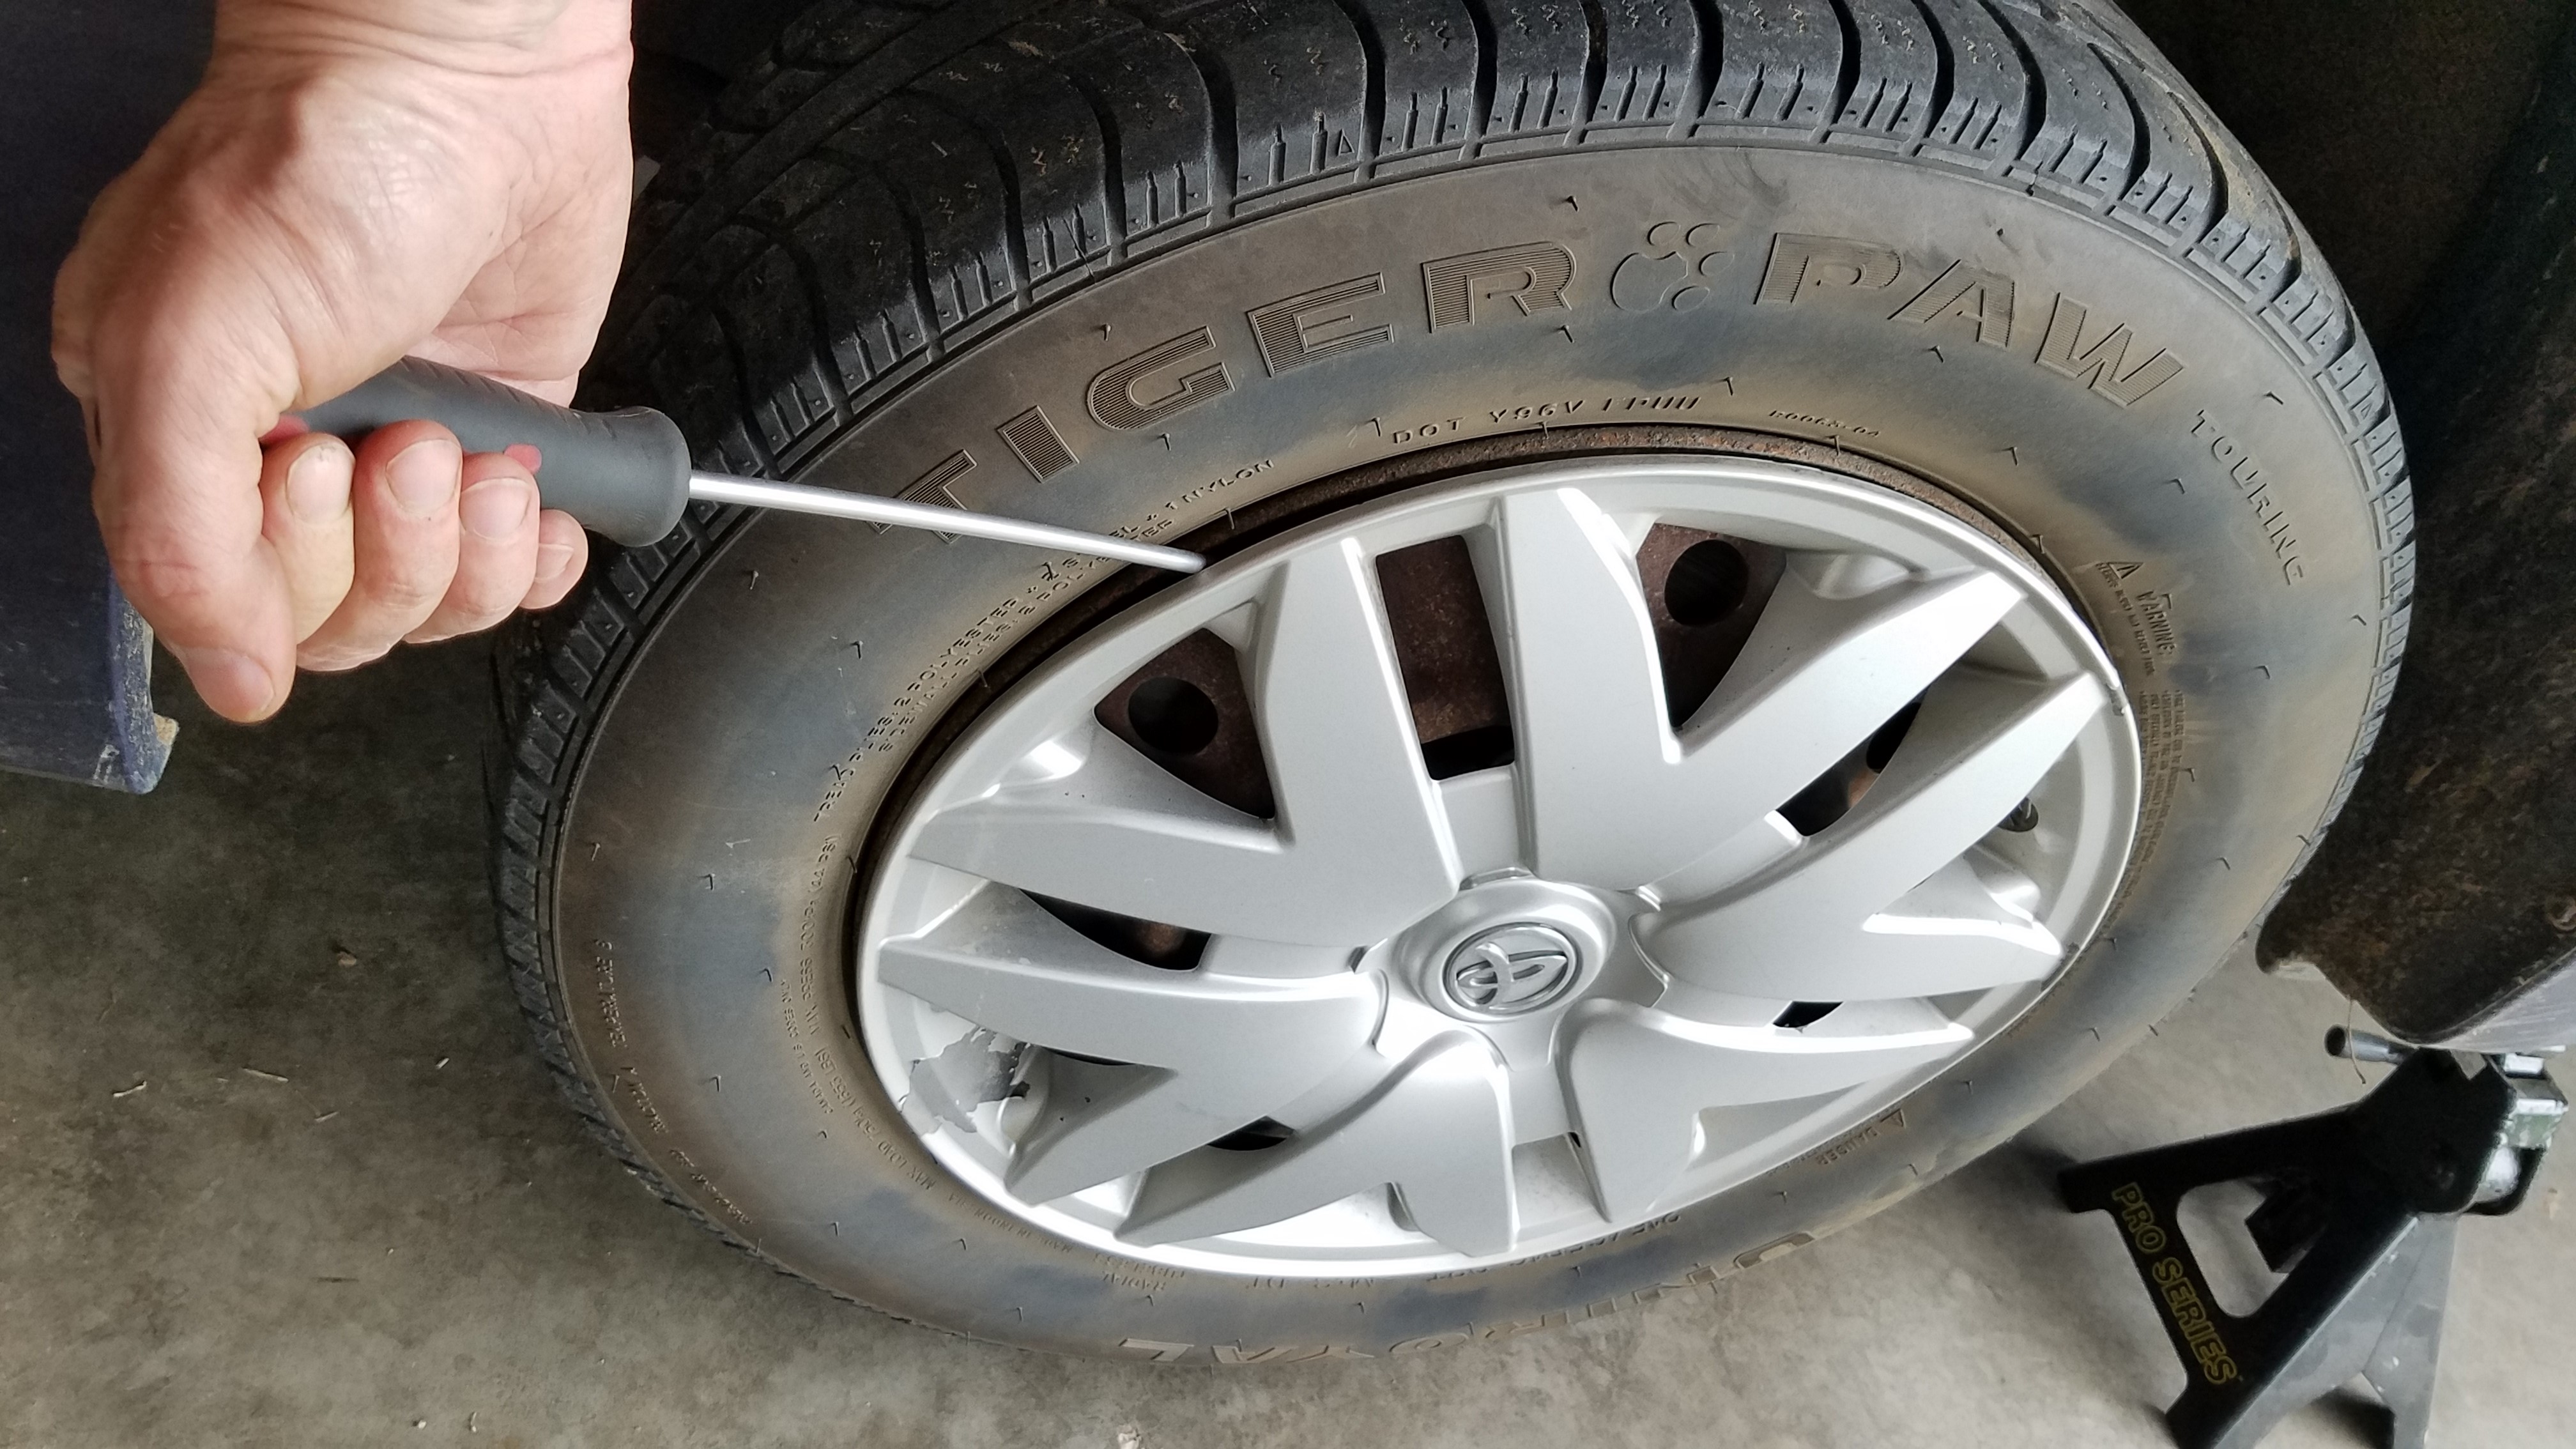
If your vehicle has hub caps that are covering the lug nuts, take the lug nut wrench (usually located in the trunk with the jack) and use the flat end to pry off the hub cap. If your vehicle has exposed lug nuts, you don’t have to remove the hub cap first.
Now use the lug nut wrench to loosen the lug nuts. Fit the wrench onto one of the nuts, and turn it counter-clockwise (lefty-loosey!). Don’t remove it fully, just break it loose. Repeat for all of the lug nuts. You will remove them after the vehicle is jacked up.
3. Jack up the Vehicle
With the lug nuts slightly loosened, locate the jack. It’s usually in the trunk under the floor mat. If you don’t have one, consider investing in a simple portable scissor jack.

Position the jack between the notches in the frame of the car just ahead of, or behind, the tire.

Then use the crank to twist the knob and extend the scissor jack. Lift the car high enough that the wheel is an inch or so off the ground.
4. Remove the Flat Tire
Now use the lug nut wrench to remove the lug nuts all the way and set them someplace safe. Once they are all removed, pull the tire off of the studs.

Sometimes the tire is ‘rusted on.’ In this case, kick the tire to get it loose (don’t kick so hard you knock the car off the jack!).

5. Put on the Spare Tire
Now take the spare tire out of the trunk. If you can’t find the spare tire, consult the manual (some spare tires are located under the car, for those, locate a nut on the floor in the trunk, usually under the rug – loosen the nut with the lug nut wrench to lower the wheel to the ground).
Lift the spare tire onto the studs, and put on one of the top lug nuts to hold it in place. Then put on the remaining lug nuts. Don’t tighten them fully yet. We will do the reverse of what we did to take them off. Just tighten all the lug nuts until they are nice and snug. The spare tire should be tight; you shouldn’t be able to wiggle it by hand.

6. Remove the Jack
We’re now ready to lower the car. Use the crank to lower the scissor jack down. Watch the tire as it takes on the weight of the car. If anything comes loose, you can lift the car again.
Once the car is fully lowered, remove the jack and stow it.
7. Tighten Lug Nuts
Use the lug nut wrench to tighten the lug nuts as much as you can. Tighten them in a star pattern if possible, meaning tighten one nut, then do one on the opposite side. Keep tightening in this manner until all the lug nuts are tight.
8. Repair the Flat Tire
After everything is stowed in the vehicle, including the flat tire, carefully drive the car to a shop to have the flat tire repaired. Bear in mind that many spare tires have a maximum speed, so check your owner’s manual to find out what the maximum speed you can drive on the spare tire is.
Tools and Supplies for Repairing a Flat
In case you don’t already have them, the following items may be helpful for changing a tire:
- scissor jack
- lug nut wrench
- dial tire pressure gauge
- Portable Tire Inflator (Battery Operated)
Can you Drive on a Flat Tire?
Imagine this scenario: you’re cruising down the highway, belting out your favorite tune, and suddenly you feel a strange vibration coming from your car. You glance down at the dashboard and see that one of your tire pressure warning lights has come on. You think to yourself, “I’ll just make it to the next exit and then deal with it.”
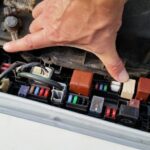
Is your TPMS (flat tire) light on, but your tire isn’t flat? This article tells you how to fix it!

Should you try to make it to the next gas station? What’s the harm in driving on a flat tire, it’s already flat!
Wrong move, my friend! Go ahead and put on the spare tire. If you’re driving on a flat tire, you’re putting yourself and your beloved ride in serious danger. Here’s why:
Totter and Wobble
Flat tires are like high heels for your car – they can make it totter and wobble all over the place. This can make it difficult to maintain control of your vehicle and increase your chances of getting into a crash.
This can be extremely dangerous. When a tire is flat, it is unable to provide the proper support and traction that your vehicle needs to safely travel on the road.
Rim Damage
When you’re driving on a flat tire, the rim of the wheel is actually coming into contact with the road. This can damage the rim, the tire, and even the suspension of your car. Talk about a rough ride!
Okay, let’s say you continued to drive with a completely flat tire. Now the cost of repair has gone up significantly. Repairing a flat tire caused by a nail or screw in the road is usually less than $25 (if the sidewall isn’t damaged). But if you drive on a flat tire and the rim and sidewalls get damaged, now you are looking at replacing the entire tire and rim!

Handling and Control
Flat tires can cause your car to handle poorly, making it difficult to steer and brake. Imagine trying to parallel park with a flat tire – you’d end up in a parallel universe!
Overheating
If your tire is low on air pressure but not yet completely flat, the increased tire deformation with each rotation can cause the tire to overheat, which can lead to a blowout. And let’s be real, no one wants to be driving down the highway with a giant explosion happening underneath them.
Conclusion
So, in conclusion, if you ever find yourself with a flat tire, don’t try to be a hero and drive on it. Just pull over to the side of the road, change the tire, and get on your way. Trust us, it’s better to be safe than sorry.
The National Highway Traffic Safety Administration is a good resource for additional information regarding proper tire pressure, tread, balance and alignment, rotation, and recommended tire size for your vehicle.
Thanks for reading,
Richard Tomlinsen

One Comment