
How to Replace the Inner Tail Light – Passenger’s Side – Honda Accord
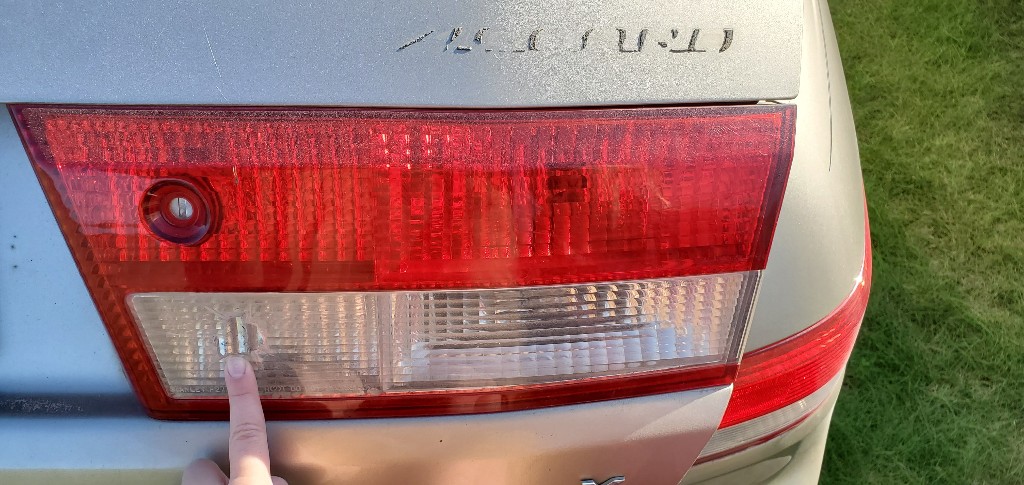
The lawn mower flung a rock that broke the passenger’s side inner tail light on my car. In this post I go through the steps to replace the tail light reflector on a 2002-2007 Honda Accord.
Background
This is a really simple replacement, and it makes sure you won’t get pulled over for the classic ‘cracked tail light’! Get a replacement from a local junkyard, or order a relatively inexpensive new one.
Tools and Supplies Used:
Note: I may receive a small commission from Amazon if you purchase anything through these links, at no extra cost to you; thanks for supporting practicalmechanic.com!
- 8mm wrench
- pliers
- replacement passengers side inner tail light
Step by Step Instructions for Replacing the Tail Light
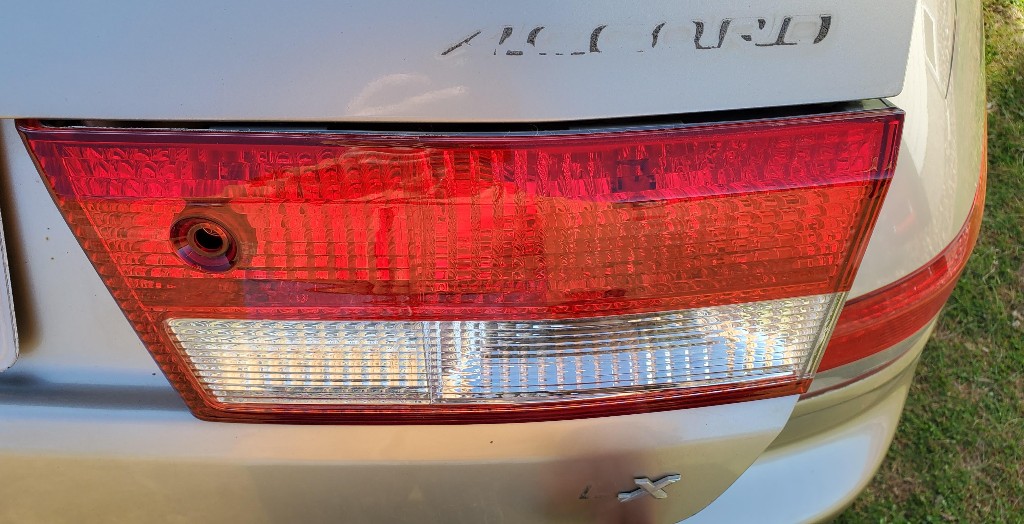
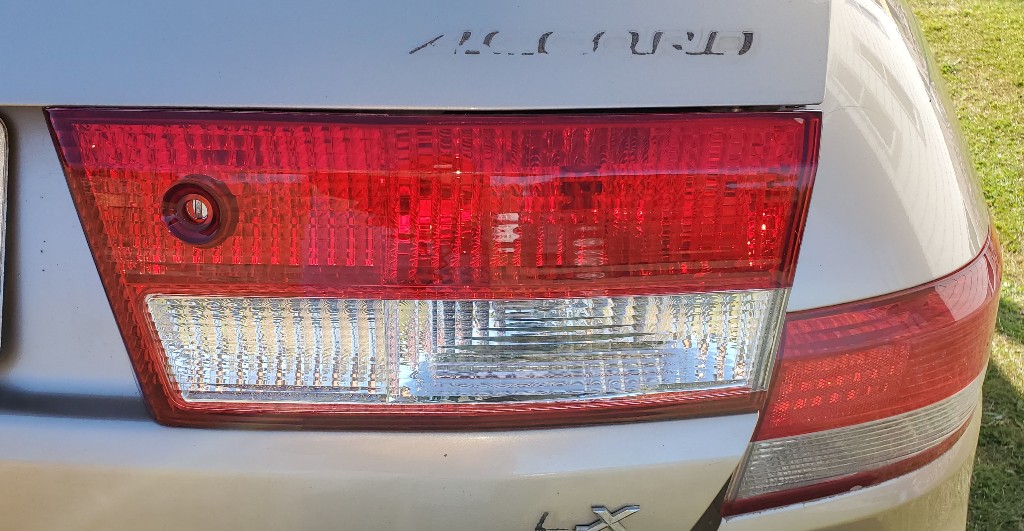
Here is the new reflector held up to the old one still installed on the vehicle.
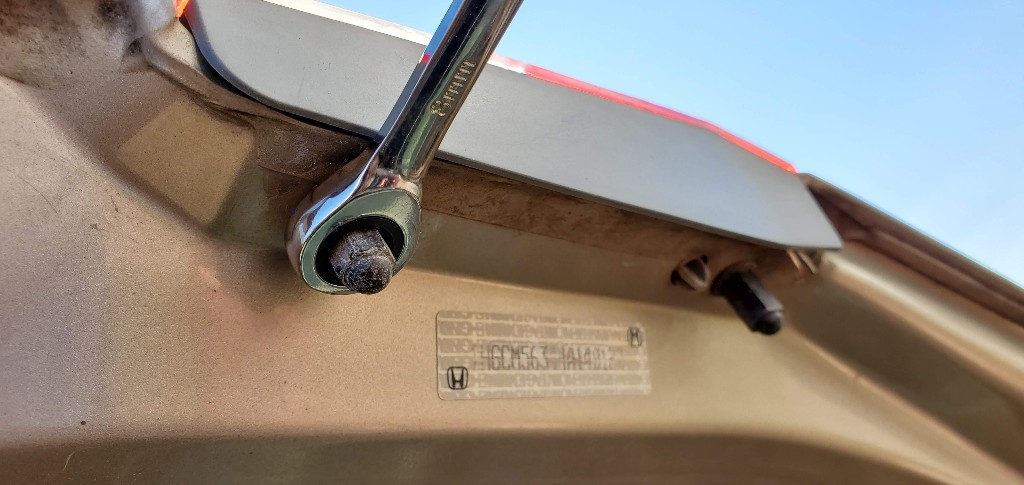
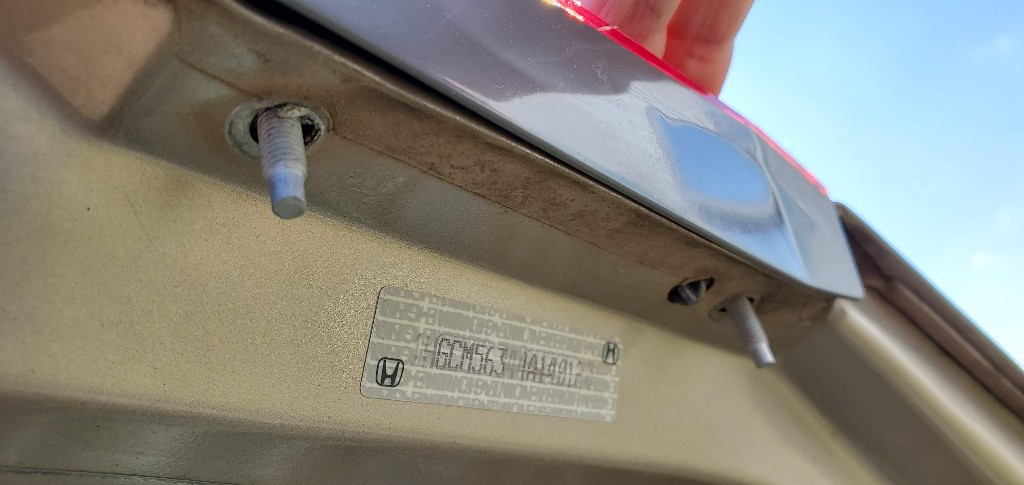
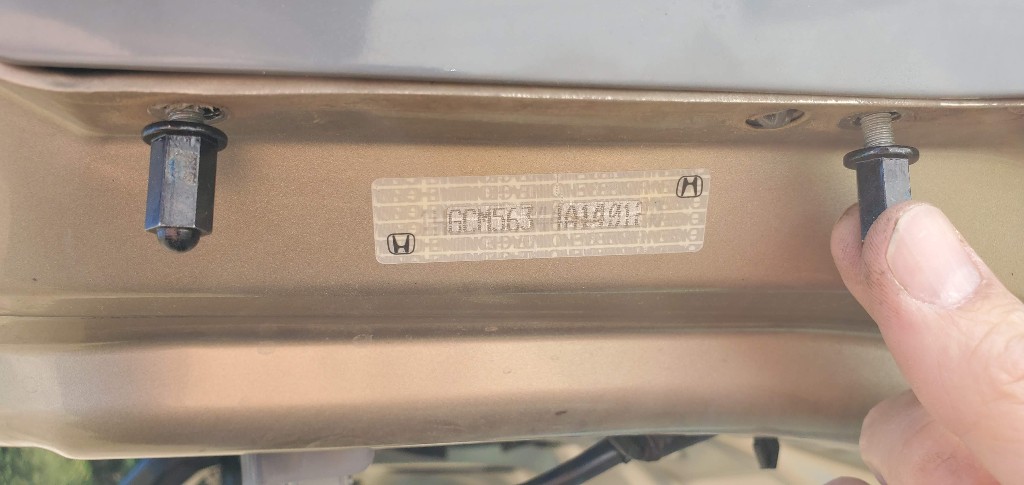
The first step is to open the trunk. Locate the two nuts on the edge of the inside of the trunk. Remove both of these with an 8mm wrench or pliers.
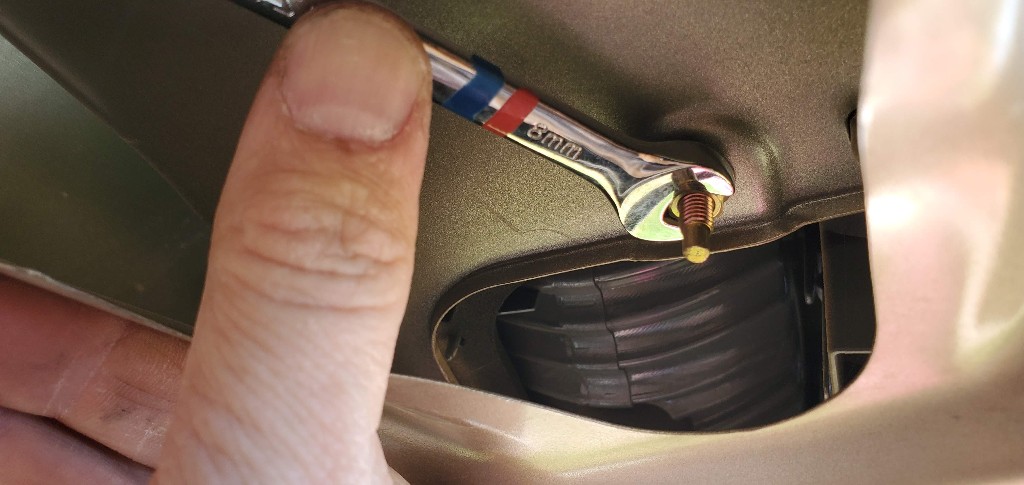
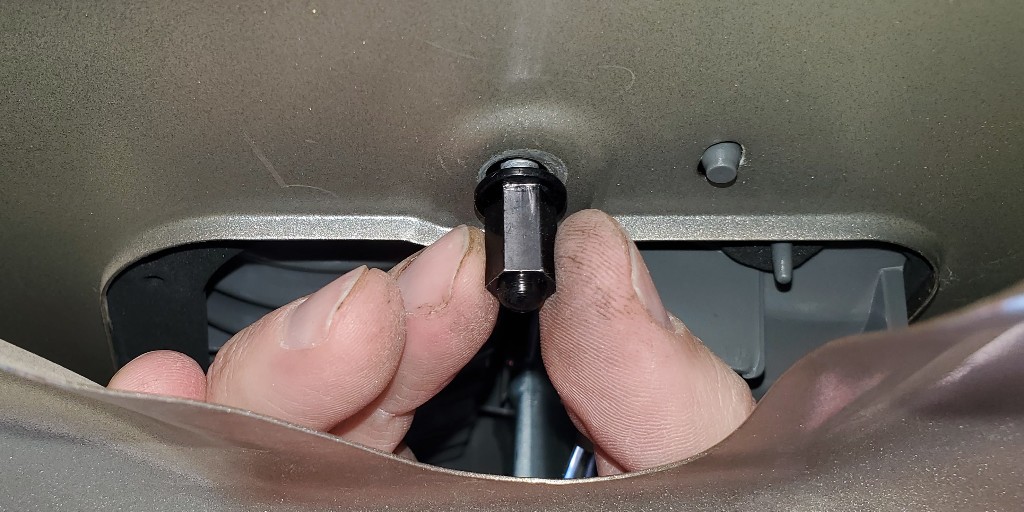
Next, look inside the inner part of the trunk and locate the other 8mm nut and remove it as well.
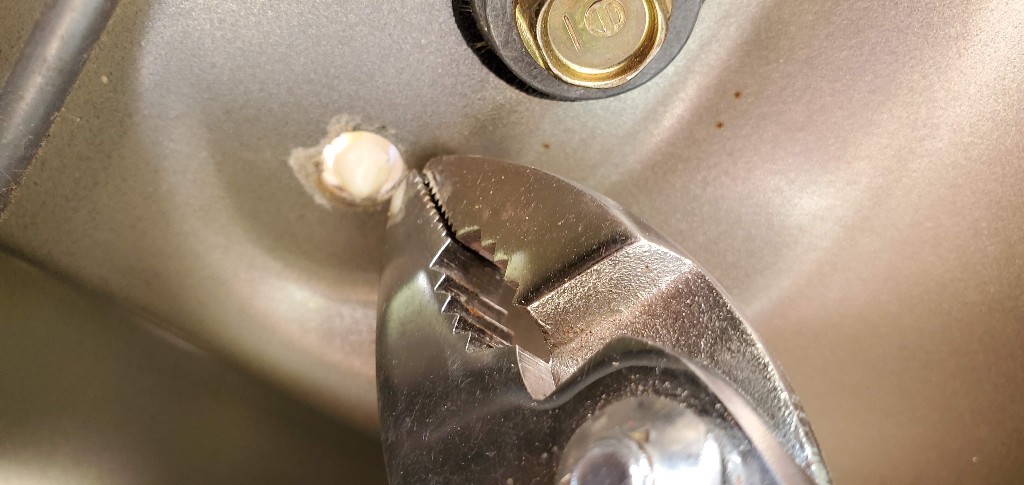
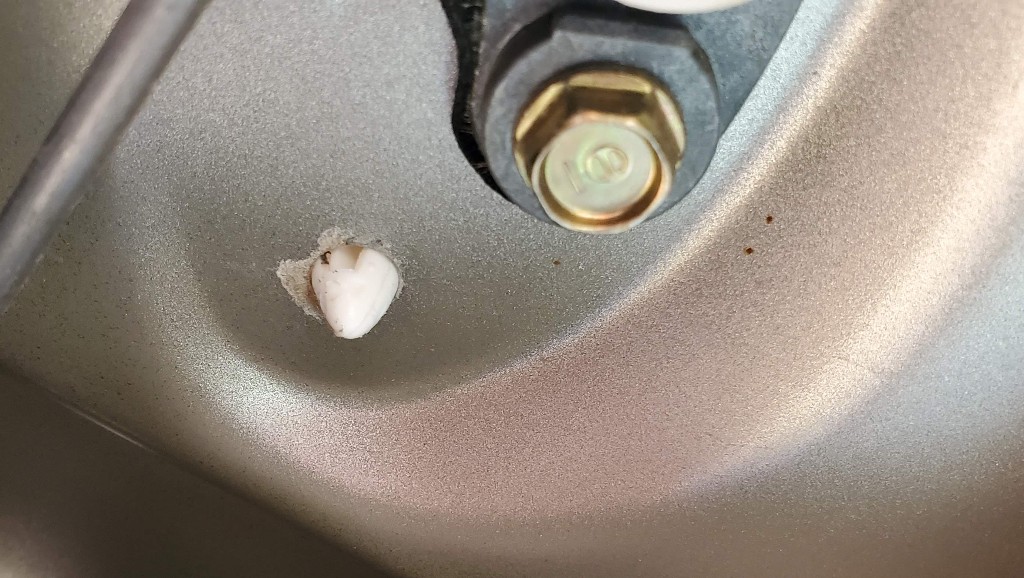
There is also a plastic push connector. Use a pliers to compress it, then push it outward.


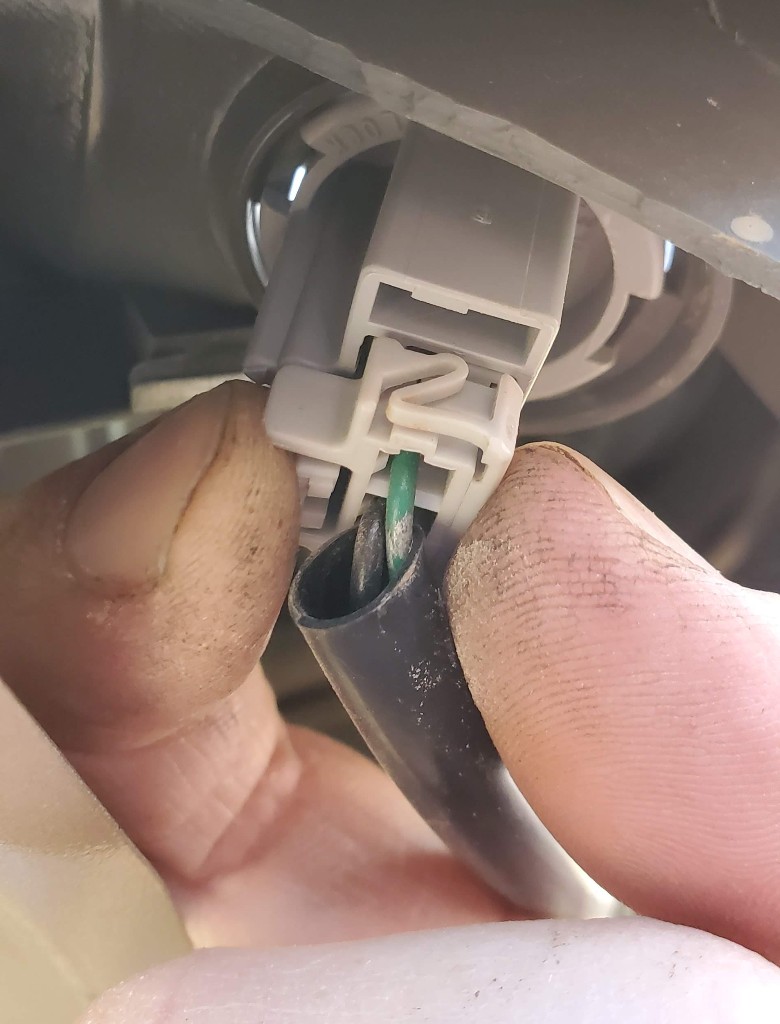
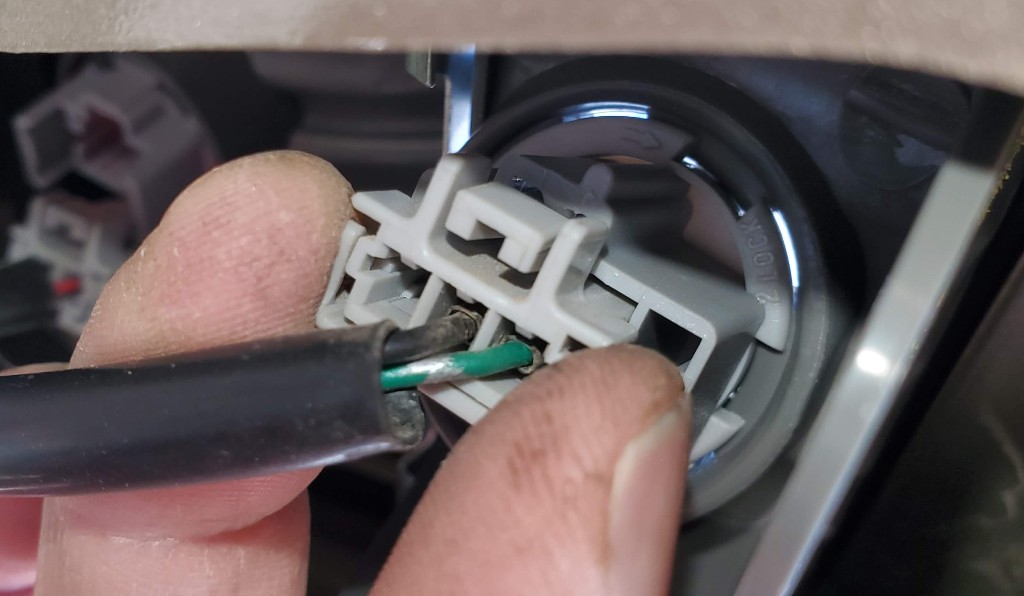
Next locate the 2 electrical connections going to the 2 lights. Press the tab, then pull them out.
Repeat for the other light.
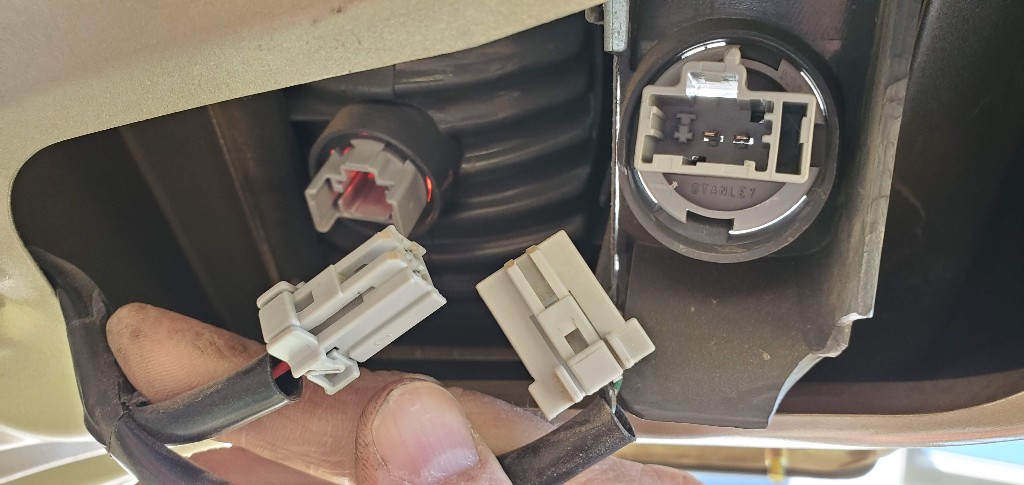
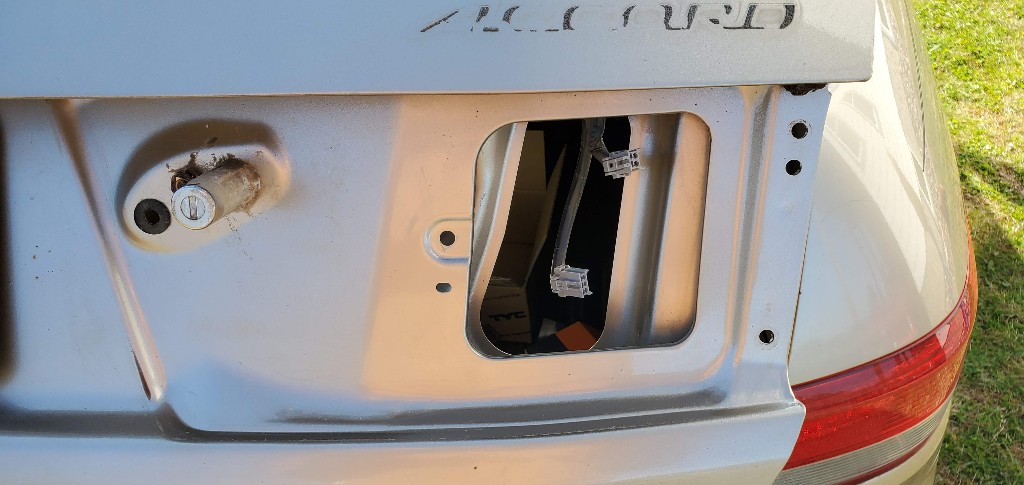
Here is a view with both electrical connections disconnected.
Now the light should be loose. Gently pull it off the car.
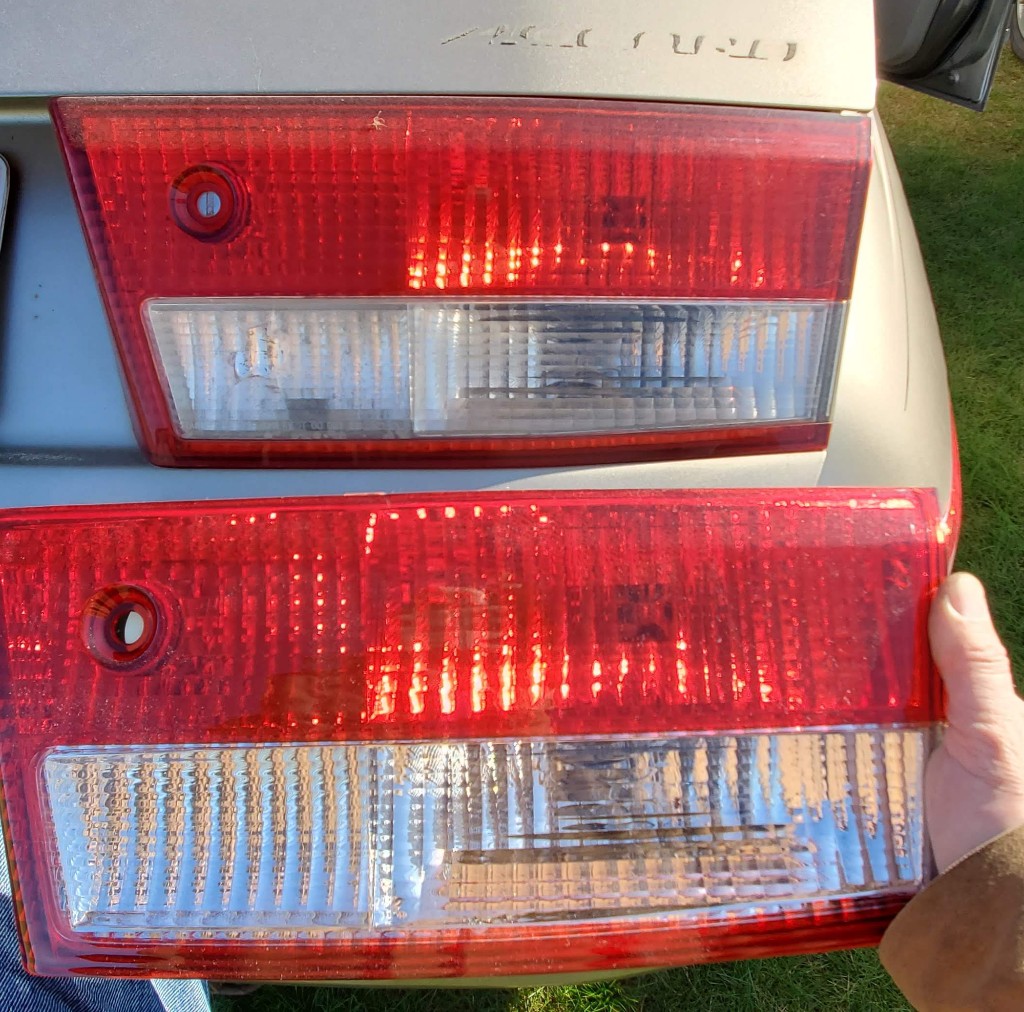
Here are the old and new lights side by side.
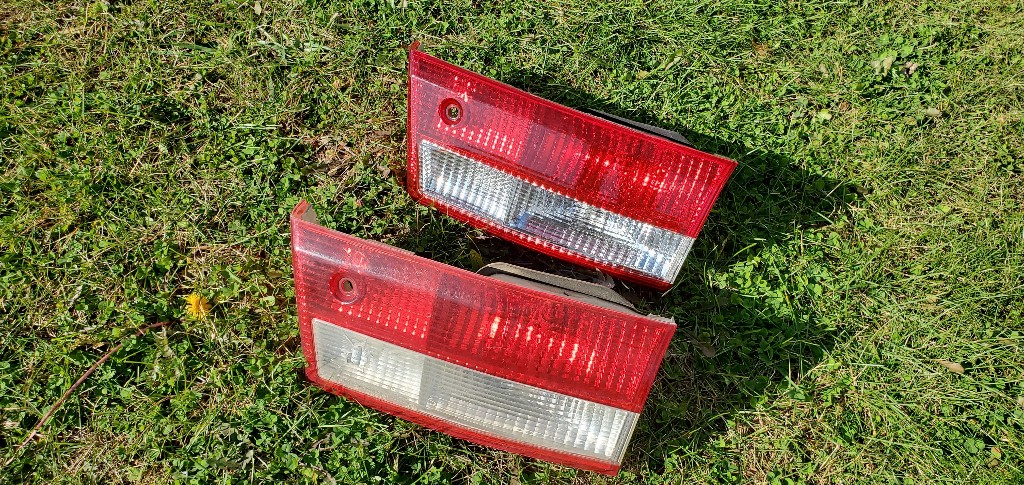
This is a view of the back. Make sure the bolt connections line up.
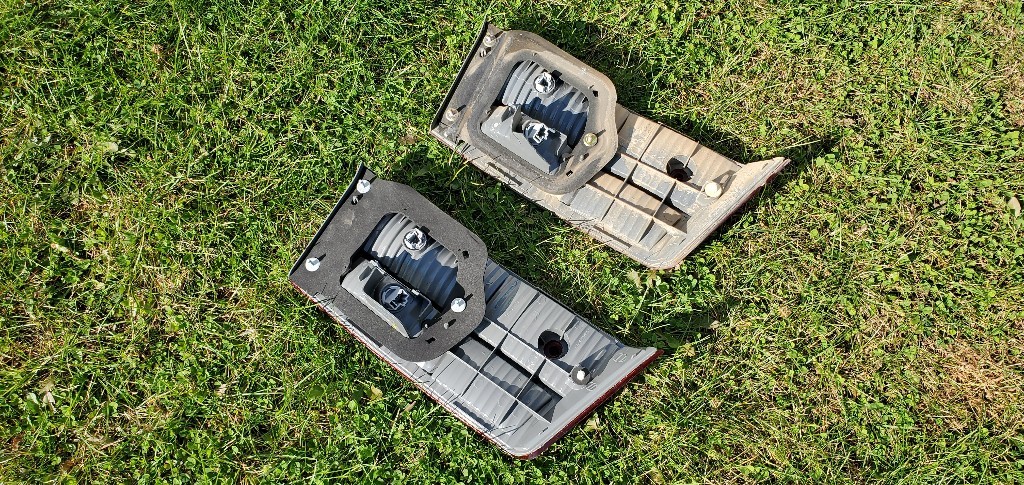
Now is an excellent opportunity to clean off the accumulated dust and dirt.

Put the new tail light in position. Line up the plastic push connector, as shown below. Also line up the bolts through their respective holes.

Give a firm press to push the plastic connector through its hole.
Here the connector is not quite all the way in yet. Give a firm push to get it fully seated.
Use the provided new 8mm nuts (or re-use the old nuts) to re-attach the light.
Also attach the nut on the bolt located inside the trunk.
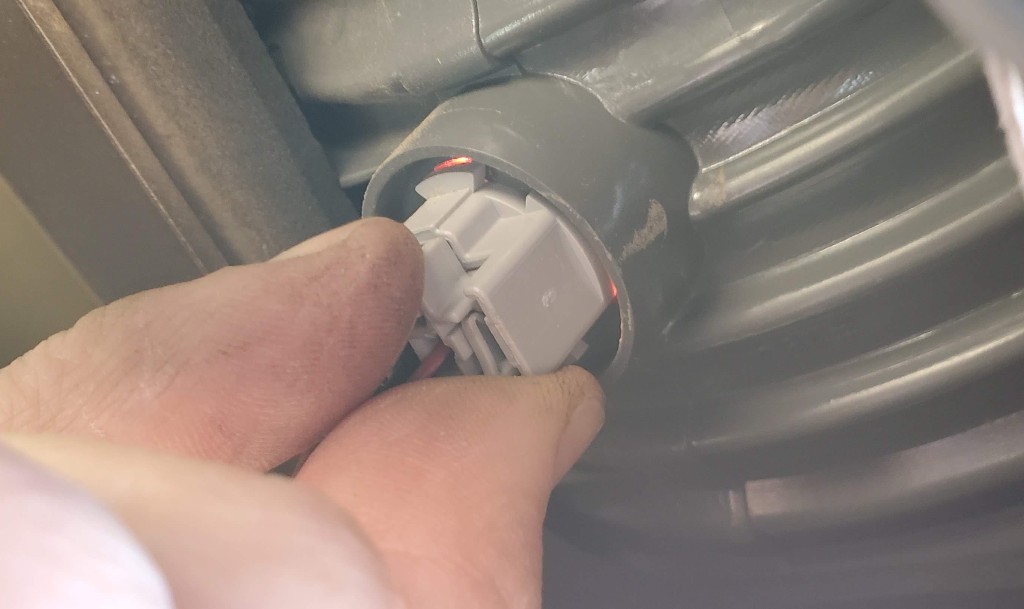
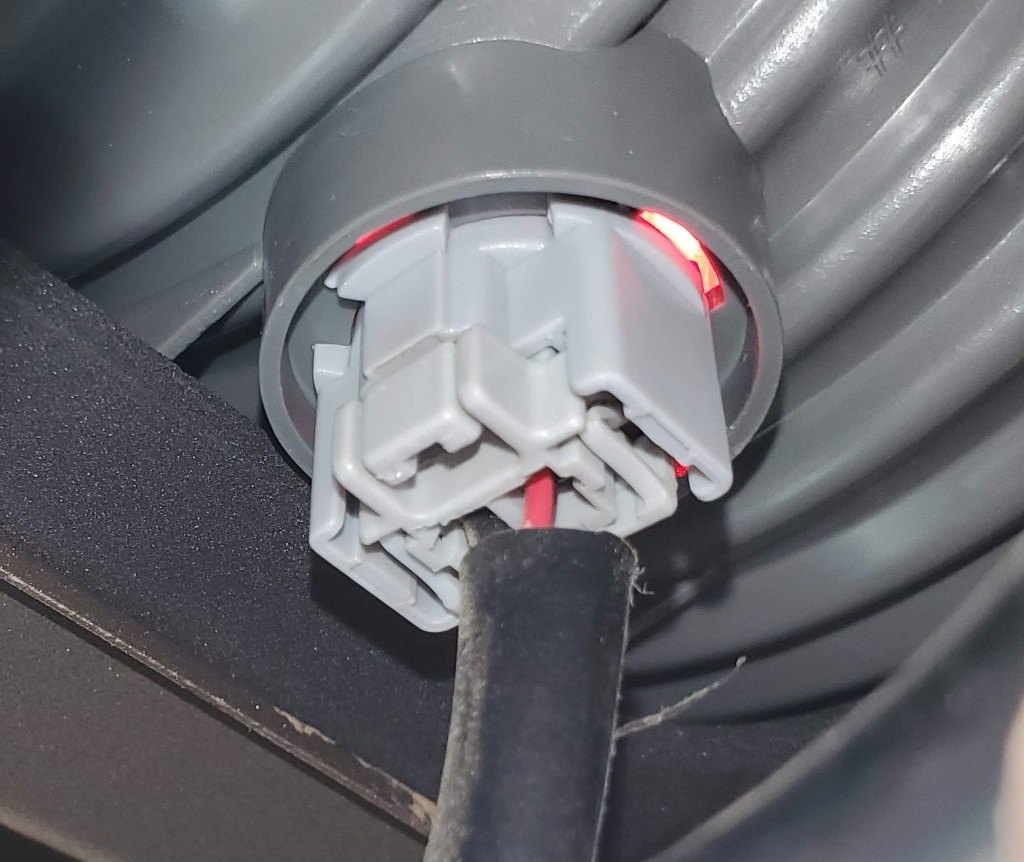
Reattach the electrical connector by pressing it until it clicks.
Repeat for the other electrical connection.
Double check that the light appears seated correctly and evenly. Carefully close the trunk to verify nothing is crooked.
That’s about it. Should take about 10-20 minutes or so.
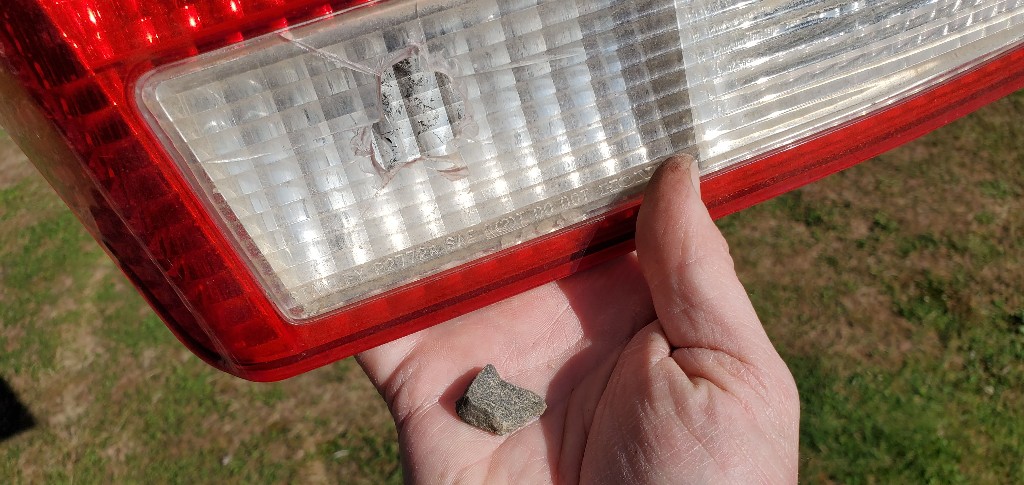
After shaking the rattly old light around, I found the rock that made the hole…
Hey, thanks for reading. I hope this helped you. I know its pretty straight forward, but sometimes having the photos ahead of time can help in planning.
Take care,
Rich
Tools and Supplies Used:
- 8mm wrench
- pliers
- replacement passengers side inner tail light


Thanks for this! Was super helpful and replaced a broken cover on my ’05 Accord! Life saver!!! Keep this up!