
How to Change Oil in a 1977 Dodge W200
Quick pictorial guide on changing the oil in a 1977 Dodge W200 pickup truck. This one has the 318 5.2L engine.
Tools and supplies:
- 1/2″ wrench
- funnel
- rag
- Motor oil 10W-40 (5 qts)
- Oil filter (PH16)
- drain pan of some sort
Step by Step Procedure to Change the Oil
First step is to pop the hood on that beast.

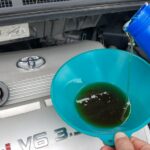
In order to assess the health of the vehicle, check the oil now and then. Doing this before an oil change can tell you how badly the oil needed to be changed.

This comparison shot was taken before and after the oil was changed. It was due for a change; the before photo the oil looks black, and after it is very clear.


Okay, we’ve assessed that the oil should be changed. Crawl underneath and locate the oil pan.

Use a 1/2″ wrench to loosen the oil plug.

Remove it that last bit with your fingers.

Position a drain pan underneath it to catch the used oil, bearing in mind that it will have some momentum and the trajectory will arc as the stream falls.

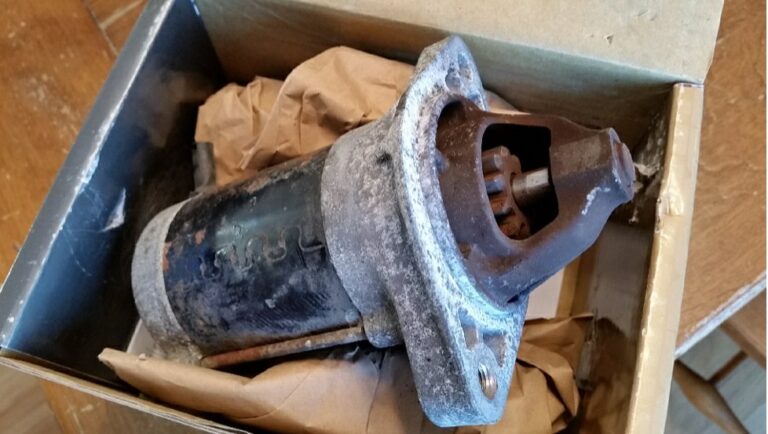
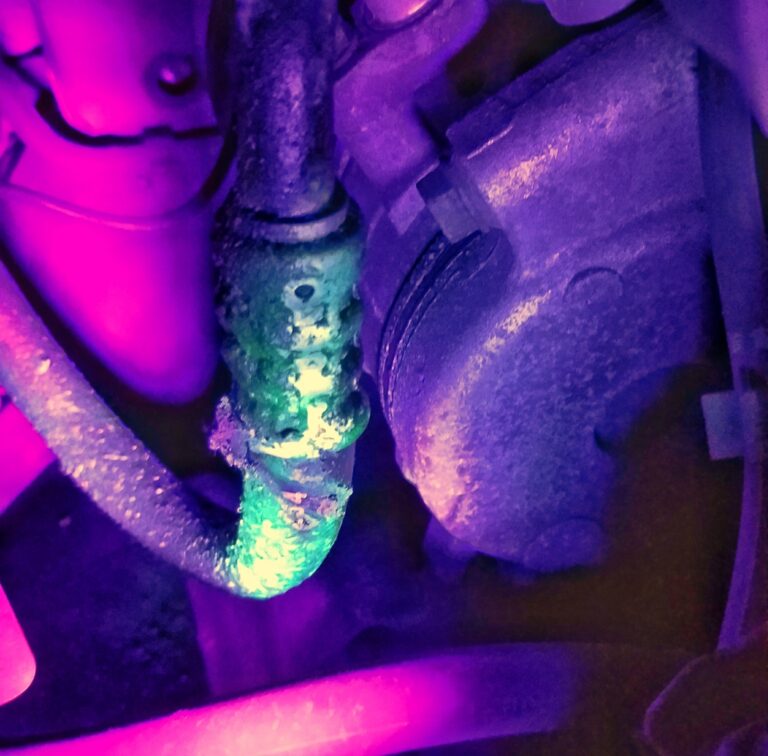
No particular reason to show this next picture other than it is kind of a neat shot…

Locate the oil filter, this is a view from above.

These huge engine bays are nice, you can access the oil filter from top or bottom, I chose to access from below. Unscrew the filter.

Position your drain pan so that it can collect the dripping oil from both the oil pan and the filter at the same time.

The filter port with the filter removed.

Take out your new filter and compare, making sure you got the right one.

Put a little oil on the seal.

Put the new filter on.

Try not to get sand and grit on it as you put it into position.

Tighten up the filter by hand.

Clean off the oil plug and once the oil has finished draining (just dripping), screw it back in.

Use the 1/2″ wrench to tighten it up.

Make sure it is snug so you don’t have leaks, but don’t go overboard.

Dispose of the used oil properly.

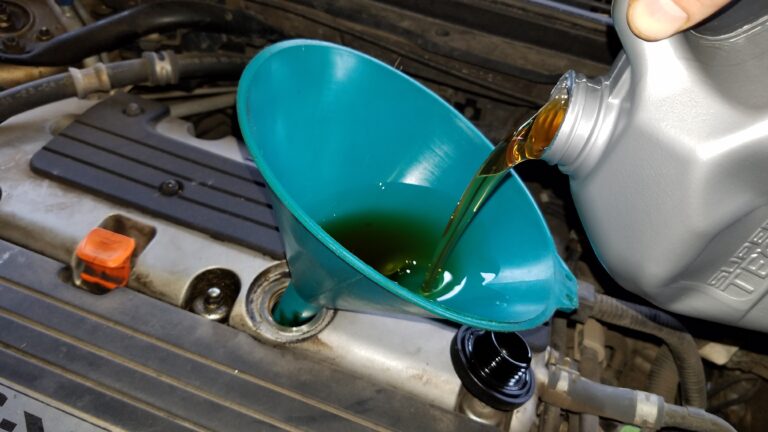
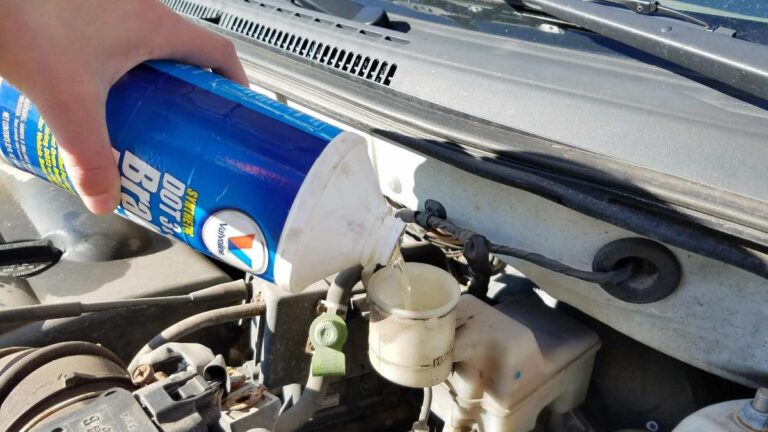
Now from the top, locate the oil fill port.

Remove the cover.

And put a funnel in there.

Pour in the fresh oil. Should take 5 qts.

A view down into the fill port.

Replace the oil cover.

Hey, that’s about it, hope you enjoyed this. Most of us have been doing this about as long as we can remember. Looking at these photos brings back some memories! Don’t you just love mechanical things? Let me know about it in the comments section below!
Thanks for reading…


0 Comments